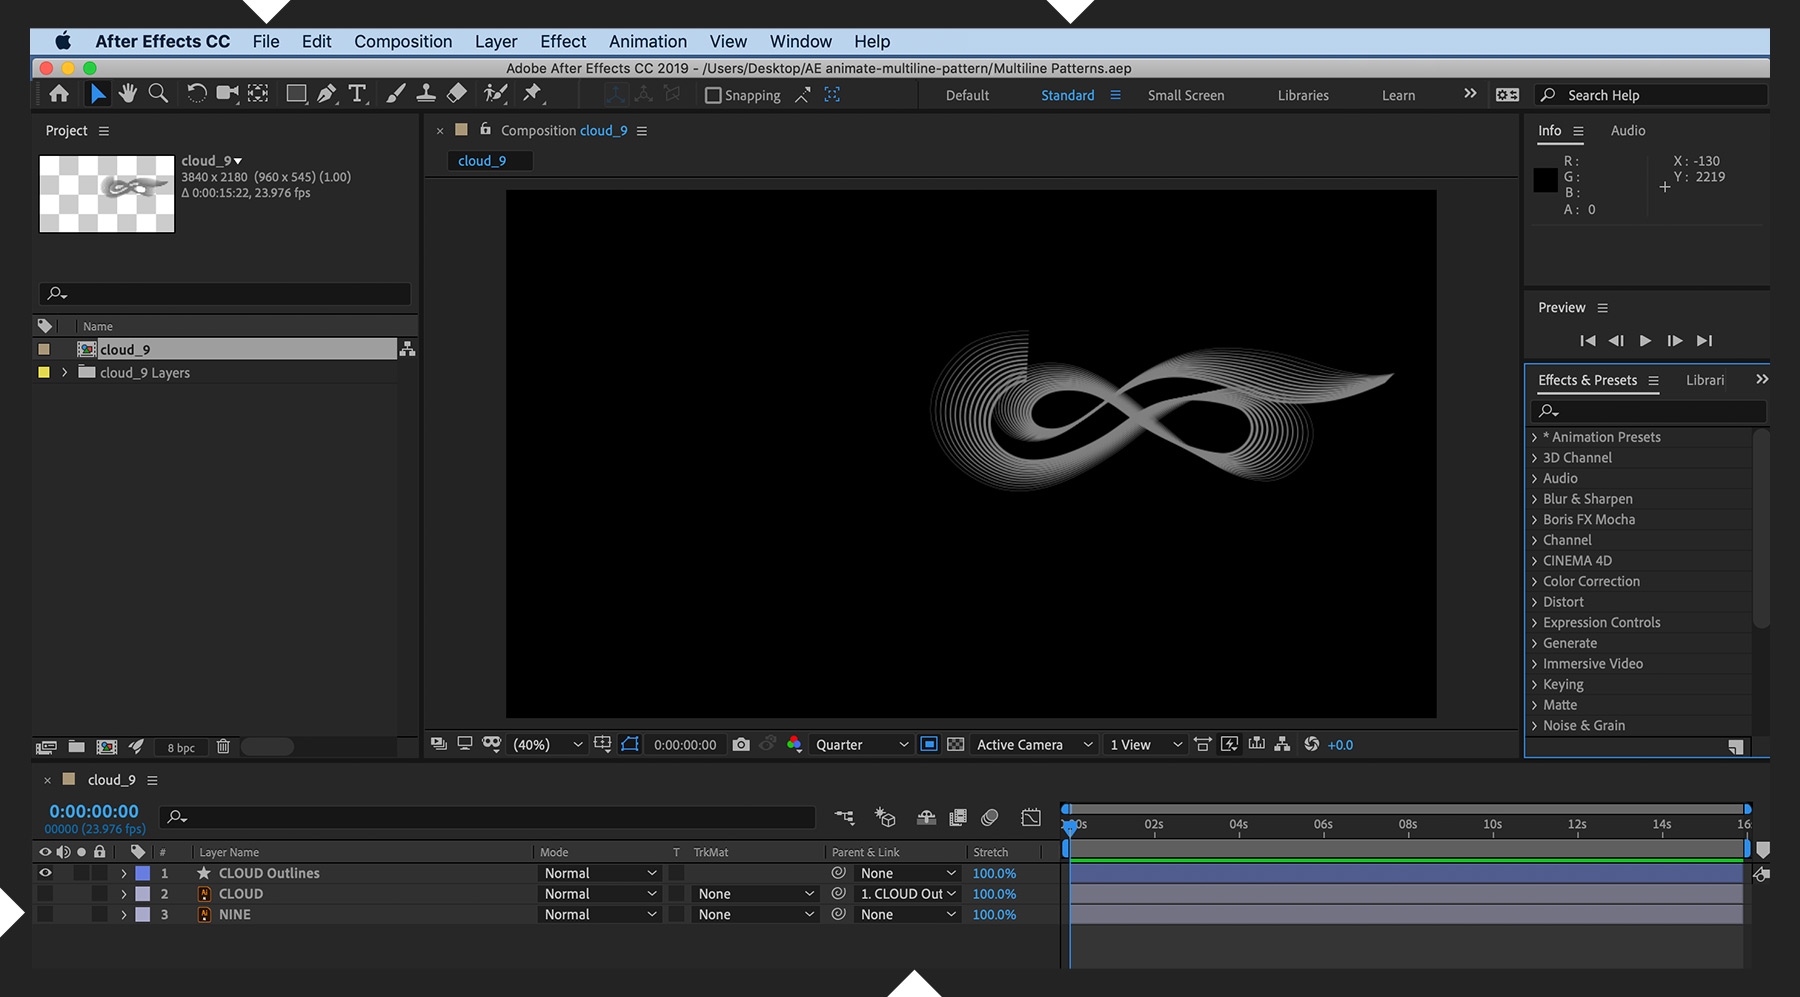
Grow multiline patterns organically by applying trim paths in Adobe After Effects to vector designs created in Adobe Illustrator.


Какво ще ви е нужно
Animating a complex line pattern can be as simple as layering trim paths to reveal a few lines at a time. Experiment with our line pattern composition or use your own multiline vector illustration.
Working in the Standard workspace in After Effects, choose File > Import > File and import your vector line pattern from Illustrator as Composition - Retain Layer Sizes. If your Illustrator file contains multiple layers, pick one to work on for now (Cloud in our example) and turn off visibility for the others. Right-click the working layer and choose Create > Create Shapes from Vector Layer. This creates an Outlines layer just above it that acts as a matte. Parent the layer to the new shape layer by changing None to the Outlines layer in the Parent & Link column in the Timeline. (If that column isn’t visible, right-click any column and choose Columns > Parent & Link.)


To animate your design’s lines in staggered fashion, group them first. Drill down into the Outlines layer. Next to Contents, click Add and choose Create New Empty Group. Right-click the new group to rename it. Duplicate it a few more times and rename each group. (Our example shows A, B, C, and D.) Depending on how many strokes are in your design, you may wish to create more or fewer groups. Drag alternating lines into these groups. For example, you might drag every fourth line into A, then every third line into B, then every other line into C, and finally the remaining ones into D. Don’t worry about being perfect about this; the point is to avoid grouping sequential lines.


Now you can animate each group of lines. Drill down into one group, click Add, and choose Trim Paths. Place the playhead at the start of the comp — assuming you want to begin the animation there — and expand Trim Paths 1. Set an End keyframe at 0%, move the playhead forward however long you want the animation to play (say, 5:00), and set another End keyframe at 100%. Right-click the second End keyframe and choose Keyframe Assistant > Easy Ease In. Open the Graph Editor and adjust the handle in the speed graph so that you bring the line animation to a slow stop.


With the playhead still at the later time value (e.g., 5:00), select that Trim Paths 1 instance and choose Edit > Copy. Move the playhead back to the beginning, select the remaining groups, and choose Edit > Paste. Press U on the keyboard to reveal the copied keyframes. Offset each set of keyframes by a small amount. For example, you could move the second set of keyframes ahead by 5 frames, the third set by 10 frames, the fourth set by 15 frames, and so on. Preview and adjust the keyframe positions to your liking so that the lines animate in a staggered fashion rather than in unison.


Once you’re happy with how the line pattern outline animates, turn off that layer’s visibility and turn on the visibility for another vector layer (Nine in our example). Repeat the preceding steps on this layer: converting it to a shape layer, parenting it to the new Outlines layer, creating line groups, adding trim paths to each line group, and animating each group separately. Do this for any remaining vector layers you imported from Illustrator.


Now turn on visibility for all Illustrator layers. Set each layer’s Track Matte to Alpha Matte and reference the Outlines layer above it. Doing this automatically turns the Outlines layers’ visibility off so your gradient layer shows through.


Depending on how complex your multiline design is, you may wish to experiment with applying additional trim paths or adjusting the ones that are already there. For each Trim Paths instance, consider changing the Trim Multiple Shapes setting from Simultaneously to Individually to see what happens. If you’re ever confused by which trim path does what, turn off visibility for the others so you can isolate the one and make precise adjustments to it.