In the first part of this series, learn how to define a Dreamweaver site to set a local file and folder location.
What you'll need


Introduction
Dreamweaver is a great program for building and designing websites visually. But it can be daunting when you first open it. It has so many features—what are they all for?
This eight-part tutorial series is designed to help you guide you through building a simple, yet elegant website in Dreamweaver 2015. It will guide you through the process of defining the site, building the structure with HTML (Hypertext Markup Language), adding text and images, and styling the pages with CSS (Cascading Style Sheets).
To keep the tutorial series to a reasonable length, you’ll build only two web pages; but once you have done so, you should have sufficient knowledge to create more pages on your own.
Note: You don’t need any previous experience with Dreamweaver. However, a general knowledge of Hypertext Markup Language (HTML) and Cascading Style Sheets (CSS), will help to provide context to many of the topics in this series. HTML and CSS are both open web standards and there are a lot of resources available to learn these technologies. Define page structure with HTML, Lay out and style web pages with CSS, and HTML & CSS provide a great foundation.
What you're going to build
Let’s get started by downloading the sample files, and taking a look at the finished project.
- Download the sample files from the link at the top of this page.
- The files are compressed as a single ZIP file. Extract the files to a convenient location, such as your Desktop.
- On Mac OS X, click the downloaded ZIP file in the Mac Finder to automatically extract the files.
- On Windows, right-click the downloaded ZIP file, and select Extract All from the context menu. Browse to the desired location to save the files, and then click Extract.
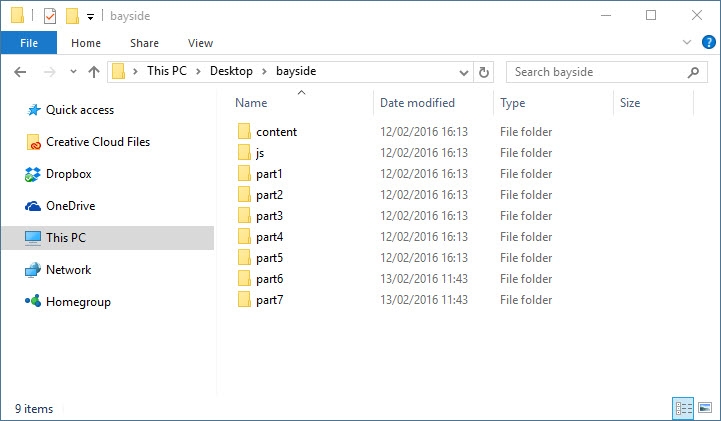
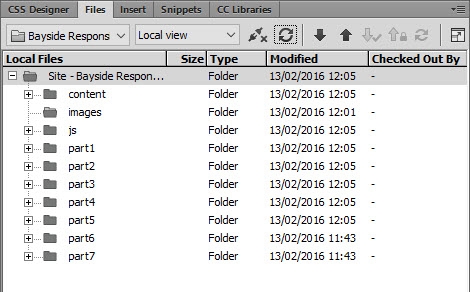
- Inside the extracted files is a folder called bayside. It should contain nine subfolders, as shown in Figure 1.

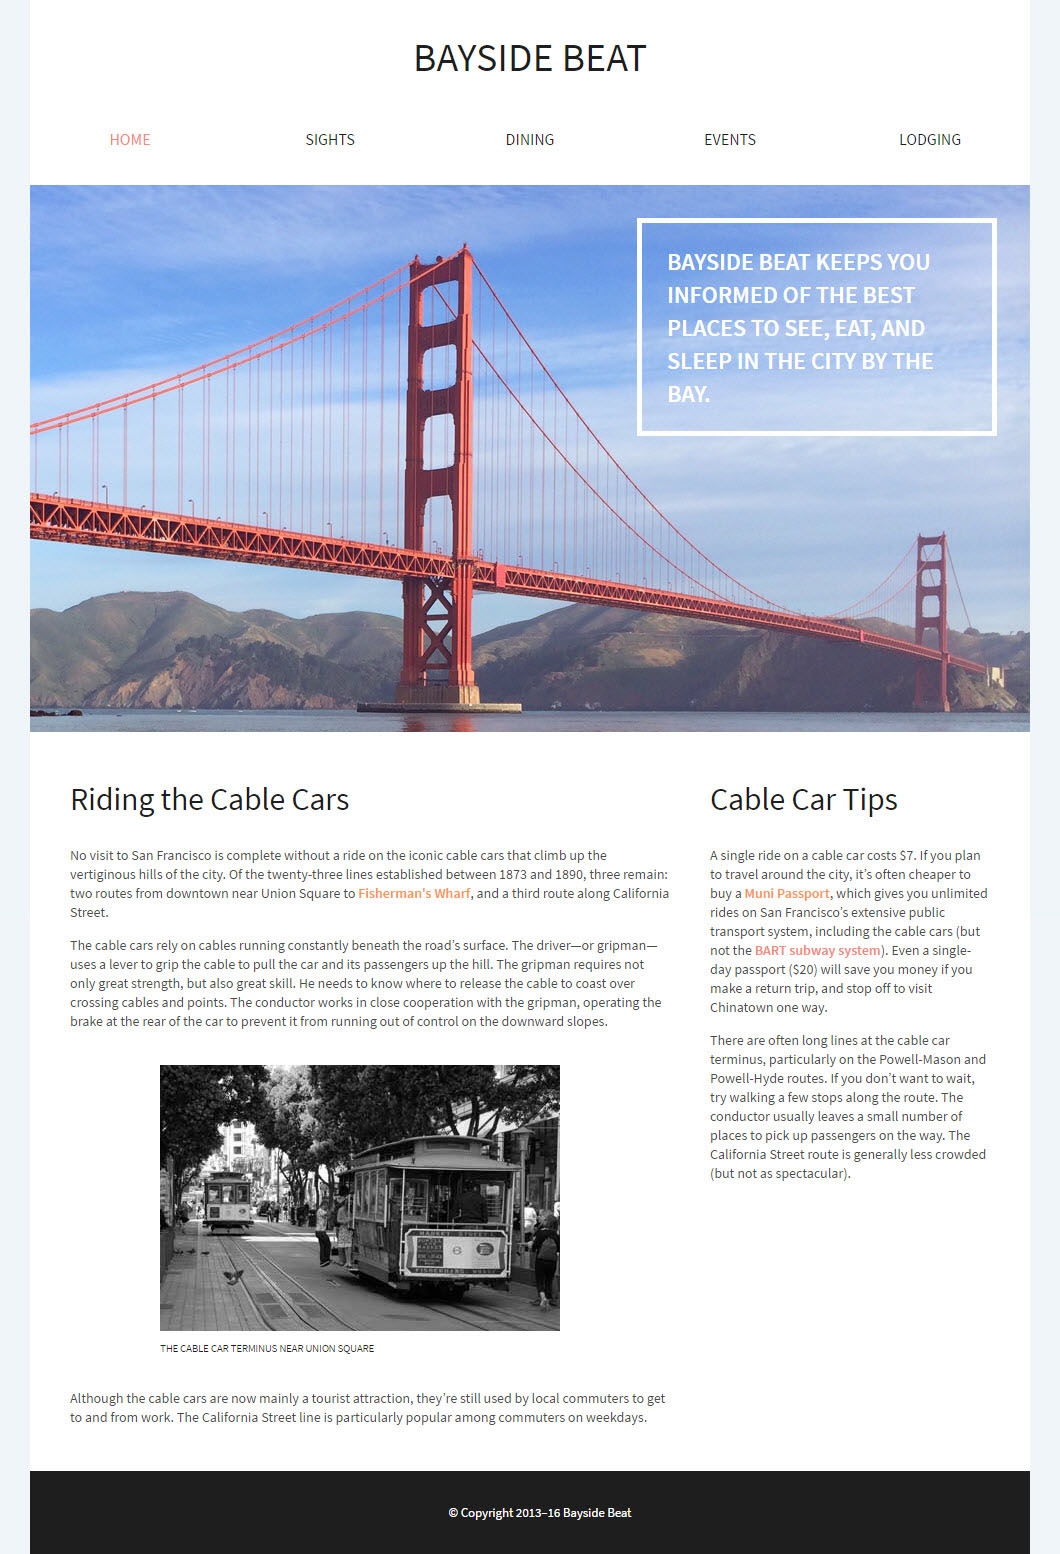
- Open the part7 folder, and drag index.html into a browser to view it. The home page of the finished project looks like Figure 2.
The content folder contains the text content for the web pages, and the js folder contains a JavaScript file that will be used to control the navigation menu on small screen resolutions. The other folders contain a complete version of the project as it looks at the end of each part of this series. You can use these to check against your own code. There’s no folder for part 8 because the final part is dedicated to showing you how to upload the finished project to a web server.

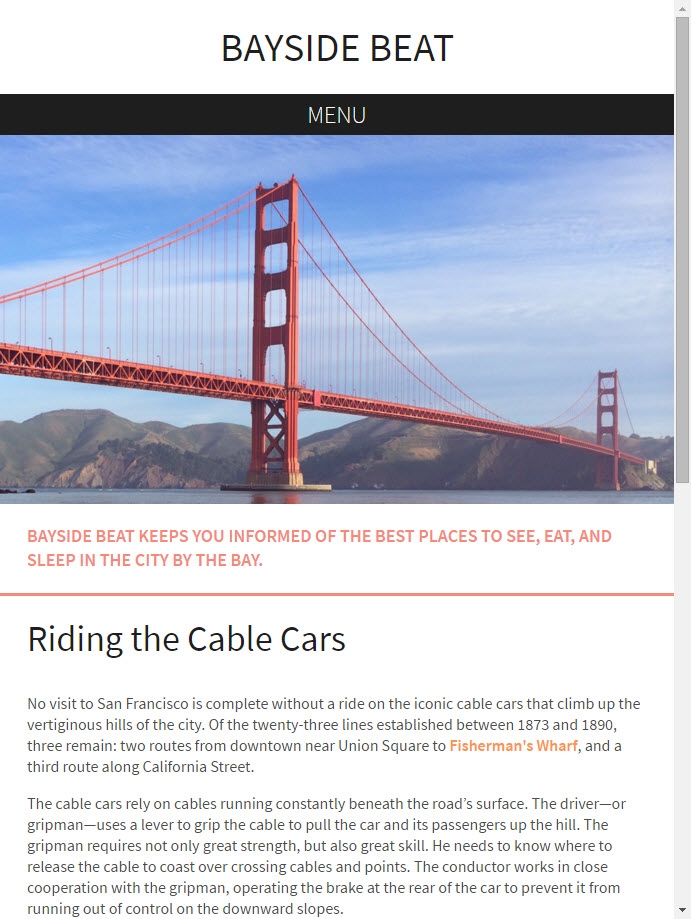
- Resize the browser by dragging one of the sides inwards. When the viewport is narrower than 700px, the layout changes from two columns to a single column. The navigation bar is replaced by MENU against a black background. The white text in the box over the image of the Golden Gate Bridge, has turned deep pink, and is now positioned below the image, as shown in Figure 3.

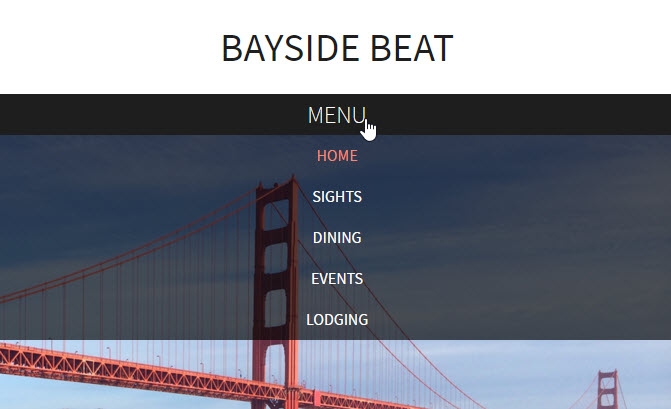
- Click MENU. The navigation menu slides down smoothly on a semi-transparent black background (see Figure 4).

- Click MENU again. The navigation menu slides up and out of view.
- Open the navigation menu again, and click SIGHTS to view the second page (the other menu items are dummy links).
So that's what you'll be building with Dreamweaver 2015 throughout this series. In the process, you'll learn how to do the following:
- Define a site in Dreamweaver
- Build the structure of a web page with HTML5 elements
- Use the DOM panel to find your way around the page and add new elements
- Add text and images to the page
- Download and resample images from a Creative Cloud Library
- Style the page using Dreamweaver’s CSS Designer
- Create a second web page that's styled the same way
- Control different layouts using the Visual Media Queries bar
- Upload the finished pages to an online web server
Along the way, you'll also get to know the most important parts of the Dreamweaver user interface.
This is an in-depth tutorial, so give yourself plenty of time. Each part has been divided into short sections that explain not only what to do, but also why. Take a break between sections to make sure you understand the various techniques introduced.
Note: This tutorial series has been written for Dreamweaver 2015.2, and it uses features that are not available in older versions of the program. Although older versions of Dreamweaver are capable of building the same website, it's recommended that you use Dreamweaver 2015.2 for this tutorial. If you don't have a subscription to the Creative Cloud, you can use the free trial.
Set the Dreamweaver workspace
Before you start work, switch to the Design workspace. This will give you access to all the main panels you need for this tutorial. On Windows, the quick way to do this is to use the Workspace Switcher at the top right of the screen (see Figure 5).
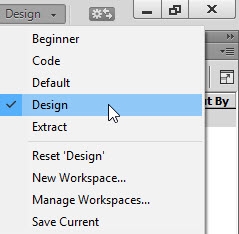

On Mac OS X, by default the Workspace Switcher is in the same location, but if you have turned off the Application Frame, it's on the left. If you've also turned off the Application Bar, it's hidden. The alternative way to select a workspace is Window > Workspace Layout > Design.
Set up a site in Dreamweaver
A common beginner mistake is to start working on web pages in Dreamweaver without defining a site. This results in links to assets, such as images and style sheets, pointing to a location on your local computer. Everything works fine until you come to upload the site to your remote server. Then you discover all your links are broken and need to be fixed. Avoid this heartache by always defining a site. It’s a quick and easy task.
In Dreamweaver, a site organizes all the documents on your local computer associated with your website and lets you track and maintain links, manage files, and transfer your site files to a web server. A typical Dreamweaver site has at least two parts:
- Local Folder: This is your working directory—usually a folder on your hard drive. Dreamweaver refers to this folder as your local site root.
- Remote Folder: This is where you store your files on the computer that's running your web server. The web server is often (but not always) the computer that makes your site publicly available on the web.
Tip: If you plan to work on several sites, it’s a good idea to create a folder on your local hard drive to store them. On Mac OS X, your home folder already includes a folder called Sites. On Windows, set up a folder called Sites at the top level of your C drive. Although the screenshots for this series were taken on Windows, the instructions are identical for Mac OS X, apart from keyboard shortcuts and the labels on some buttons (both are given).
Define the local site folder for the Bayside Beat site
All you need to start working is to give your site a name, and tell Dreamweaver where you want to store the files on your local computer. You don't need to define the remote folder until you’re ready to upload your site to a live web server on the internet.
- Start Dreamweaver and select Site > New Site. The Site Setup dialog box appears.
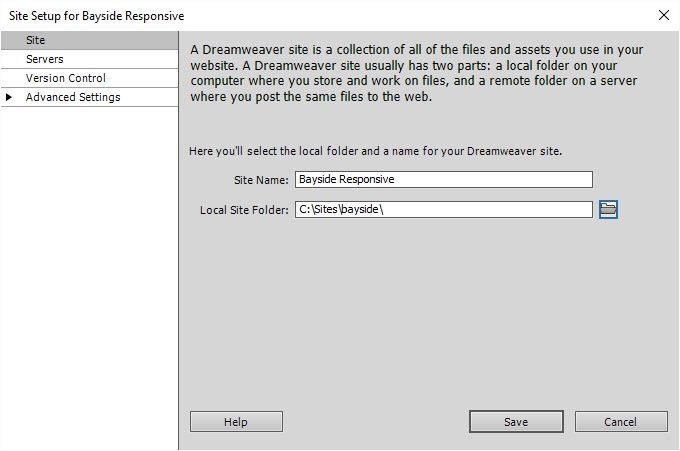
- In the Site Name field, enter Bayside Responsive as the name of the site. The name is used internally by Dreamweaver to identify the site. It doesn't matter if it contains spaces.
- Click the folder icon next to the Local Site Folder field to browse to and select the bayside folder from the sample files you downloaded. The Site Setup dialog box should now look like Figure 6, although the file path for Local Site Folder will depend on where you copied the bayside folder on your hard drive.

- Expand Advanced Settings in the column on the left of the Site Setup dialog box, and select Local Info.
- Click the folder icon to the right of the Default Images folder field to open the Choose Image Folder dialog box.
- Click New Folder (in Windows, it's at the top of the dialog box; on a Mac, it's at the bottom). Name the new folder images, select it, and click Select Folder (Windows) or Choose (Mac). The Site Setup dialog box should look similar to Figure 7.
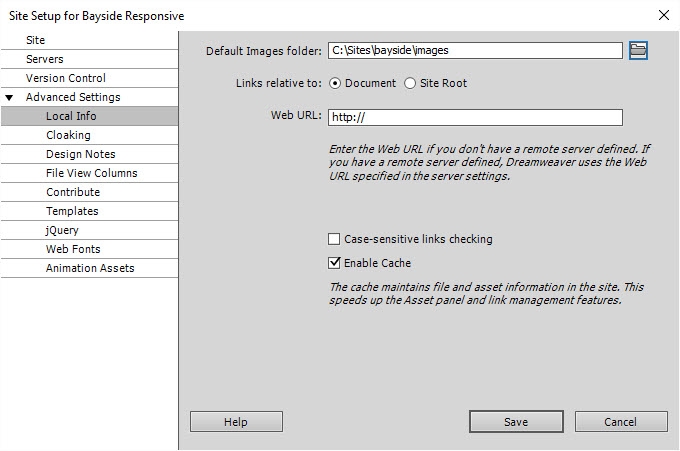

- Leave the other options at their default values. There’s no need to insert a value for Web URL because we're using links relative to Document.
- Click Save.
The Files panel in Dreamweaver now shows the new local root folder for your current site (see Figure 8). The file list in the Files panel acts as a file manager, allowing you to copy paste, delete, move, and open files just as you would on a desktop.

You've now defined a local site folder for the Bayside Beat site. This is where you keep the working copies of web pages on your local computer. You've also specified the default folder to store images. This tells Dreamweaver to automatically copy images to that folder when you import images from outside the site root folder.
Best practice for naming files and folders in a website
A typical website contains a large number of files and folders. For ease of maintenance, it's important to organize them logically. Create separate, appropriately named folders for images, videos, style sheets, and external JavaScript files. Also bear the following points in mind:
- File and folder names in websites should never contain spaces or any of the following characters:
/\?%*:|”<>.
- Although other special characters are permitted, it's generally a good idea to confine yourself to alphanumeric characters, hyphens, and underscores.
- Most file and folder names end up as part of a web page's URL, so keep them short, but meaningful. Long URLs are difficult for users to remember and type into browsers on a mobile device.
- The vast majority of websites are hosted on Linux servers, which are case-sensitive. Using all lowercase letters for file and folder names avoids problems with files not being found.
Save the project assets to a Creative Cloud Library
The images and color scheme for this project are stored online in a shared Creative Cloud Library. CC Libraries make your visual assets available to you everywhere, and are particularly useful when collaborating with other people. For example, one person might be responsible for creating visual assets, while you're responsible for building the actual site. Check out the online documentation to learn more about using CC Libraries in Dreamweaver.
You need to save the assets in the shared library to a library of your own.
- Use the assets in the Bayside Beat Libary.
- Click Save to Creative Cloud at the top-right of the browser screen, and save the shared assets to your Bayside library, if you have not already done so.
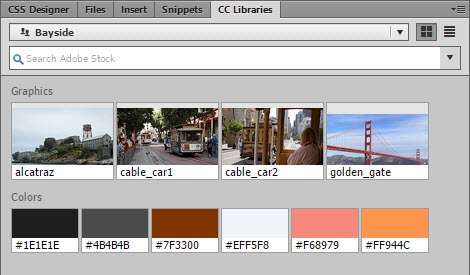
- Select the Bayside library in the Dreamweaver Libraries panel. You should see four images and six color swatches as shown in Figure 9.

Create your working web pages
You're going to create the Bayside Beat website from scratch. The sample files that you downloaded contain the text content in Microsoft Word and rich text format files, a JavaScript file, and copies of the project at each stage for you to compare against your own working files.
Let's begin by creating two HTML pages for the site.
- If the Dreamweaver Welcome Screen is visible, click HTML in the Create New section. Alternatively, select File > New from the main menu. In either case, this opens the New Document dialog box, as shown in Figure 10.
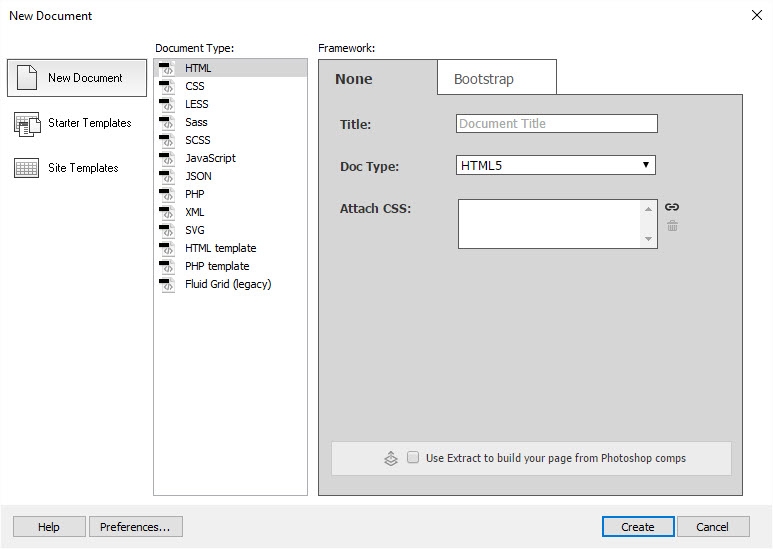

- Make sure that New Document is selected in the column on the left, that Document Type is set to HTML, and Framework to None.
- Type Bayside Beat: Cable Cars in the Title field.
- Make sure that Doc Type is at the default HTML5, and that there is nothing listed in the Attach CSS field. If anything is listed in Attach CSS, select it, and click the trash can icon to the right of the field.
- Click Create. Dreamweaver creates a blank HTML page in the Document window.
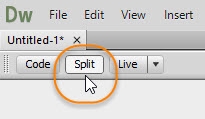
- If necessary, select the Split button (see Figure 11) at the top left of Document window to reveal the underlying HTML markup.

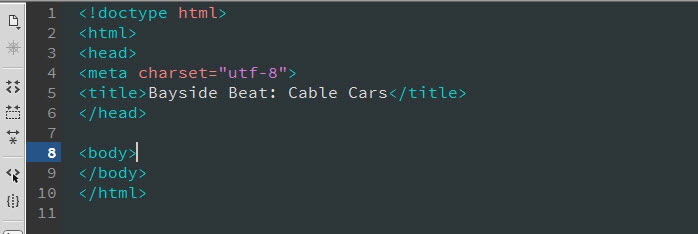
- The Document window (or Live View) is completely blank, but the basic HTML structure is revealed in Code View, as Figure 12 shows.

- Save the file by selecting File > Save or using the keyboard shortcut Ctrl+S (Windows) or Cmd+S (Mac).
- In the Save As dialog box, make sure you are in the bayside local site folder, name the file index.html, and click Save.
- Create a new HTML file. The Welcome Screen is no longer visible, so you need to use the menu option File > New to open the New Document dialog box. Alternatively, press Ctrl+N (Windows) or Cmd+N (Mac).
- Select the same options as in step 2 previously, but this time leave the Title field blank, and then click Create.
- Save the file in the site root folder as sights.html.
- In Split View, the value between the
<title>tags on line 5 is "Untitled Document".
This is what will be displayed in the browser tab or title bar. It will also be picked up by search engines. Leaving this value unchanged is a common beginner mistake.
There are two ways to change it:
- Go into the code, and change it manually, making sure you leave the opening and closing HTML tags intact.
- Use Dreamweaver’s Property inspector. Let’s use that technique.
- Go into the code, and change it manually, making sure you leave the opening and closing HTML tags intact.
- The Property inspector is the large horizontal panel at the bottom of the Document window in the Design workspace. If necessary, click the Properties tab to bring it to the front (initially, it’s hidden behind the Output panel).
- To confirm the change, press the Tab key or Enter/Return. The value in the Document Title field replaces Untitled Document in the HTML code on line 5 (see Figure 13).
Line 1 is the document type (doctype) declaration that tells the browser this is an HTML file.
HTML is a tag-based language. Tags are surrounded by angle brackets. Most tags come in pairs, with the closing tag indicated by a forward slash after the opening angle bracket.
The whole page is nested inside a pair of <html> tags (on lines 2 and 10). The <head> section on lines 2–6 contains information for the browser. All the content for the page goes between the opening and closing <body> tags.
Most of the time, Dreamweaver creates all the necessary code for you as you work with its visual interface and dialog boxes. But you need to be careful if you copy and paste code from elsewhere. Like human beings, an HTML page can have only one head and only one body. If content doesn’t show up in Live View or a browser, the most likely reason is that you’ve pasted it outside the body.
The file is now listed in the Files panel, and the tab at the top left of the Document window displays the filename.
Tip: You can always get to the current website's local site folder by clicking the Site Root button at the bottom of the Save As dialog box.
Replace Untitled Document in the Document Title field with Bayside Beat: Sightseeing. Notice that nothing changes in the underlying HTML while you’re typing.
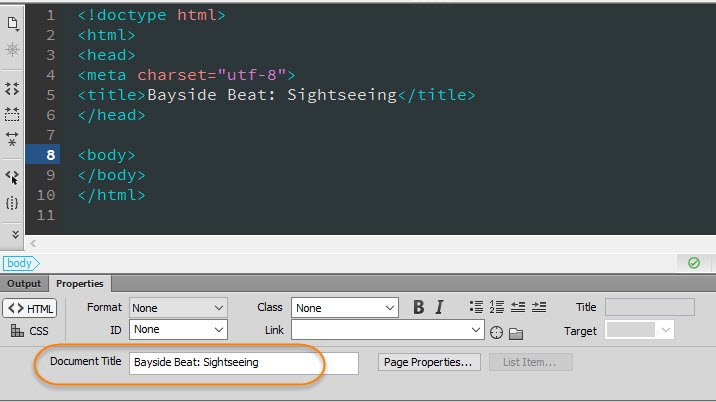

- Save sights.html.
Although Dreamweaver creates the HTML markup for you, it’s a good idea to keep Split View open much of the time when working with a web page. It lets you verify that the changes you made have been implemented correctly. That doesn’t mean that Dreamweaver is unreliable. Except in unusual circumstances, it will do exactly what you ask. But it’s important to know where you are in the document. If the insertion point is in the wrong place, your new code will be added there. If you’re not careful, you can end up with a tangled mess that can be difficult to unravel. The DOM panel, which we’ll be using in the next part of the tutorial series, is also invaluable in keeping track of the page structure.
Tip: If you prefer to see the underlying code alongside the visual representation of the page, select View > Split Vertically. To revert to splitting the Document window horizontally, select the same option again. The View menu also lets you choose which side Live View should be on. Drag the bar separating Code and Live Views to adjust their relative sizes. Dreamweaver remembers your settings automatically.
Now that you have finished defining your site, and created two blank web pages, you can start adding content to them.