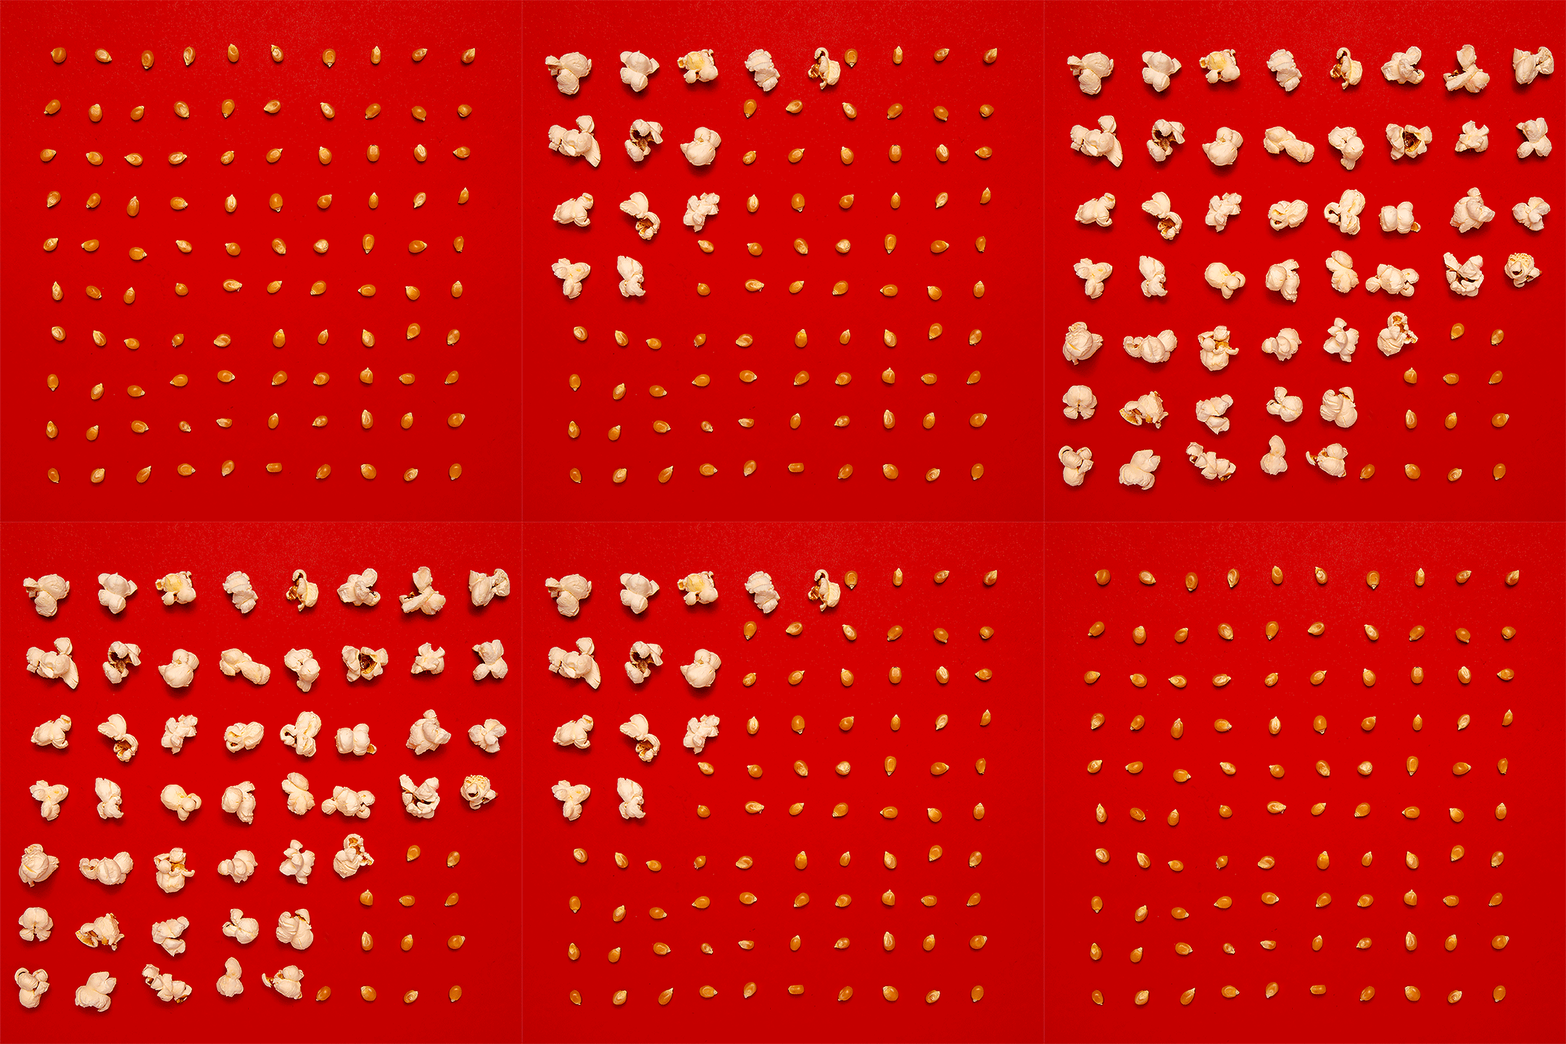
Photos don’t have to stand still. With a few quick steps, you can easily add movement to your images. In this short tutorial, see how Aaron Bernstein animates his photos using masks and the timeline in Adobe Photoshop.
Aaron Bernstein is a New York City-based creative and a former Adobe Creative Resident. Under the digital guise of “Hungry Boy,” Aaron uses food as to reflect facets of contemporary culture in photography-based projects.
Mida teil vaja on
Add some pop
The practice file has two layers, the kernels layer and the popcorn layer above it. Create a layer mask on the Popcorn layer, and invert it using Control+I (Windows), or Command+I (macOS).


Sneak a peek
Bernstein selected the layer mask, chose the Brush tool, and set the color to white. Then, he painted over the mask to reveal the first piece of popcorn.


Reveal in stages
This step is where Bernstein spent much of his time. He duplicated the layer where the first popcorn kernel was revealed – Control+J (Windows), Command+J (macOS). Then, he painted with a white brush to reveal more popcorn. He repeated this step until he had a lot of layers and all of the popcorn from the layer below was visible.


Create the Timeline
Bernstein clicked Create Frame Animation from the Timeline (Window > Timeline).


Make animation frames
To create each state of animation, Bernstein chose Make Frames From Layers from the Timeline. He then toggled the visibility of the kernels layer off and on to make it visible on all of the frames of the animation.


Loop it
Bernstein worked in the Timeline to create the looping animation. First, he chose Select All Frames, then Copy Frames, and Paste Frames. Finally, he chose Reverse Frames so the popcorn would appear to pop and unpop. He clicked Play in the Timeline to preview the animation. Bernstein used the Save for Web feature to save the looping animated GIF.


Make moves
Give life to your images with short animations.


Note: Project files included with this tutorial are for practice purposes only.