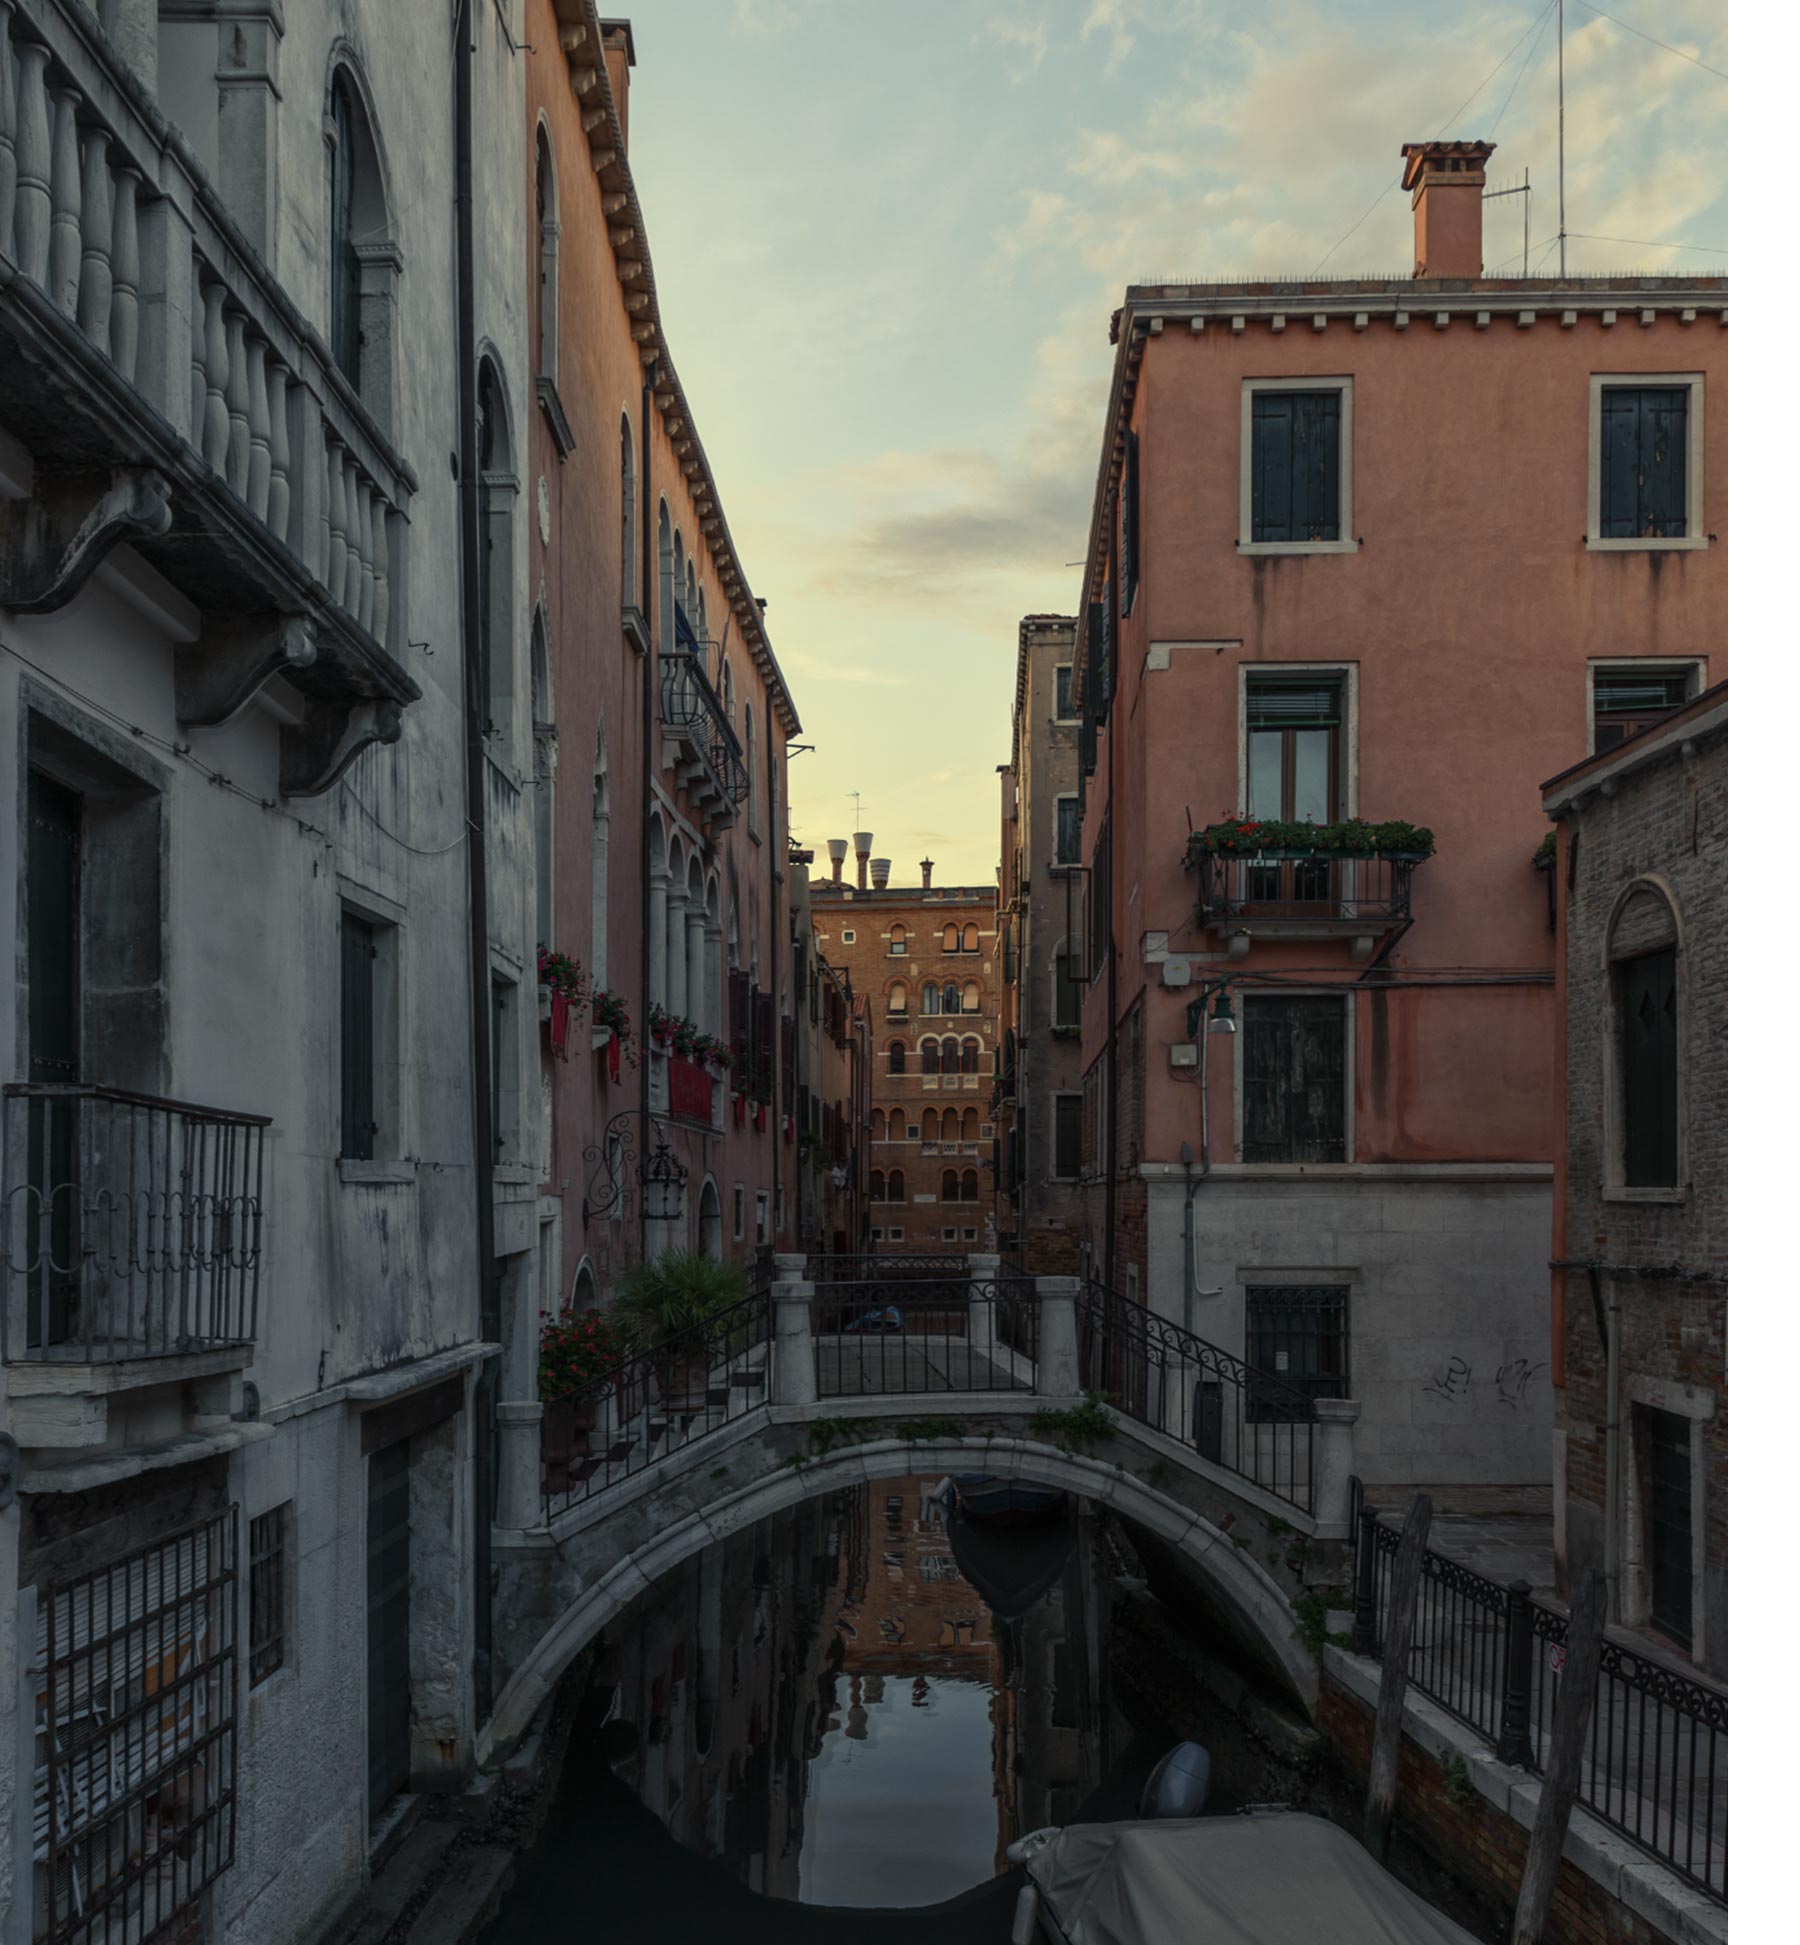
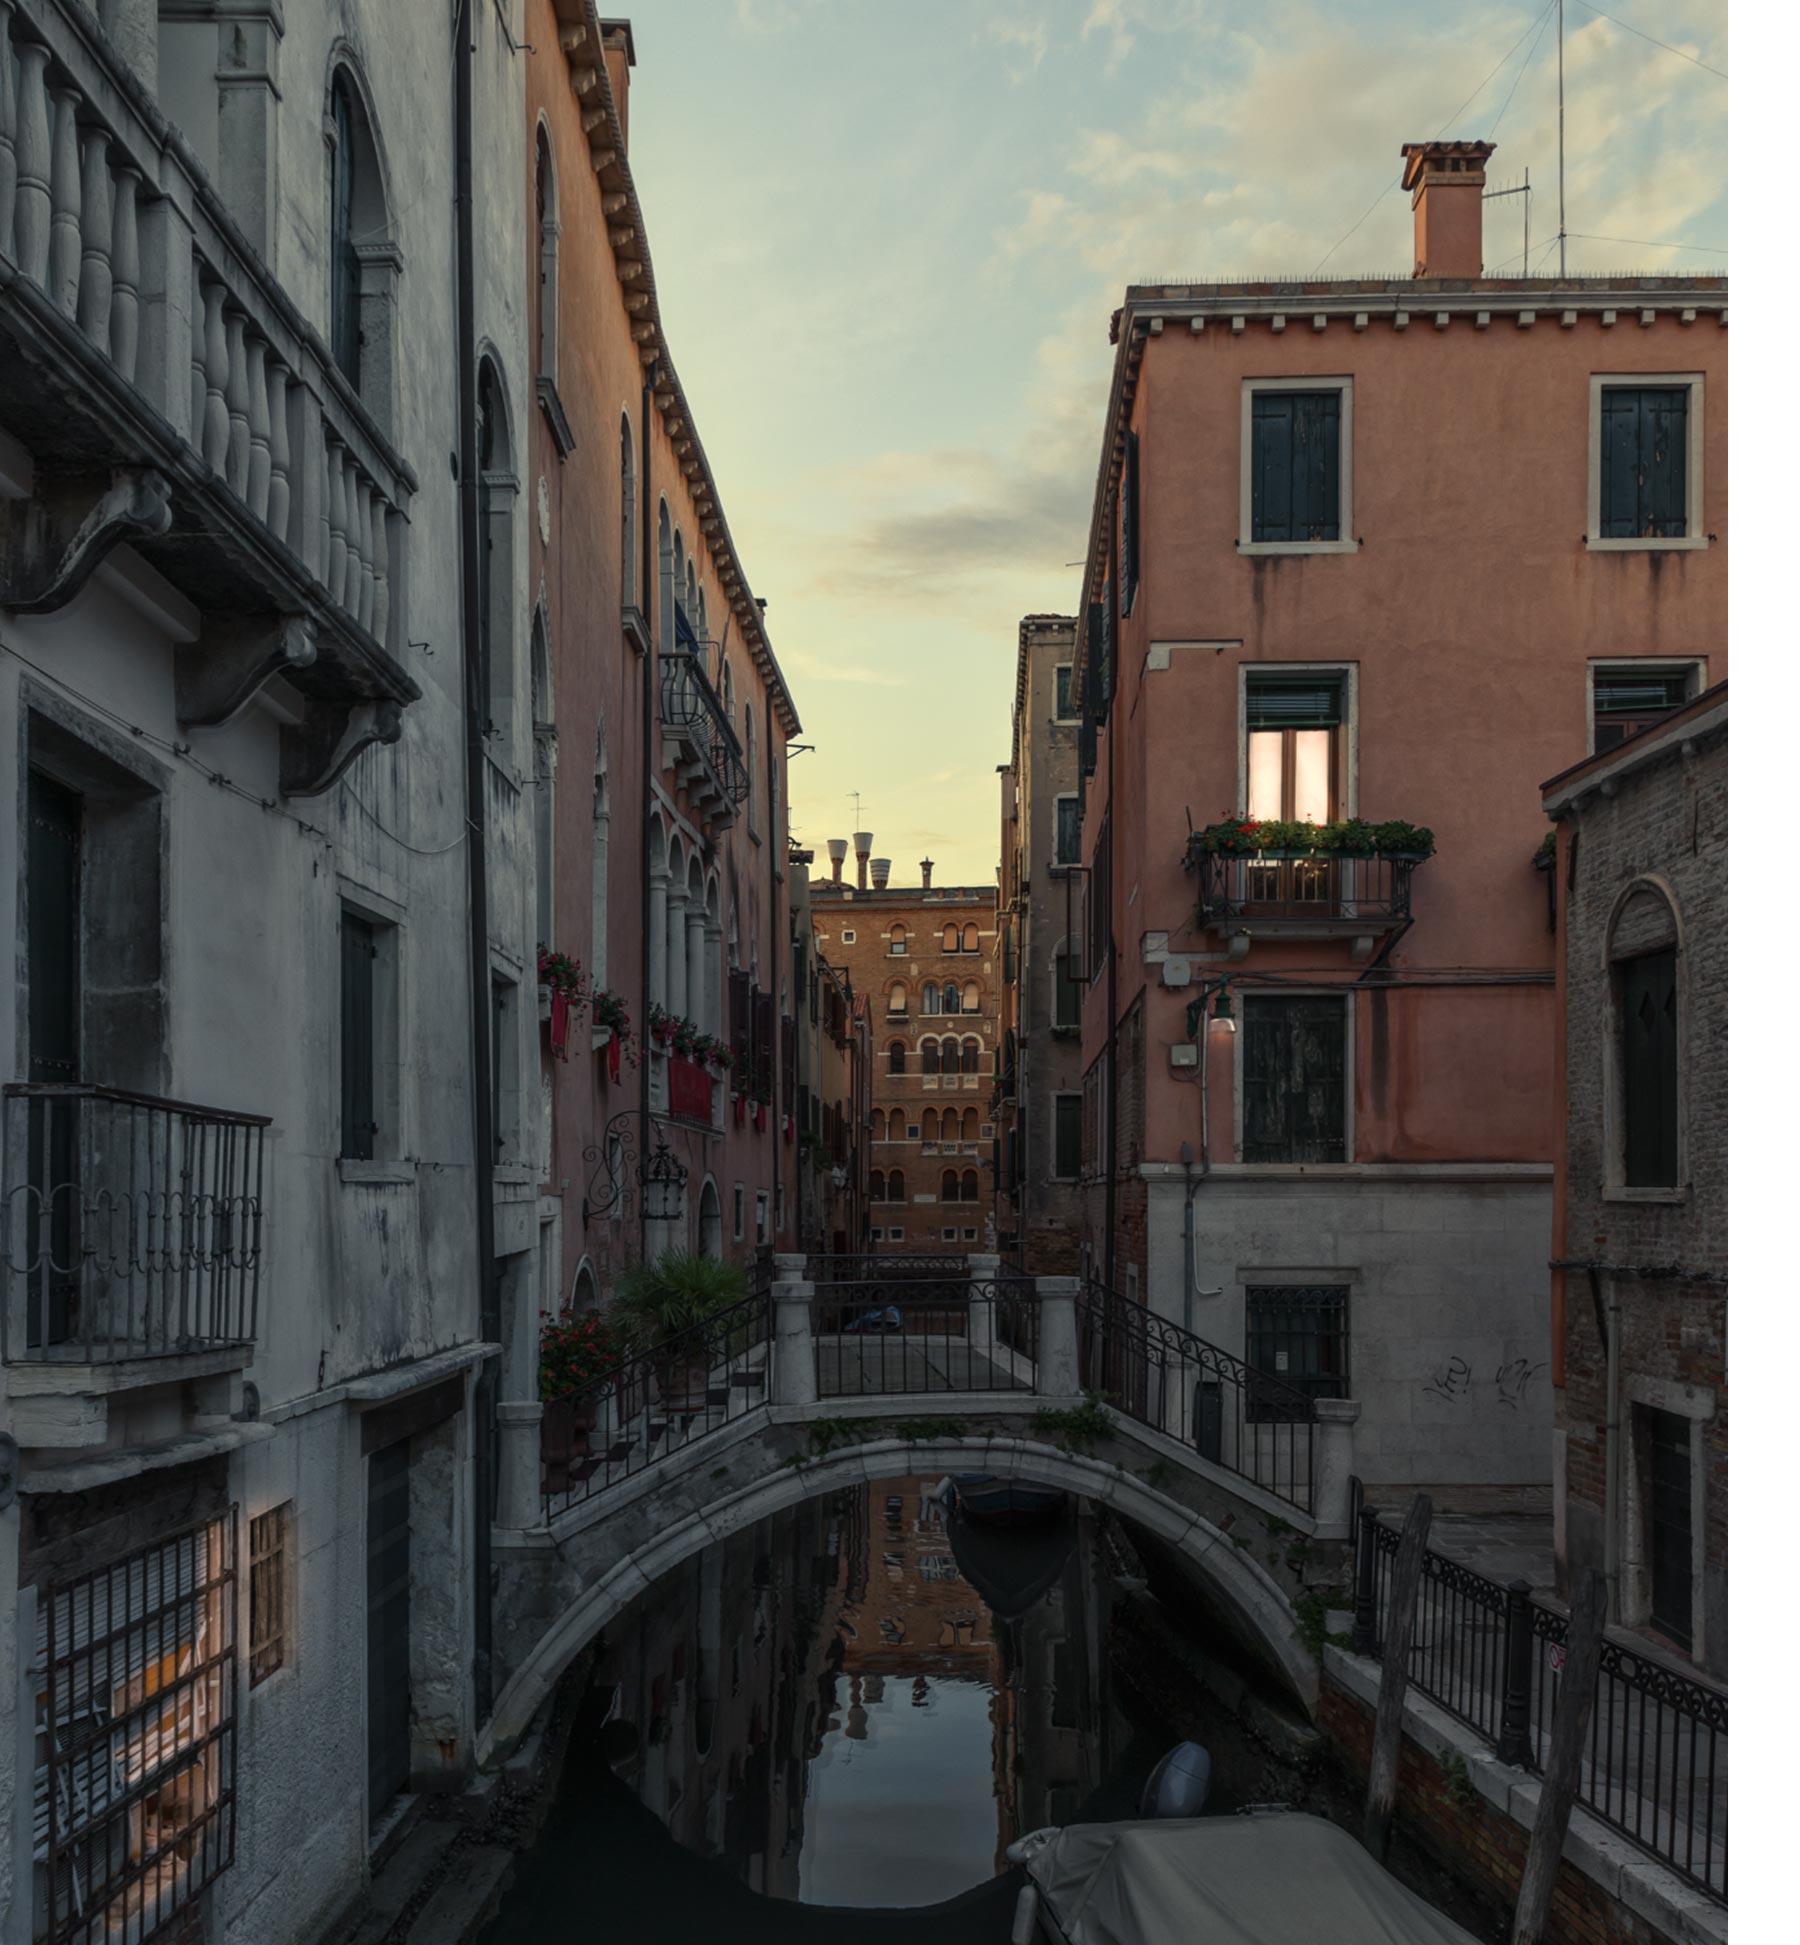
Create the effect of light in the windows of a building with Adobe Photoshop Lightroom.


What you'll need
This sample file is an Adobe Stock image you can use to practice what you learn in this tutorial. If you want to use the sample file beyond this tutorial, you can purchase a license on Adobe Stock. Check out the ReadMe file in the folder for the terms that apply to your use of this sample file.
Click the + icon and then add the sample photo, or use your own.
Start with a photo of a building at dusk with a cool evening light outside.


Choose the Brush tool to isolate the area you want to brighten. Set the brush size to fit the area you want to adjust, and then brush over the window. Use the O key on your keyboard to toggle the red overlay to see the areas you have brushed.


Increase the Temp and Tint to adjust the white balance. Then increase the Exposure to create the effect of a warm light coming from the window.


Brush over different parts of the photo to apply the same settings. Or, click the + icon in the Brush panel to apply new settings to different parts of the photo.


See the effect that some quick local adjustments can make to your photos.

Now you can add a bit of light to your architectural photos. For more detailed information on using the Brush tool, or other selective editing tools, check out the Make selective edits tutorial.
With Adobe Stock, you have access to more than 100 million high-quality, royalty-free images including photos, graphics, videos, and templates to jump-start your creative projects. Try Adobe Stock and get 10 free images.
