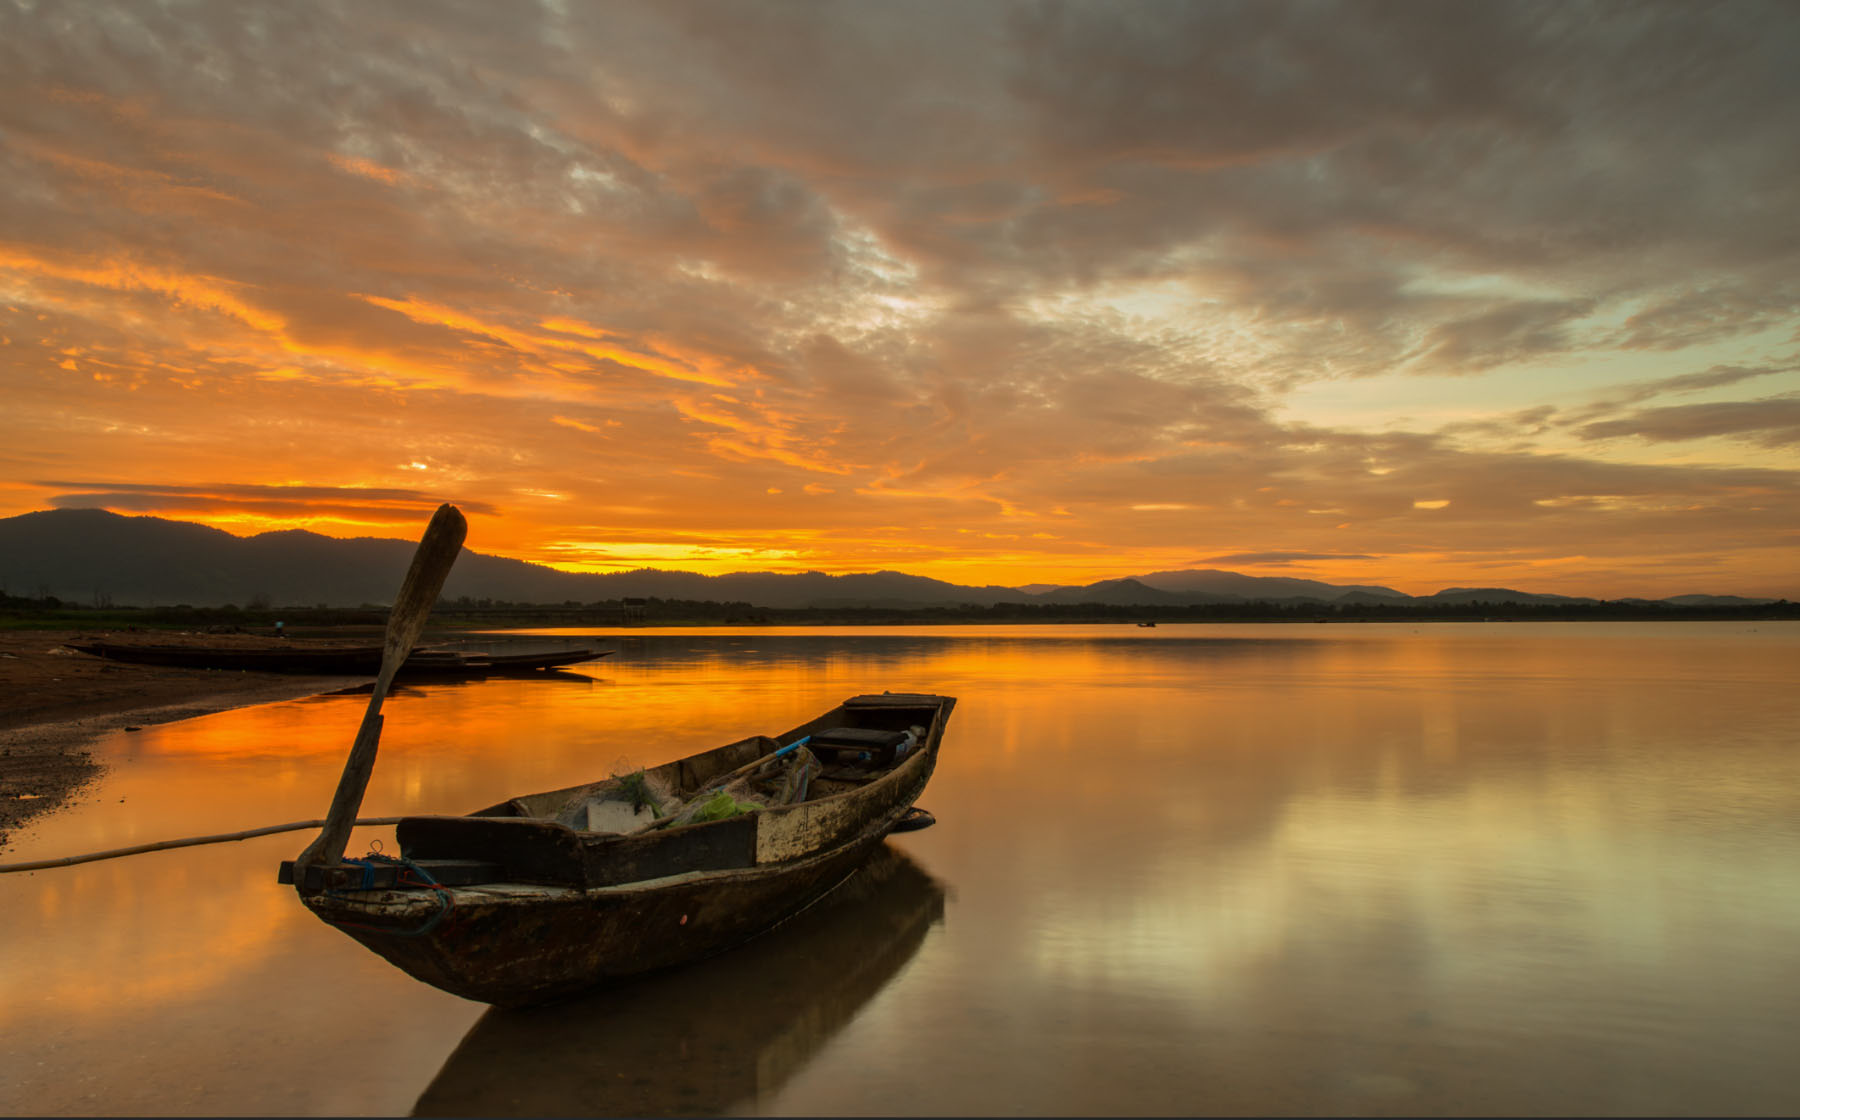
Experiment with light and color in your sunset photos using the white balance controls in Adobe Photoshop Lightroom.


What you'll need
This sample file is an Adobe Stock image you can use to practice what you learn in this tutorial. If you want to use the sample file beyond this tutorial, you can purchase a license on Adobe Stock. Check out the ReadMe file in the folder for the terms that apply to your use of this sample file.
Click the + icon and then add the sample photo, or use your own.


Set the White Balance to Auto in the Color panel and notice the immediate effect on the colors.


Adjust the Temp, Tint, and Saturation sliders to further alter the color in your sunset scene. It’s easy to oversaturate your colors, so be careful with the last slider.


These are the adjustments we liked best for our boat with sunset.


See the impact that applying a creative effect can have on your sunset photos.

Now you can explore your inner Monet and create variations of your own sunset scenes.
With Adobe Stock, you have access to more than 100 million high-quality, royalty-free images including photos, graphics, videos, and templates to jump-start your creative projects. Try Adobe Stock and get 10 free images.
