Typekit is now Adobe Fonts.
Begin with a new document. (Or see Create your first project to get started.)
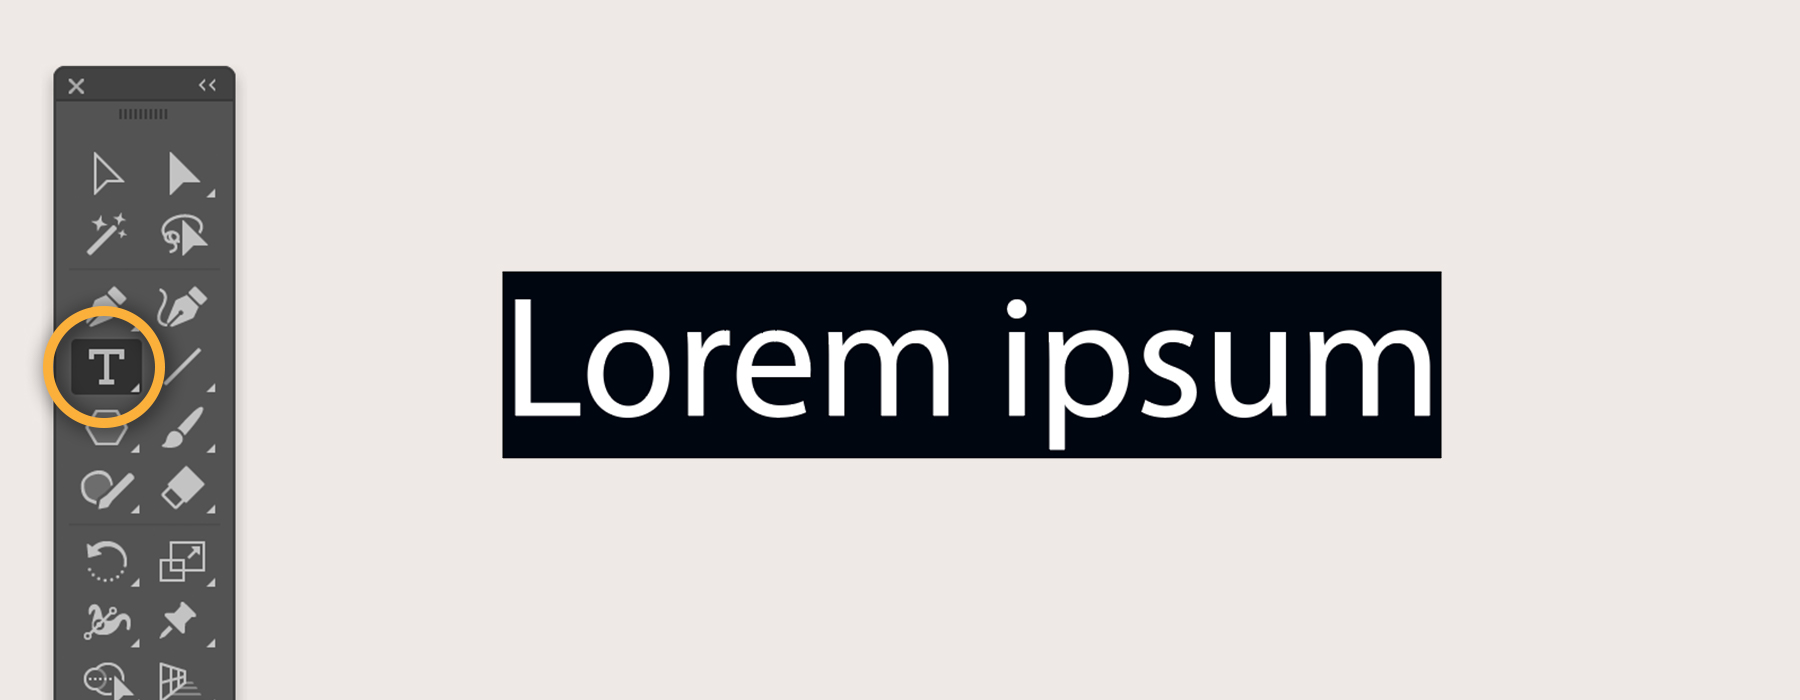
Select the Type tool and click the artboard. This adds some placeholder text in Latin. Type your own text to replace it.
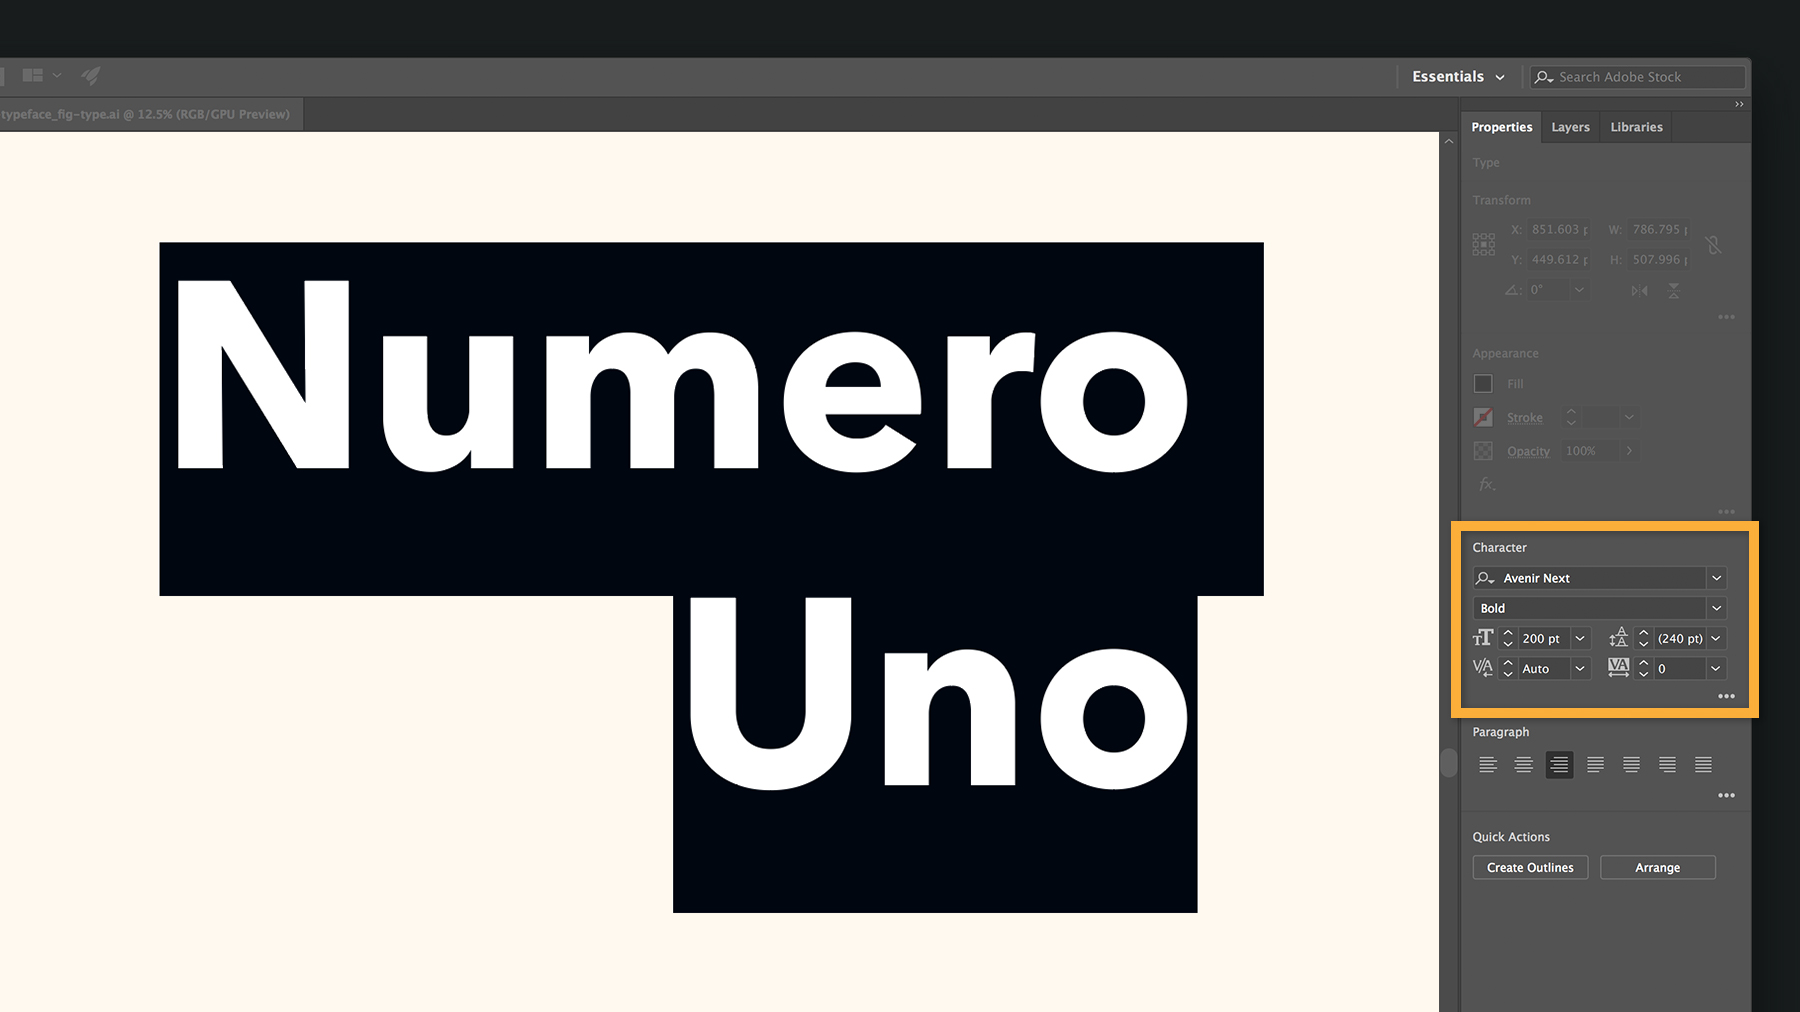
Now that you have a headline on the artboard, you can change the way it looks in just a couple of clicks. Triple-click the text or drag across it to select the entire line. You can also place your cursor in the text and press Control+A (Windows) or Command+A (macOS) to select it. Use the Properties panel on the right to change the font, style, and size.
Try adding a new font from the vast Adobe Typekit library included with your Adobe Creative Cloud membership. With your text selected, click the Font Family drop-down menu in the Properties panel under Character, and click Add Fonts from Typekit.
Browse the huge variety of fonts, or filter your choices. For example, choose a Classification type, like Serif or Sans Serif. Or simply search for a font at the top.
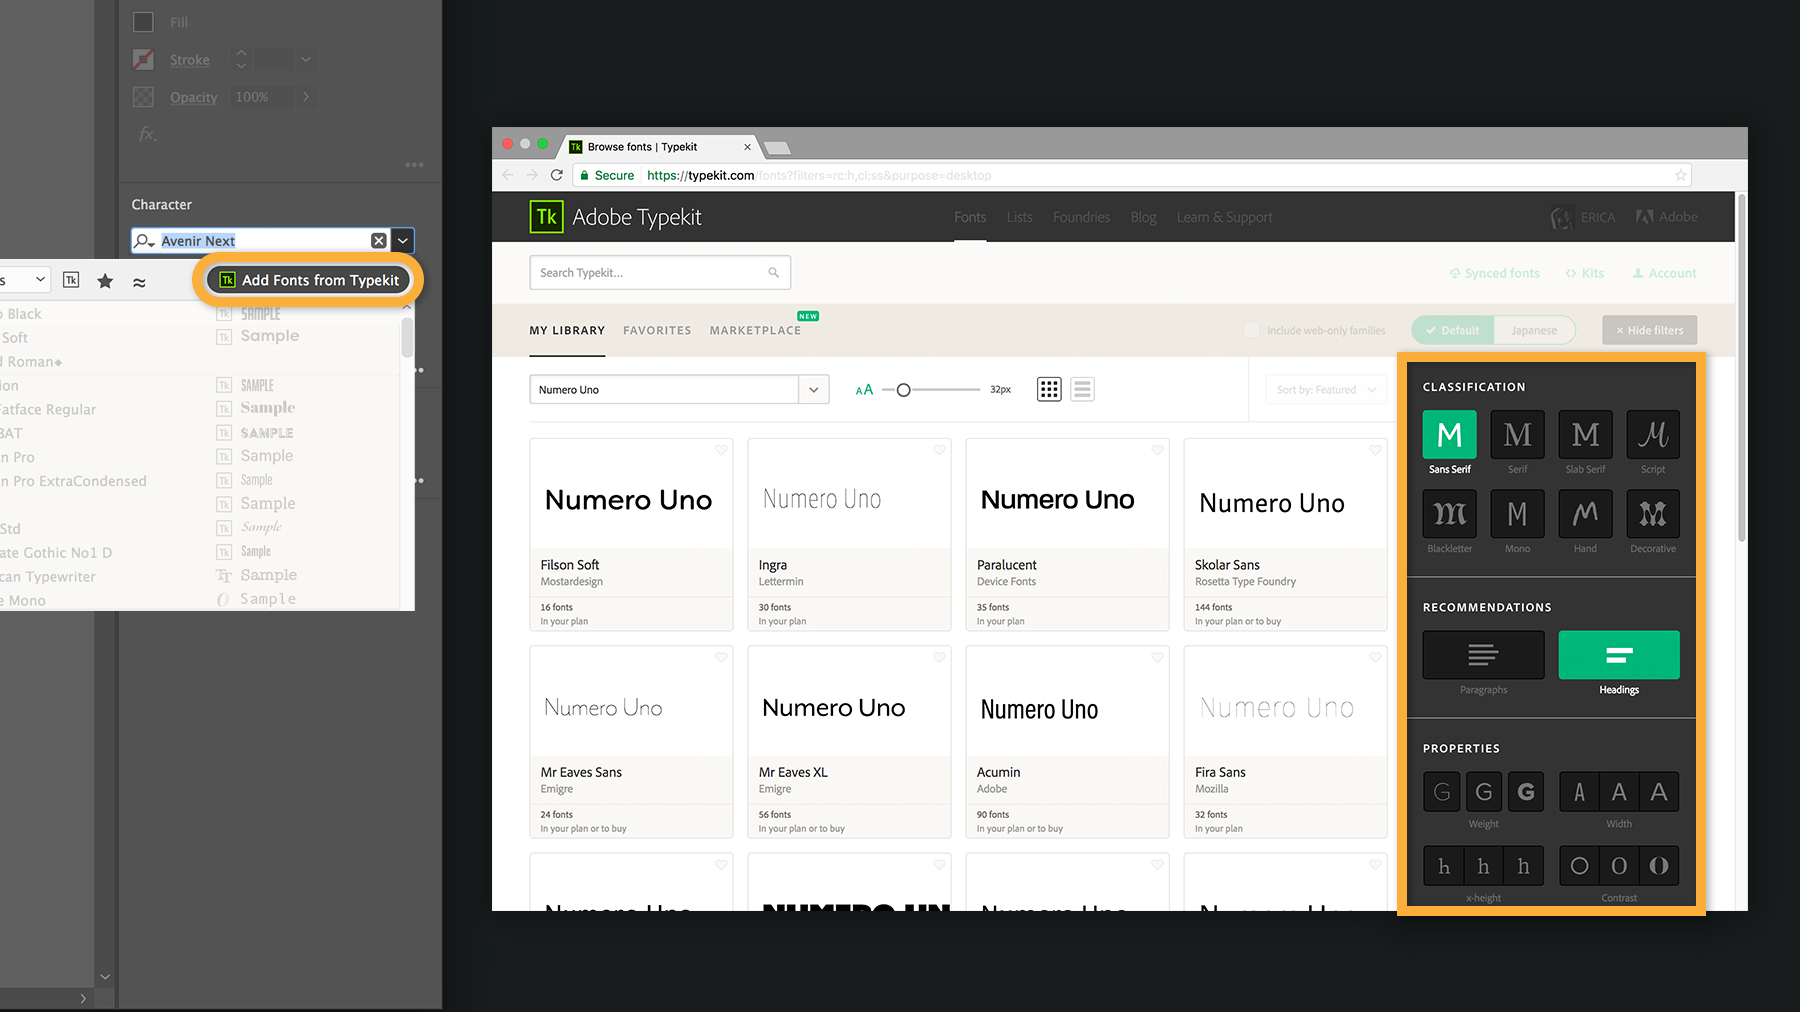
When you see a font style you like, click Sync to add it to your computer.
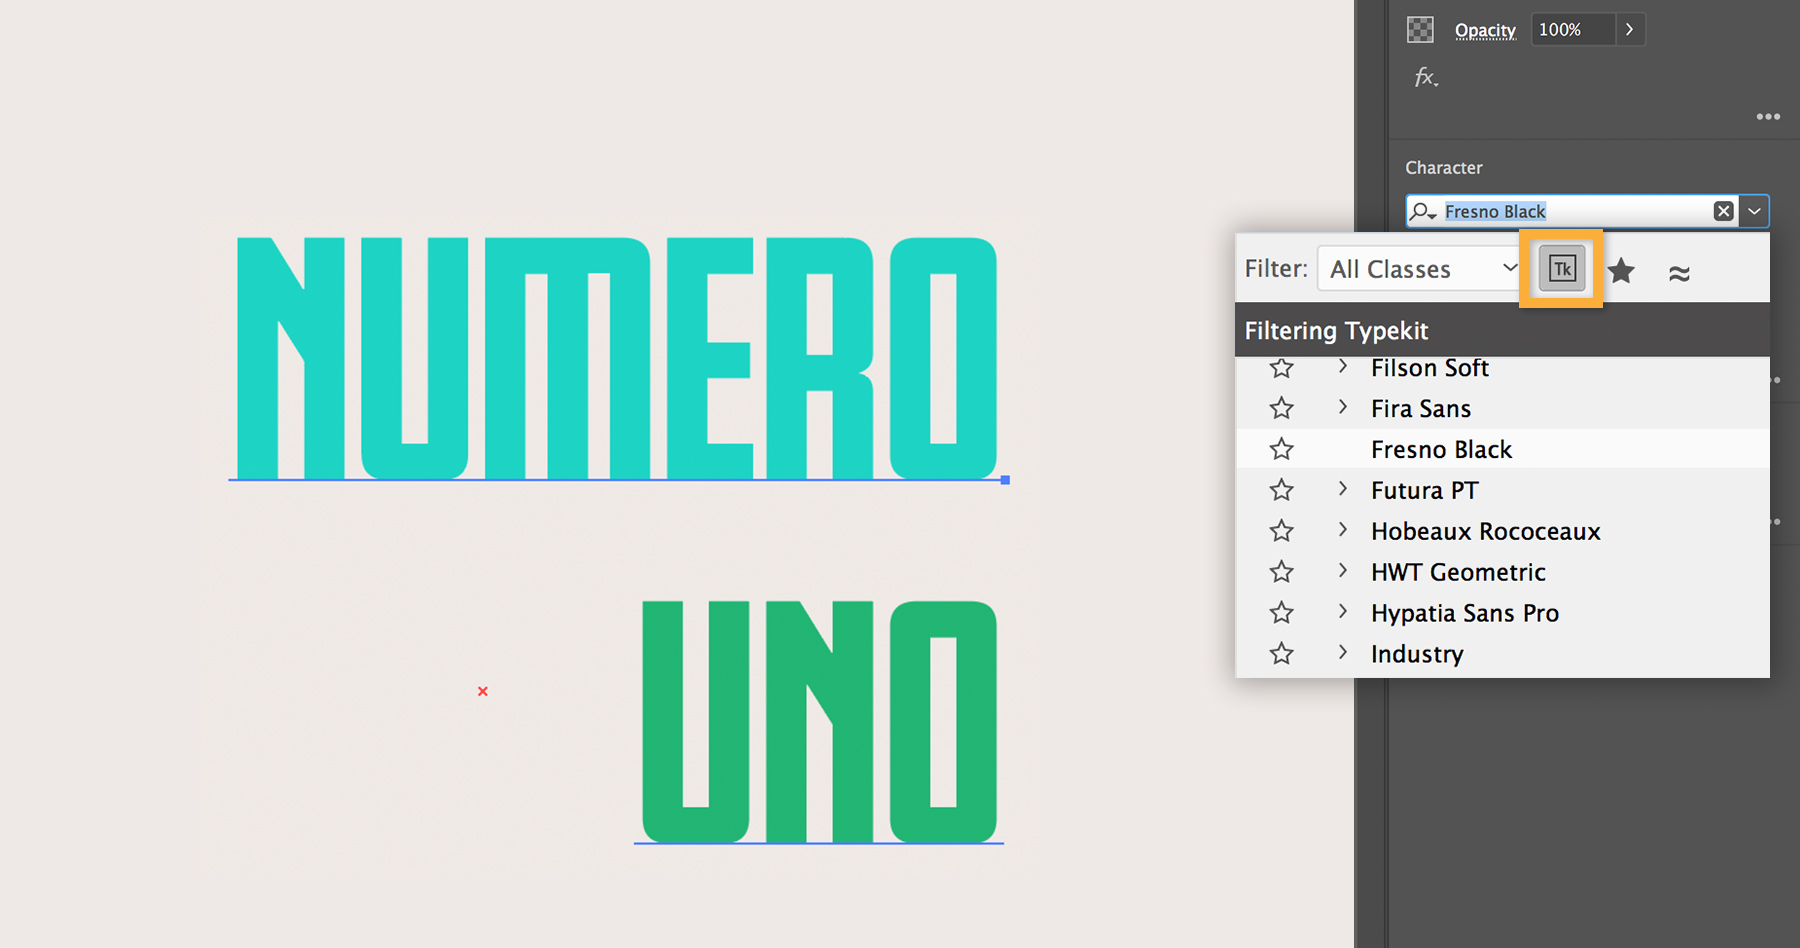
In Illustrator, select your new Typekit font from the Font menu. If you have a lot of fonts on your computer, click the Typekit Font Filter button to find your new font fast.
Read Find the perfect typeface to get inspired by the top-notch fonts available from Typekit.
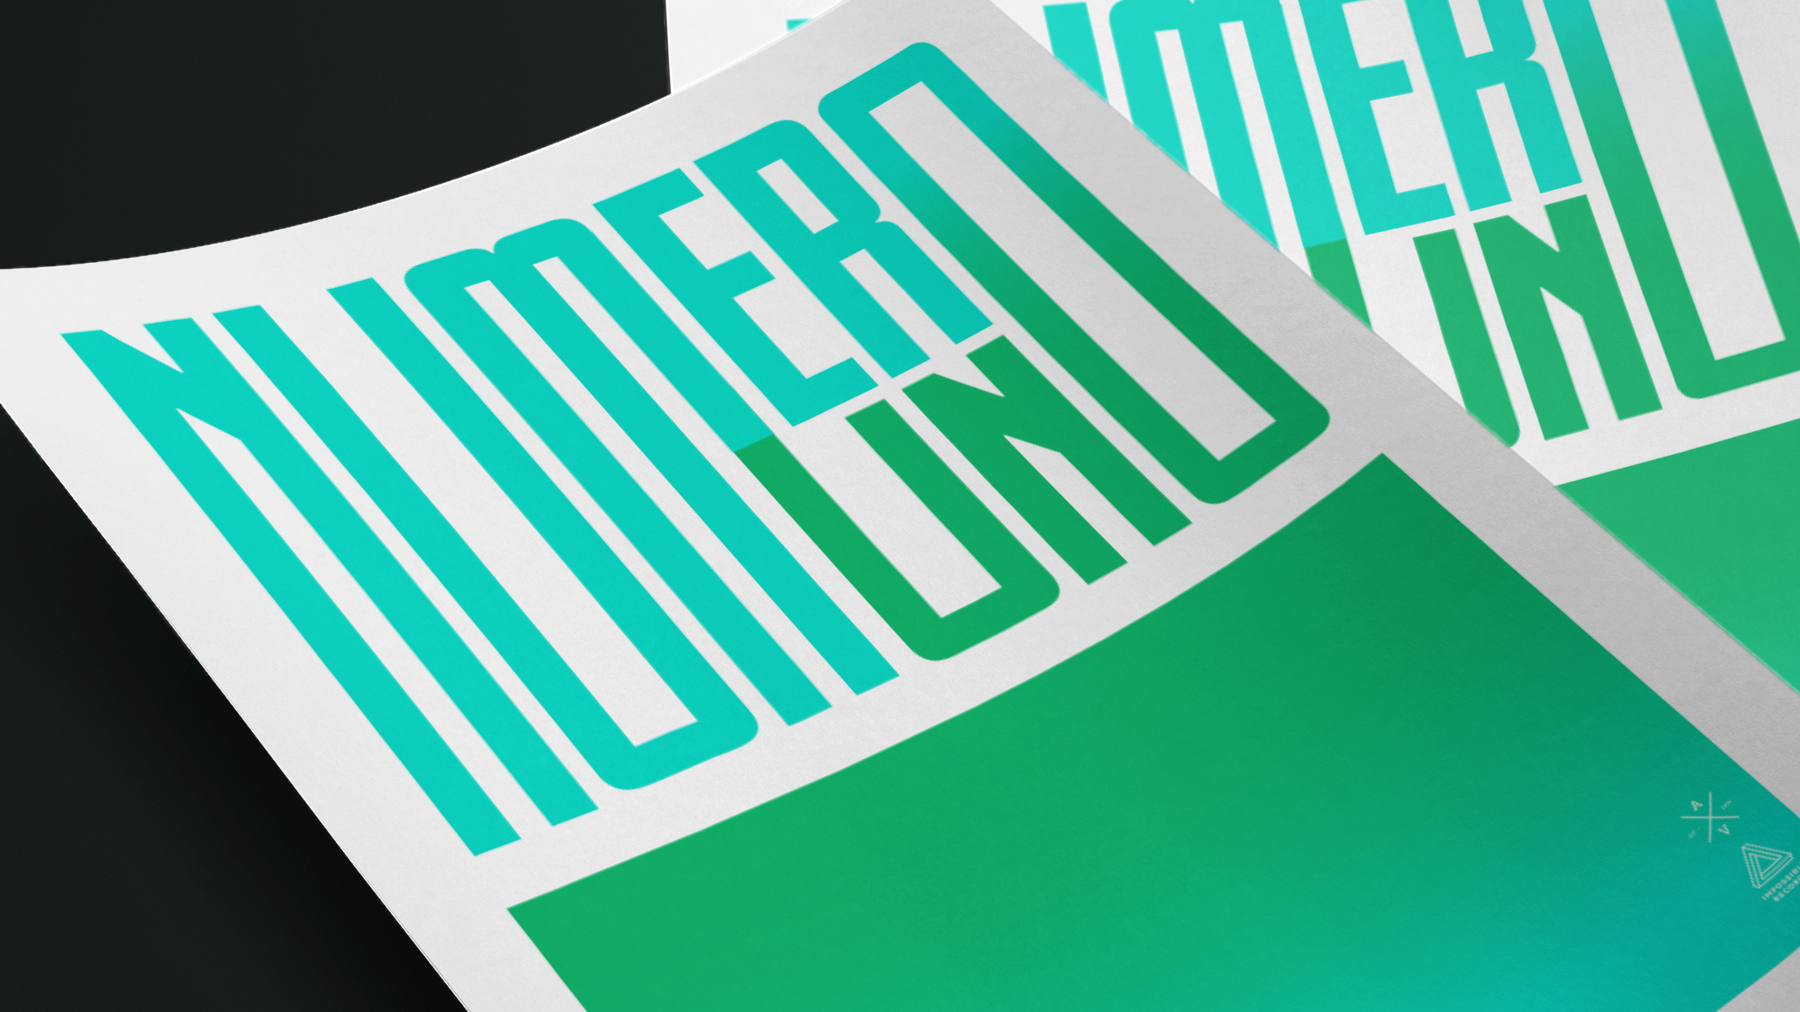
Press ESC to select the text object, and then right-click and choose Create Outlines. Now you have a
vector graphic that can be endlessly manipulated — just be aware that you can’t edit it as text anymore.
Select any part of the letterforms. To make a freehand selection, select the Lasso tool and draw an enclosure around parts of the letterforms you want to modify.

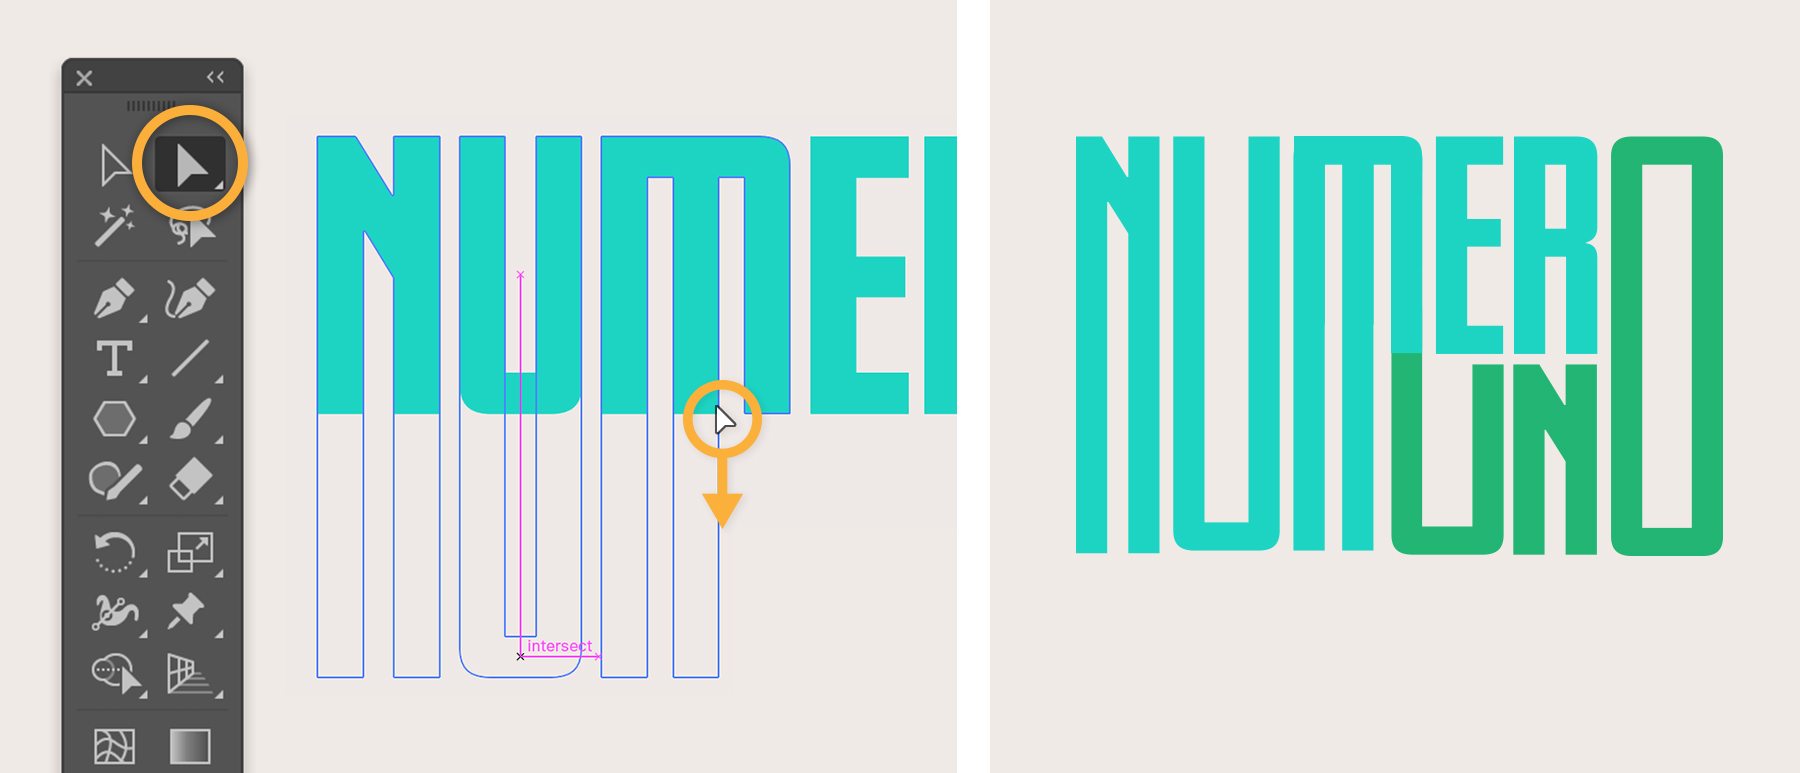
With the selection active, use the Direct Selection tool to drag an anchor point in any direction. Press Shift while dragging to maintain horizontal and vertical alignment.
Select any letter by clicking on it, but make sure you don’t click an anchor point. Now you can move the letter or press Delete to remove it entirely.
Tip: Tackle straight edges first and avoid editing curved parts for now — they need more finessing.
If you love what you’ve created, save your project and share it with your friends. It’s good practice to save your work often. You can do so in a couple of ways.
Choose File > Save. Give it a unique name and save it in the Adobe Illustrator (AI) format. You can edit this file in Illustrator anytime.
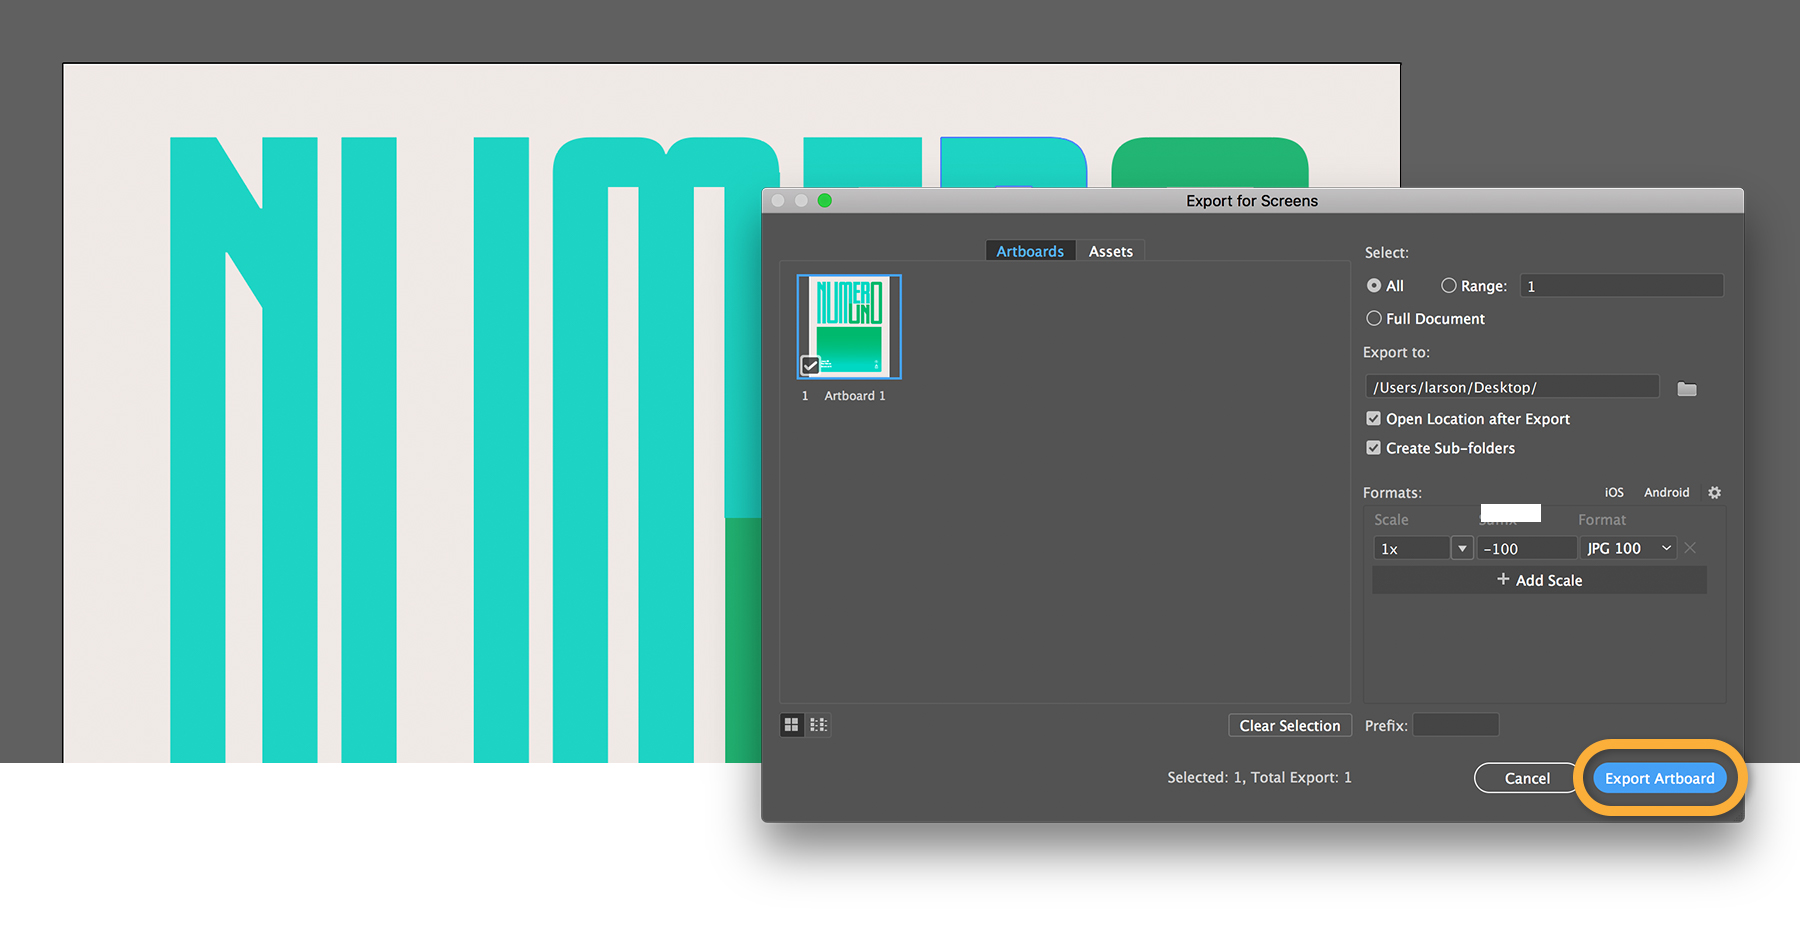
To save a final version that’s ready to post online, choose File > Export > Export for Screens. Choose a location and a format like PNG or JPEG, and click Export Artboard.
