Before you begin
We're rolling out a new, more intuitive product experience. If the screen shown here doesn’t match your product interface, select help for your current experience.
Before you begin
We're rolling out a new, more intuitive product experience. If the screen shown here doesn’t match your product interface, select help for your current experience.


Quickly pinpoint changes by comparing two versions of a PDF file. Acrobat analyzes the files and presents a report detailing differences between the documents.
With the all-new Compare Files tool, you can now quickly and accurately detect differences between two versions of a PDF file.
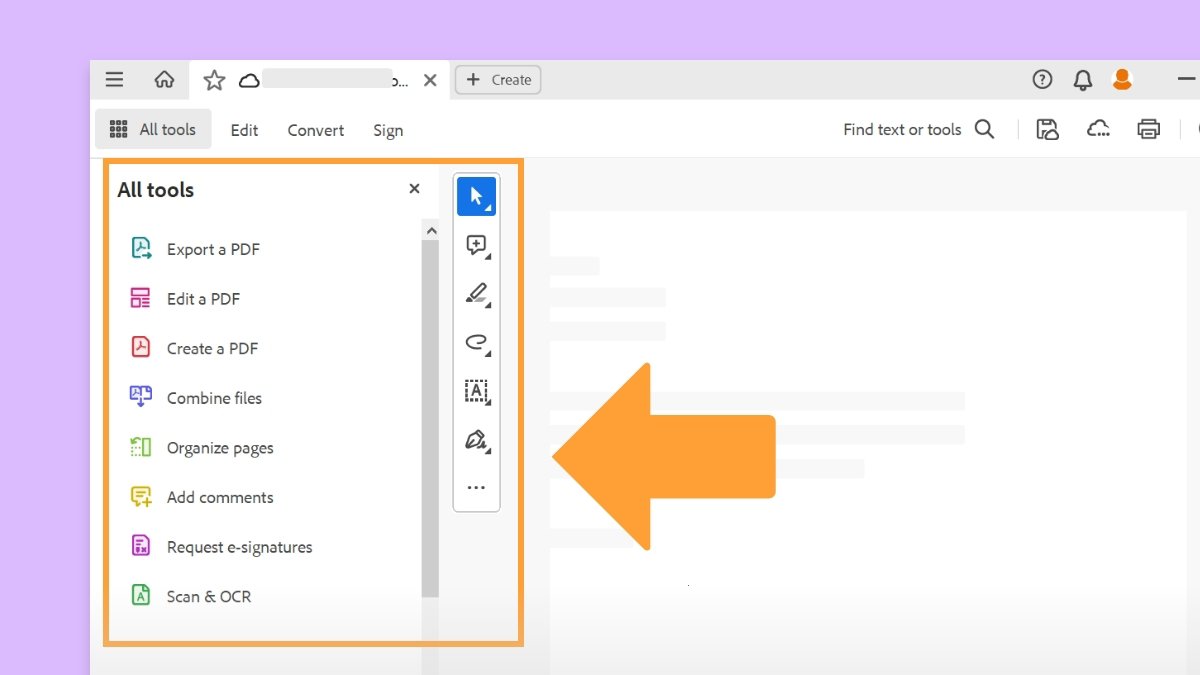
Open the versions of the file you want to compare in Acrobat. From the All tools pane select Compare files. The Compare files window opens in Acrobat.


To select another version for the old file or new file, select Change File and then select the desired version.
To swap the position of the old and new files, select the swap arrows icon between the thumbnails.
To ignore differences between the graphic elements, select the Compare text only check box.
Select Compare. Acrobat displays the comparison results in a new document.
To modify the compare settings, select Settings![]() and then select the desired options:
and then select the desired options:
Tip: If your document content can reflow across pages, select reports, spreadsheets, and magazine layouts; otherwise, select presentation Decks. To compare scanned files, select scanned documents, drawings, or illustrations.
With either the reports or presentation options selected, the Compare Text Only option identifies only the text differences between the two documents.
With Scanned Documents selected, the text is compared separately from the graphics, and then the results are combined. In documents containing magazine advertisements with text on top of background image art, a reflowed passage is compared in text-only mode. The artwork is compared separately in the background. The differences related to text, line art, and images are all combined into a single results document.
Note: The text option can be used with any document type. It’s designed for comparing text in large documents (250 pages or more). It also compares text between documents that have background artwork on each page, which slows processing.


Acrobat displays the results of the comparison in a new document. The first page provides an easy-to-scan summary of all file differences.


To start reviewing each difference in detail, select Go to First Change.
Select one of the following ways to review the changes:


To review all the changes, use the Filter and Show options.
By default, annotations, formatting, and background differences are turned off. To see these changes in the report, select these options from the Filter menu in the toolbar. You can also filter comparison results by selecting specific types of changes in the Filter menu. From the Show menu, you can select an option to show or hide legends, row highlights, or results.


To save the Compare Results file, select the hamburger menu ![]() (Windows) or the File menu (macOS) > Save.
(Windows) or the File menu (macOS) > Save.
Once done, you may close the Compare files tool.