Features summary | Photoshop CC | 2016 releases

December 2016 and November 2016 releases

The December 2016 and November 2016 releases of Photoshop rolled out exciting features for designers and digital photographers. Read on for a quick introduction to these features and links to resources offering more information.

For a summary of features introduced in earlier releases of Photoshop CC, see Feature summary | Photoshop CC | 2015 releases .

Note:

If you're upgrading from an earlier version of Photoshop CC, see these considerations and tips.

Use the Touch Bar with Photoshop

 New in Photoshop CC (December 2016)

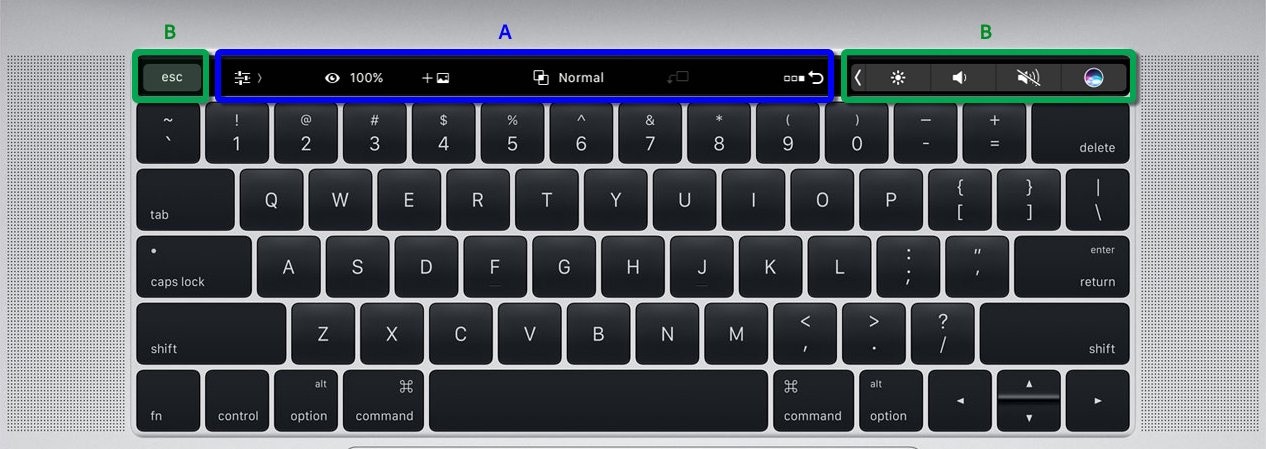
Photoshop now supports Touch Bar, the multitouch display at the top of the new MacBook Pro keyboard. Touch Bar support in Photoshop is currently a technology preview feature.

Default Touch Bar interface

A. Photoshop controls B. macOS system controls (Control Strip and Esc) 

You can use the Touch Bar with Photoshop in one of the three available modes:

Layer Properties

() Default mode; lets you work with Layer properties and related functions

Brushes

() Lets you work with Brush and paint properties

Favorites

() Customizable mode to which you can add your favorite controls
Additionally, several context-specific operations become available depending on what you're working on in Photoshop.

  • When a modal tool, such as Text or Transform is active, the Touch Bar displays OK and Cancel.
  • When the Select & Mask taskspace is active, the Touch Bar displays controls related to making selections.

For details, see Use the Touch Bar with Photoshop.

Jump-start your creative projects

 New in Photoshop CC (November 2016)

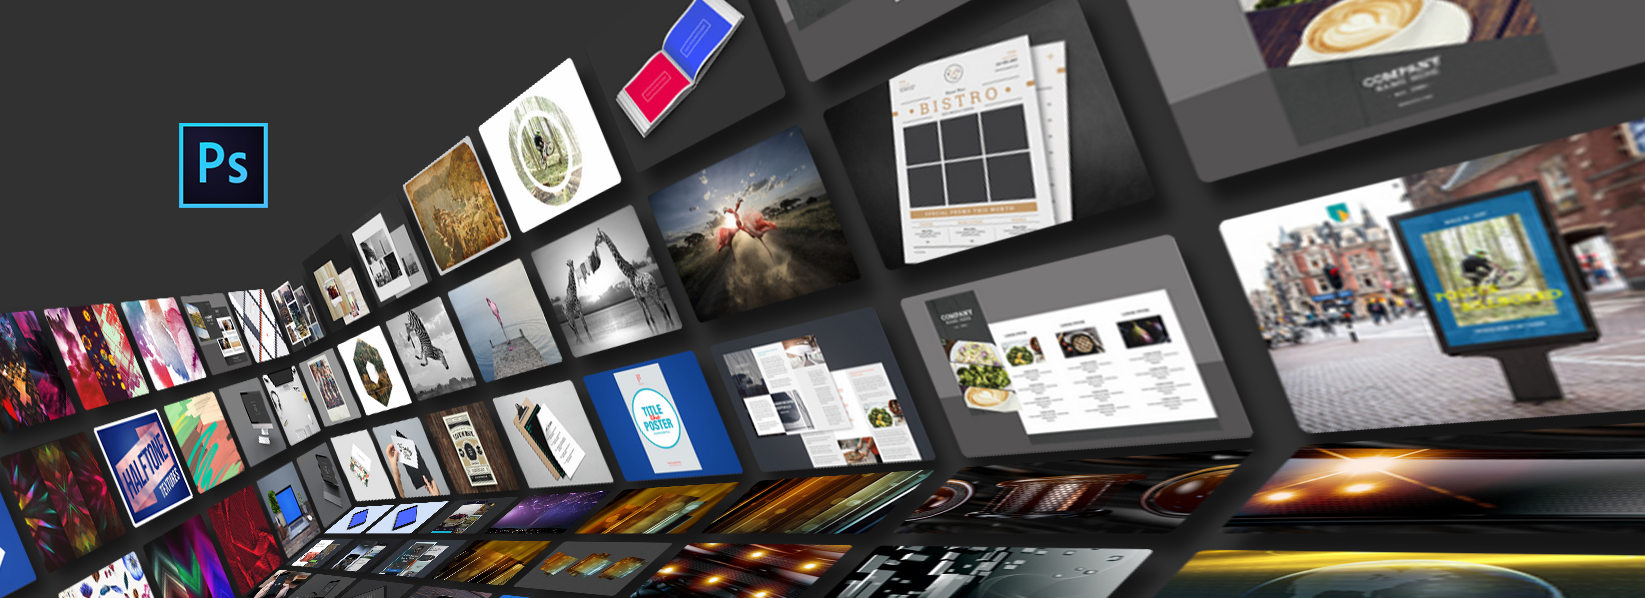
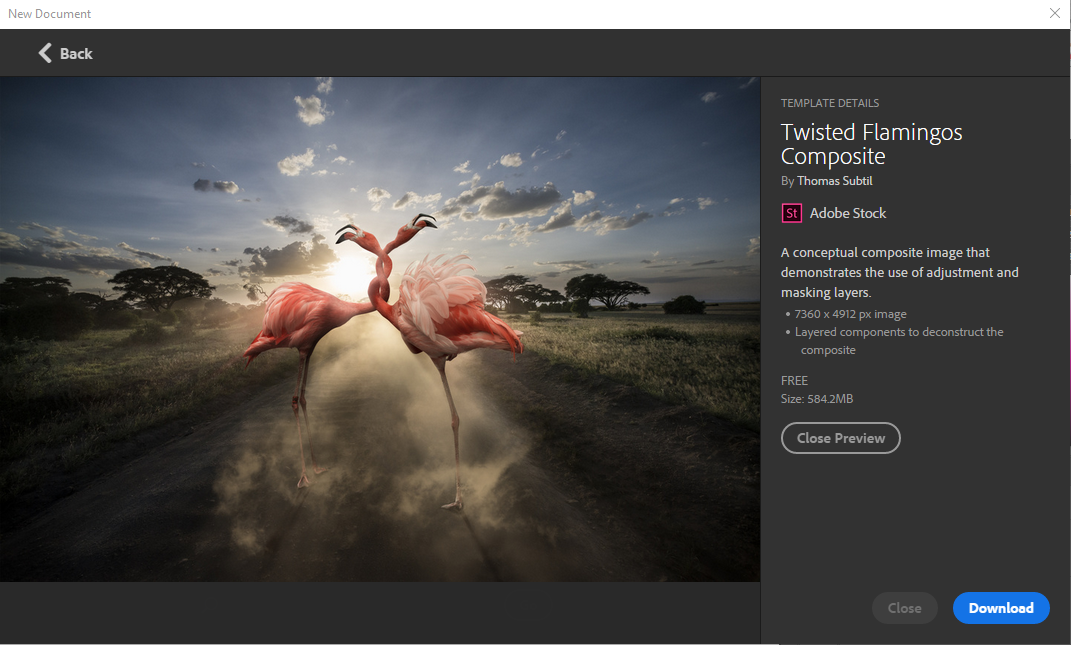
Now, when you create a document in Photoshop, instead of beginning with a blank canvas, you can choose from a wide variety of templates from Adobe Stock. Templates include assets and illustrations that you can build on to complete your project. When you open a template in Photoshop, you can work with it just as you would work with any other Photoshop document (.psd).

In addition to templates, you can also create a document by selecting one of the numerous presets available in Photoshop or create your custom sizes. You can also save your own presets for reuse.

For more information, see Create documents.

Choose from a variety of rich templates

Comprehensive search

 New in Photoshop CC (November 2016)

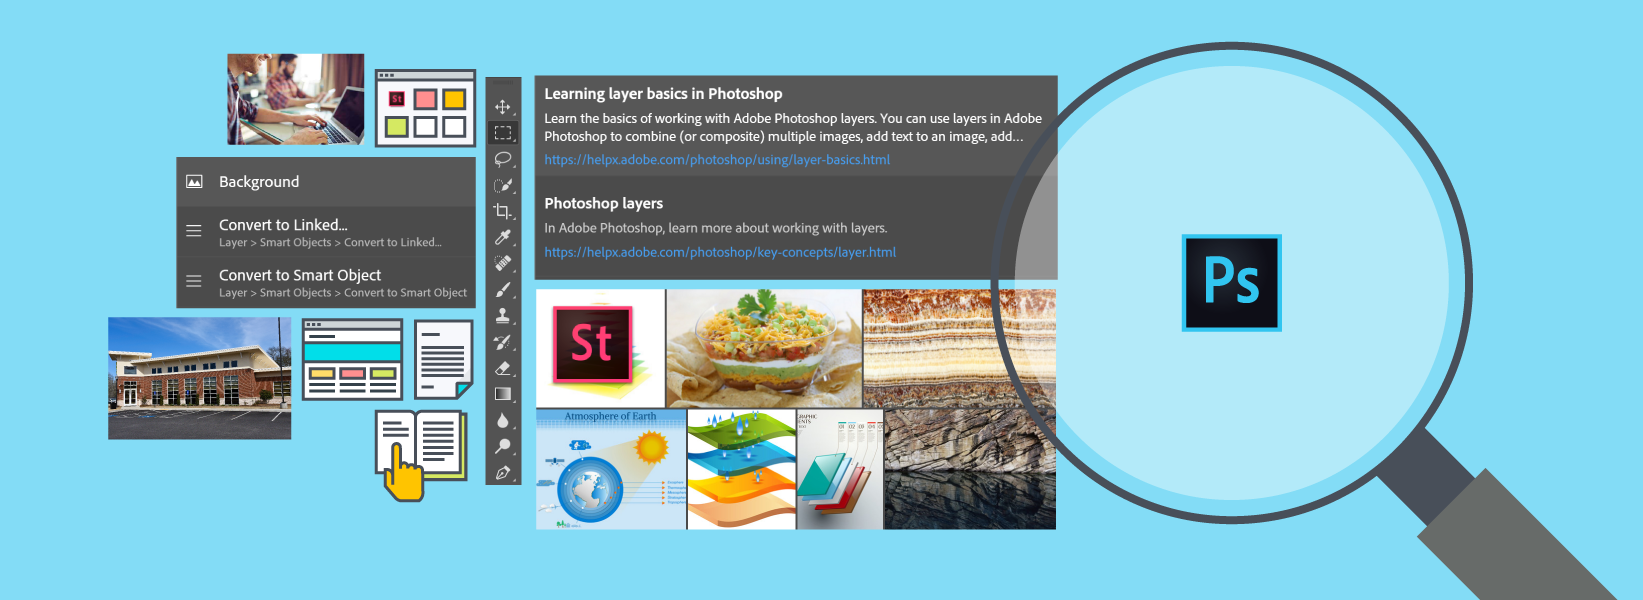
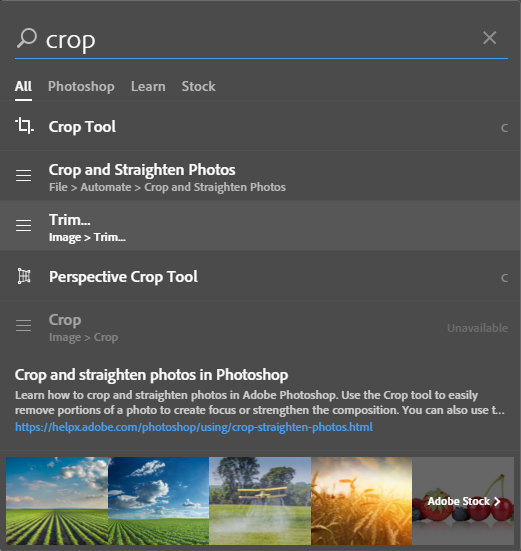
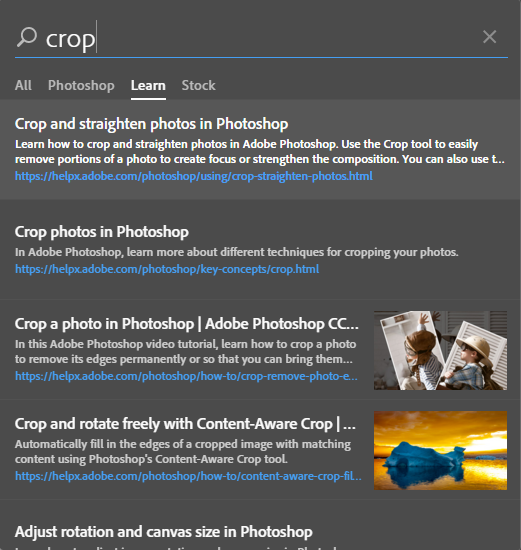
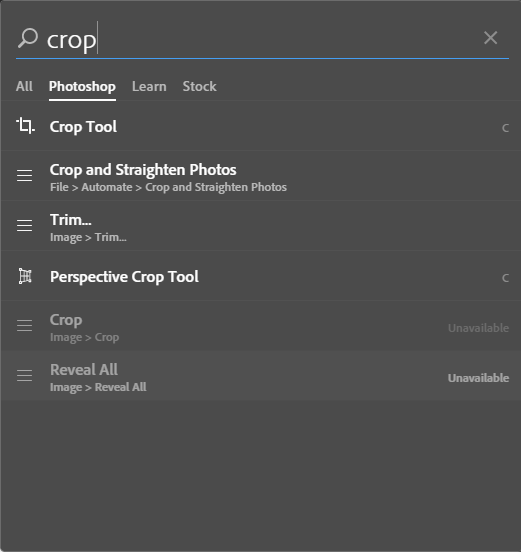
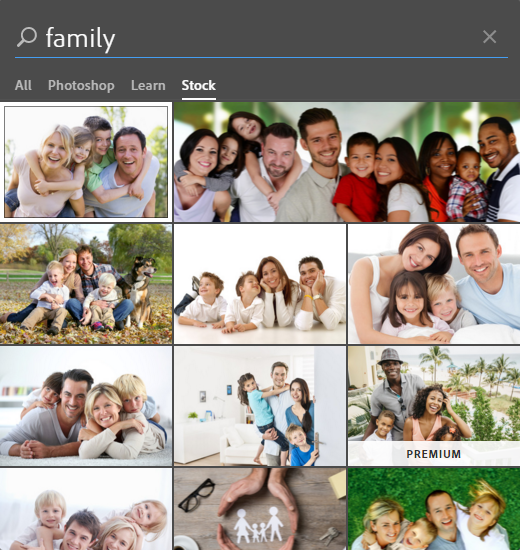
Photoshop now features powerful search functionality that lets you search across UI elements, documents, Help & learning content, inspiring Stock assets, and much more—all from within a unified dialog. You can search for items right after launching Photoshop or when one or more documents are open.

To begin searching, do any of the following in Photoshop:

  • Select Edit > Search.
  • Use the Cmd/Ctrl+F keyboard shortcut.
  • Click the Search icon () in the right extremity of the Options bar, to the left of the Workspace Switcher icon.
All tab

Learn tab

Photoshop tab

Stock tab

OpenType SVG fonts

 New in Photoshop CC (November 2016)

Photoshop supports OpenType SVG fonts and ships with the Trajan Color Concept and the EmojiOne font. OpenType SVG fonts provide multiple colors and gradients in a single glyph.

OpenType SVG fonts: Multiple colors and gradients

To use OpenType SVG fonts follow these steps:

  1. Create either a paragraph or point-text type layer.

  2. Set the font to an OpenType SVG font. These fonts are marked within the font list.

  3. Type using the keyboard or select specific glyphs using the Glyphs Panel. To view the Glyphs Panel, select Window > Glyphs.

Emoji fonts are an example of OpenType SVG fonts. Using Emoji fonts, you can include various colorful and graphical characters, such as smileys, flags, street signs, animals, people, food, and landmarks in your documents. OpenType SVG emoji fonts, such as the EmojiOne font, let you create certain composite glyphs from one or more other glyphs. For example, you can create the flags of countries or change the skin color of certain default glyphs depicting people, usually colored , or . Some composite glyphs also disintegrate into their constituent characters when you press the Backspace key.

Combine glyphs to form the flags of countries

Combine single-person default characters with skin colors

For more information, see Work with SVG fonts.

Select And Mask workspace

 Enhanced in Photoshop CC (November 2016)
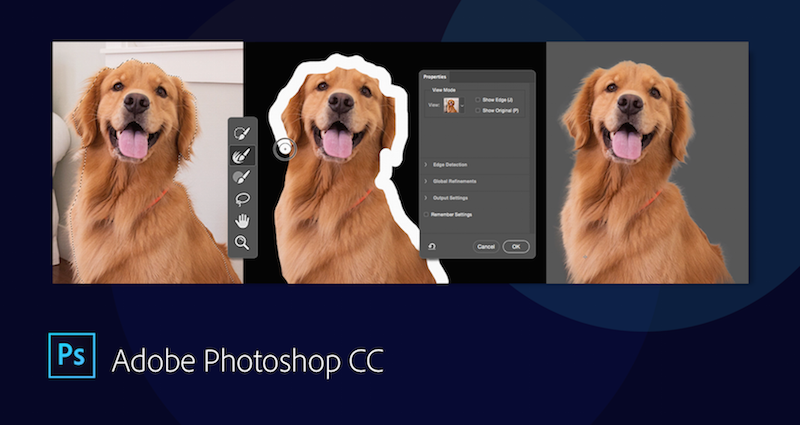
Select And Mask now features the following enhancements:

  • The Polygonal Lasso tool is now available in the workspace. This tool works just like the corresponding tool in classic Photoshop.
Polygonal Lasso tool in the Select And Mask workspace

  • High-quality refined previews on mouse down. Optionally, if necessary, you can switch to low-resolution previews for better interactivity.
  • Several experience improvements designed for closer alignment with the old, familiar Refine Edge workflow

For more information, see Select And Mask workspace.

Face-Aware Liquify

 Enhanced in Photoshop CC (November 2016)

You can now apply Face-Aware Liquify settings to the eyes independently or symmetrically.

Click the link icon () to lock the settings for the left and right eyes together. This option helps apply symmetrical effects to the eyes.

For more information, see Face-Aware Liquify.

Creative Cloud Libraries

 Enhanced in Photoshop CC (November 2016)
  • Archive and restore library elements.
  • Find stock assets similar to a library element using visual search. See Find stock images visually similar to a library element.
  • Drag and drop Adobe Stock search results into Creative Cloud libraries.
  • While sharing libraries and library assets, choose to let other users follow them. Whenever you update the library or the library asset, followers automatically get the updates across all supported Creative Cloud apps. For more information, see Share files, libraries, and more.

Properties panel improvements

 Enhanced in Photoshop CC (November 2016)

  • The Properties panel is now part of the Essentials workspace.
  • Additional properties are now displayed in the Properties panel for type layers. You can modify some text settings directly from from the Properties panel.
  • The Properties panel now displays the document properties when no layers or other elements are selected.
  • The Properties panel now displays bitmap/pixel layer properties.

Camera Raw | New features

 Enhanced in Photoshop CC (November 2016)

Camera Raw New features

For a summary of the latest features in Camera Raw, see Adobe Camera Raw | New features summary.

Work with Adobe Experience Design CC (Preview)

 New in Photoshop CC (November 2016)

You can now bring your Photoshop CC assets directly into Adobe Experience Design CC (Preview), the new all-in-one tool for designing and prototyping user experiences for websites and mobile apps.

Do one of the following:

  • Right-click a layer in Photoshop and select Copy SVG from the context-menu. Now, paste the SVG asset into your Adobe XD document.
  • From the canvas in Photoshop, drag and drop an SVG asset into Adobe XD

Some design elements may not be supported when you copy a layer into Adobe XD.

What's changed

  • Design Space (Preview) is no longer available in this version of Photoshop.
  • In earlier releases of Photoshop, Cmd/Ctrl+F used to be the keyboard shortcut for reapplying the last-used filter. Beginning with this release, it invokes the Photoshop search experience. If necessary, you can use Edit > Keyboard Shortcuts to reassign keyboard shortcuts.
  • Mac OS X 10.9 (Mavericks) is no longer a supported operating system for this release of Photoshop CC.
  • Auto-Select is now the default setting for the layer Move tool. You can revert to the default setting in earlier versions of Photoshop: in the Options bar, deselect Auto-Select and choose Group from the pop-up menu.
  • Layer styles can no longer be applied to artboards. As a workaround, include the contents of the artboard in a layer group and then apply the layer style to it.

Other enhancements and fixes

Enhancements in Photoshop CC (November 2016)

  • Match Font improvements to include more results from locally installed fonts
  • You can now simply click outside a text box to commit text.
  • Ability to open PSD files in your Creative Cloud Files directory directly from the Start Screen
  • The layer count feature now more accurately represents layer and group contents in the document.
  • Improved marquee selection to only select elements on the active artboard
  • Preference to select a highlight color in the UI: Blue or Gray. Select Preferences > Interface and, under Appearance, choose a Highlight Color.
  • Minimum Radius threshold in the UI is now not enforced when Smart Radius is selected.
  • Surface Blur is now up to 10X faster for 16-bit images.
  • Improved contrast in the three lightest color themes under Preferences > Interface.
  • New Preview checkbox in the Liquify dialog
  • Added ability to hide on-screen widgets in Face-Aware Liquify
  • On computers with AMD graphics processors running Mac OS X 10.11 and later, you can leverage Apple’s Metal graphics acceleration framework for use with the Oil Paint filter. For more information see Oil Paint filter.
  • GPano metadata is now preserved when exporting via Export As.


Fixed customer issues

Issues fixed in Photoshop CC (May 2017)

Issues fixed in Photoshop CC (April 2017)

Issues fixed in Photoshop CC (December 2016)

Issues fixed in Photoshop CC (November 2016)

Known issues

  • (Only on MacBooks with a single GPU and running OS X 10.11) While using the Refine Edge brush, you may notice heavy degradation along the edges of the image areas you're retouching. As a workaround to this issue, either upgrade to macOS 10.12 (Sierra) or turn off OpenCL (deselect Preferences > Performance > Advanced Settings > Use OpenCL).
  • (Only observed on Surface Books) The Photoshop Search dialog freezes on first use. To resolve this issue, choose to run Photoshop with the Integrated graphics processor setting. To do so, right-click the Photoshop app icon or shortcut and then select Run with graphics processor > Integrated graphics.
  • (Only observed on Windows) Sub-menus open on the left side instead of the right side. To resolve this issue, see this KB article.

 Adobe

Get help faster and easier

New user?