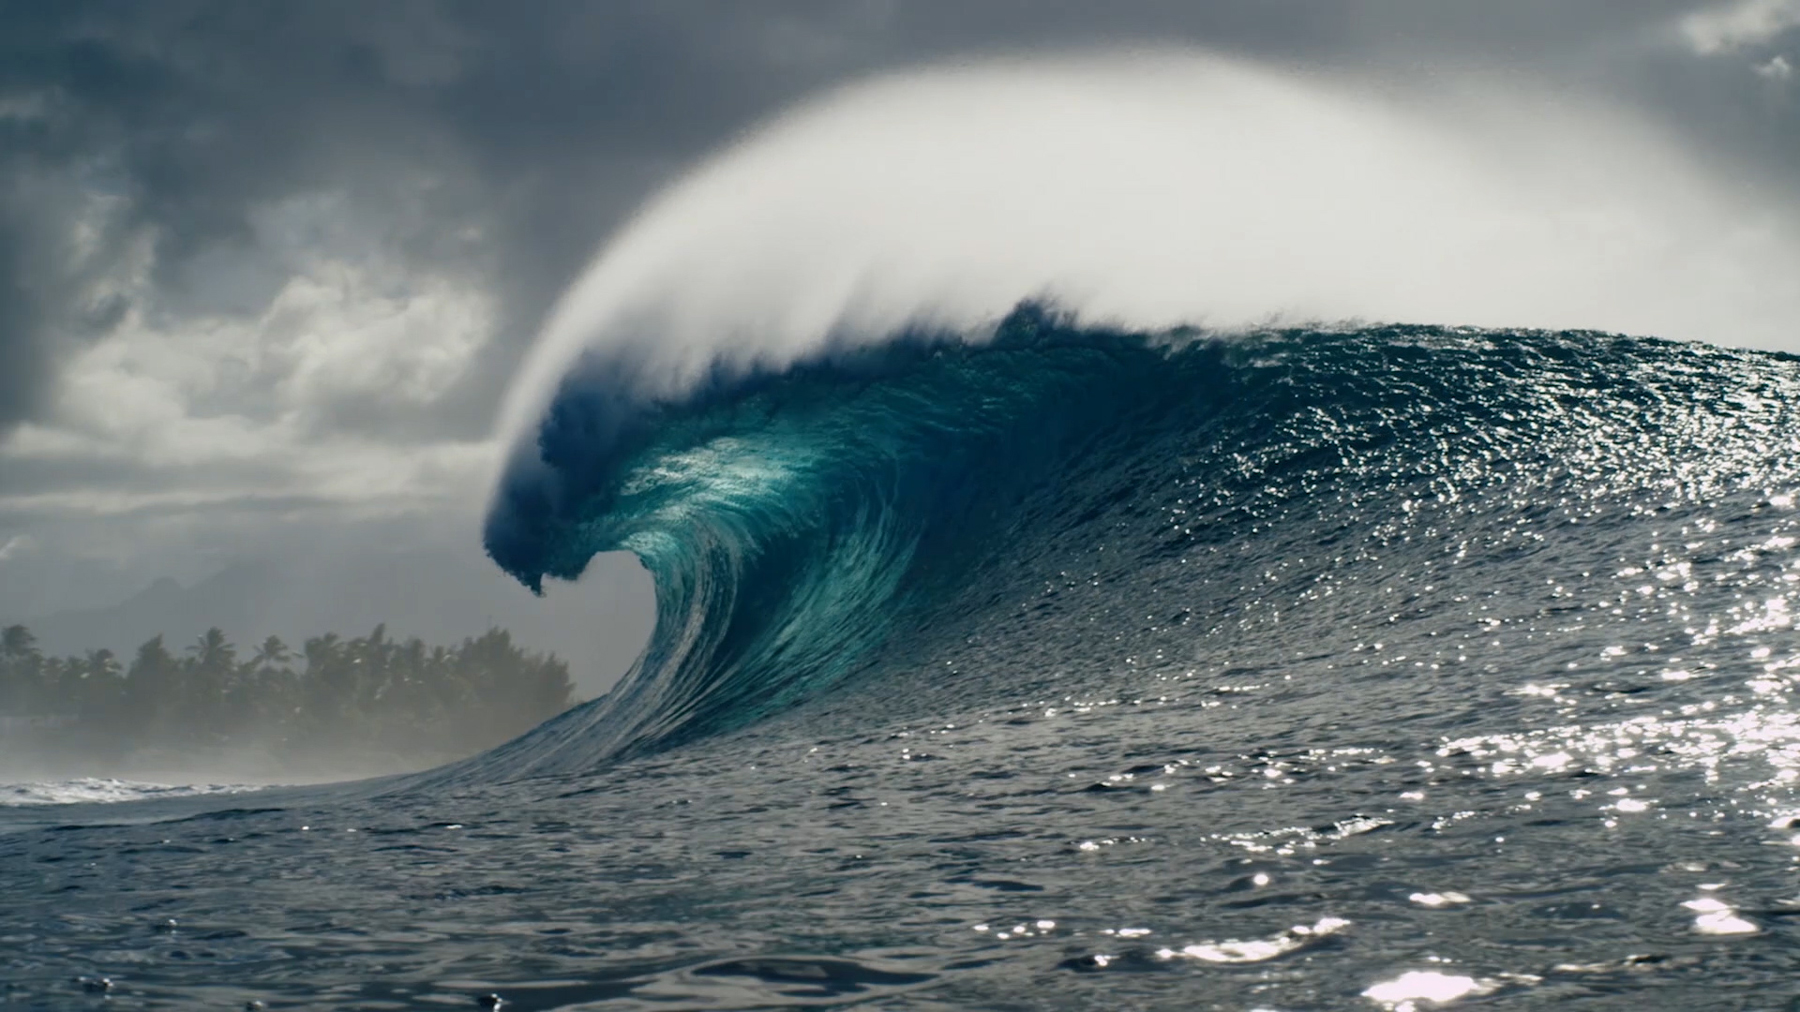
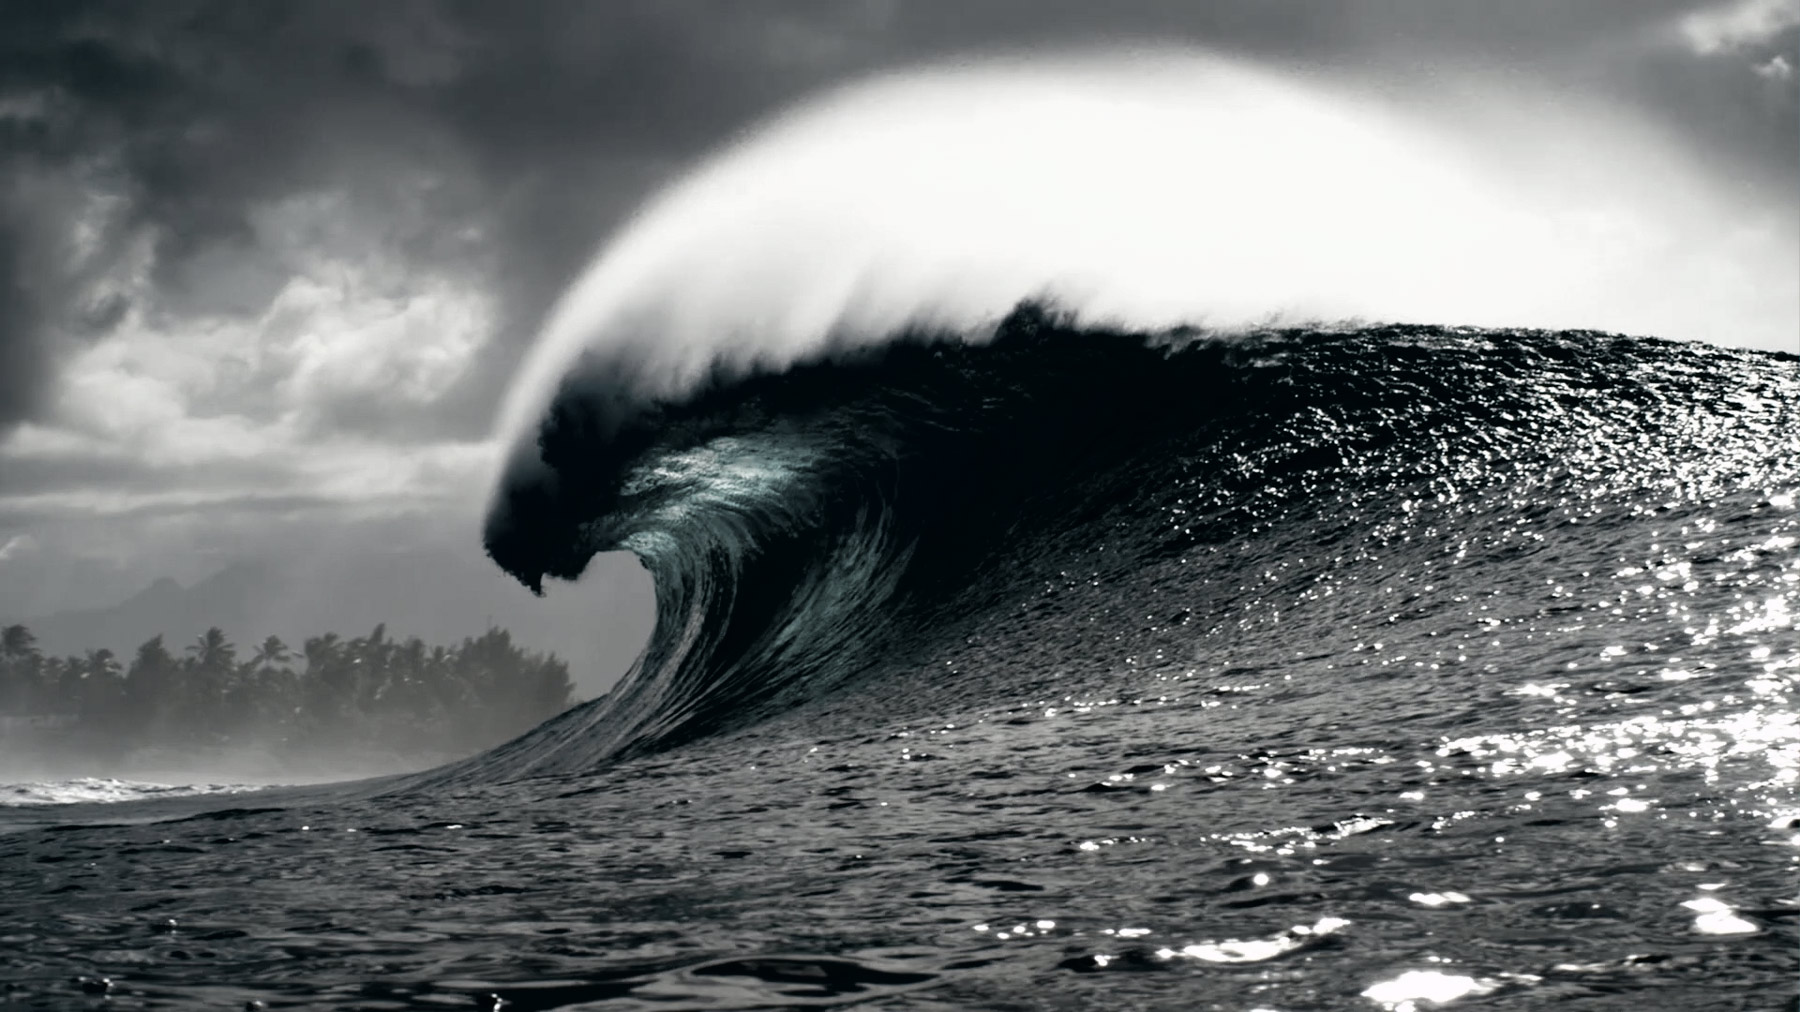
Nondestructively apply video effects — such as opacity or color adjustments — to a range of clips at once using an adjustment layer in Adobe Premiere Pro. Effects applied to an adjustment layer affect all layers below it in your sequence.

Create an adjustment layer
Click the New Item button in the Project panel and choose Adjustment Layer. You can also choose File > New > Adjustment Layer from the main menu.


Review the settings for your adjustment layer
In the Adjustment Layer dialog box, review the video settings for the adjustment layer, which will match your sequence, and make any changes if necessary. Click OK.


Add the adjustment layer to your sequence
Drag the adjustment layer from the Project panel to your sequence in the Timeline panel. Position the adjustment layer above the clips you want to affect — even the entire sequence. Change its duration by dragging either end of the adjustment layer.


Apply a video effect
Apply a video effect to the adjustment layer. One way to do this is to select the adjustment layer, find a video effect in the Effects panel, and double-click that effect to apply it to the selected layer. Another way is to drag the effect from the Effects panel directly onto the adjustment layer. (To make nuanced or specific color changes, apply them from the Lumetri Color panel.)
You can combine multiple effects on a single adjustment layer or use multiple adjustment layers to control your effects.


Fine-tune your video effect
Open the Effect Controls panel. Modify the parameters of the applied effect as needed. When you play the sequence, you’ll see that all clips on the underlying tracks are affected by changes you make to the adjustment layer above them.
Clicking the Motion parameter in the Effect Controls panel reveals a bounding box in the Program Monitor. Move or resize the bounding box to change the effect’s position or size within the viewable area of the Program Monitor. This is an easy way to show a before-and-after comparison of a given effect as you play your sequence.


Keep experimenting
Change the layering of effects in the Effect Controls panel — and even toggle effects on and off — to achieve the look you want. Read more about using adjustment layers in the Premiere Pro documentation.
