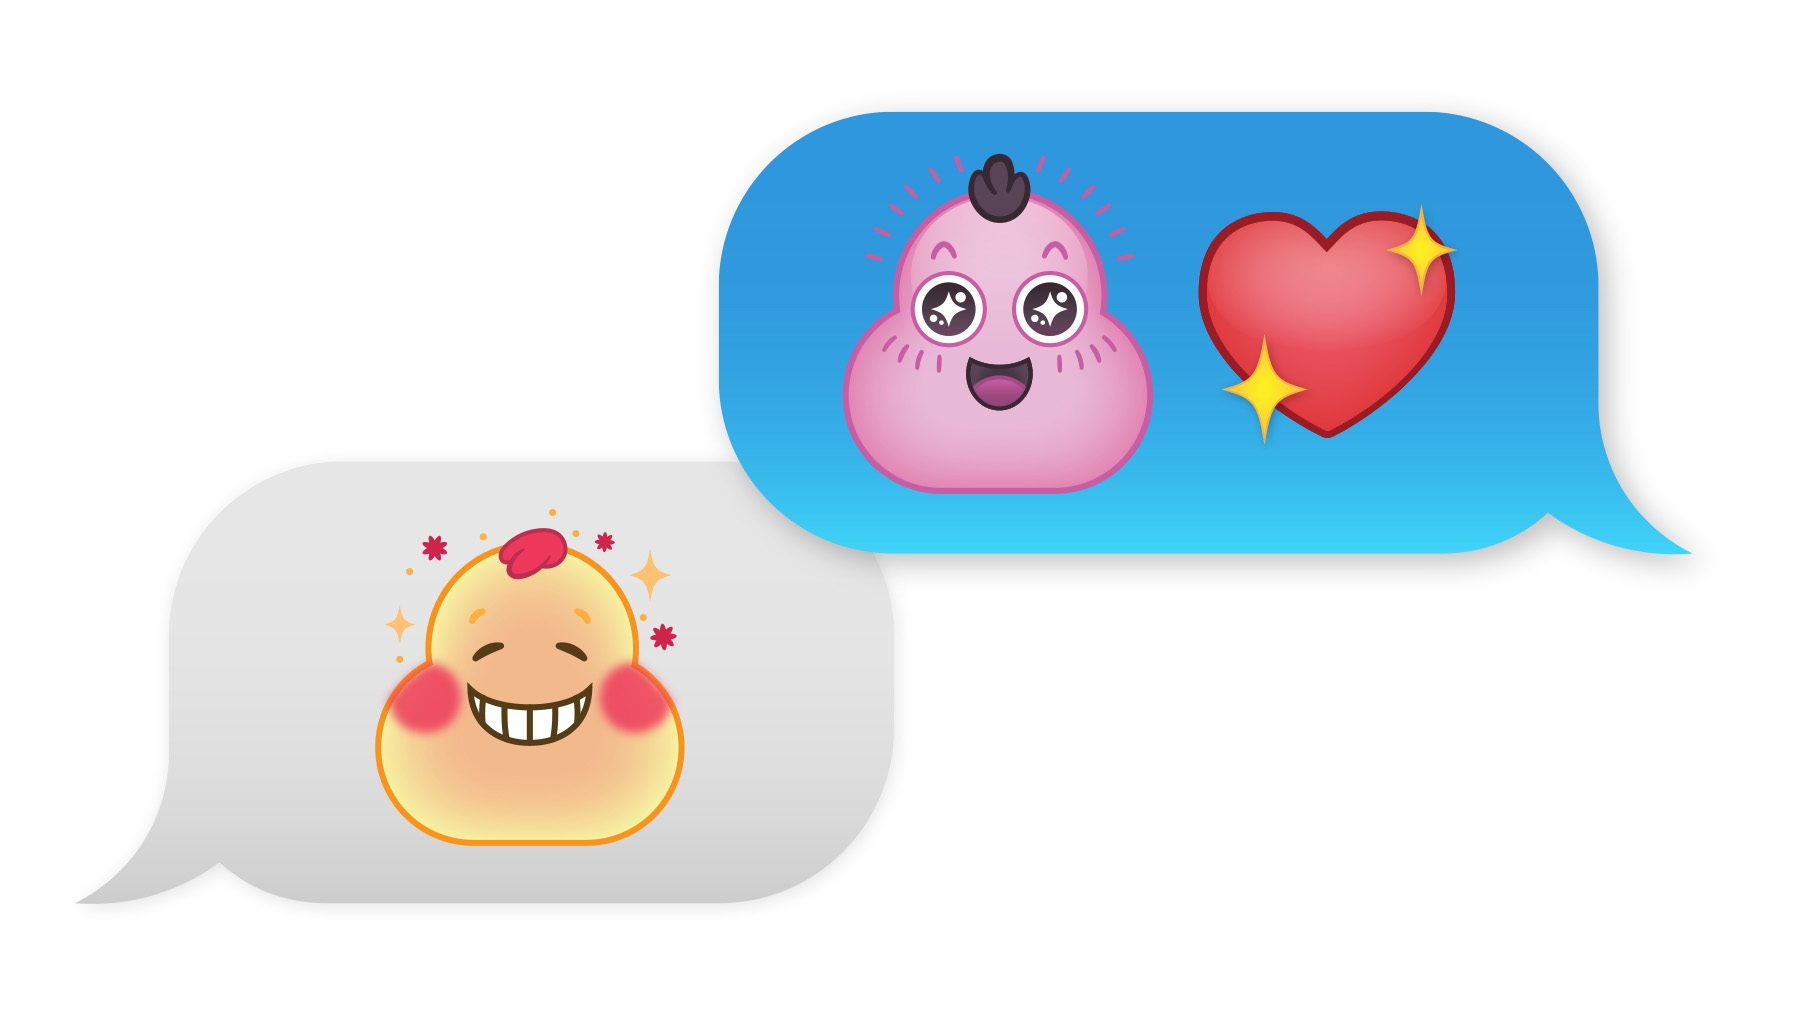
Express yourself by designing a fun emoji with these quick and easy techniques — for beginners and advanced users.


Draw, adjust, and merge shapes creatively
It’s easy to draw simple shapes and alter their appearance with a few deft edits. Round shape corners to create a whole new look, or create more complex shapes by merging. Use the Shape Builder tool to unite multiple shapes into one, or to subtract one shape from another.
See Start making artwork to learn how to draw and merge shapes to create entirely new illustrations.
Make your emoji colorful
You don’t have to be a color expert to create a unique color theme. With Capture on your mobile device, you can grab colors from any scene or from a photo in your Gallery or Camera Roll. Customize and refine the colors, then save the color theme with a unique name. Now look for your custom color theme in the Libraries panel in Illustrator and use it to color your emoji.
View Capture colors, shapes, and brushes on the go to discover ways to speed up your design time.
Make it glow!
Liven up your emoji with special effects that change its color and appearance. Apply a glow effect that adds a smooth color blend to your colored shape. From the Appearance panel, select your Fill color, and then choose Effects > Stylize > Inner Glow.
Next, add a glossy highlight. Fill a circle with a gradient. Then open the Transparency panel and change its Opacity to create subtle contouring.
Add some finishing touches
Since shapes are made of vectors, you can stretch and pull them to create variations that remain editable. Select a shape and experiment with Effects to reshape it. Try the Fisheye Warp Effect to add some character quickly.
Now add fun accents in a couple of steps. Convert an oval shape into a glittering sparkle, or transform a circle into a cheerful flower with the Pucker and Bloat Effect. Tip: Select Preview to see live effects as you experiment with settings in the dialog boxes.
Hope you had fun! Use your finished emoji to express yourself in your blog, website, and illustrations, or share with #madethis so we can feature it on the Adobe Students page (@adobestudents).