After organizing your project’s assets into useful bins in Adobe Premiere Pro, automatically create a sequence and choose the best clip order to tell your story.


المتطلبات
Before you begin to edit, corral your project’s assets into folders — called bins in Premiere Pro. Work in the Assembly workspace to increase the Project panel’s size. At a minimum, create bins for audio, footage, and graphics. You can also group bins within bins to hold similar asset types, such as b-roll, sound effects, music, or (as we did) specific takes of shots. Color-code clip types (right-click and choose Label > [color name]) to spot them easily in the sequence later.
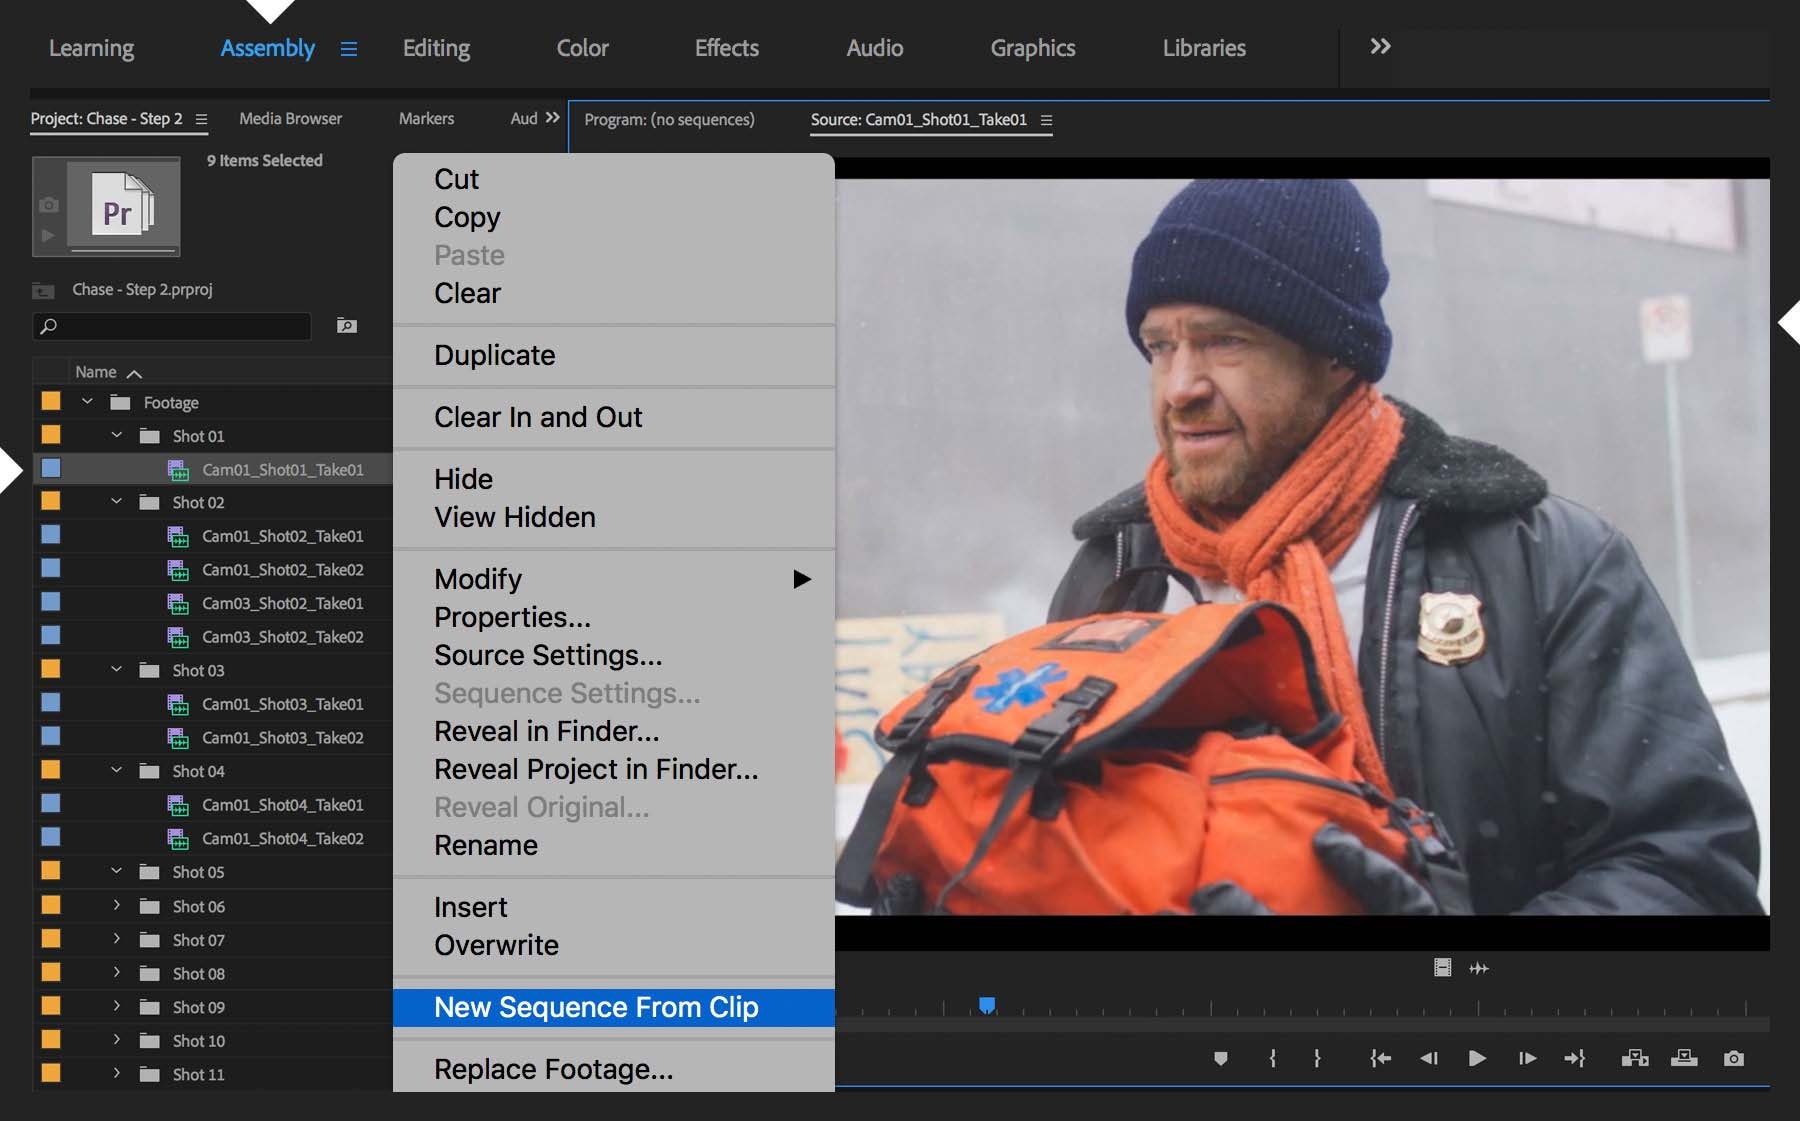
The fastest way to create a sequence is to right-click a representative clip in your project — it doesn’t really matter which — and choose New Sequence From Clip from the menu. This ensures that the sequence settings match those of your footage. The new sequence will adopt the clip’s name too, so change the sequence’s name to something more meaningful. Now you can delete that starter clip from the Timeline panel and start building your action sequence from scratch.

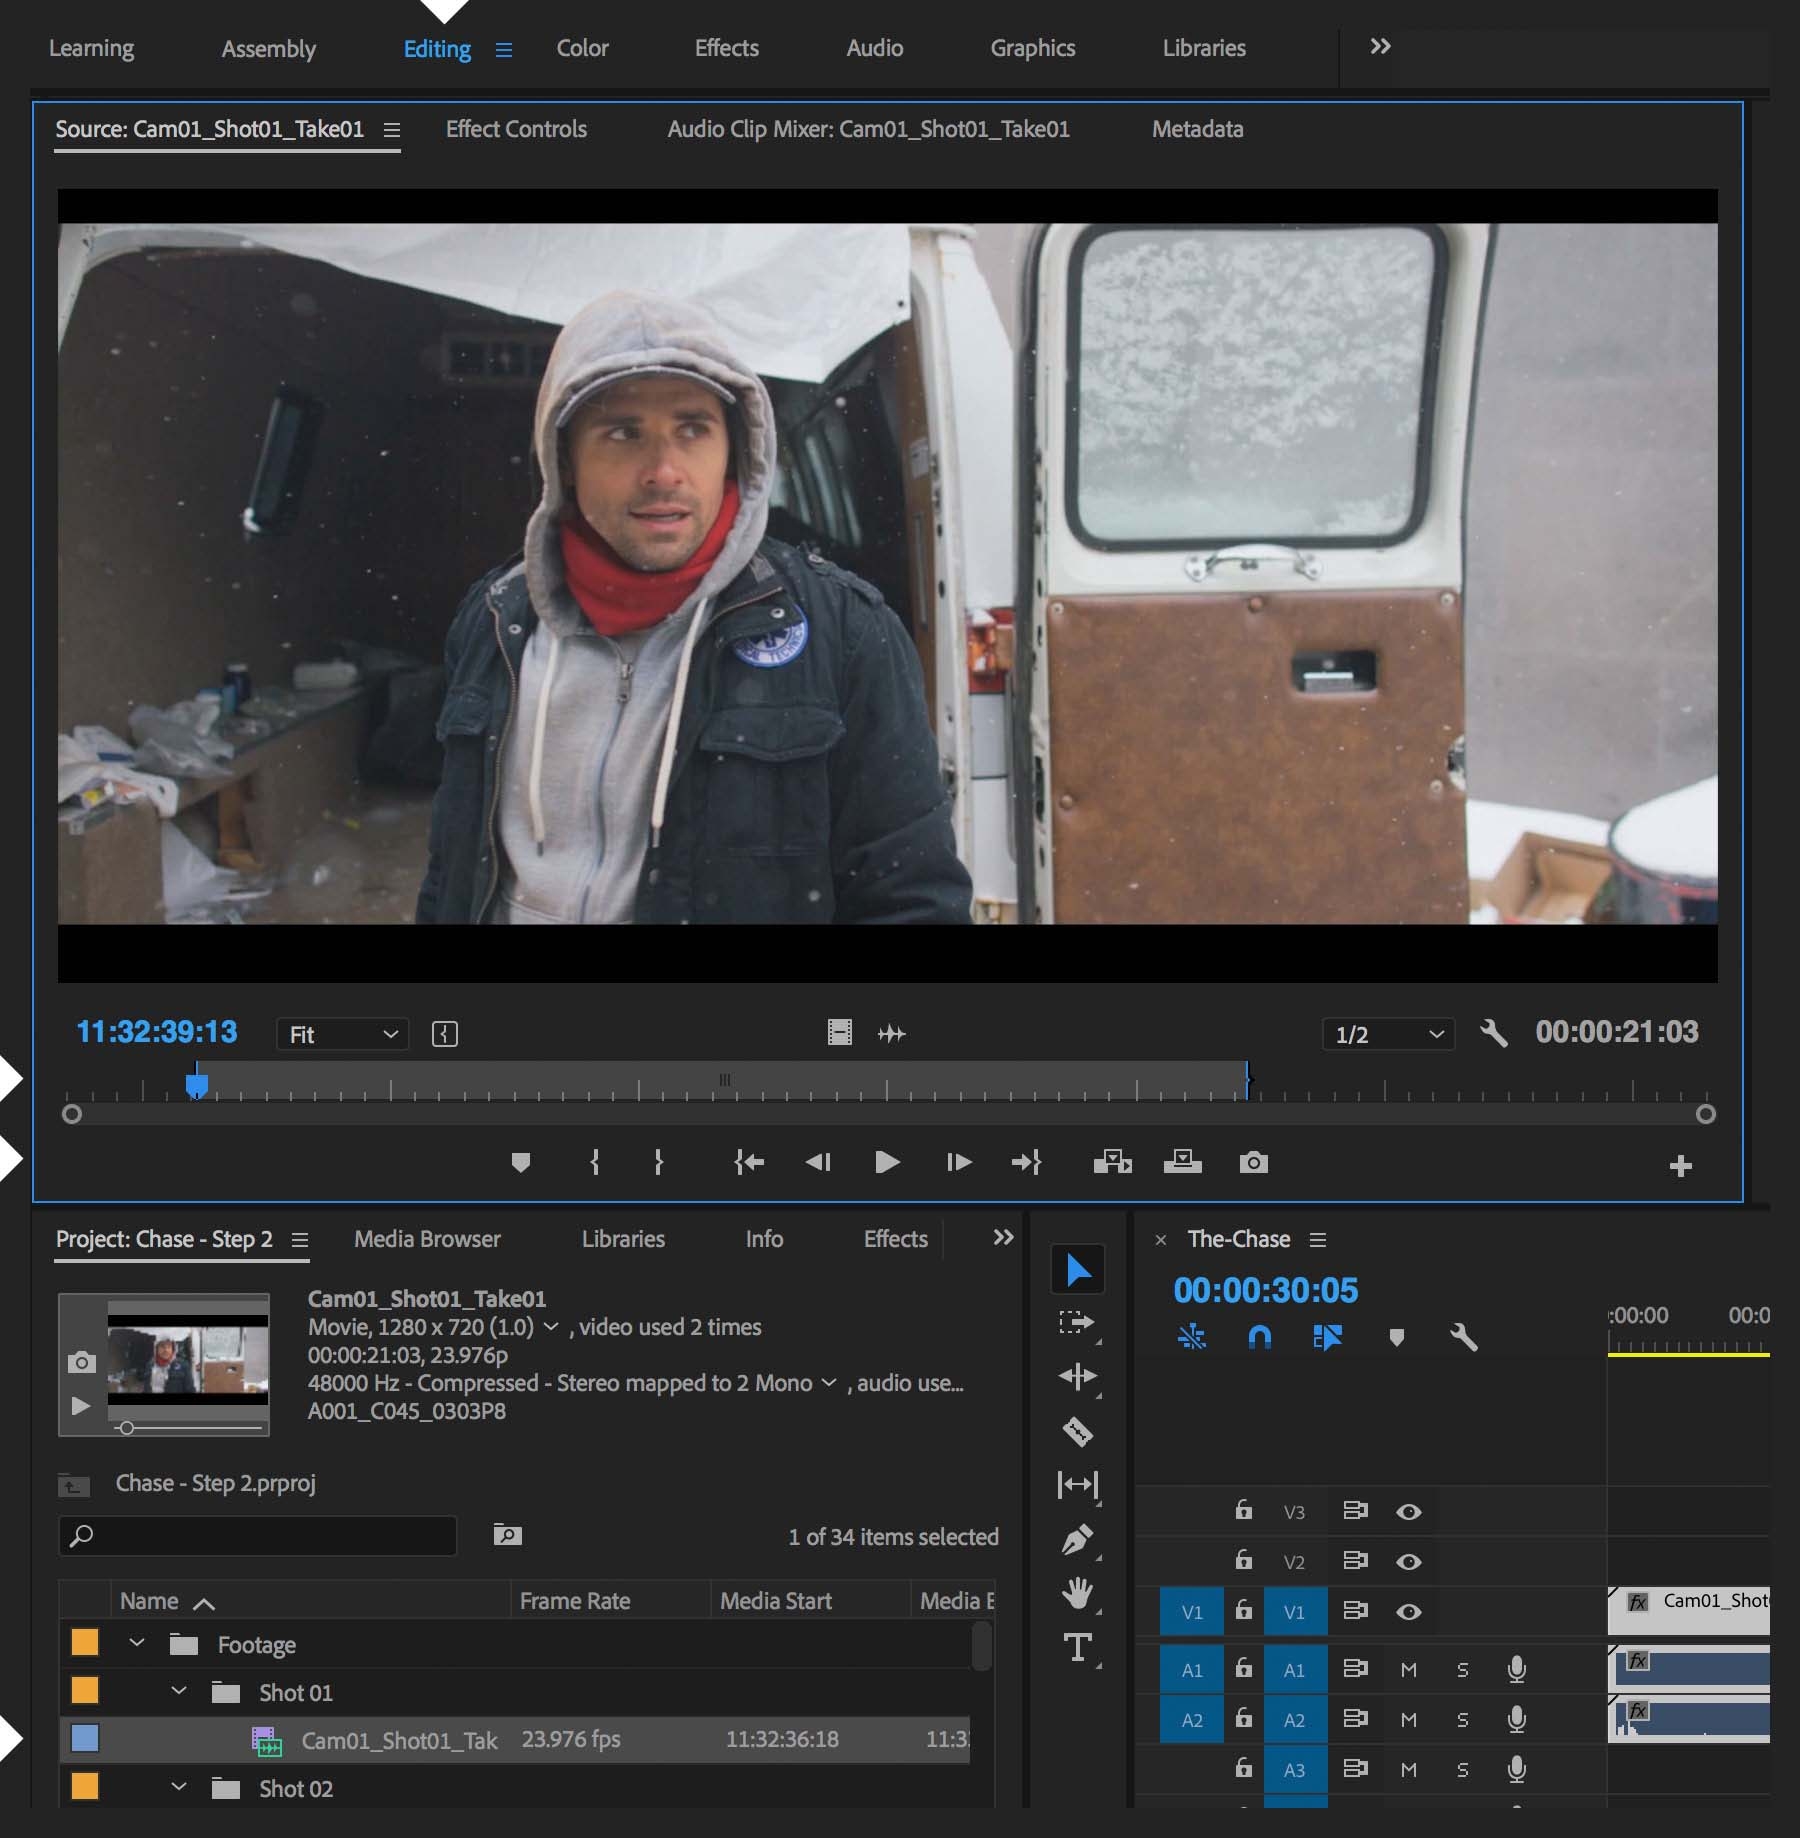
Now switch to the Editing workspace. Each clip likely includes material you don’t want to appear in your movie — the stuff captured as soon as you started the camera rolling and before you yelled “Action!” on the set. Load each clip in the Source Monitor and mark the In and Out points (pressing I and O) to define what you do want to include, and then click the Insert button (press the comma key) to add that defined clip segment to the sequence.

If your footage is well organized and labeled, it should be a relatively straightforward matter to build your sequence. Add clips in the order dictated by the script — or in a way that propels the action in a naturalistic, believable way: Shot 1 leads to Shot 2, which leads to Shot 3, and so on. Don’t worry about adding effects at this point; focus on the basic flow of the action. Choose the best take for each shot — or combine portions from different takes to get what you want. Match characters’ eyelines to help the viewer see what the character sees. Until you learn how to break the rules effectively, stick with the basics of continuity editing to prevent viewer disorientation. Work with some kind of stock “chase music” on the audio track, even if it’s not the final score, to energize the sequence while you make your edits.
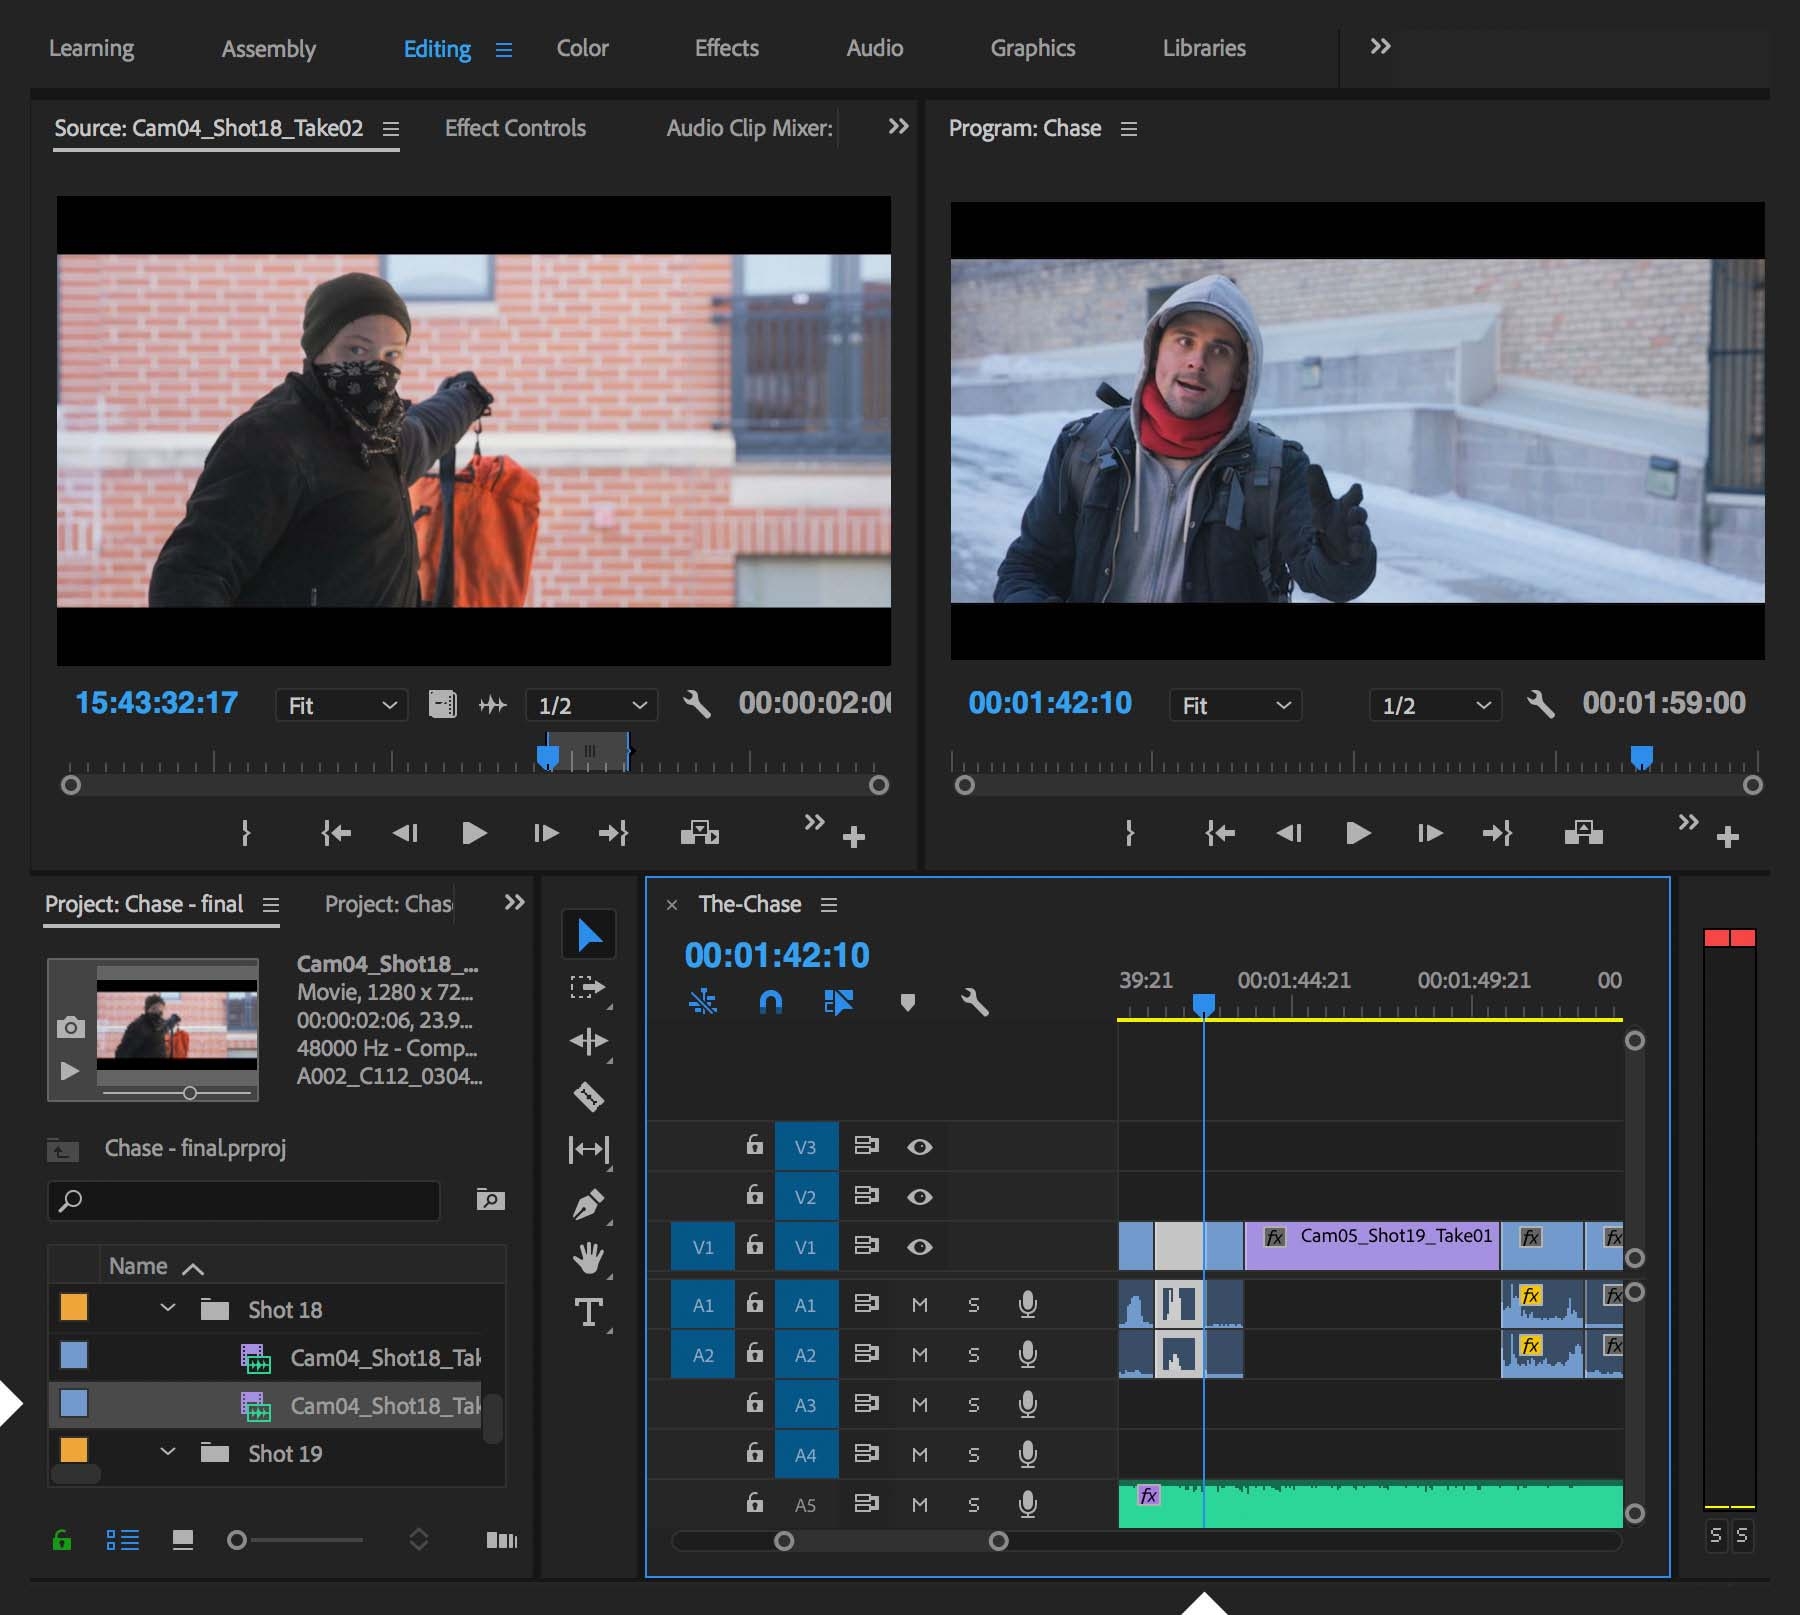

Play your sequence several times to become familiar with it. You’ll undoubtedly find ways to trim shots here and there in your movie, and even reorder or remove entire scenes to help tighten or clarify the intent of the action. See what our version of the action sequence looks like in the following video.