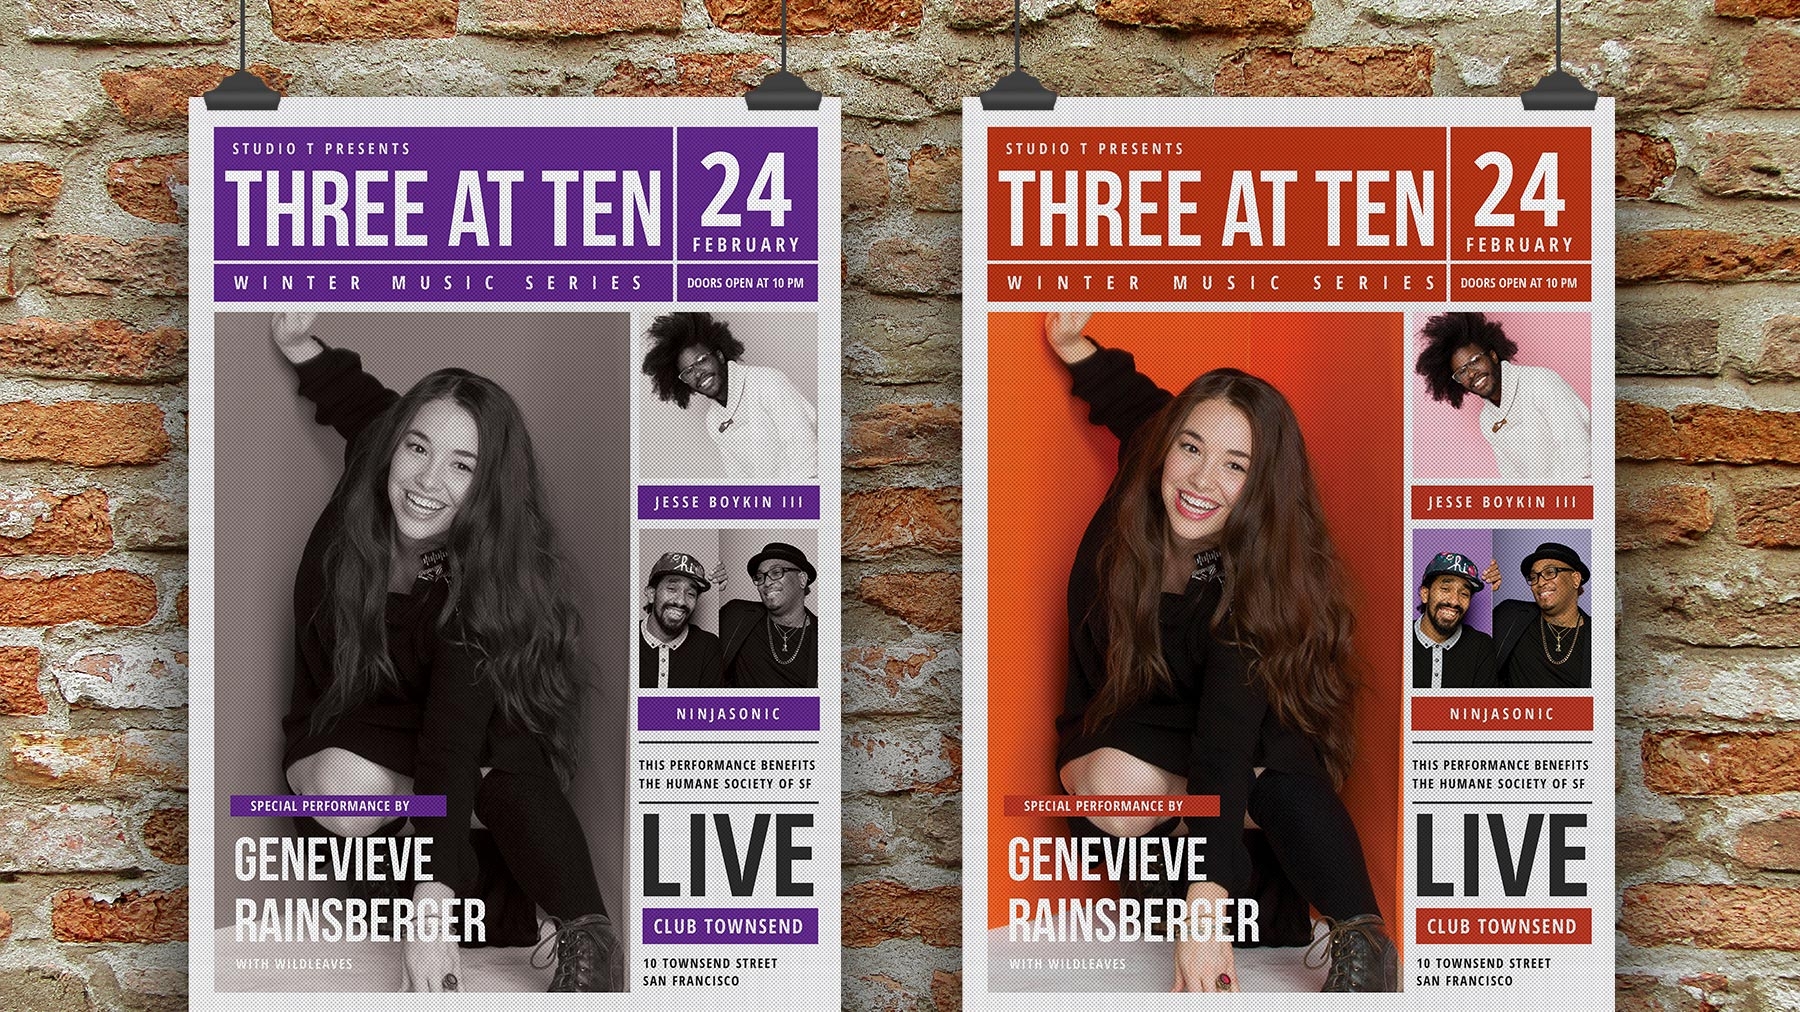
Follow these easy steps to modify an Adobe Stock flyer template and cut your design time in half.
Typekit is now Adobe Fonts.


Choose a template and start editing
Launch Adobe Photoshop and click New or press Control+N (Windows) or Command+N (macOS). Choose a template, or refine your choices by clicking a category tab like Print or Web at the top of the window. If you want to follow along, click Print and select the Indie Rock Newspaper–Style Flyer. Click Download, and then click Open once the template is licensed. The template design opens in a new document and is ready to modify.


Missing a font?
If the template uses any Adobe Typekit fonts not installed on your computer, you may see a Missing Fonts dialog box. Click Resolve Fonts to automatically install the Typekit font so the type in your template displays as designed. In the next step, you’ll change the font to suit your design.


Customize the text
Select the Type tool. Triple-click the INDIEROCK headline text to select the entire line. Type a new title. You can change the size easily in the Control panel at the top of your screen.
Try adding a new font from the vast Typekit Library included with your Adobe Creative Cloud membership. With your text selected, click the Font menu in the Control panel and then click Add fonts from Typekit. Browse the dizzying variety of fonts, or select Bebas Neue. Click Sync to add the font of your choice to your computer. Back in Photoshop, select the new font in the Font menu and change your headline.


Get comfortable with layers
The artwork in your template is thoughtfully built on layers. Layers let you isolate individual elements so you can edit them without disturbing other parts of your composition. Choose Window > Layers. In the Layers panel, click the eye icon to hide or view the layers so you can see how the template is organized. When you’re done exploring, make sure all the layers are visible. See Use layers for ultimate flexibility and control to learn more.


Edit graphics
You can easily change the color of the rectangle behind the headline. Click the arrow to the left of the Graphic layer group to open it, and then open the Headline layer group. Double-click the Headline Box layer to view the Color Picker. Drag the rainbow-colored slider to pick a color range, and then move the round marker to make it as vibrant as you want. Click OK when you’re done.


Add your own photos
In the Layers panel, go to Images > Main Artist > YOUR IMAGE HERE. Double-click the Smart Object thumbnail to the left of the YOUR IMAGE HERE layer. This opens a new window where you’ll add your own photo.
Click YOUR IMAGE HERE to make it the active layer, and then drag a photo from your computer onto the canvas. Drag the corner handles to fit the photo. (Press Shift while dragging to constrain the photo to its original proportions.)
Choose File > Save. Then click the small X in the window’s tab to close it. This returns you to the poster artwork where you’ll see your photo.
Repeat this step to add other photos to your flyer.


If you used a color photo, you’ll notice it was converted to black and white automatically. This is due to the Hue/Saturation adjustment layer directly above your photo layer in the group. Toggle the eye icon to hide and show the effect on the photo.


Explore design variations
Options for customizing your design are just a click away. For example, hide the Halftone Texture layer group to remove the halftone texture from the entire poster.


Save and print your flyer
As you continue customizing, choose File > Save and give your flyer a unique name. It’s good practice to save early and save often. When you’re ready to hand off your flyer for printing, choose File > Save As, and select Photoshop PDF. Select the PDF setting recommended by your print provider and click Save PDF.
Search for Photoshop templates at Adobe Stock.
Learn more about Adobe's graphic design software.