In film photography, a double exposure is a combination of two exposures in one image to produce evocative results. In this easy-to-follow tutorial, learn how graphic artist Erica Larson uses Adobe Photoshop to combine two photos, creating a seamless double exposure effect.
Graphic artist Erica Larson dreams up inspired designs every day as an associate creative director on the Adobe Studio team. In other words, she makes stuff that makes others want to make stuff.
What you'll need
This sample file has Adobe Stock images you can use to practice what you learn in this tutorial. If you want to use the sample file beyond this tutorial, you can purchase a license on Adobe Stock. Check out the ReadMe file in the folder for the terms that apply to your use of this sample file.
Prep your images
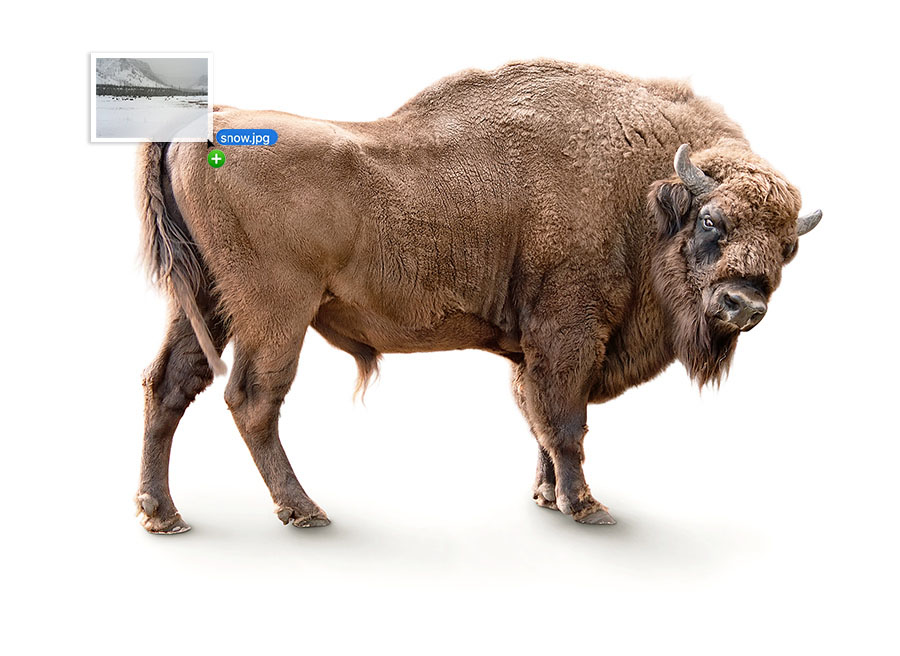
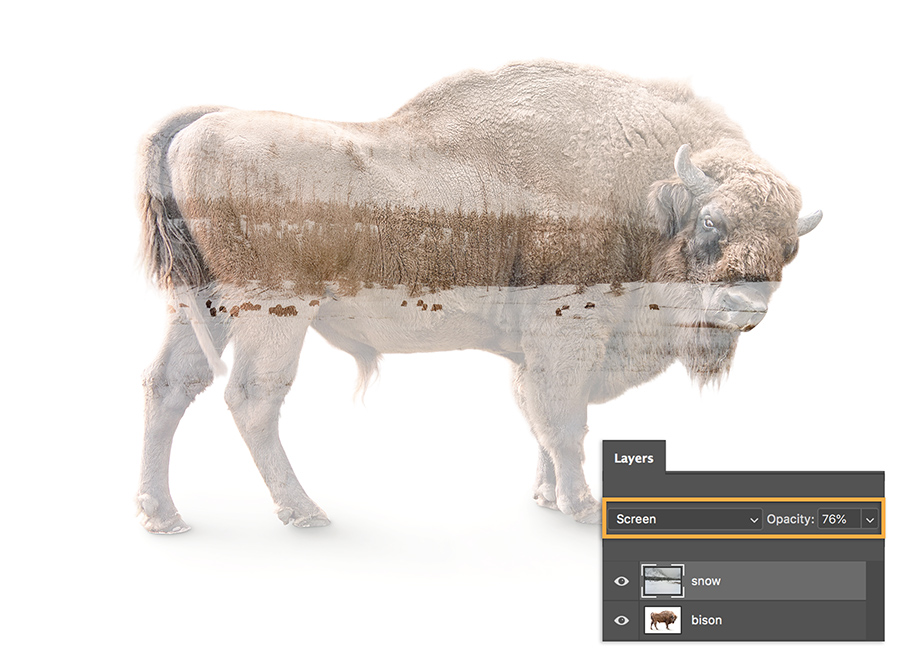
Open your two images and drag one on top of the other. Larson dragged the snowy landscape on top of the image of the bison. Then, in the Layers panel, set the Blend mode to Screen and reduce the Opacity setting.

Get clear
To bring out the bison’s face and other areas, Larson added a mask to the landscape layer. This allowed her to simply paint wherever she wanted those details to come through.


Add more color
For a dramatic touch, Larson added a Gradient adjustment layer using the Violet, Orange preset, before setting the Blend mode to Overlay and reducing the Opacity to 60 percent.


Keep focus
To keep the focus on the bison’s face, Larson adjusted the Gradient Fill angle to 0 degrees. She clicked on the gradient to open the Gradient Editor and shifted the violet color stop and the Color Midpoint to get the desired effect.


Get twice the exposure
Find pairs of photos to combine in your photo gallery and have fun creating fresh takes.


Note: Project files included with this tutorial are for practice purposes only.
