
Try these tutorials with Premiere Pro
Create and edit films and video.
Learn top techniques for editing a music video in Adobe Premiere Pro.

In this tutorial you’ll learn some great tips for assembling your clips on the Premiere Pro timeline, creating a multicam sequence, and making cuts in that sequence. You’ll also see how easy it is to edit to the beat using markers, adjust colors with the Lumetri Color panel, and explore speed ramping where you slow down or speed up a clip to give your video a dramatic effect.
If you want to follow along with this tutorial, download the exclusive, uncut music video footage (ZIP 2.4 GB) and work with Premiere Pro to create your own edit of the video for Imagine Dragons’ hit song, “Believer.”
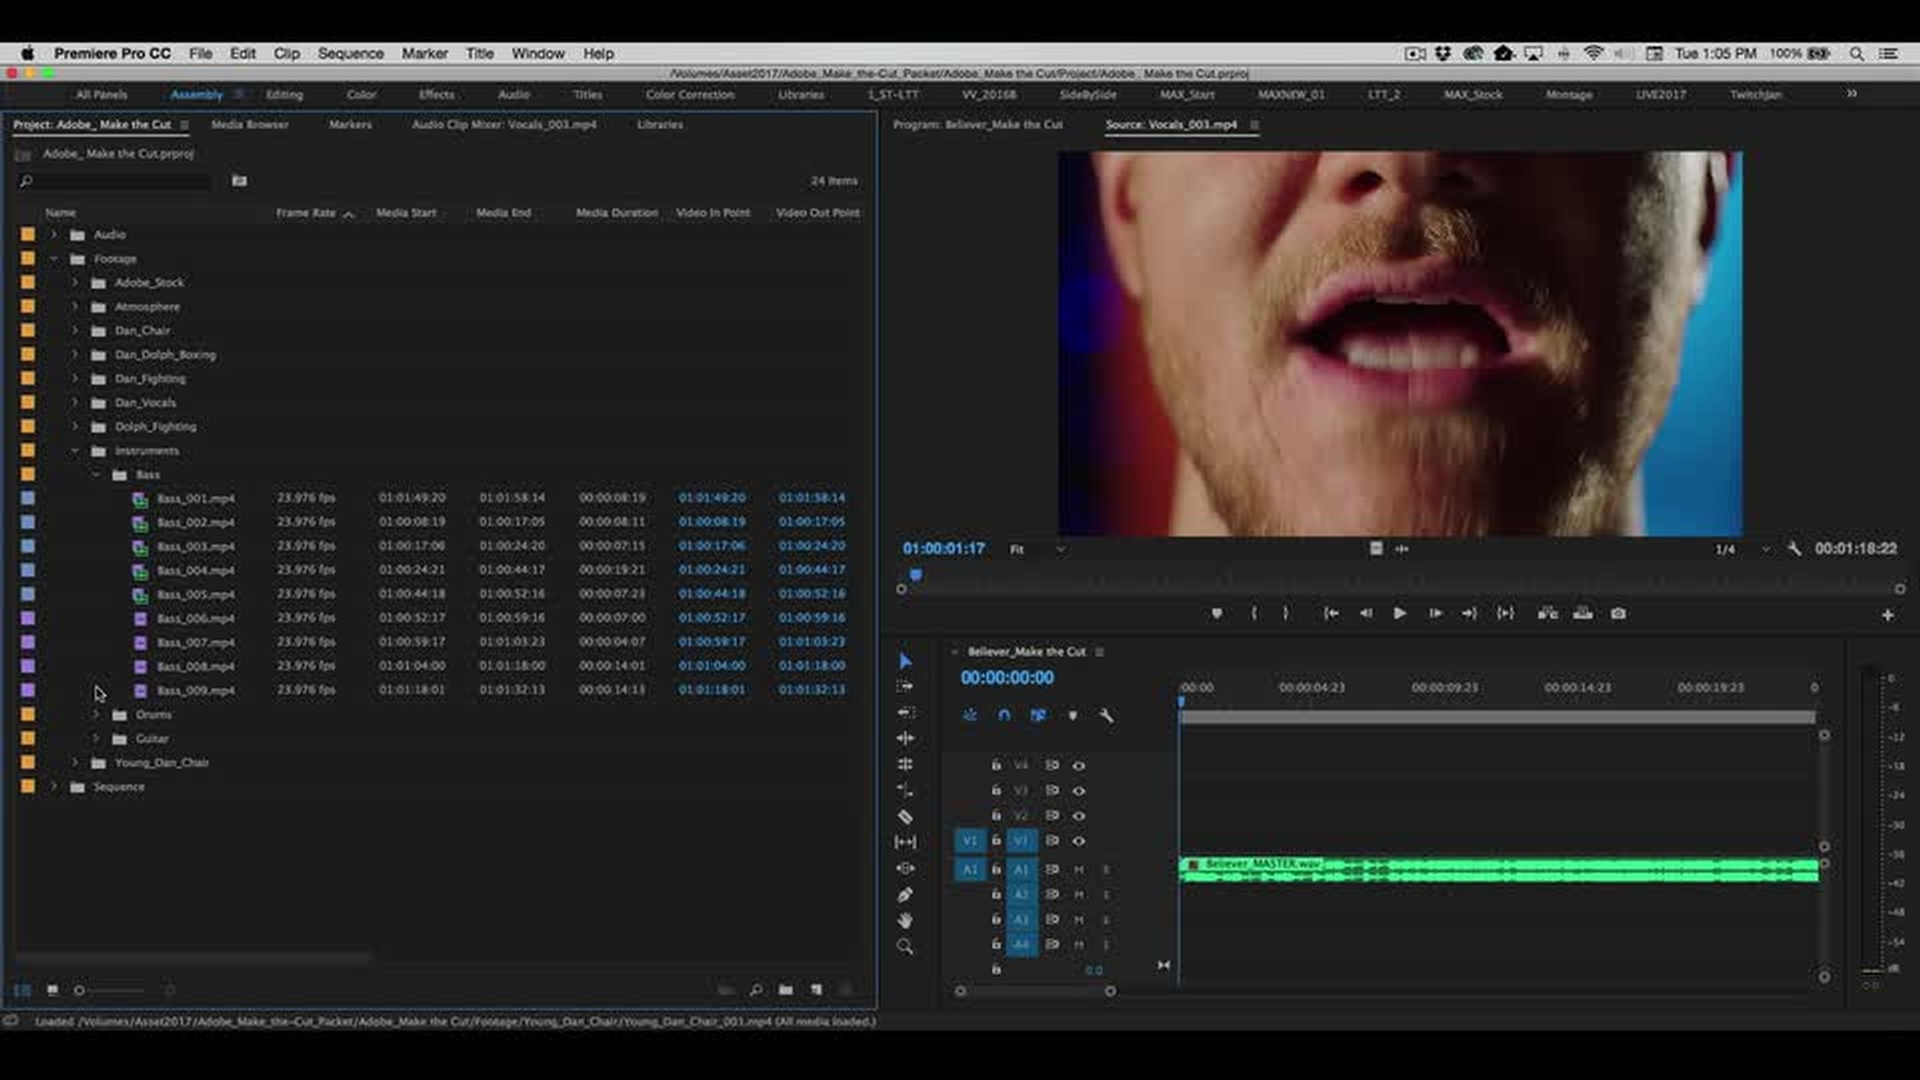
Become familiar with the footage and audio you’re working with. In this example, there’s a preloaded sequence provided in a downloadable archive.
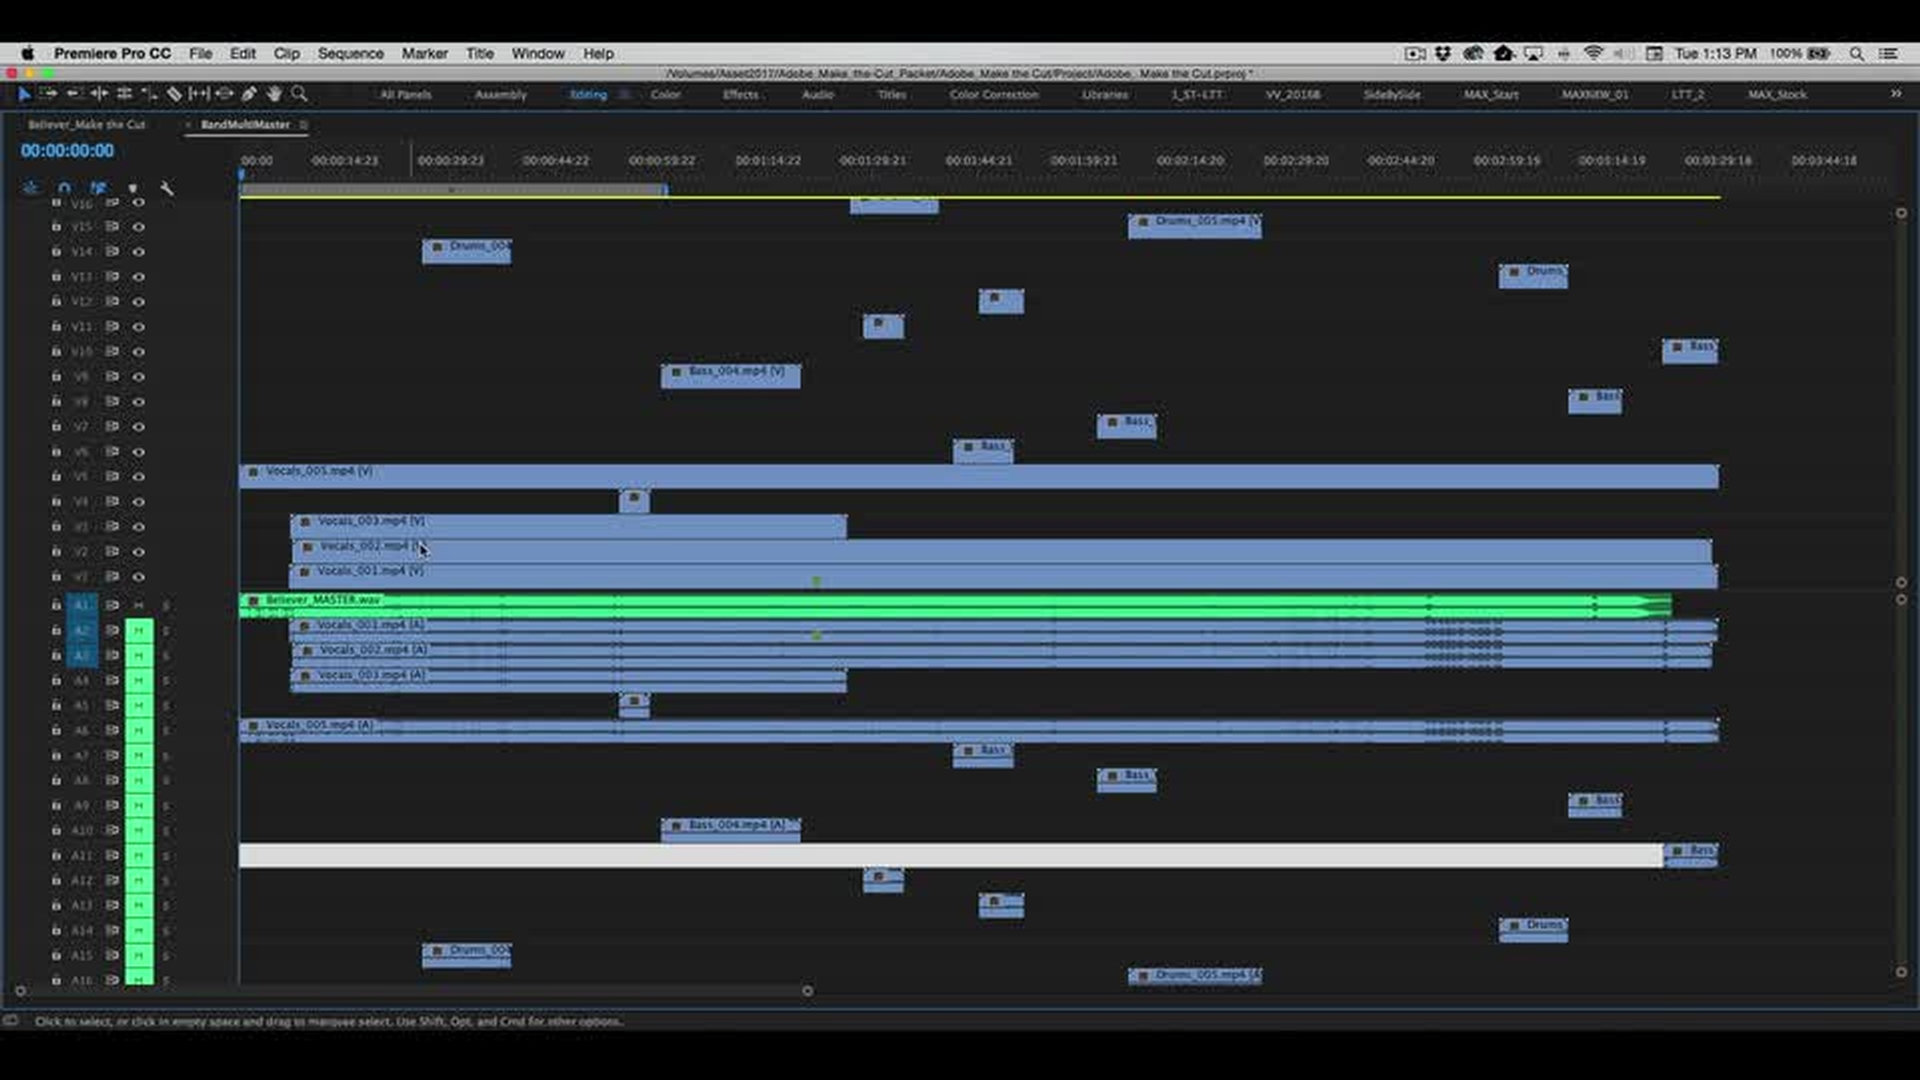
Automatically synchronize all of your footage with the master audio file.
Edit your video in real time using keyboard shortcuts and standard editing tools.
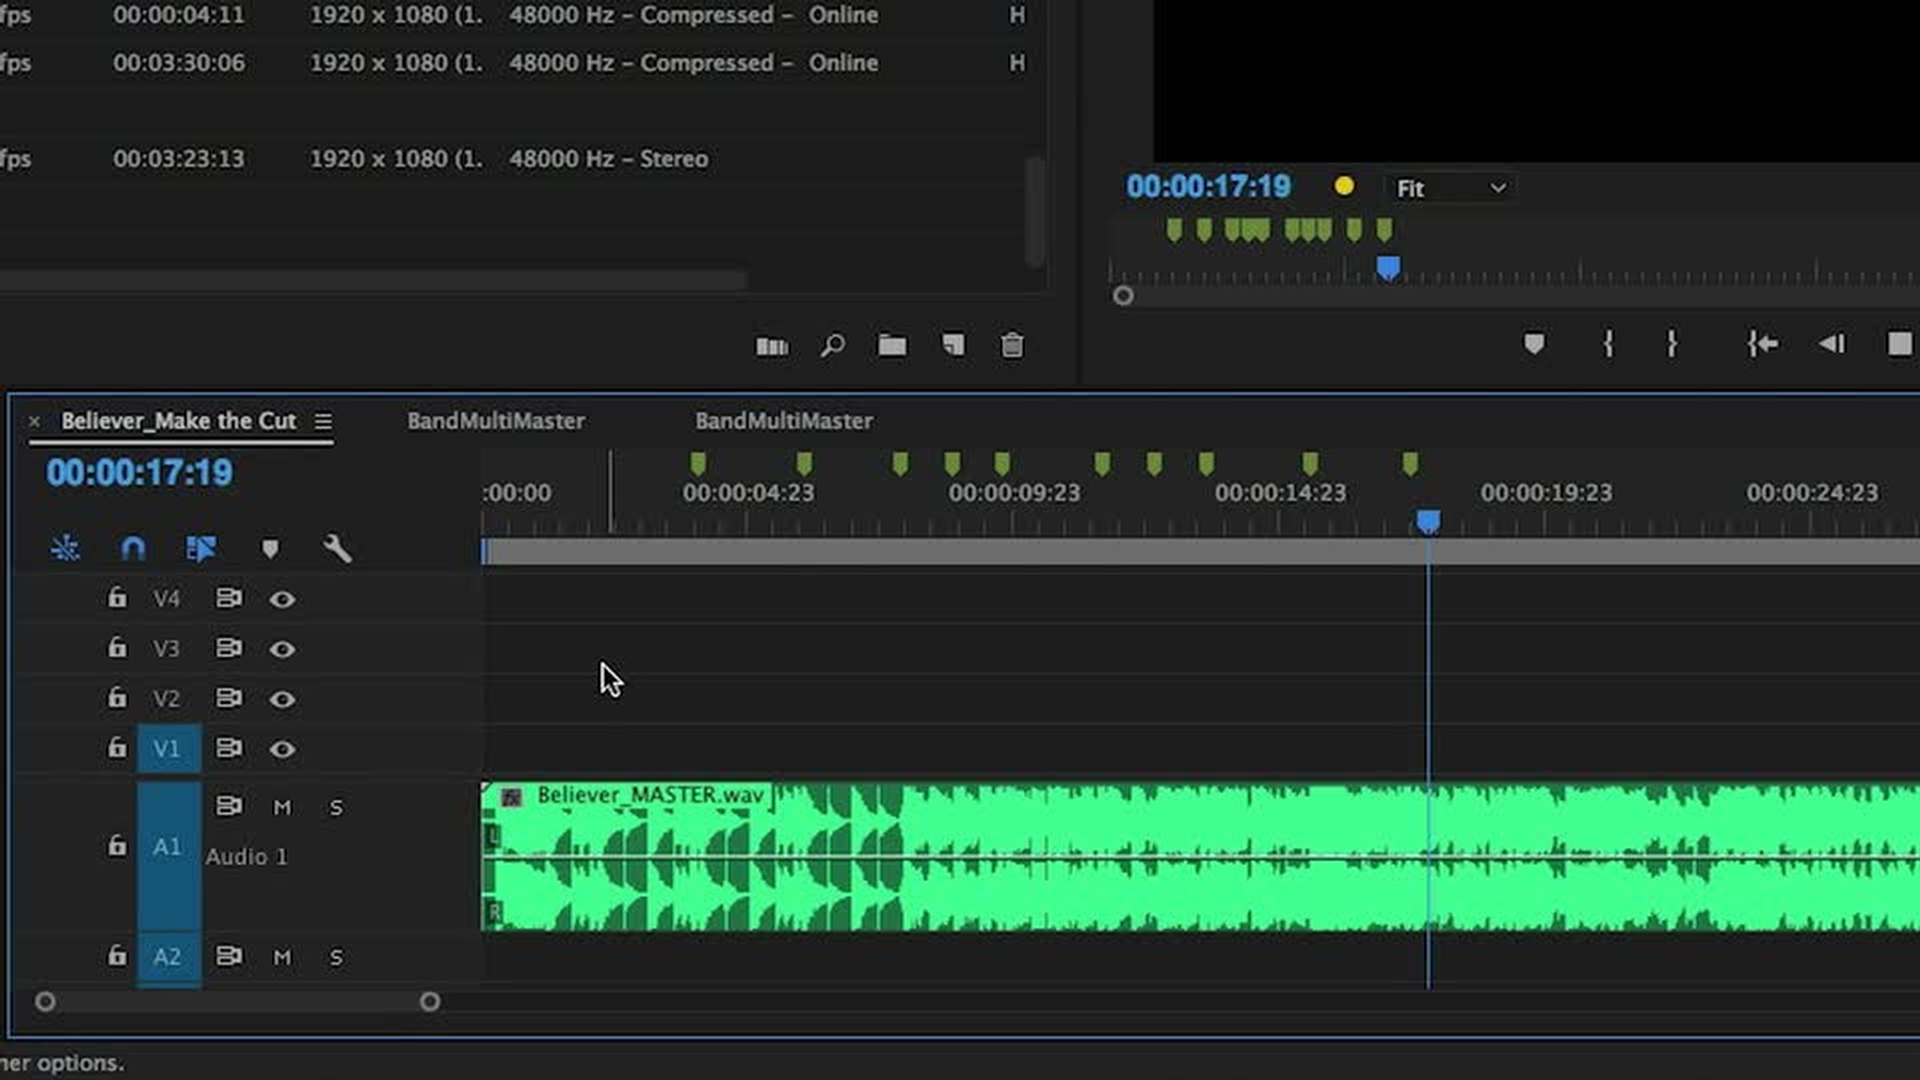
Easily drop markers onto your timeline and automatically place clips using Automate to Sequence.
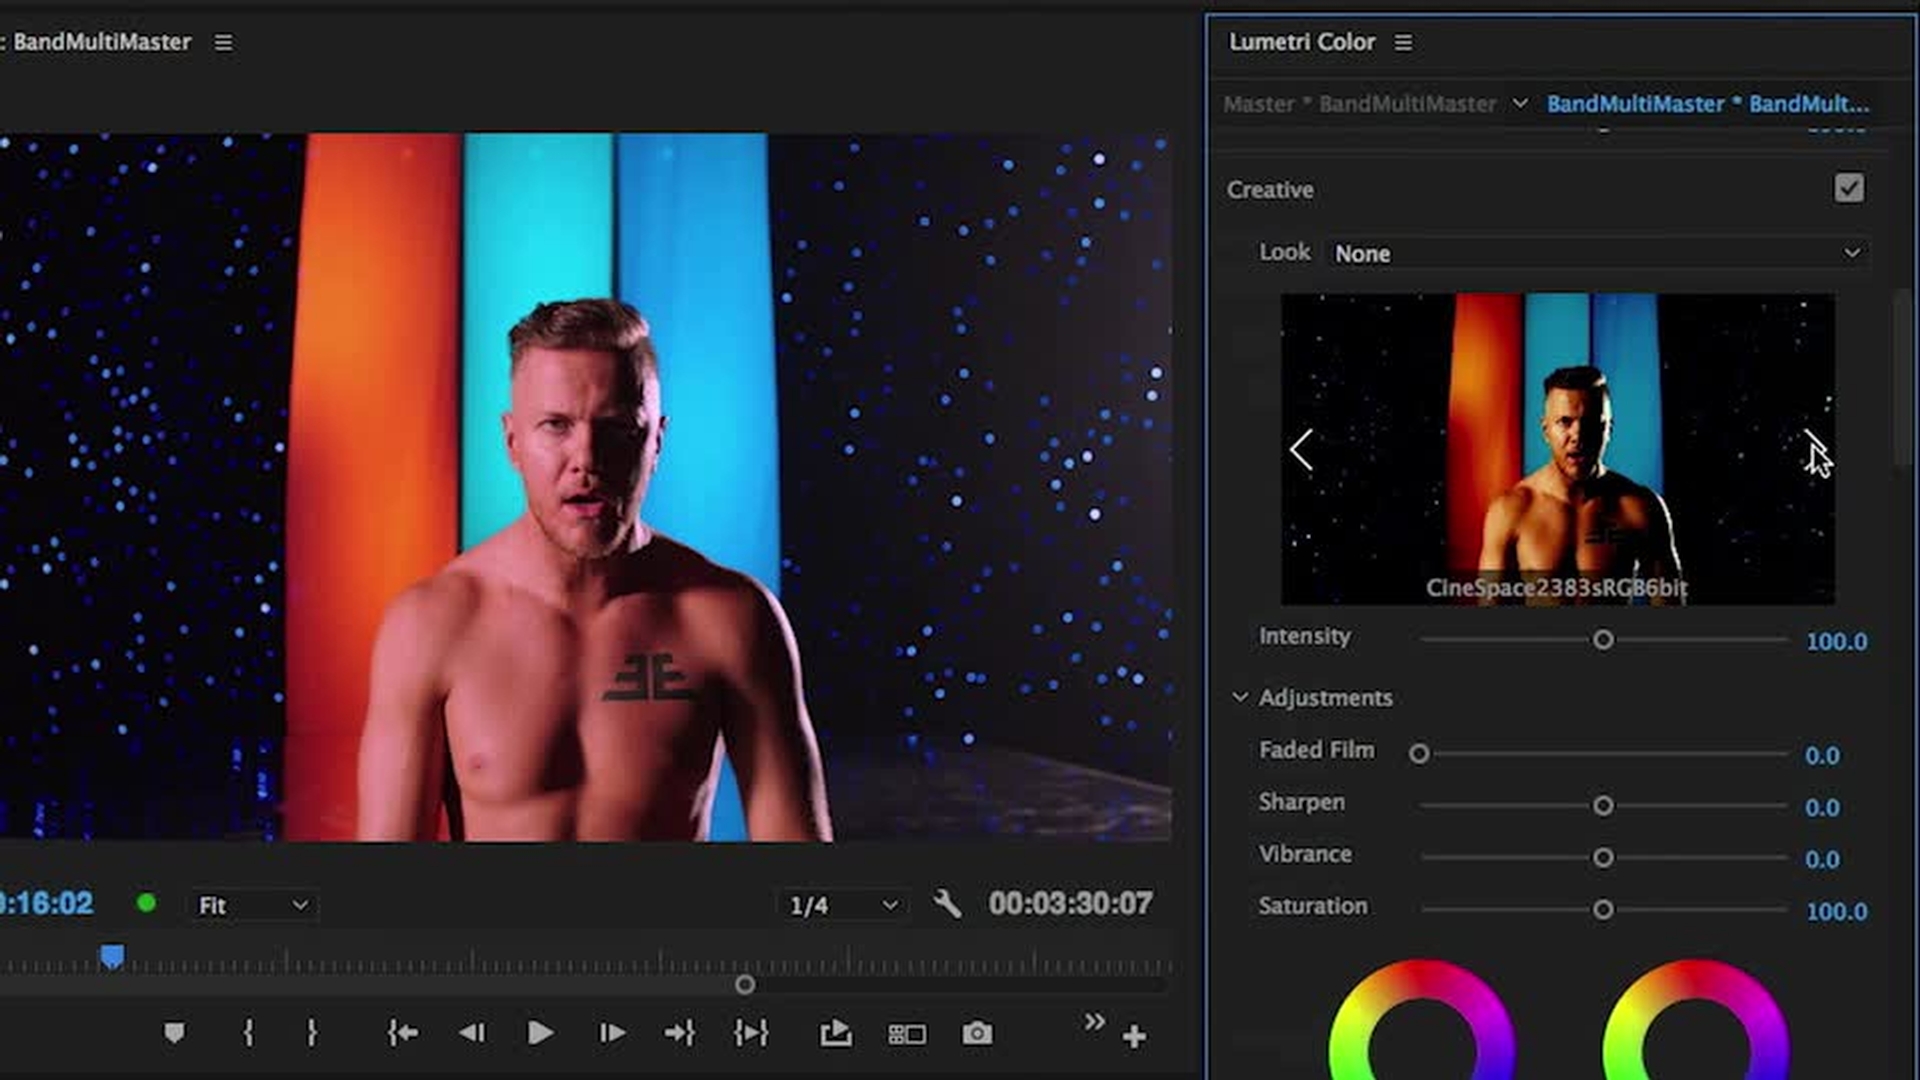
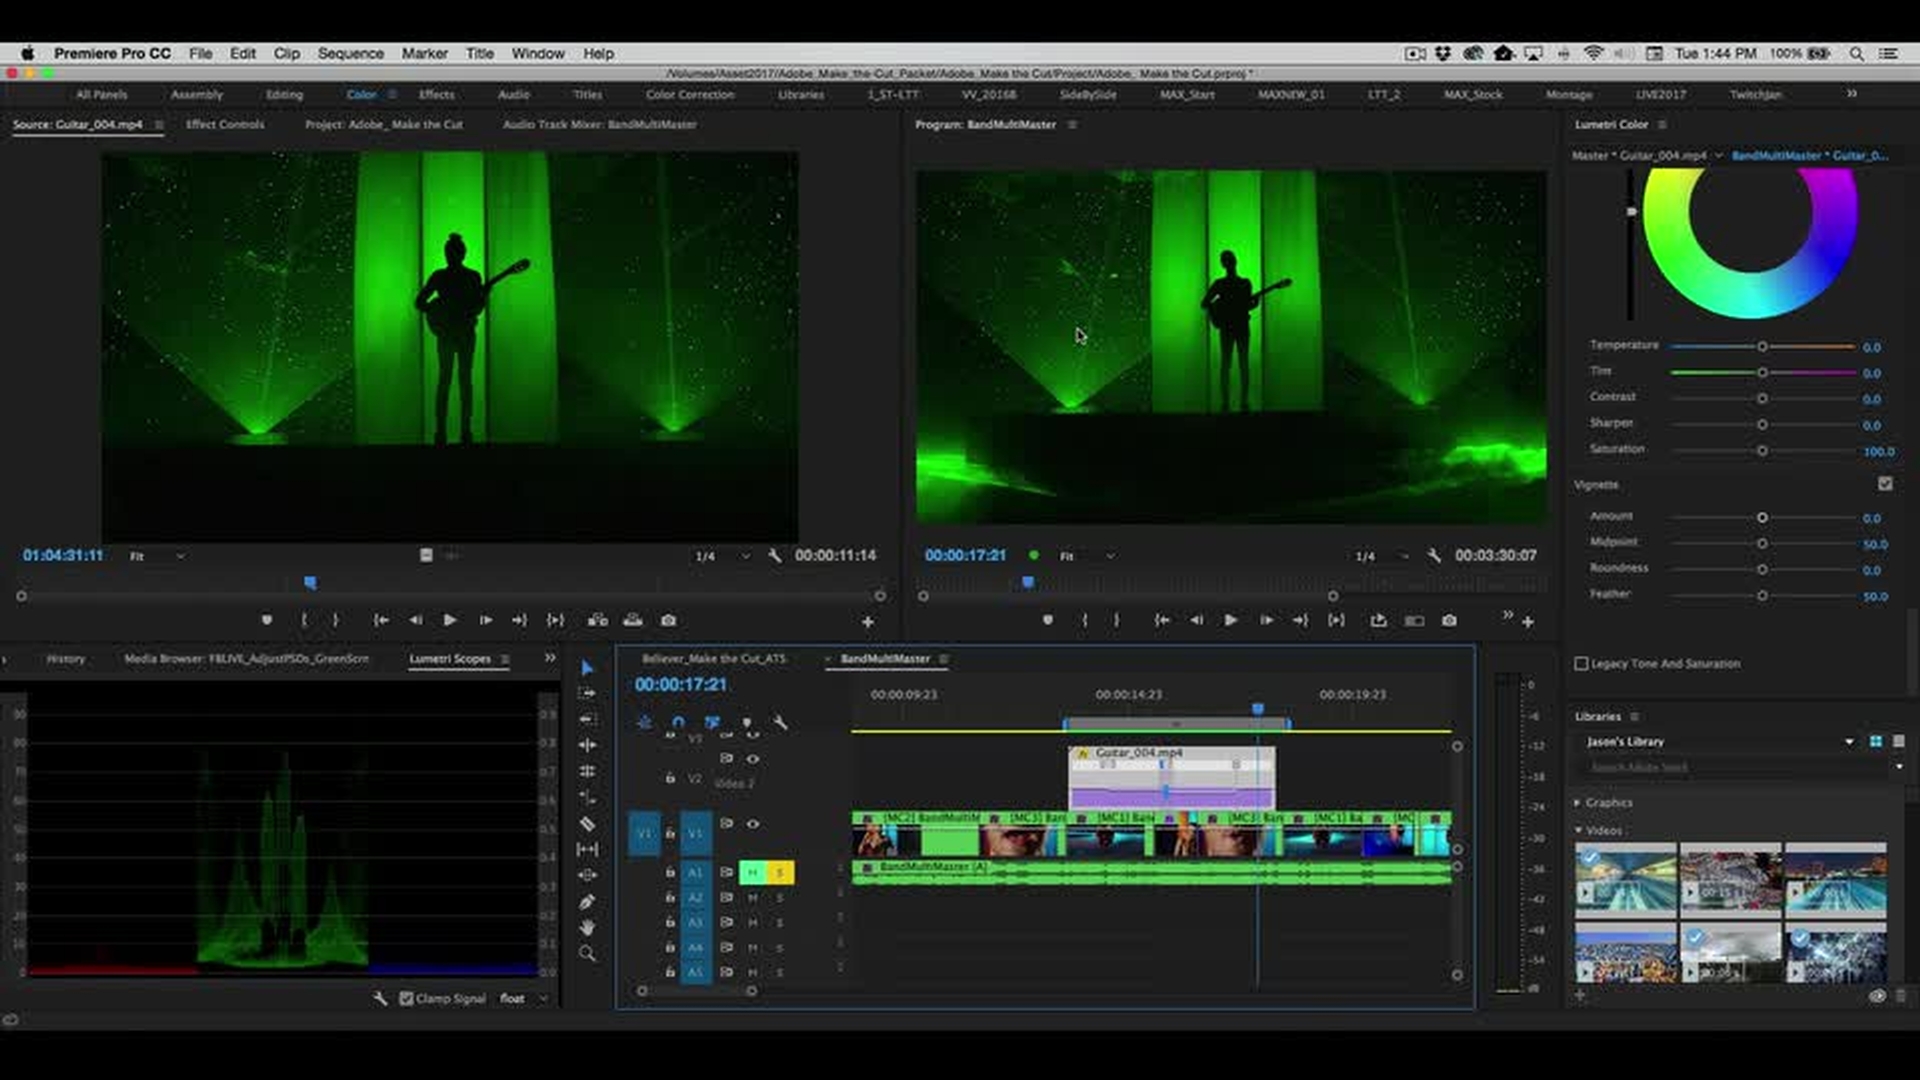
Correct tone, adjust color, and stylize the appearance of your music video using creative LUTs, curves, and dozens of other controls available in the Lumetri Color panel.
Slow down or accelerate your footage and smooth the effect with interpolation options, including Optical Flow. Vary speed changes within a clip using speed ramps.