Animate lettering in Adobe After Effects so that it appears to write by itself.


Kaj boste potrebovali
Creating a title that writes itself can be as simple as typing some text using a script typeface, tracing a few paths over it on a matte layer, applying a stroke, and then setting a couple of keyframes to reveal it over time.
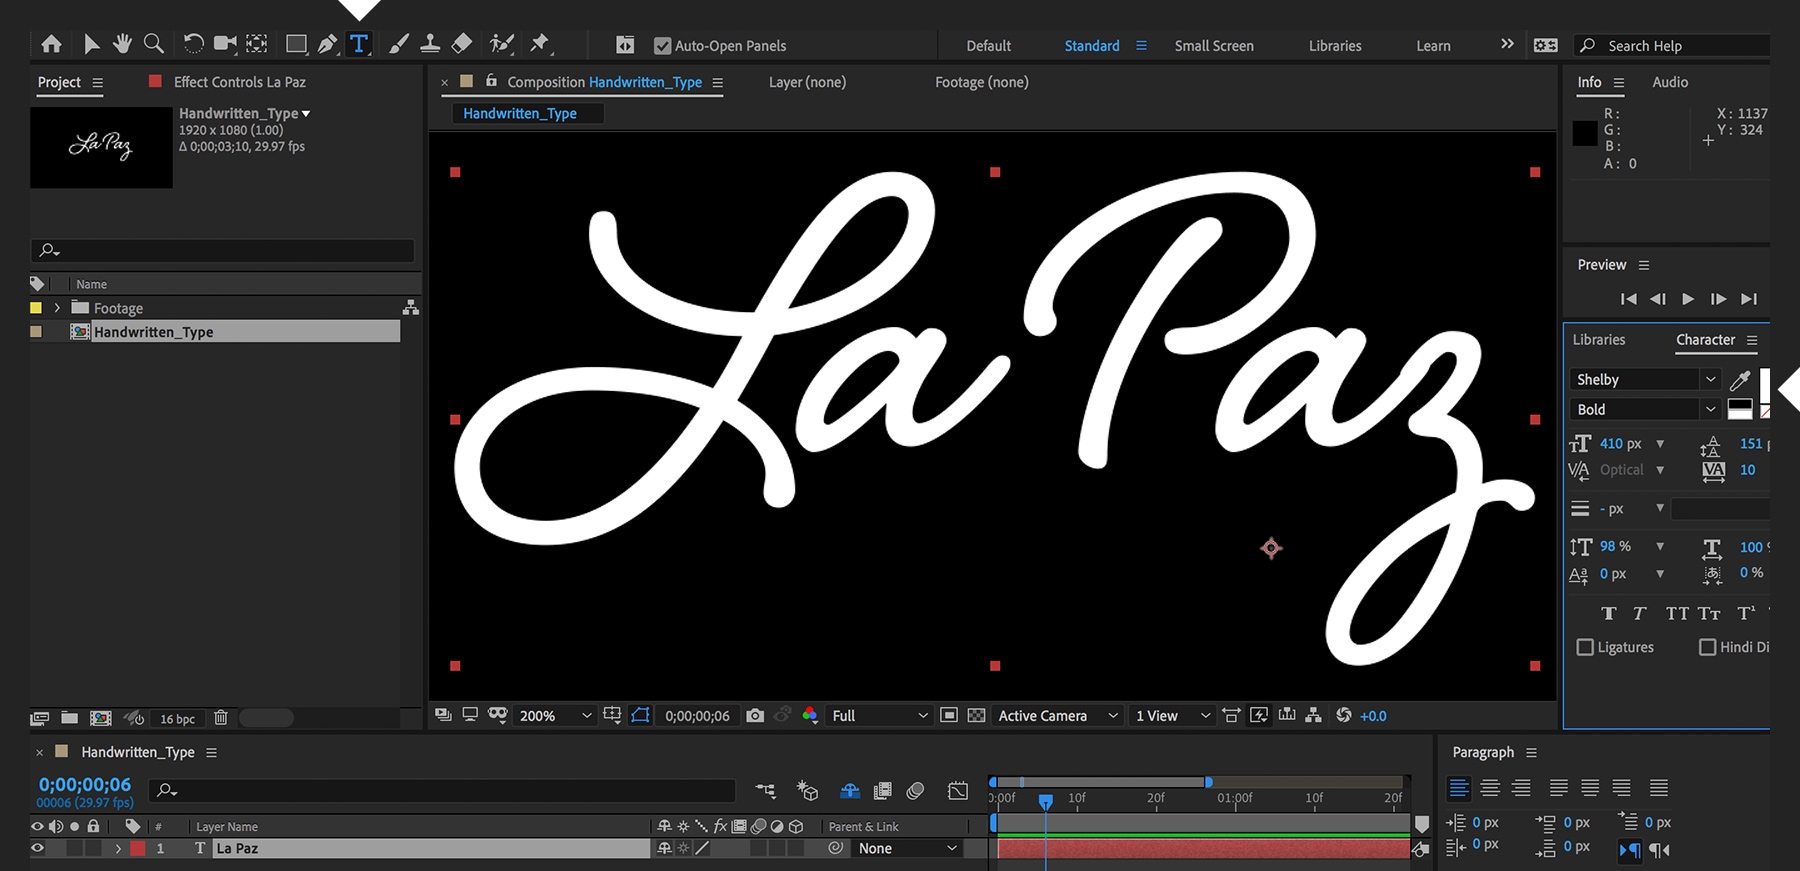
Click the Horizontal Type tool and type your text in a new composition (Composition > New Composition). Monoline fonts work best because their stroke widths don’t vary. That makes the letters easier to trace later. We picked Shelby Bold, which is available for free from Adobe Fonts.

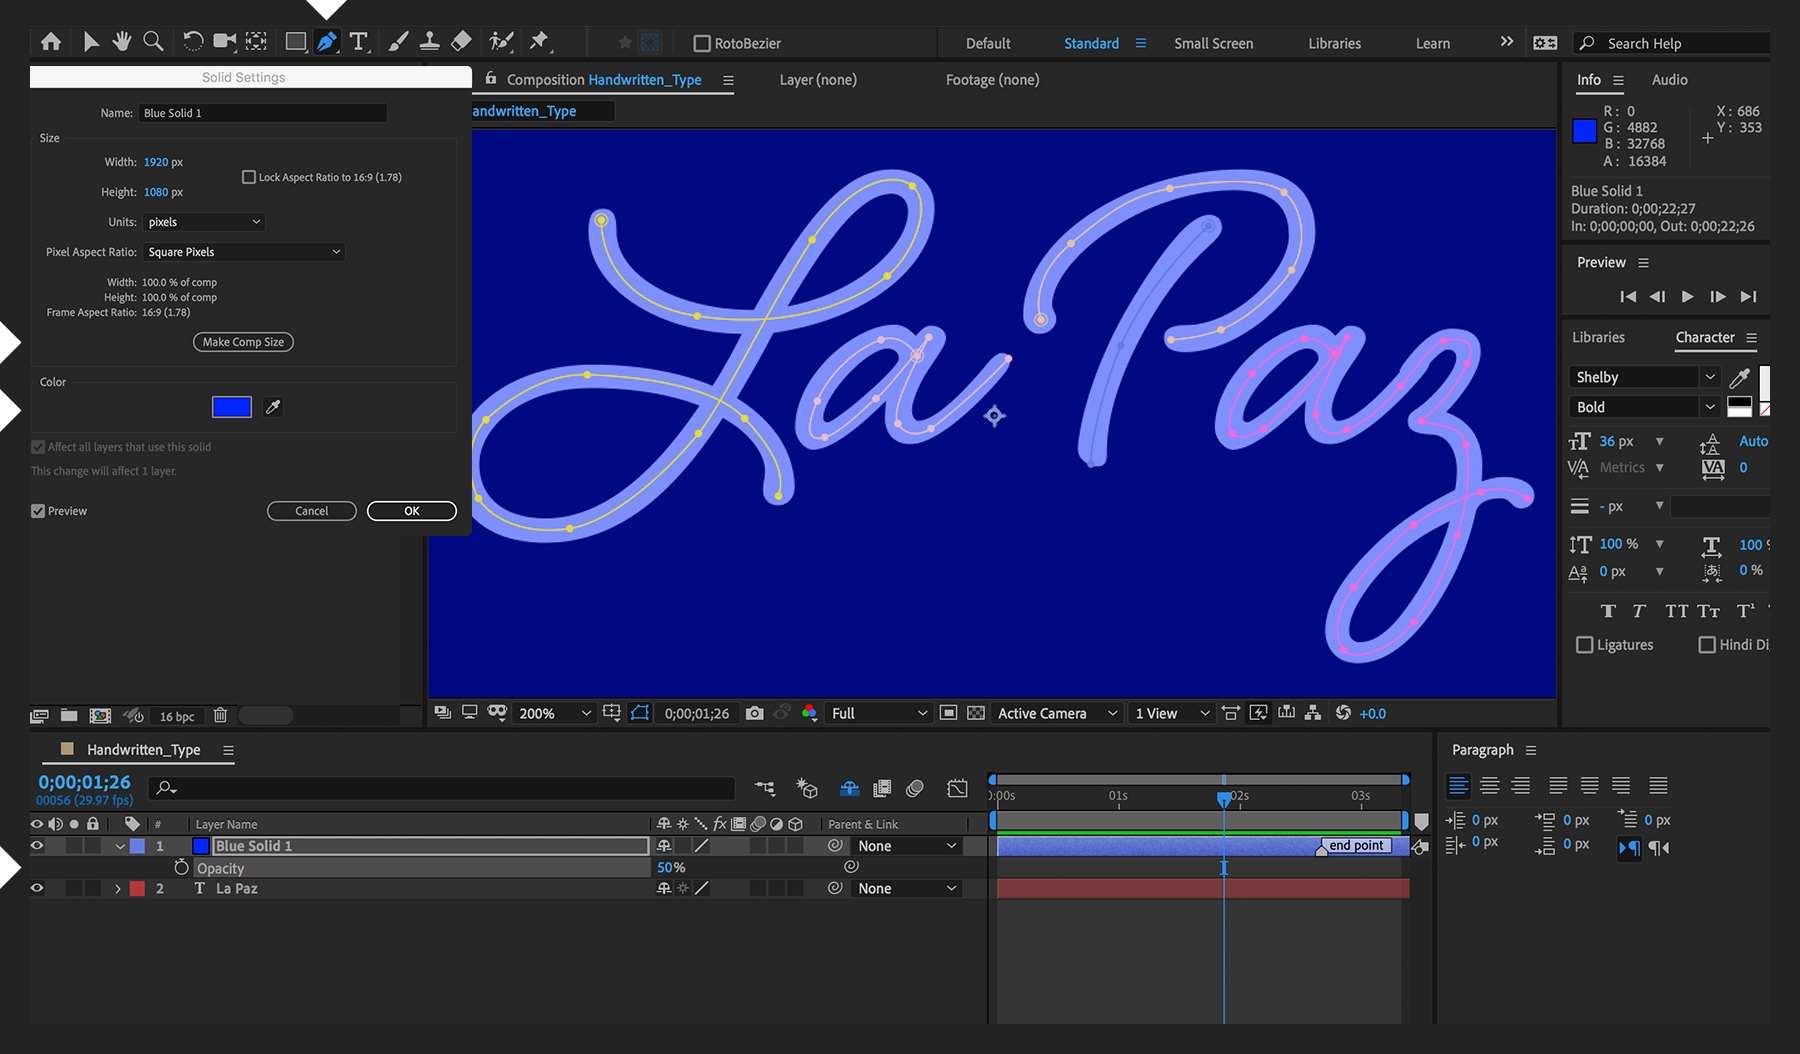
Create a new solid (Layer > New > Solid). In the Solid Settings dialog box, choose a color and click the Make Comp Size button to make sure the solid matches the size of your composition. With the solid layer selected, press T to view its Opacity settings and reduce the percentage until you can see the text layer underneath — like a transparency overlay. Use the Pen tool to draw a path inside each letter. Try to match the curves of the type as closely as possible.

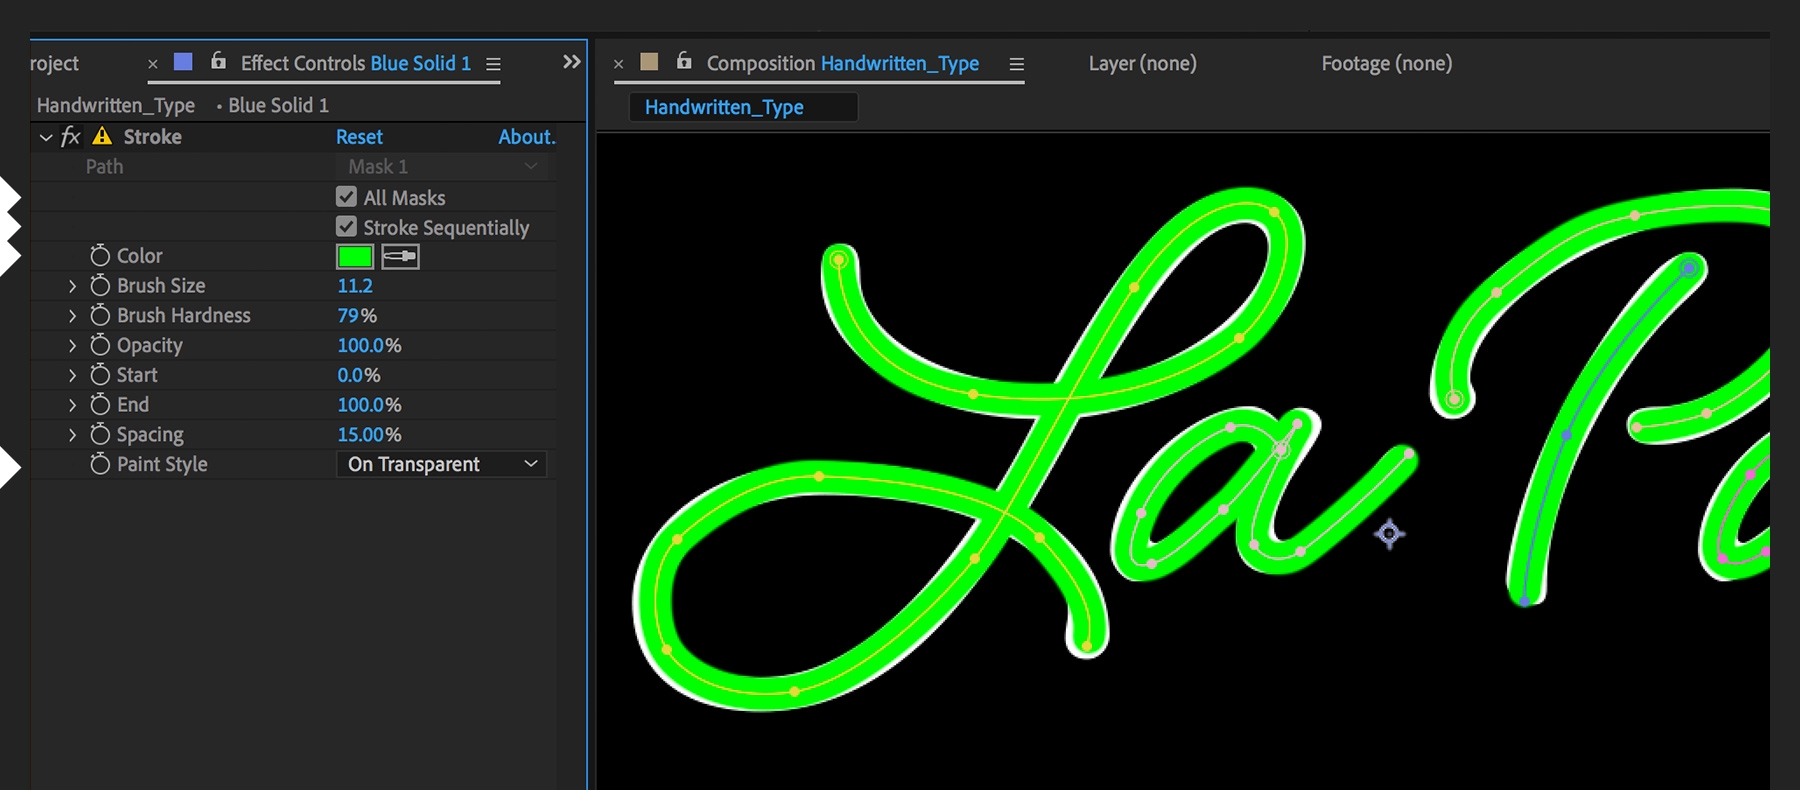
With the solid layer selected, choose Effect > Generate > Stroke. In the Effect Controls panel, click the All Masks and Stroke Sequentially options and set Paint Style to On Transparent. Change the stroke color so it stands out. Increase the Brush Size setting so the stroke fills in the type layer.

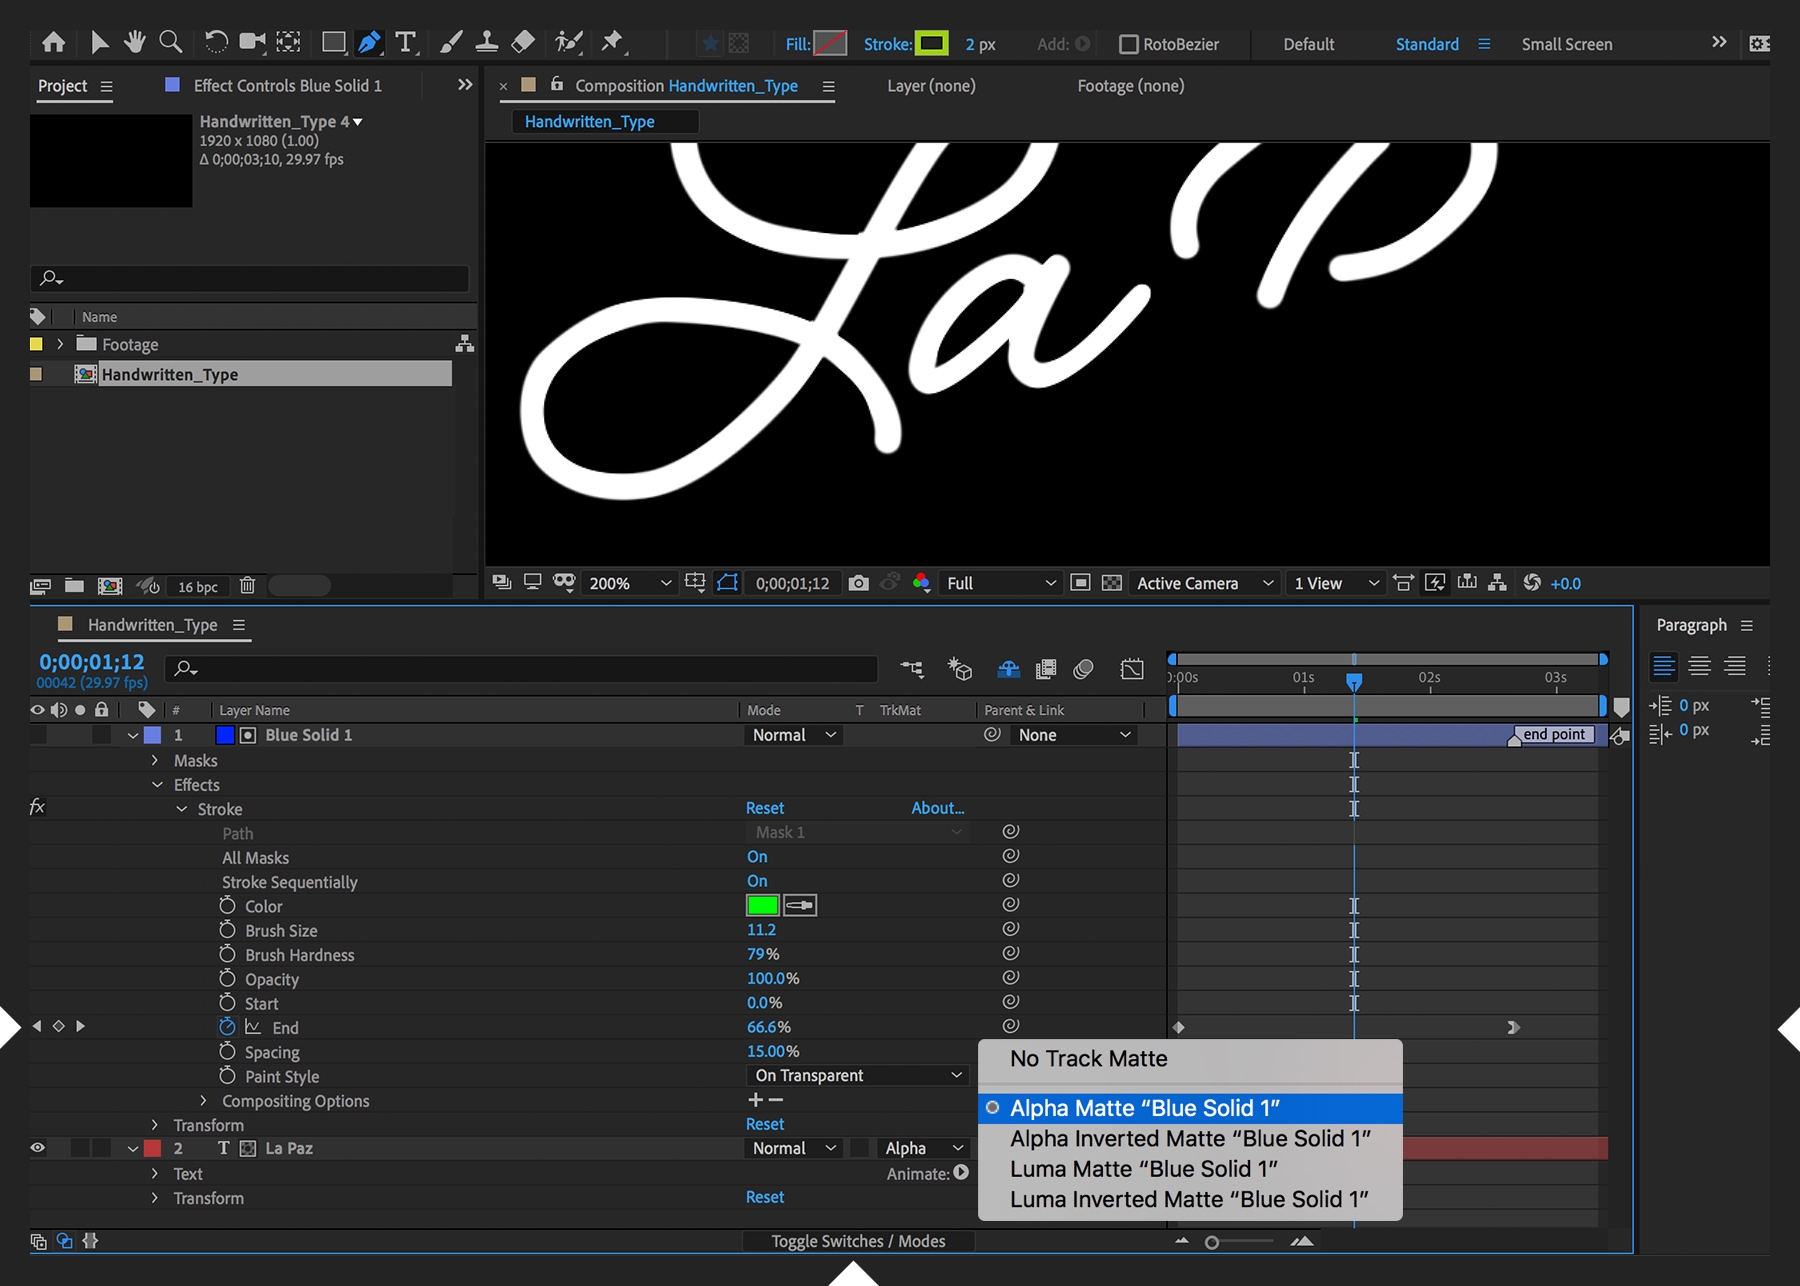
Now it’s time to animate the stroke. Set the type layer as an alpha matte of the solid (stroke) layer. You may need to click Toggle Switches/Modes at the bottom of the Timeline panel to reveal the Track Matte options in the Timeline panel. Press E to expose the Stroke effect you added to the solid layer. Expand the list of parameters and set End keyframes from 0 to 100% across a short span of time. Play the composition to see the lettering write itself across the screen.

To add some flair, you could color the tip of the animated line. This requires duplicating both the solid and type layers (Edit > Duplicate) and changing the color of the duplicated type layer. For the top mask’s Stroke effect, set Start keyframes from 0 to 100% across the same span of time as the End keyframes, and then drag the pair of Start keyframes ahead in time by a few frames. Now you’ll see a two-toned stroke write the title across the screen. Composite the type against a vibrant background video layer and you’ve got a cool title design. See what we did below to complete this project: