Color grade your video with SpeedGrade
Learn how Adobe SpeedGrade can help you correct colors, match the color between shots, and add stylized looks to your footage. (As of Adobe Premiere Pro 2015.3, the workflow in this tutorial is no longer supported.)
Important: The Direct Link workflow between Premiere Pro and SpeedGrade described in this tutorial requires Premiere Pro 2015.2 (November 2015 release) and SpeedGrade 2015.1 (June 2015 release) or earlier. Starting with Premiere Pro 2015.3 (June 2016 release) or later, Direct Link is no longer supported. Check out Quickly make expert color adjustments to learn about the Lumetri color tool available in the current release of Premiere Pro.

Download sample files
Understand what color grading is.
Before you jump headfirst into color-correcting your clips, it’s helpful to understand a little about color grading. You’ll also need to open the tutorial project in Premiere Pro and send it to SpeedGrade using the Direct Link feature. In addition, you’ll get a brief introduction to the SpeedGrade user interface.
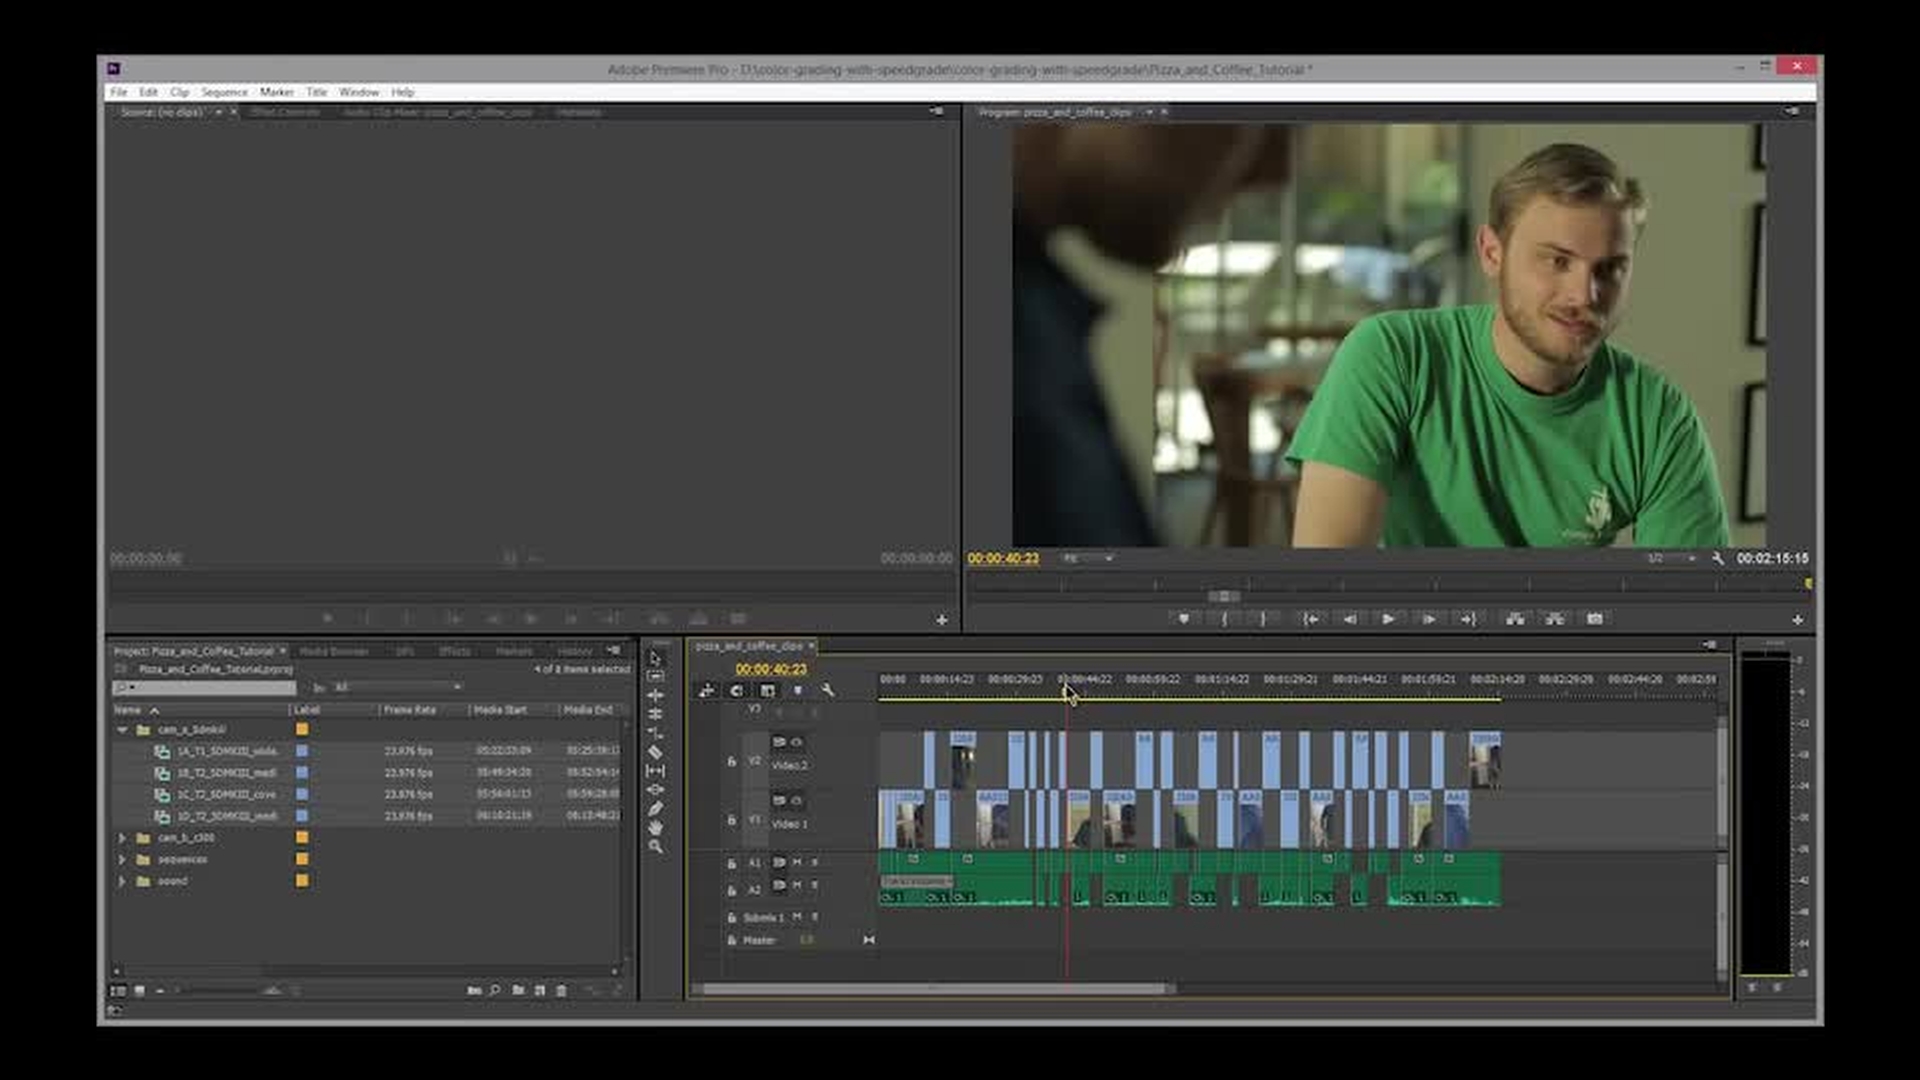
Open the project (1:26); Send to SpeedGrade (5:00); Get the SpeedGrade UI tour (5:20)
Adjust the temperature and midtones of a clip.
Often the video you shoot will be warmer or cooler than you prefer. The RGB parade scope is one of several analysis scopes you can use to see a representation of how warm or cool the clips are in your project. You can then use the temperature slider to adjust the shot on the primary layer’s overall setting. Finally, you can make fine adjustments to the highlights, midtones, and shadows of the shot using the various slider and trackball controls.
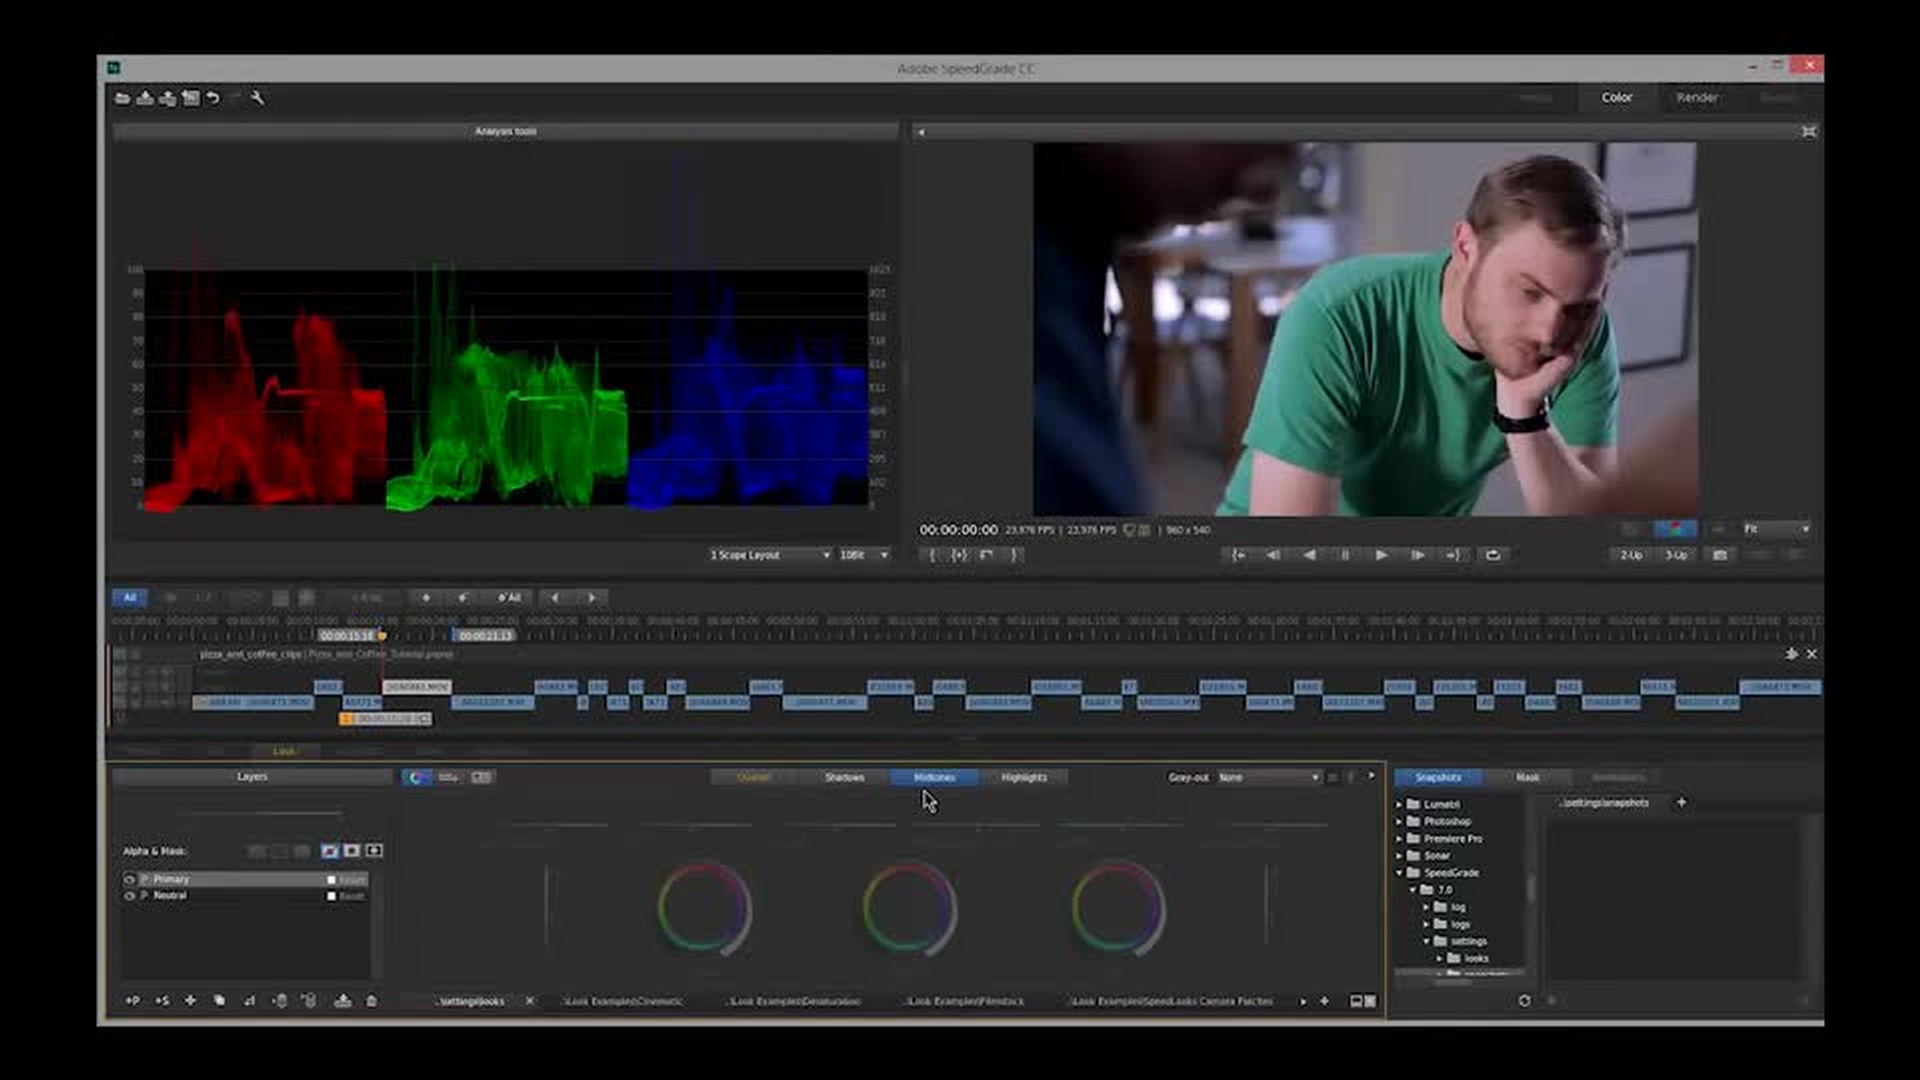
Open analysis tools (0:30); Adjust the temperature (3:50); Adjust the midtones (9:00)
Apply a unique, stylized look to your video.
Digital video and traditional film have subtle differences, such as the amount of detail that is preserved between changes in color or luminance (called “roll off”). SpeedGrade ships with several film stock effects that can help you achieve the look of film when applied to your digital video, so your project looks like it was shot on film. You can use a film stock by itself or apply one before or after a custom grade. If you apply a film stock after a grade, be sure to put it on a new Look Up Table or LUT (pronounced “lutt”) layer in the Layers panel. Otherwise, the film stock will delete and replace your existing grade layers.
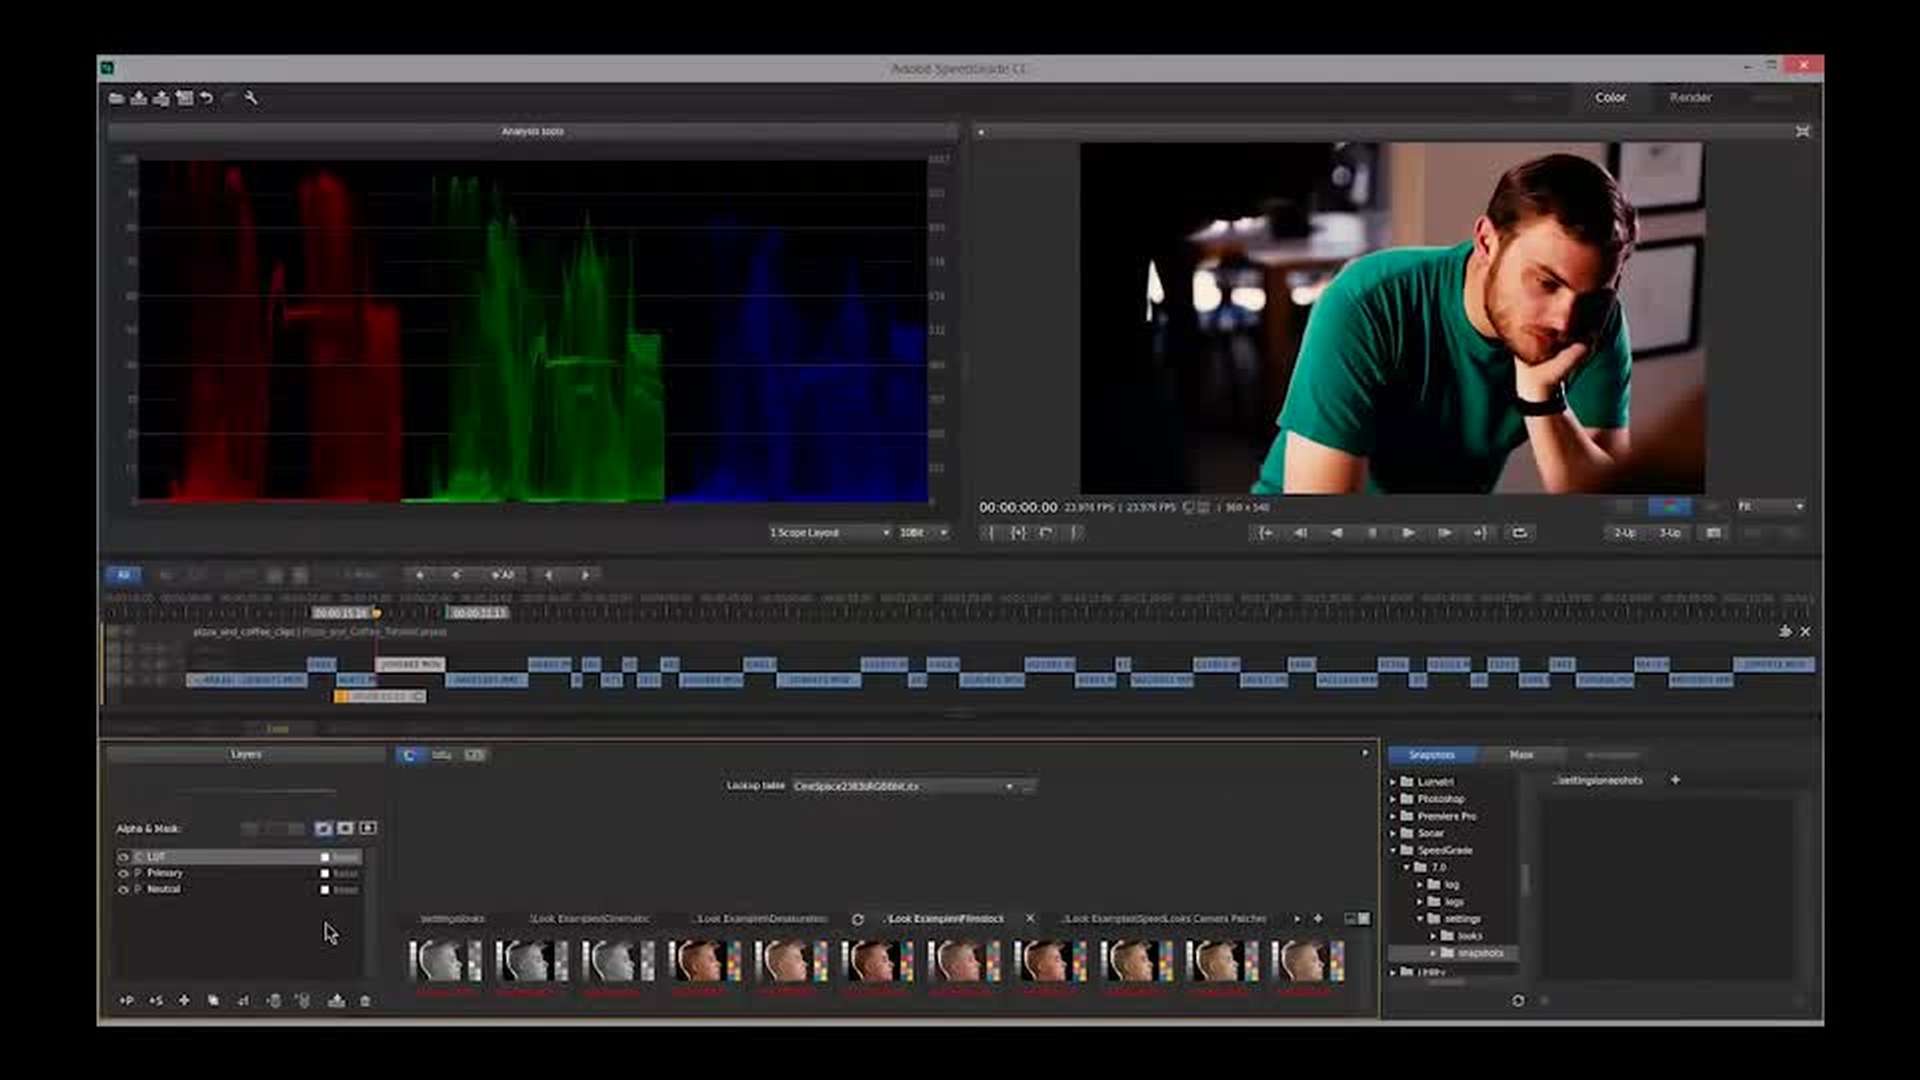
Understand roll off (1:07); Apply a film stock (2:50); Add a LUT (6:00)
Save and apply looks.
A “look” is the composite of all the color and grade changes applied to the layers in the layers panel for a specific clip. SpeedGrade allows you to create and save looks, which you can then apply to other clips in your project. This is a huge timesaver if you have many clips in your project to which you need to apply the same look. The Shot Matcher tool allows you to take the look from one clip and apply it to another clip in your project.
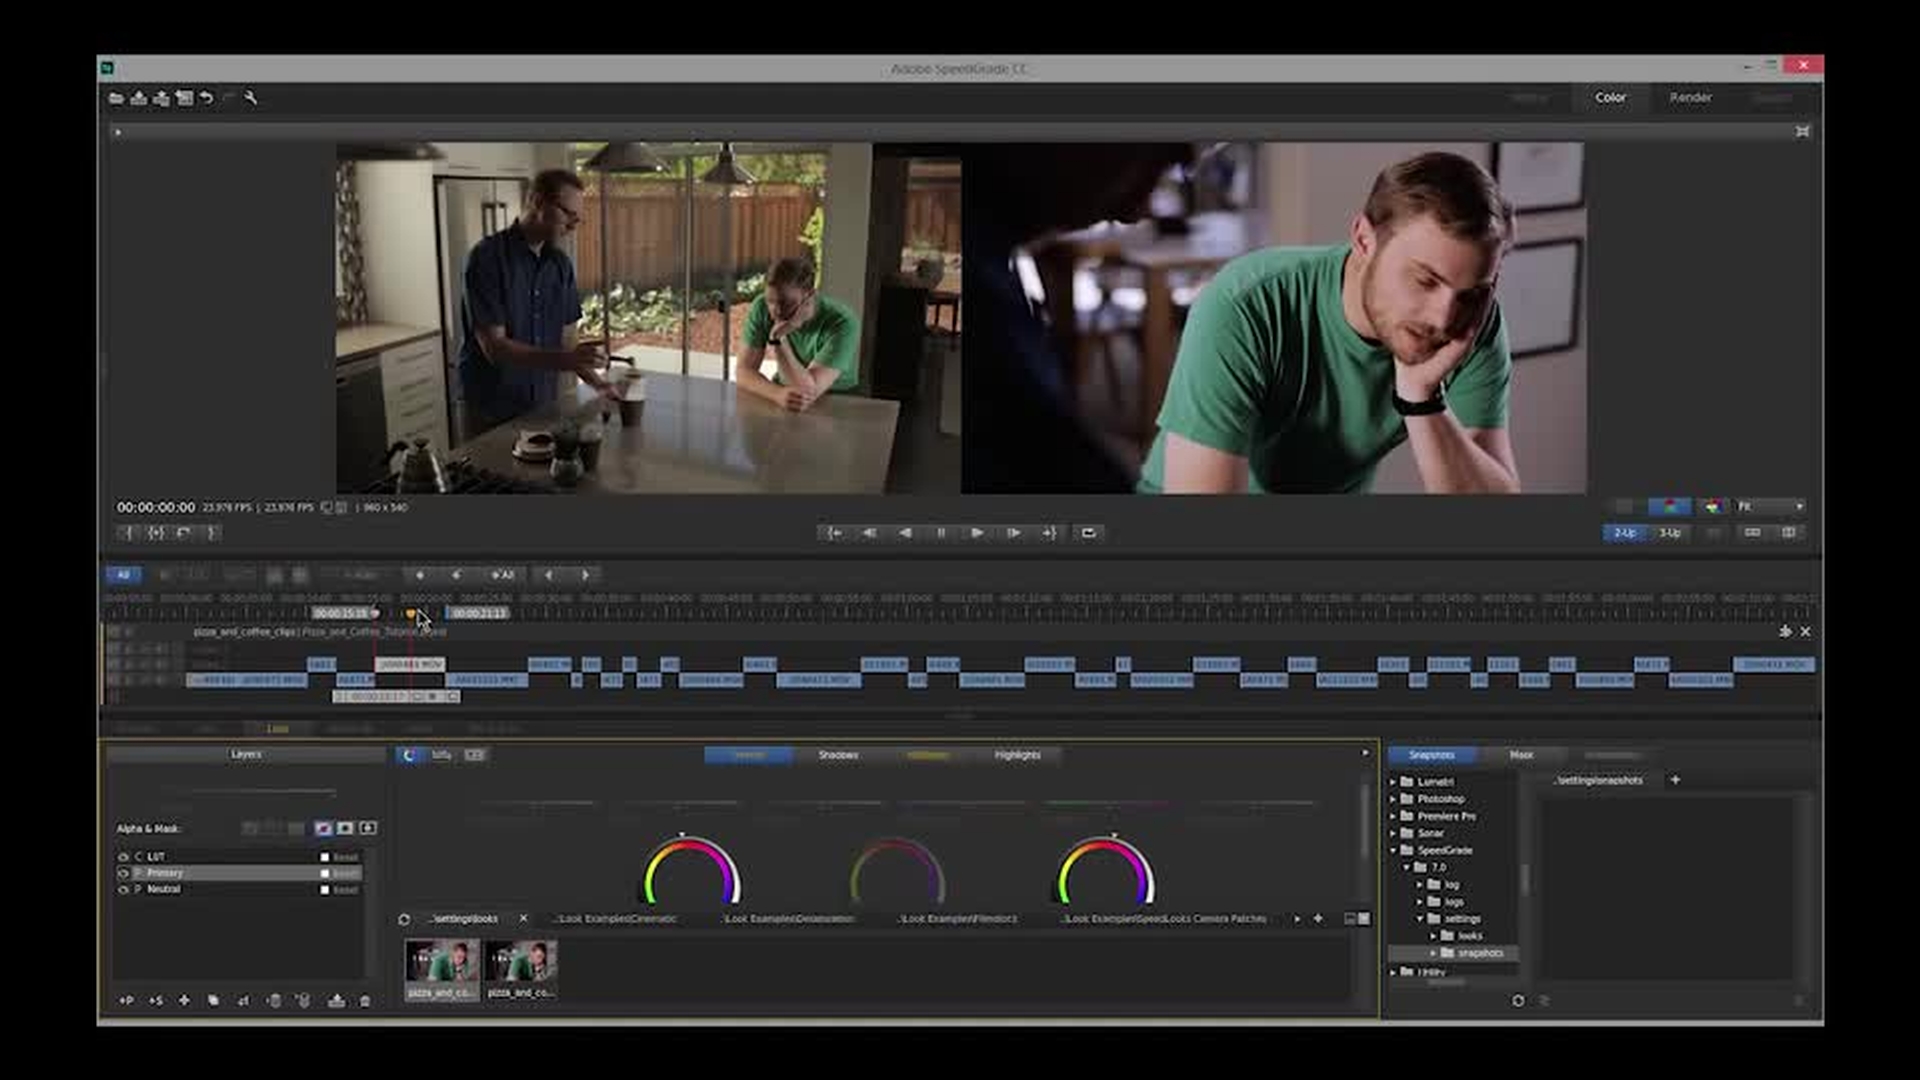
Save a look (0:37); Apply a look (2:17); Use the Shot Matcher tool (2:30)
Send your SpeedGrade project back to Premiere Pro.
The final step in grading your video project is to send the project from SpeedGrade back to Premiere Pro. This takes all the grades that you applied in SpeedGrade and adds them as Lumetri effects in Premiere Pro — where you can still turn them off and on in the Effect Controls panel. Save the Lumetri effects as a preset, so you can continue using them in the same or other projects.
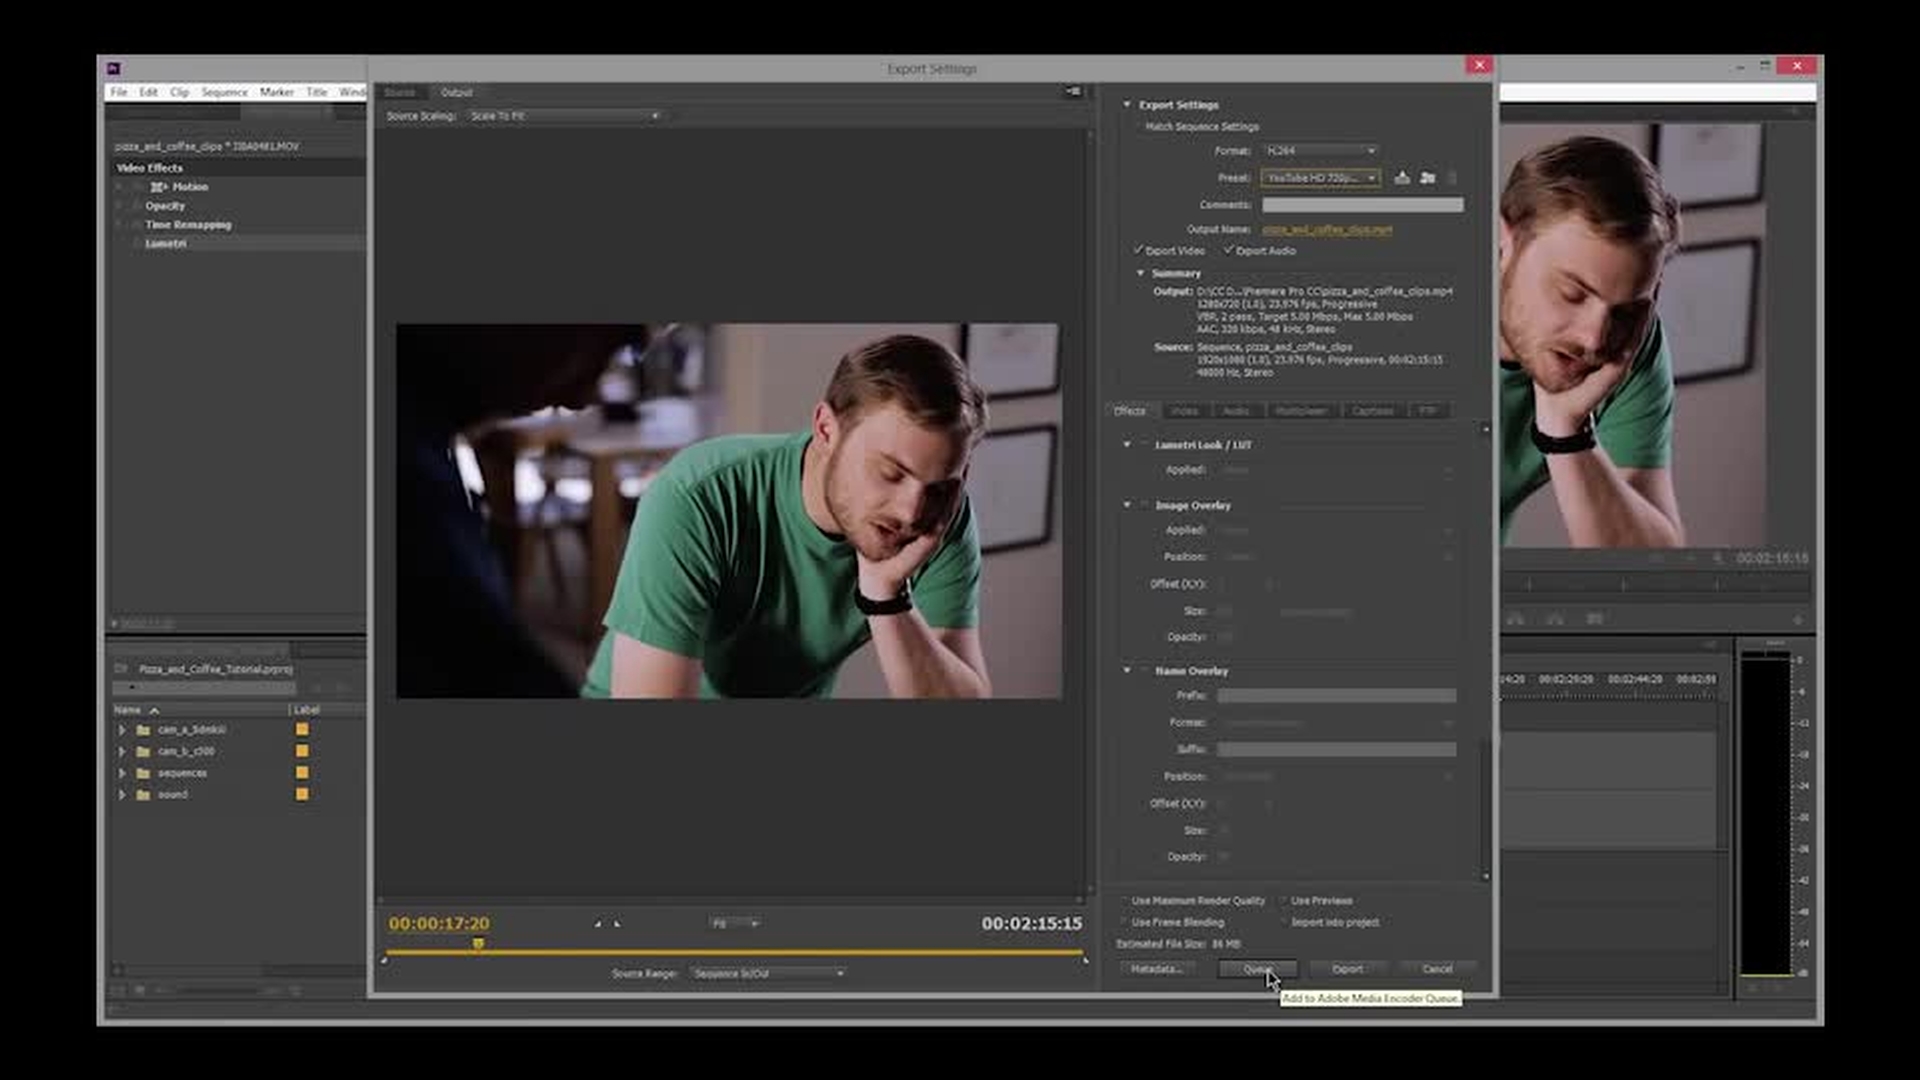
Once you’ve reviewed your work, export the project from Premiere Pro or queue it in Adobe Media Encoder for exporting. Either way, you have a wide variety of export formats to choose from including many presets for common video hosting services, such as YouTube and Vimeo.
Direct Link to Premiere Pro (0:27); Export the media (1:29); Render the video (3:17)

