Update to InDesign CC available
For more information, see the New features summary.


Update to InDesign CC available
For more information, see the New features summary.
 New in InDesign CC
The new Sync Settings feature enables individual users to sync their settings using Creative Cloud. If you use two computers, for example, one at home and another at work, the Sync Settings feature makes it easy for you to keep those settings synchronized on these two computers. Also, if you have replaced your old computer with a new one and have reinstalled InDesign, you can get the application set up quickly with all your settings in place by just pressing a button.
For more information, see Sync Settings using Adobe Creative Cloud (article).
 Enhanced in InDesign CC
InDesign, by default, is now available with a dark theme, which is in line with recent changes in other products such as Photoshop, Illustrator, and Premiere Pro. This theme enables a more pleasant visual experience, especially while working with rich colors and designs. It also makes cross-application work simpler than ever.
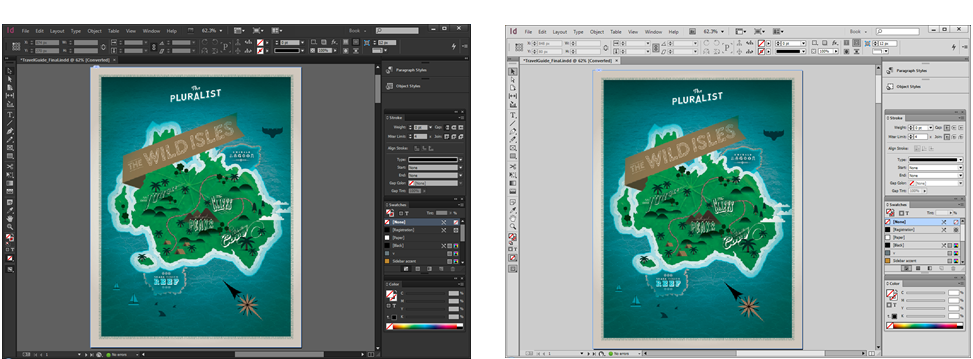

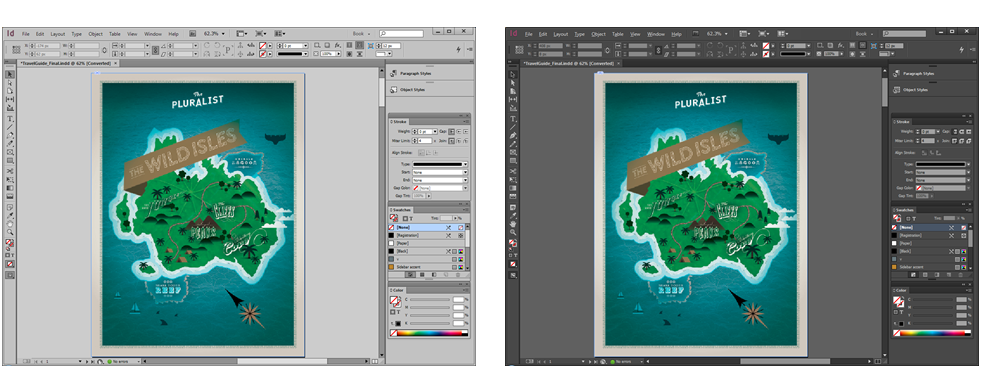

New vibrant color themes for user interface: Dark, medium light, light, and medium dark
You can easily vary the brightness of the user interface to a tone you prefer from the Interface option in the Preferences dialog. You can enable Match Pasteboard to Theme Color to set the tone of the pasteboard area to match the brightness of the interface. If you prefer the classic (CS6 or prior) InDesign pasteboard color, you can deselect this option.
For more information, see Tour the new interface (video).
 Enhanced in InDesign CC
To take advantage of advancements in high-resolution display technologies, InDesign now includes native support for high-resolution displays. This feature is currently available for the Mac OS (for example, the MacBook Pro with Retina display). You can now enjoy working with a sharper and clearer environment on these devices. You can view text and complex artwork in greater clarity, and in colors and hues that appear more vibrant than before.
InDesign, InCopy, and InDesign Server are all now 64-bit applications to leverage RAM beyond 3GB on both Mac and Windows. All the features of InDesign have been enabled to work in 64-bit mode. With support for 64-bit architecture, general processing is faster and more RAM can be made available to the application. This speeds up processes, and makes it easier to work with several large files at a time.
 New in InDesign CC
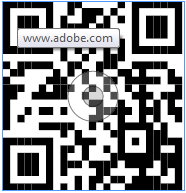
You can now generate and edit high quality independent QR code graphics from within InDesign. The generated QR code is a high-fidelity graphic object that behaves exactly like native vector art in InDesign. You can easily scale the object and fill it with colors. You can also apply effects, transparency, and printing attributes such as overprinting, spot inks, and trappings to the object.
The Generate QR Code feature is accessible via Menu > Object, and via the right-click context menu when an empty frame is selected.
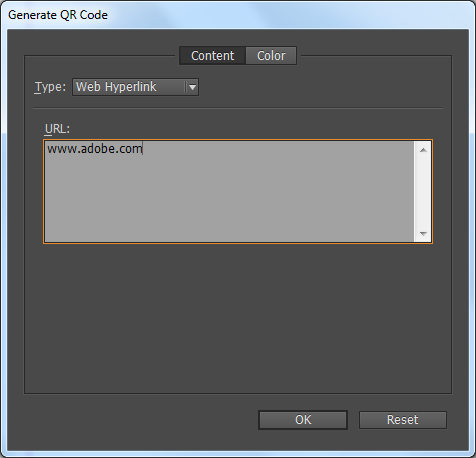

Once placed inside a document, the QR code is treated as a traditional EPS object, except that a tooltip appears on hovering over the object, revealing the content details.

For more information, see Generate QR codes (video) or Generate QR codes (article).
 Enhanced in InDesign CC
Several enhancements have been made to the Font menu, including the way fonts are displayed, searched, and selected. You can now also identify Favorite fonts for easy access, and apply fonts on selected text while browsing so that you can see how your fonts will look in the layout.
The new fonts widget has been added in the Character panel and the Control panel. The widget has four elements.


Clicking the drop-down arrow button without entering any search string displays a pop-up list of all installed fonts.
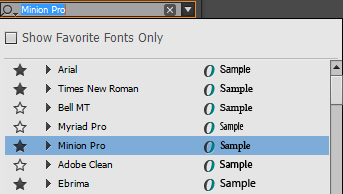

You can now easily search for the fonts you are looking for. There are two modes for doing this:


As you clear the font name and start typing, the search results start appearing in the popup. A Cross icon appears in the widget to help you clear off the results quickly and start afresh. The search results are displayed as a flat list (without grouping of font and associated family). For example, Ebrima is a family and has two styles – Regular and Bold. If you search for Ebrima, both Regular and Bold are displayed as separate entries and are not grouped as Ebrima.


You can browse the fonts list with the Arrow keys. On selection, the font style is applied to the selected text in your layout or document for preview. Clicking a font name or pressing the Enter key commits the font style and closes the Font List popup.
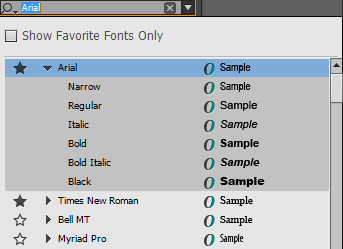
You can add or remove a font from the Favorite list by clicking the Favorite icon (star) in the font list. When you click the drop-down arrow key, you see the Favorite icon highlighted in Black for the fonts which are marked as favorite.
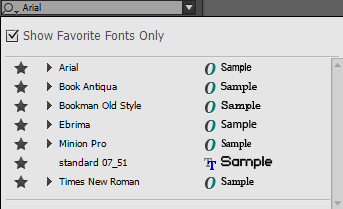

Adding or removing a font belonging to a family adds or removes the entire font family to the Favorite list.

For more information, see Font Menu Enhancements in Adobe InDesign CC (video).
 Enhanced in InDesign CC
EPUB Export workflows have been simplified: several improvements in the existing features, additional control while authoring, and a few brand-new features.
TOC Story has been redone so that any existing, possibly edited TOC story is now exported like any other story. If portions of these TOC stories are copied and pasted elsewhere, the hyperlinks back to the PDF page and the source paragraphs (in case of an EPUB Export) remain live.
The NCX (navigation) file, required in the EPUB package, cannot use an existing TOC and is generated using the TOC style as in CS6.
Index stories are now supported in the exported EPUB file. Live hyperlinks to indexed terms are displayed in the exported file. The terms retain their references to content at paragraph level.
While exporting an InDesign document or book to EPUB/HTML, if you decide not to generate the CSS, only the classes associated with the styles are marked in the HTML tags; no overriding classes are created. The exported file is now much cleaner and ready for an external CSS.
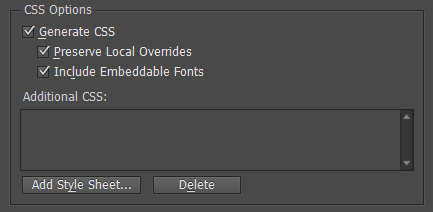

The Emit CSS control has been added under the Export Tagging of the Paragraph, Character, and Object Style edit dialogs. If you want to include this style in the CSS, select the Emit CSS check box. If you don’t select the check box, no CSS class will be generated for this style. If you have two or more styles having the same class assigned, InDesign displays an error or warning message while exporting.
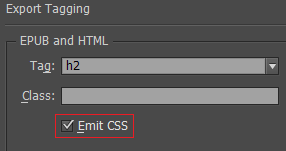

To map InDesign attributes with appropriate CSS properties, it is often necessary that we have to generate a sort of “override class” to adjust the behavior of the CSS class generated from the style. Prior to this change, these were given obscure names. These names have now been changed to reflect their purpose and give more clarity to the users regarding the applied overrides.
Object Style Options now has the Export Tagging feature. In terms of mapping styles to classes and tags, the object styles now work more like paragraph and character styles.
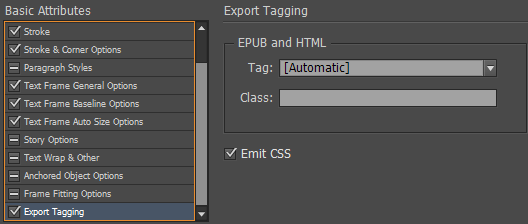

Object Style Options now includes the Export Options for Alt Text, Tagged PDF, and EPUB & HTML. You can specify rasterization settings and custom layout options. Objects with the applied style are handled based on the export options.
For more information, see:
 New in InDesign CC
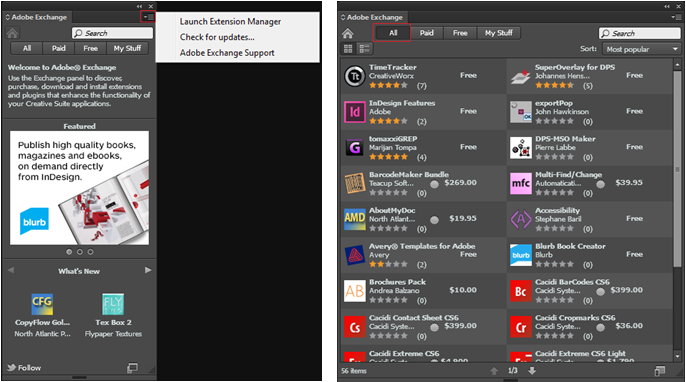
The new Adobe Exchange panel is now an in-app experience for you to explore and discover content, plug-ins, and scripts that you can purchase or download for free. If you produce scripts, templates, plug-ins, or anything that can enhance the functionality of Adobe’s Creative applications, you can quickly package and submit and make them available to a larger community.
Adobe Exchange even lets you privately share products. For example, you can package up a series of images, InDesign templates, and other files. Anyone with who you have privately shared the products can install the content and see any updates you make. The experience is very much like an app store.
You can become a producer for free. Get started here: https://www.adobeexchange.com/producer
To open the Exchange panel, go to Windows > Extensions > Adobe Exchange.

For more information, see Explore the new Exchange panel (video).
 Enhanced in InDesign CC
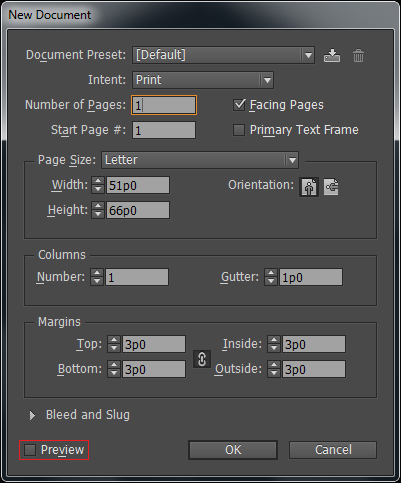
The New Document dialog now has the option of showing a preview of the new document. As you select new document options, you see the impact of the selection or changes in the background at the same time.

For more information, see Create a new document (video).
(Chinese, Japanese, and Korean only) The preview option is displayed in the New Layout Grid dialog box (New Document > Layout Grid dialog).