Bring out detail in parts of a photo that are too dark or too light with a quick Shadows/Highlights adjustment in Adobe Photoshop.
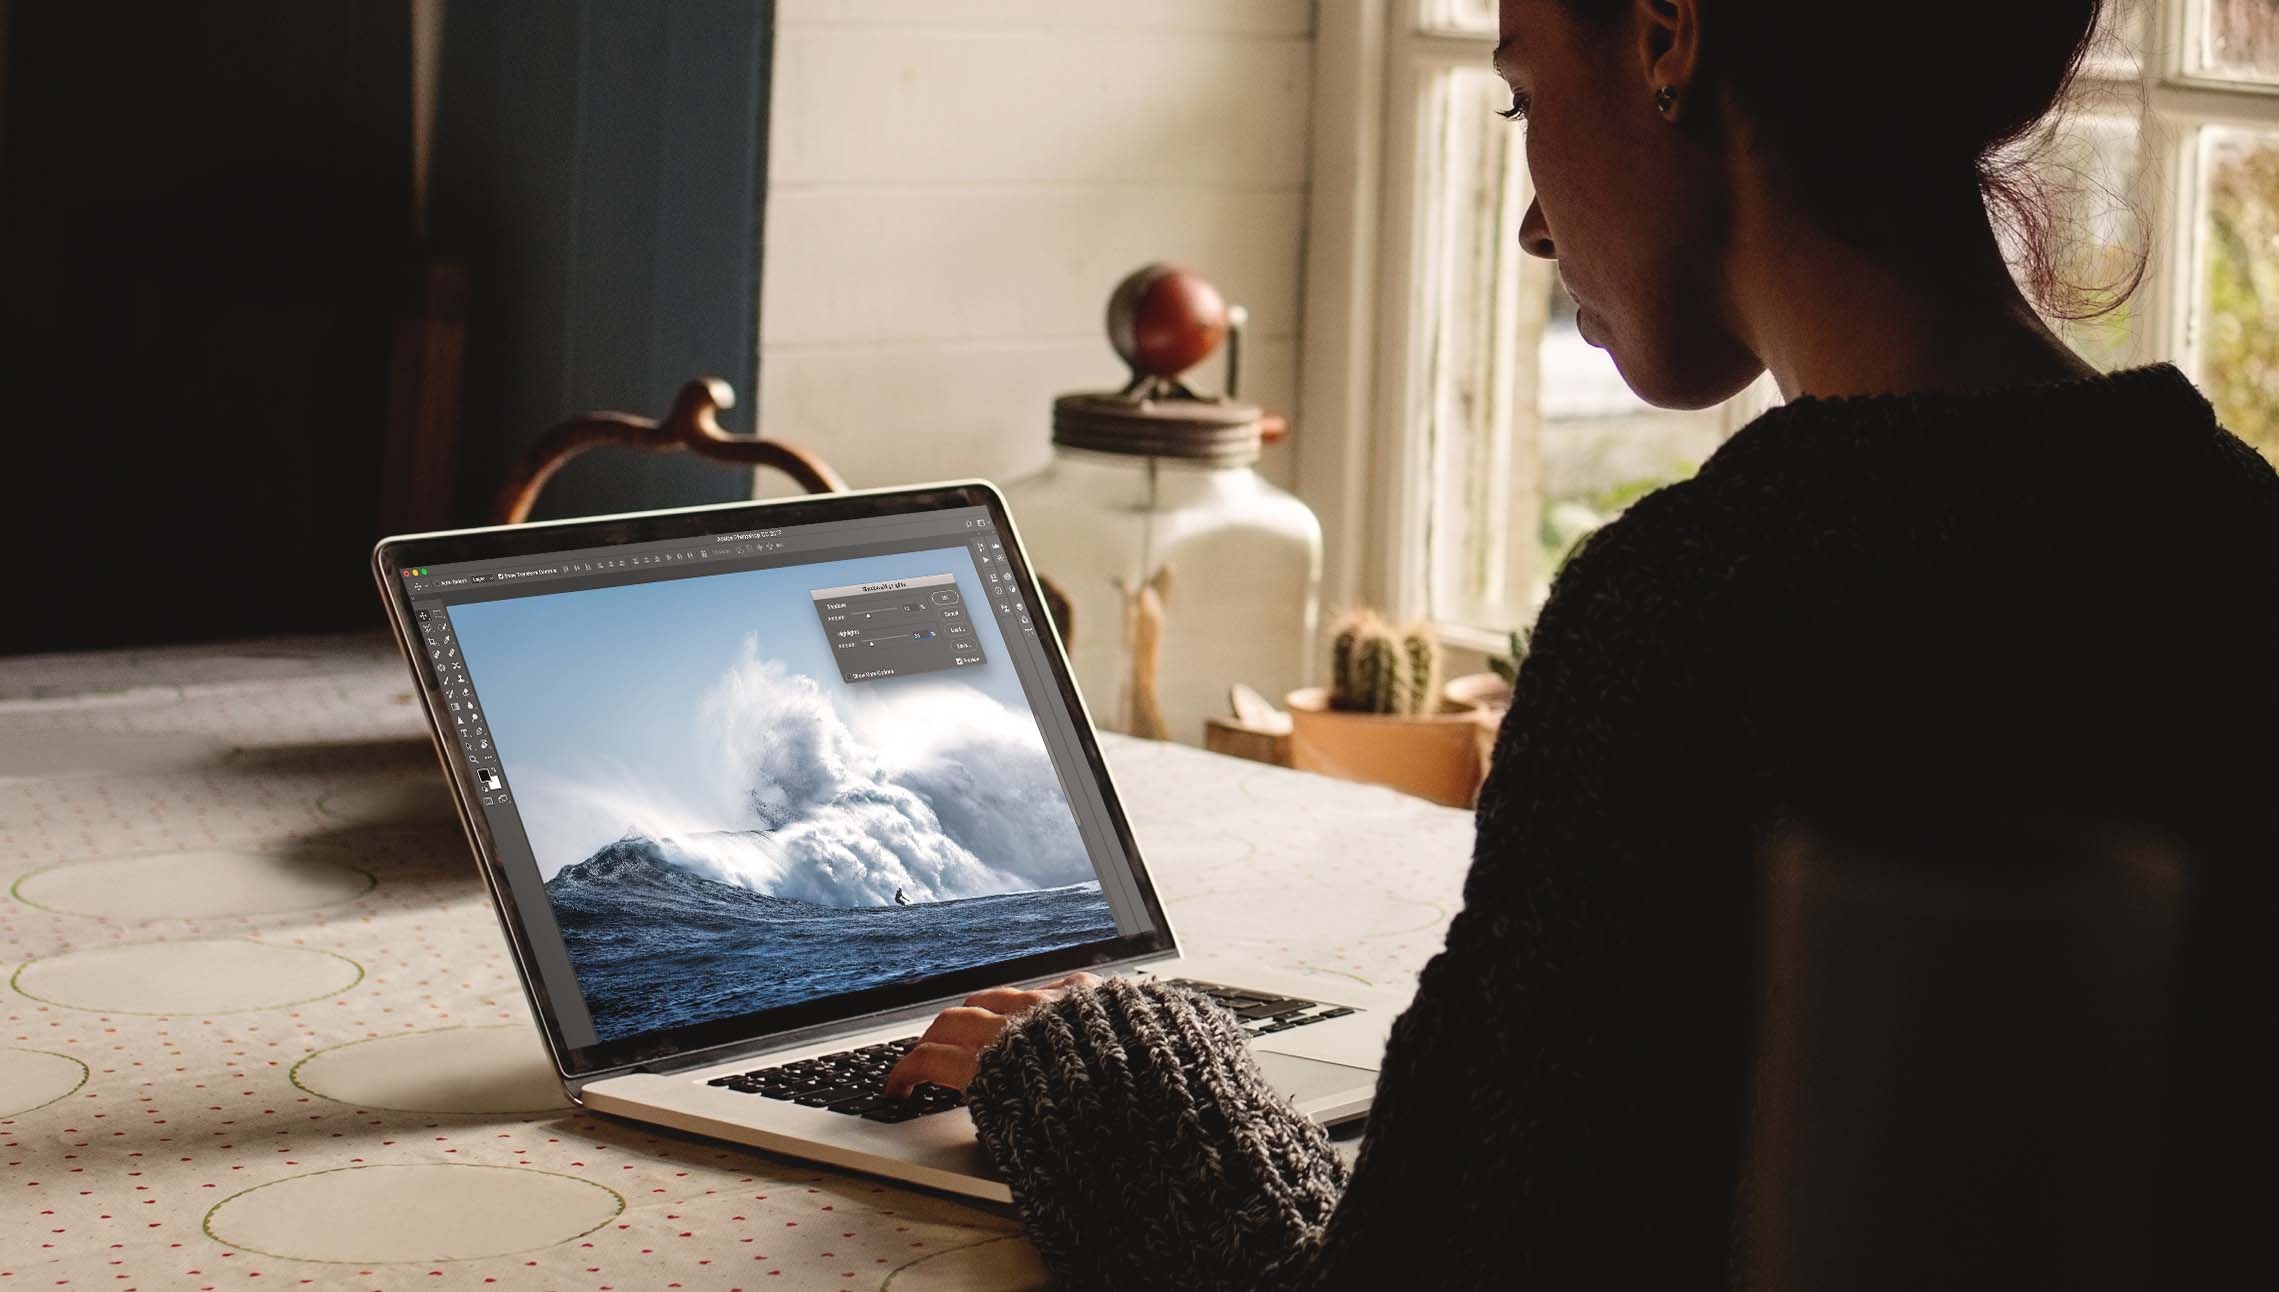

Bạn cần những gì
Convert your photo to apply a Smart Filter
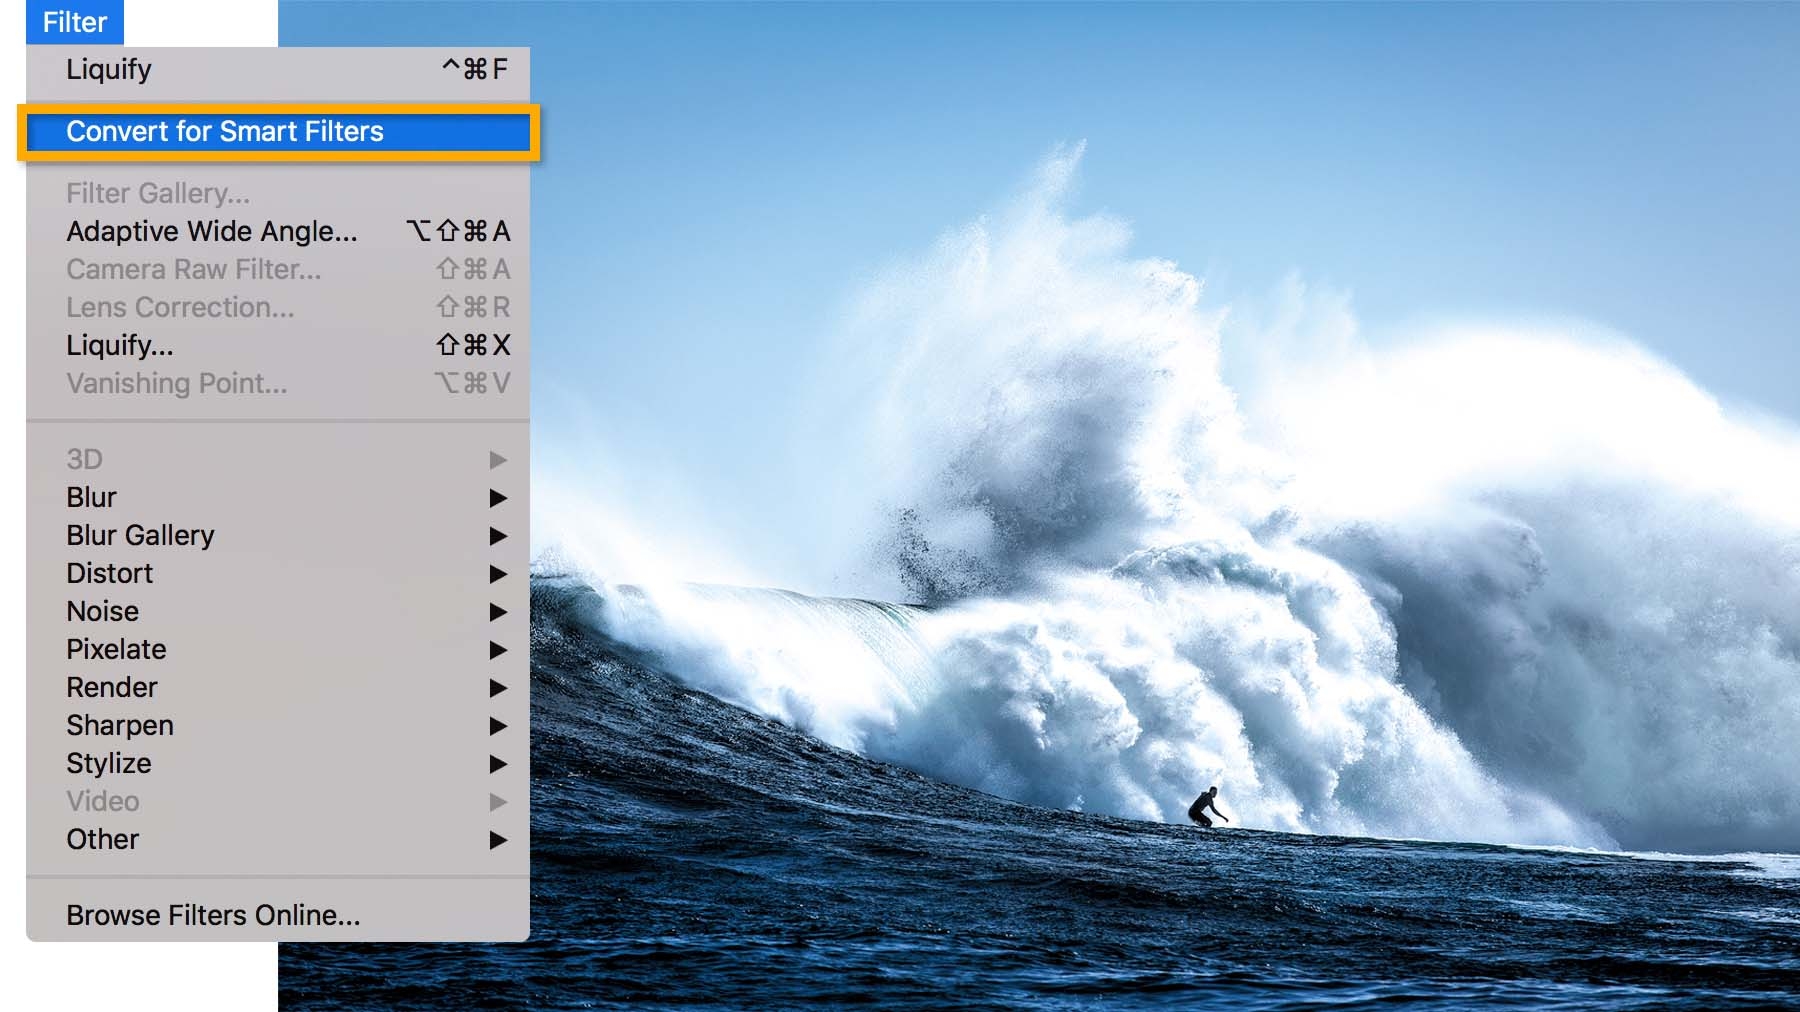
Open a photo and select the photo layer. Choose Filter > Convert for Smart Filters, and then click OK. This preserves the original image and gives you the option to make future changes to the Shadows/Highlights adjustment you’ll apply in the next step.
Tip: You could apply a Shadows/Highlights adjustment directly to a photo, but converting for Smart Filters before applying this adjustment gives you the flexibility to re-edit your adjustment or even delete it altogether.

Add an adjustment layer
Apply a Shadows/Highlights adjustment layer to adjust over- or underexposed areas of an image. Choose Image > Adjustments > Shadows/Highlights to open the settings.


Brighten underexposed areas of a photo
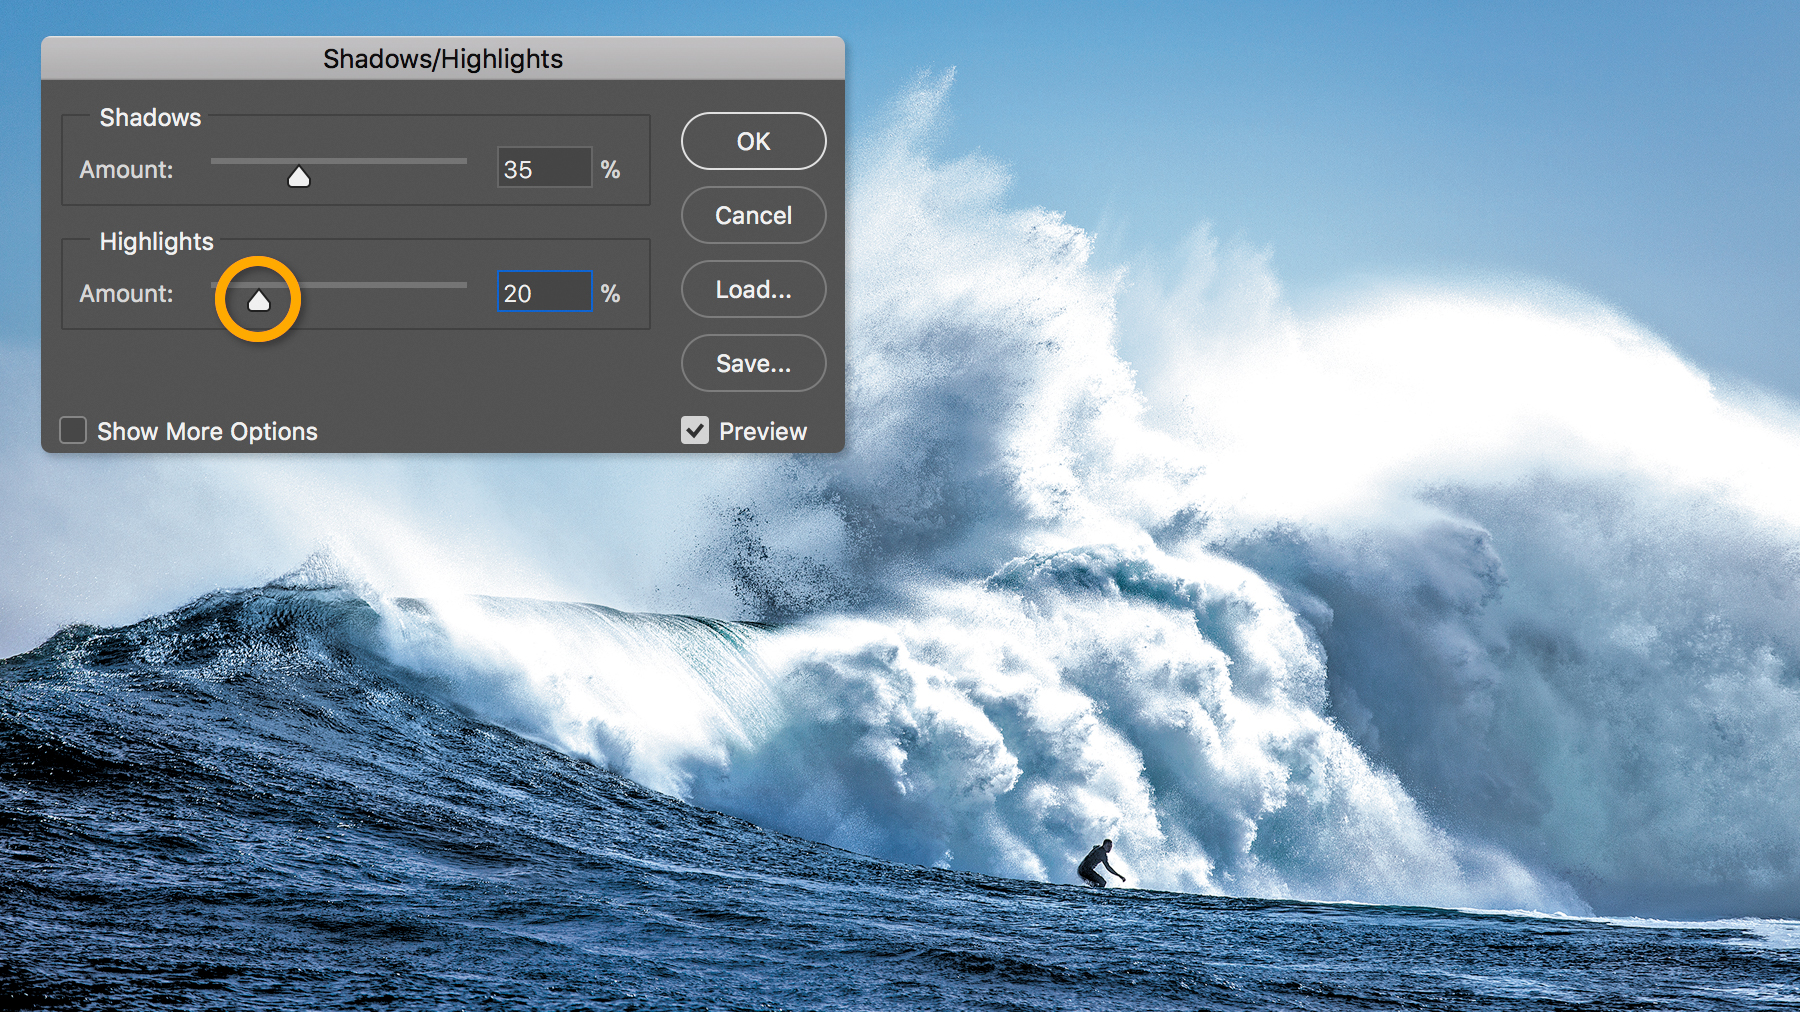
Drag the Shadows slider to brighten areas hidden by dark shadows.
Tip: Toggle the Preview checkbox to compare a before and after view as you work with these settings.

Correct overexposed areas of a photo
Drag the Highlights slider up to bring back the details of an area that’s too bright. Click OK to apply the settings.
Tip: Select Show More Options to see additional settings to fine-tune the adjustment.

Tip: Save your image as a PSD or TIFF file so you can adjust the Shadows/Highlights settings later. These file formats also allow you to save a copy in a different format, such as JPEG or PNG.
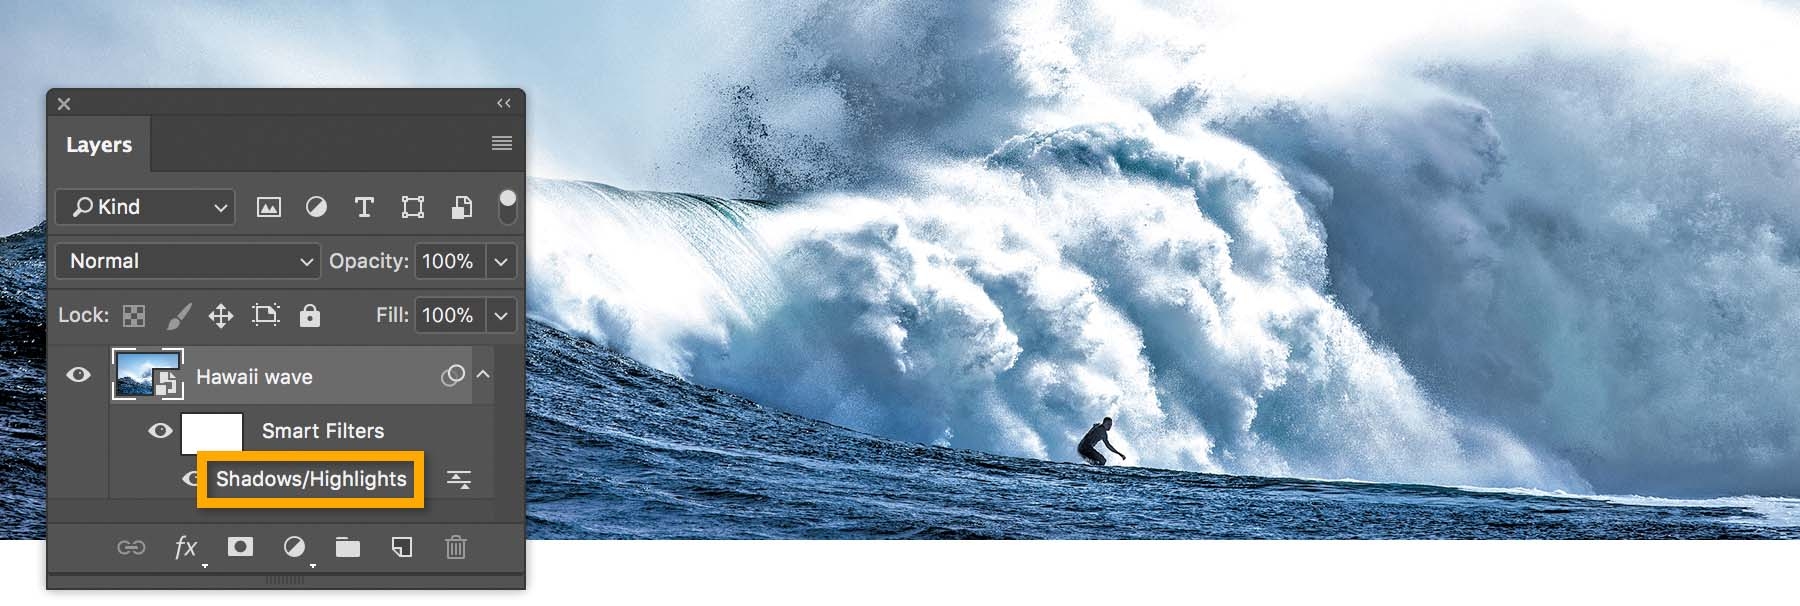
To adjust the Shadows/Highlights settings, double-click Shadows/Highlights under Smart Filters in the Layers panel.

Experiment with shadows and highlights settings to see the effect they have on your own photos.

