Learn how to comp your layouts on the go with the Touch workspace in InDesign.


InDesign Touch workspace
Designed for Windows tablets (Windows 8 and higher) like the Surface Pro (version 3 and higher), the Touch workspace lets you create layouts using intuitive touch gestures to draw shapes, add text and image placeholders. Once your layout is comped, you can add creative assets from Creative Cloud Libraries, including images, colors, and text styles.

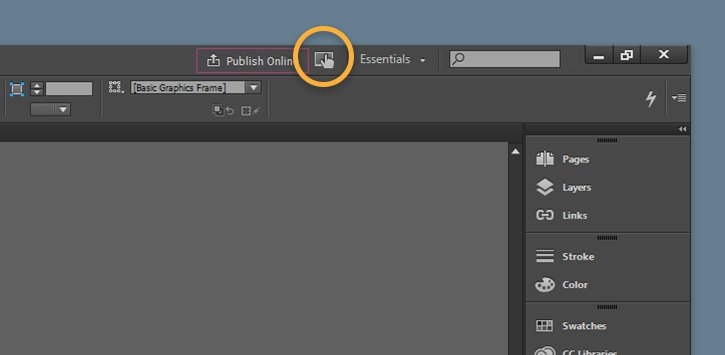
To access the Touch workspace, go to Window > Workspace > Touch, or tap the Touch icon in the upper right corner of the Control panel.
Note: If you remove the keyboard from a touch-based device while you are in a Classic workspace, the workspace will automatically switch you to the Touch workspace.

Start drawing using natural gestures
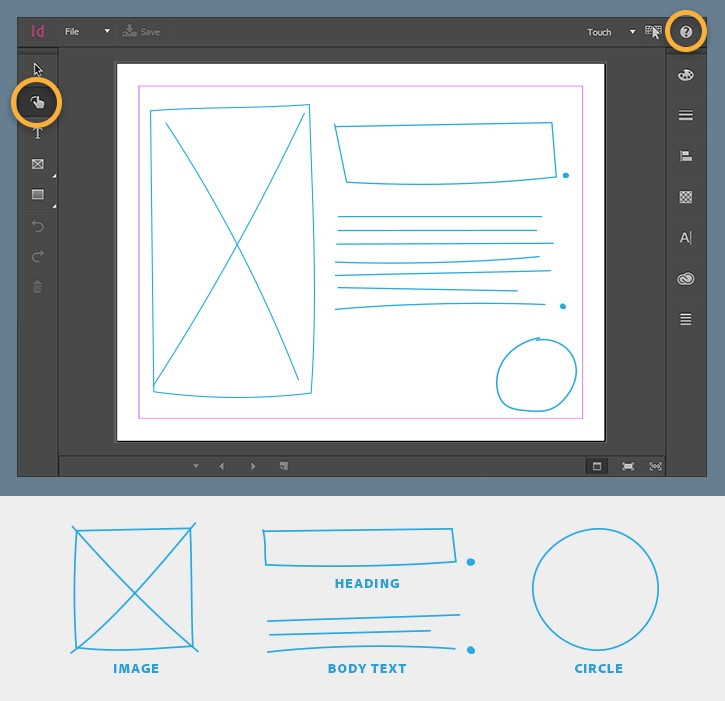
Create a new document and select the Drawing tool. Use gestures to create elements of your layout quickly. For example, try drawing:
- A rectangle followed by a dot to create a large heading
- A series of horizontal lines followed by a dot to create a text frame with placeholder body text
- A rectangle with an X through it to create an image placeholder
Your gestures will be automatically converted into objects as you draw.
Tip: Tap the ? icon to get help on drawing gestures.

Fine-tune your comp easily
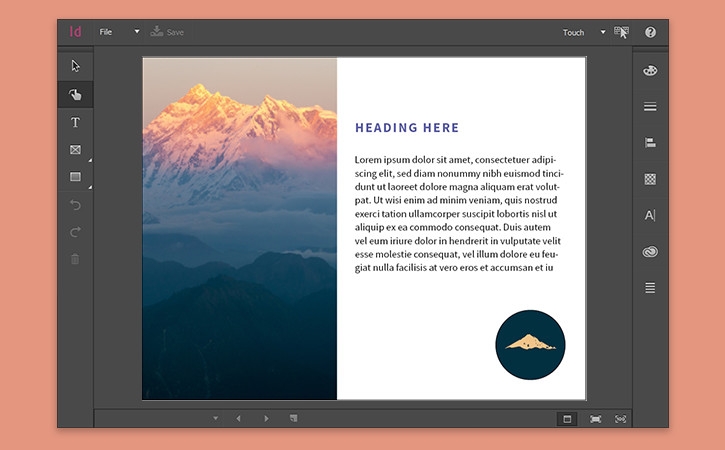
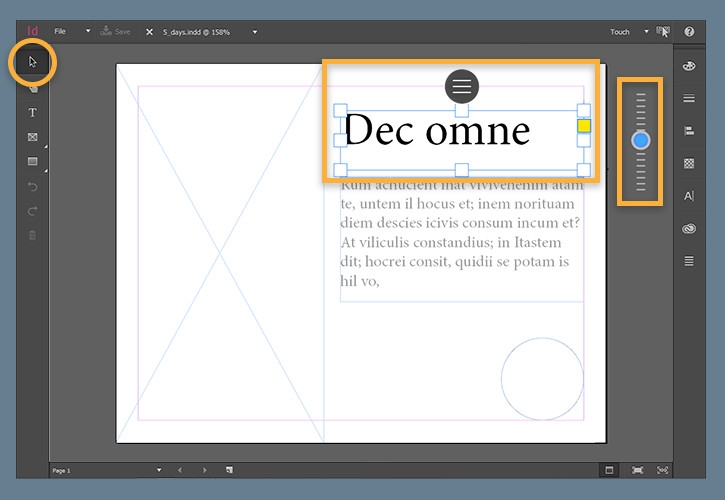
To fine-tune your layout, tap to select an object and drag it elsewhere on a page, or resize objects using the size widgets.
To quickly change the size of text, drag the size widget handle up and down. Tap the options widget to cut, copy, paste, or delete an object.
To edit placeholder text, select the Type tool, or double-tap to automatically open the Type tool, and tap inside a text frame.

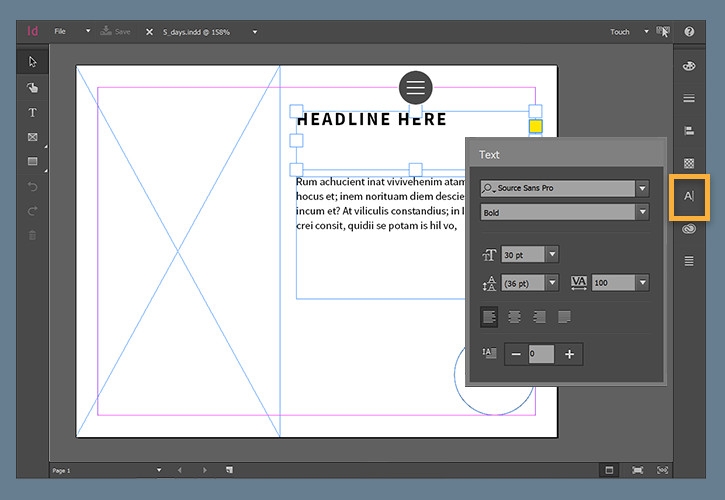
To style text in your comp, select a text frame and tap Text. Make basic typographic refinements, such as changing fonts, size, leading, and tracking.

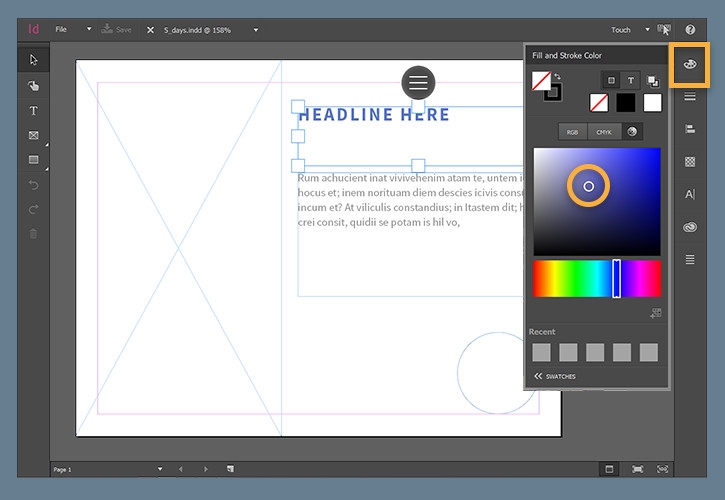
Open the Color panel to apply fill and stroke colors to objects.
To change the color of text in a frame, first select the frame, and then tap the text color icon in the Color panel. Next, tap the Color Picker to apply a color.
Explore the other panels to change stroke width, reduce opacity, or align objects.

Add your creative assets from a Creative Cloud Library
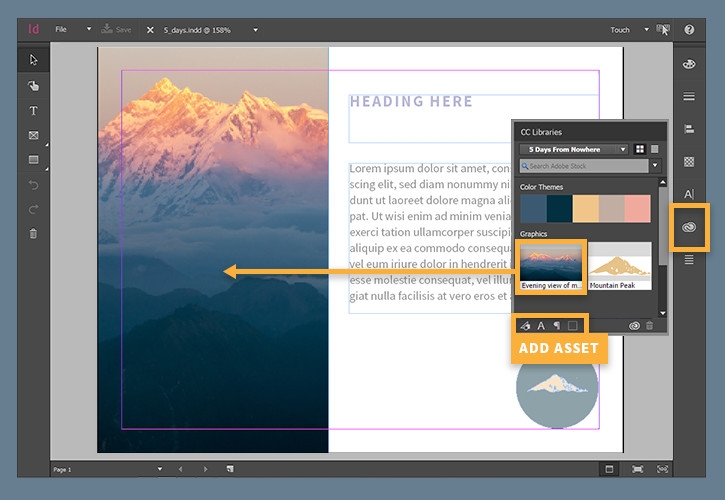
Tap CC Libraries to access assets you've collected, or to add new ones from your document.
To apply colors and text styles saved in a Creative Cloud Library, select an object and tap an asset thumbnail in the CC Libraries panel.
To add an image from a Creative Cloud Library to a selected placeholder frame, double-tap the asset in the Creative Cloud Library. If a frame is not selected, the asset will appear in the center of the document.
Tip: To add an asset to the current Library, tap the corresponding Add asset icon in the CC Libraries panel.

Save or switch to the traditional workspace anytime
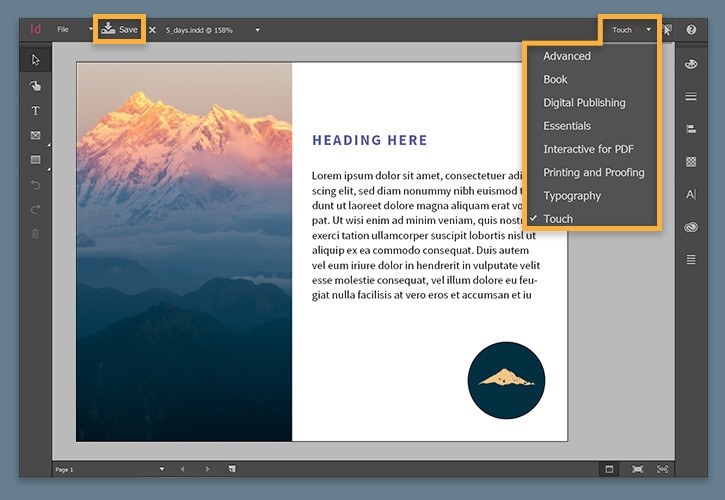
To save your work in progress, tap the Save icon often—you don't need to access menus or connect a keyboard for this.
To switch to the traditional workspace, tap the Workspace menu and choose a different workspace, such as Essentials or Advanced.
