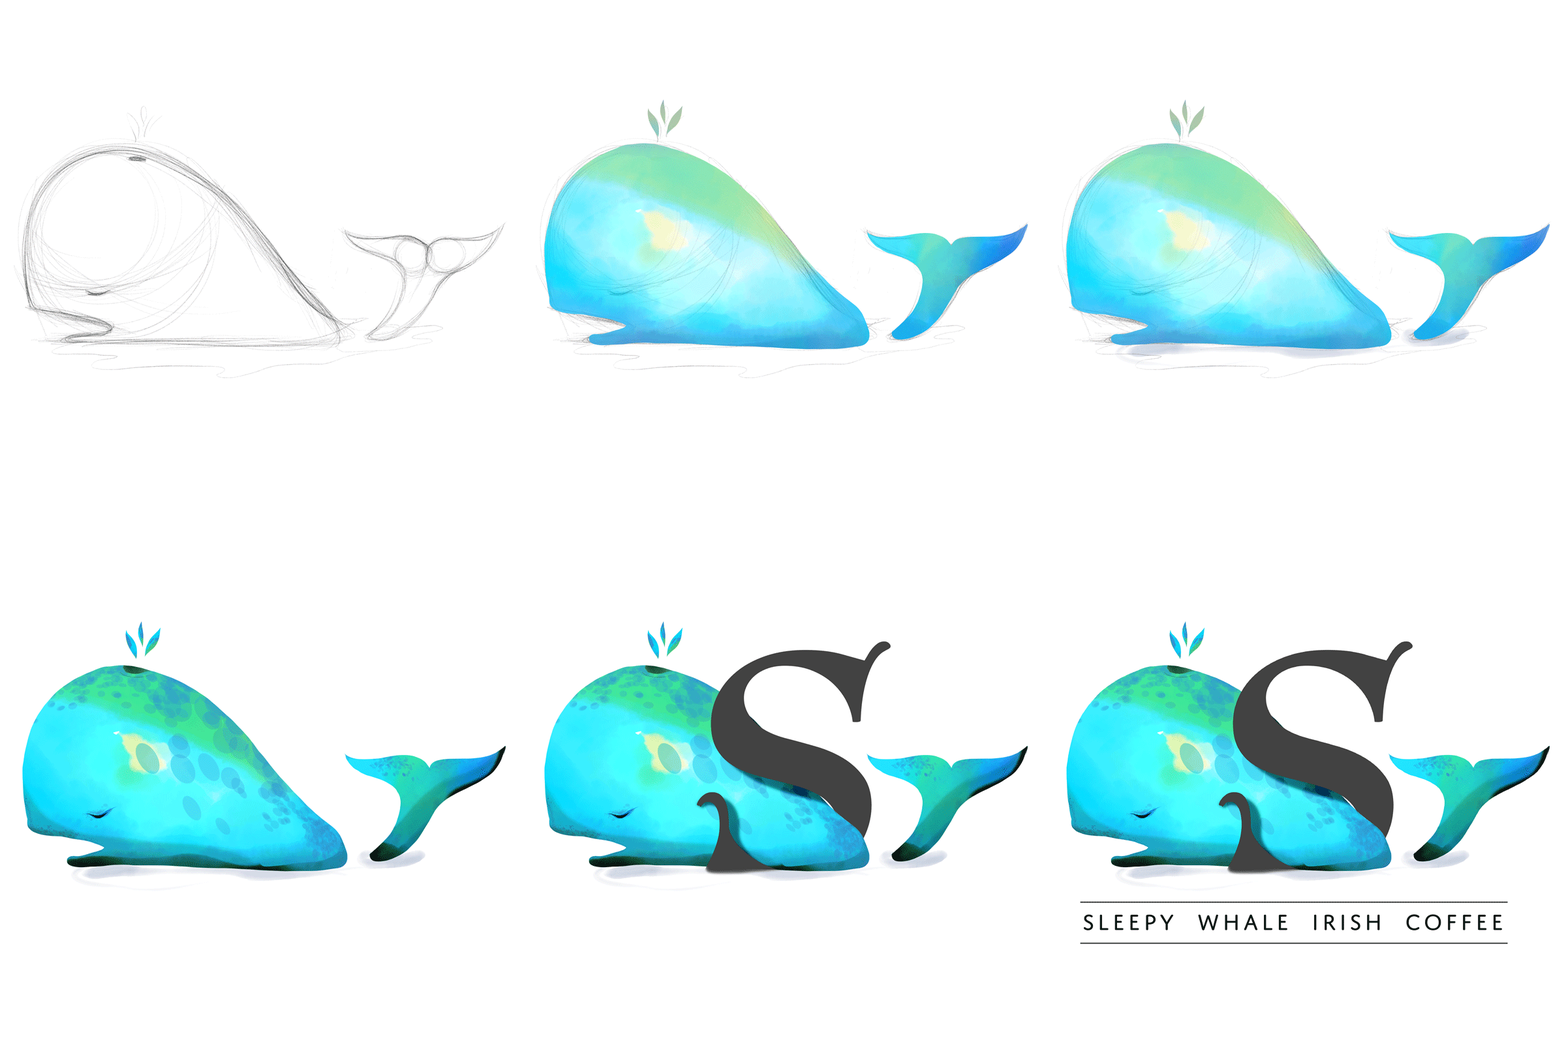
Create a sketch of the logo and the shape.
- Adobe Fresco User Guide
- Introduction
- What's New in Adobe Fresco
- What is Adobe Fresco
- System Requirements for Adobe Fresco
- Release Notes for Adobe Fresco
- Adobe Fresco on the iPhone
- Keyboard shortcuts
- Accessibility in Fresco
- Adobe Fresco | Common questions
- Get started with the user interface
- Upgrade to a premium plan to access premium fonts
- Storage for Adobe Fresco
- Supported features on iPad and Windows devices
- Draw, paint, animate, and share
- Layers
- Shapes in Adobe Fresco
- Pixel brushes
- Live brushes
- Vector brushes
- Mixer brushes
- Ribbon brushes
- Adjust pressure curve on stylus
- Colors
- Paint inside boundaries
- Apply motion to artwork
- Free Transform tool
- Magic Wand tool
- Smudge tool
- Liquify tool
- Add and modify text
- Publish, export, and share
- Layer masks
- Access Creative Cloud libraries in Fresco
- Ruler
- Erasers
- Add your own font
- Grids alignment
- Symmetry
- Adobe Fresco and Creative Cloud apps
- Cloud documents
- Troubleshooting
- Examples, ideas, and inspiration
Learn how to create a simple yet vibrant logo using the unique capabilities of Adobe Fresco and Adobe Photoshop.
Fresco can help you achieve realistic visual effects, which are beyond the effects created using conventional approaches of creating a logo. You can use Fresco to create effects with watercolor or oil live brushes. Use a large collection of pixel brushes to add textures, depths and highlights, and to give a human touch to the logo.


-

Create a sketch of the logo 
Create a sketch of the logo Use the Pixel brush > Sketching > Pencil to draw the sketch of the logo.
By using Fresco, you can sketch out your idea seamlessly as you can easily change pencil settings, erase, and redo/undo.

Make an outline with vector brushes and mask the layer 
Make an outline with vector brushes and mask the layer Create a solid shape using vector brush and the Fill
 tool. Use the layer options in Fresco to mask contents of layers for the shape. By creating a mask, you can prepare a container of the shape to fill water colors without bleeding out of the edges.
 - Tap the More Actions
 icon on the Taskbar and tap Copy mask.
 - Create an empty layer and paste the layer mask on it.
- Hide the previous layer.
- Tap the More Actions
-
Paint the contents of the layer using live brushes and pixel brushes.


-
Launch Photoshop on iPad or desktop and import your PSD file from Fresco. Add text to the shape with Photoshop.
Add text to Fresco sketch file Add text to Fresco sketch file Save the shape as a PSD file so that you can import it back into Fresco.
-
Import your artwork into Fresco to add further details.
- Open Fresco and tap on Import and open.
- Select Photoshop file (.psd).
- Add further details to the logo.
-
Export the artwork as a PSD file.


More logos created with Fresco and Photoshop


Have a question or an idea?
We've got you started with erasers in Adobe Fresco. The interface of Adobe Fresco is intuitive; we hope you will find it easy to unleash your creativity with layers, brushes, masking, and more.
If you have a question to ask or an idea to share, come and participate in Adobe Fresco Community. We would love to hear from you.
