Position the playhead where you want to begin recording.
- Adobe Premiere Rush User Guide
- Introduction
- Import footage
- Edit video
- Edit your video in the timeline
- Add and refine audio
- Change video color, size, and position
- Create titles
- Add transitions, pan and zoom effects and automatically reframe your clips
- Transform clip properties
- Change aspect ratio of your video
- Create a picture-in-picture effect
- Speed up or slow down video
- Use fonts from Adobe Fonts
- Duplicating projects and sequences
- Export video
- Premiere Rush on iOS and Android
- Adobe Premiere Rush on mobile | Common questions
- Create and edit videos using Adobe Premiere Rush on iOS
- Export video to social media channels
- Create and edit videos using Adobe Premiere Rush on Android
- Manage Adobe Premiere Rush subscriptions on iOS
- Manage Adobe Premiere Rush subscriptions on Android
- Manage Adobe Premiere Rush subscriptions on Samsung Galaxy Store
Learn how to record audio (such as music or voiceover) and refine pre-recorded audio in your Adobe Premiere Rush project.
As we introduce the next generation of Adobe Premiere mobile apps, we are discontinuing Adobe Premiere Rush. Effective September 30, 2025, Premiere Rush will no longer be available on Adobe.com. As an alternative, we recommend Premiere on iPhone; a version for Android is currently also in development. For more information, visit the Premiere Rush Discontinuation FAQ.
Record audio
-
-
Click the blue + icon
 in the left toolbar and select Voiceover.
Record music or voiceover Record music or voiceover -
Click the Microphone icon
 in the audio track for which you want to record the audio. This turns the Microphone icon into a red button
  , which allows you to start and stop the audio recording.
 Red button indicating that the track is enabled for recording Red button indicating that the track is enabled for recording -
Click the red Record button
 and wait for the 3-2-1 countdown to begin recording.

Voiceover countdown 
Voiceover countdown -
To stop the recording, click the same red
 icon.
icon.The audio clip appears in the audio track, beginning where the playhead was originally positioned.
A. Option to stop recording B. Recorded voiceover
The audio clip is now attached to the corresponding clip in the main V1 track. If you move the clip in the V1 track, the audio clip moves as well. This audio clip is just like any other clip in your timeline, so you can trim, split, duplicate, or delete it. You can also add transitions to it or refine it further in the Audio panel.
Add pre-recorded audio
You can add sound effects and music to your videos. Premiere Rush provides a library of soundtracks to choose from, and you can also use audio files saved on your computer or in the cloud.
-
Position the playhead in the timeline where you want to add the audio.
-
Click the + icon
 in the left toolbar and select Media.
 -
Browse to find the audio clip you want to add to your project.
-
Do one of the following:
- Add the entire audio clip: Select the clip and click Add.
- Add part of the audio clip: Select the clip and click the Large Preview icon. Play the audio and select a range. Then click Add.
Add a selected portion of the audio clip Add a selected portion of the audio clip
The audio clip appears as a new track in the timeline where the playhead is positioned. The audio clip is now attached to a clip in the main V1 track. If you move the clip in the V1 track, the audio clip moves as well.
 Take advantage of pre-recorded soundtracks, sound effects, and loops that come bundled with Premiere Rush. Click the + icon and select Audio. Then browse to the asset you want and click Add to add it to your timeline.


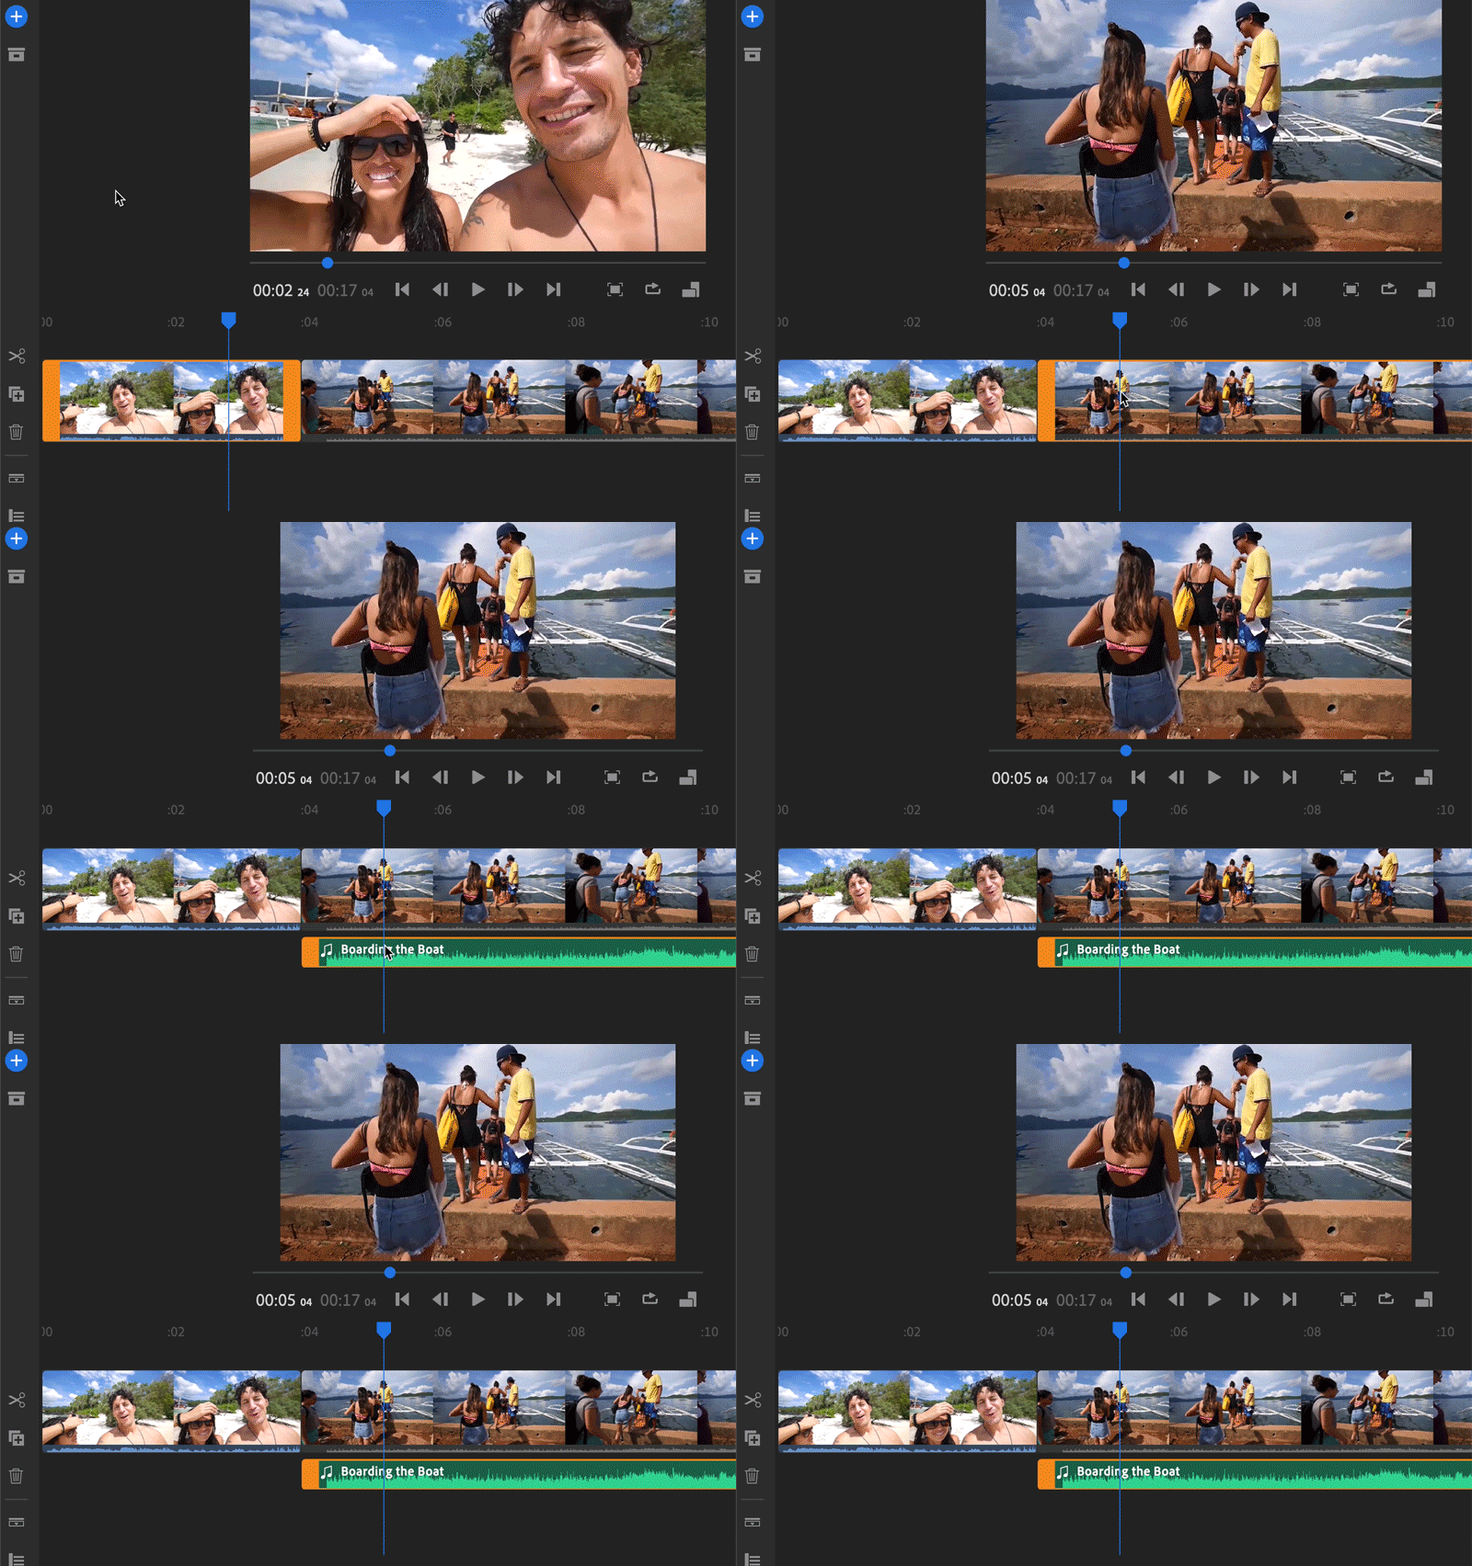
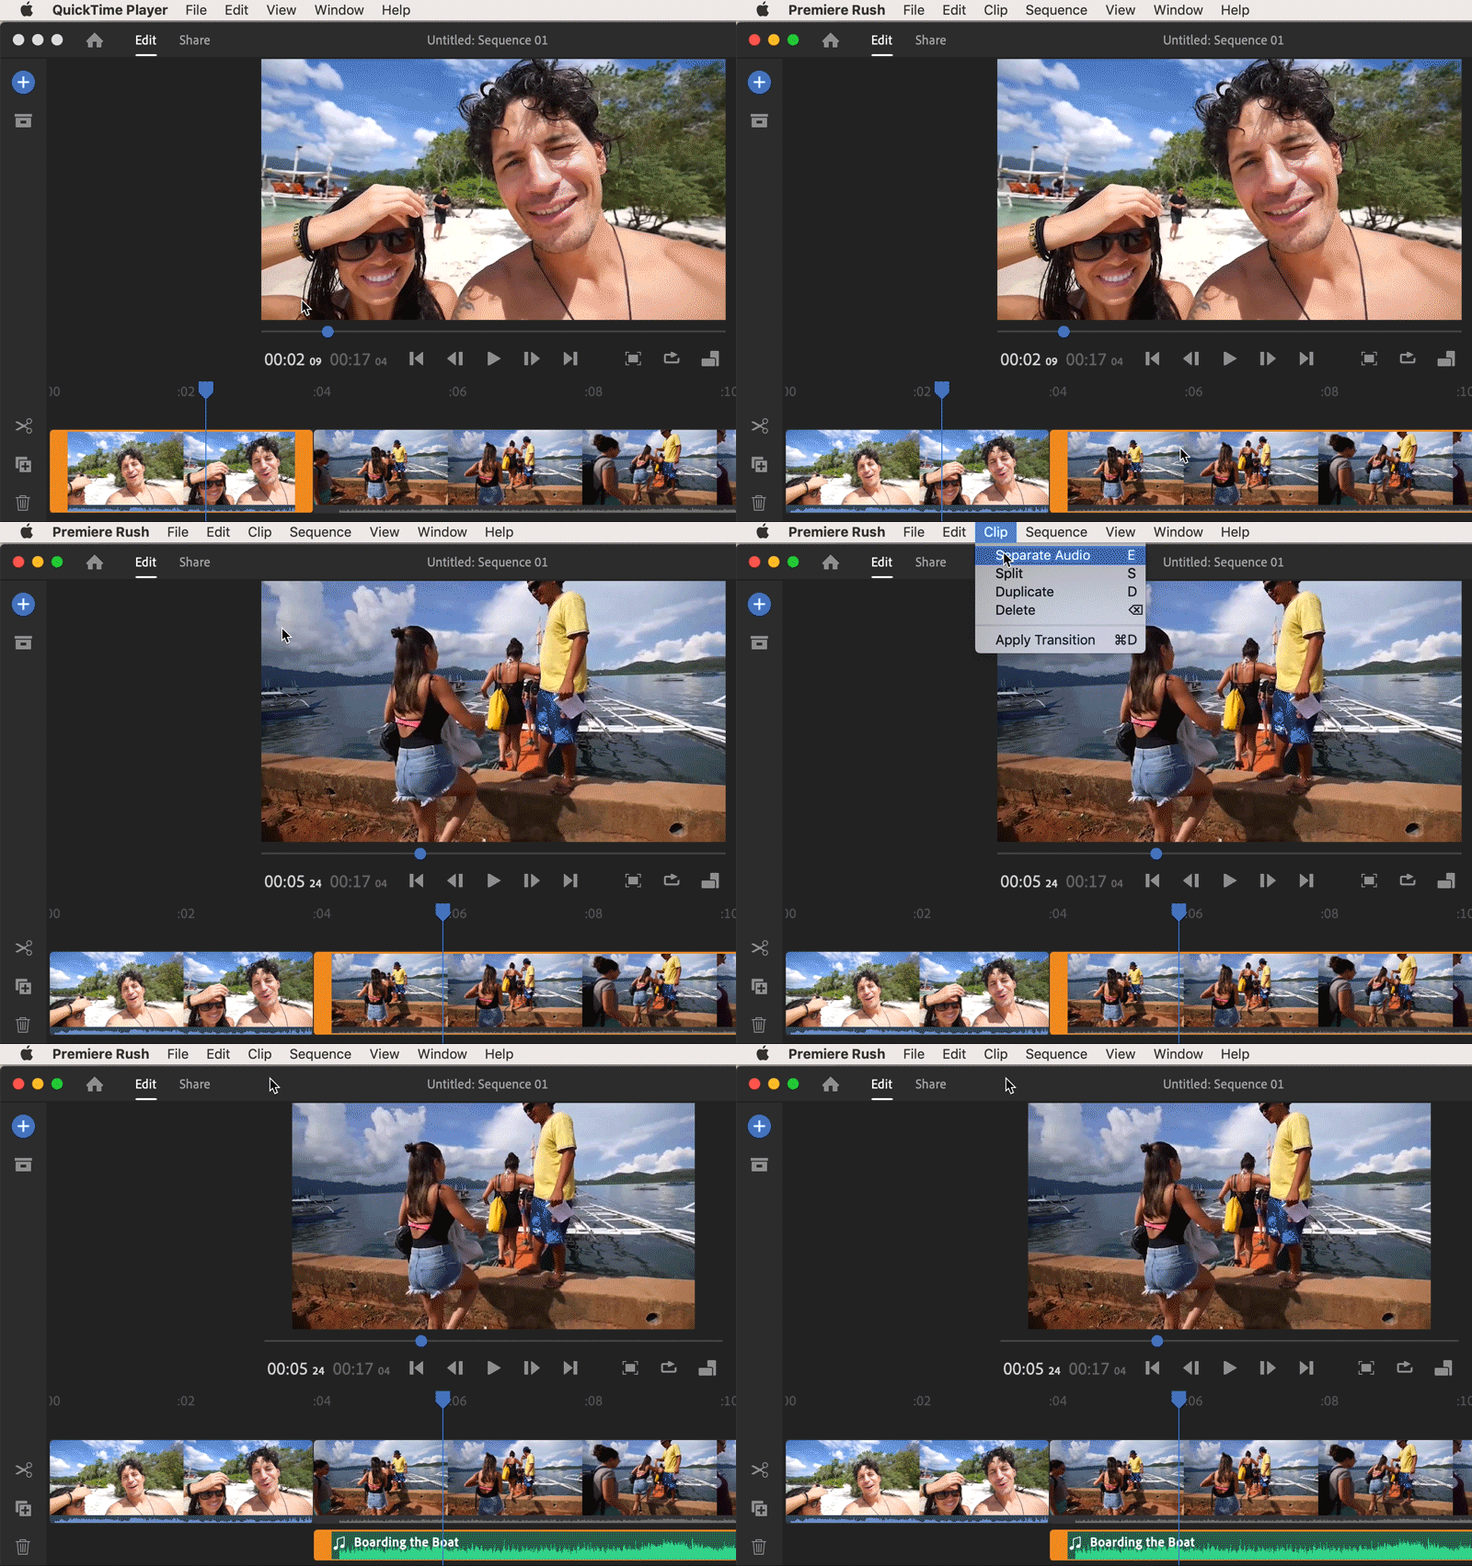
Separate audio from video clips
For editing flexibility, you can separate audio that is attached to a video clip. Separating audio allows you to edit the audio track independently from the video (allowing you to layer audio clips one over the other, swapping audio clips around, and more).
To separate an audio clip from a video clip, do one of the following:


After the audio is separated, the original audio-video clip becomes muted. Premiere Rush places the separated audio directly under the audio video clip on the first free audio track.
Refine audio clips
Use the Audio panel in Premiere Rush to refine your audio. This panel provides simple controls to repair sound, improve clarity, and add audio enhancements that help your videos sound professionally mixed.
-
Select the audio clip in the timeline and do the following basic adjustments:
- Increase or decrease the audio volume of a clip by moving the Clip Volume slider.
- Mute an audio clip by selecting Mute.
-
(Optional) Classify your audio clips as Music, Voice, or Other.
Pastaba:When you import a clip that has audio - such as an A/V clip or audio-only clip, Premiere Rush automatically detects and classifies the audio type as either Voice, Music, or Other. However, you can manually change the clip type.
Classify the selected audio clip Classify the selected audio clip After the clip is assigned an audio type (for example, Voice for a voiceover clip), the Advanced section of the Audio panel provides contextual controls for that audio type. This allows you to easily improve the way your audio clip sounds.
-
(Optional) Refine a voice clip.
If your audio clip is categorized as a voice clip, you can edit it using the following options:
Options to refine a voice clip Options to refine a voice clip Auto Volume
Select Auto Volume to automatically adjust volume levels (either up or down) so that the audio volume in your entire project sounds consistent.
The Auto Volume option is turned on by default for all audio clips, so that any audio clip you bring into your project sounds great. You can turn this off by selecting the audio clip and deselecting the Auto Volume box.
Balance Sound
Select Balance Sound if you want to make quiet sounds louder and loud sounds quieter throughout your clip. This option can be especially useful if you have voices at different volumes within the same clip.
Reduce Background Noise
Select Reduce Background Noise to remove any steady state background noise from your clips. This option is useful when you want to remove air conditioning noise or any type of background hiss that is present in your audio clips. Use the Intensity slider to control the amount of noise removed.
Reduce Echo
Select Reduce Echo to remove any room reflections, echo, or reverberation from recordings. This option is useful when you want to remove the boxy, echoed sound that is common when recording in smaller or reverberant rooms. Use the Intensity slider to control the amount of echo and reverberation to remove.
Enhance Speech
Select Enhance Speech to apply a preset that improves the sound quality of a male or female voice.
-
(Optional) Refine a music clip.
If your audio clip is categorized as a music clip, you can edit it using the following options:
Options to refine a music clip Options to refine a music clip Auto Volume
Select Auto Volume to automatically adjust volume levels (either up or down) so that the audio volume in your entire project sounds consistent.
The Auto Volume option is turned on by default for all audio clips, so that any audio clip you bring into your project sounds great. You can turn this off by selecting the audio clip and deselecting the Auto Volume box.
Auto Duck
Select Auto Duck to automatically reduce the volume of music clips when voice clips (such as a voiceover or an A/V clip with voices) are present in your timeline. This option makes it easier to hear the voice clips, while music is playing in the background.
Premiere Rush automatically tracks any changes to audio clips in the timeline and adjusts the ducked portions of the music clip for you. Control the amount of auto-ducking using the Reduce by slider.
Moving the slider to the left with a lower value means that the music gets louder. Moving the slider to the right with a higher value means that the music gets quieter.
-
(Optional) Order or reorder audio channels.
(Only available on desktop) You can manipulate the audio channels within an audio clip. Twirl-open the Channels section of the Audio panel to see the channels within the audio clip, and reorder them by dragging them up or down.
You can also enable or disable audio channels by clicking the channel labels (for example, L or R).
Remove audio
To remove an audio clip from your project, select the clip in the timeline and click the Delete icon on the left, or press Delete on the keyboard.


