
某些 Creative Cloud 应用程序、服务和功能在中国不可用。

You can simulate actual brush strokes by setting the rates at which the brush tool strokes fade out. You can specify which options dynamically change over the course of a brush stroke, including scattering, size, and color. The brush thumbnail in the Tool Options bar reflects the brush changes as you adjust the brush dynamics options.
You set brush dynamics options by selecting a brush tool and then clicking Brush Settings (or Advanced, for some tools) from the Tool Options bar.
Spacing
Controls the distance between the brush marks in a stroke. To change the spacing, type a number, or use the slider to enter a value that is a percentage of the brush diameter. (The brush thumbnail in the Tool Options bar dynamically changes to reflect your spacing adjustments.)

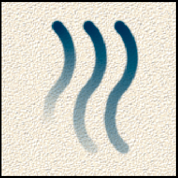
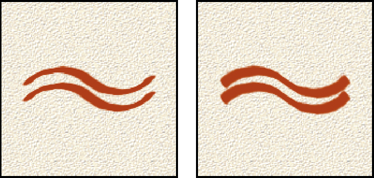
Fade
Sets the number of steps until the paint flow fades to nothing. A low value makes the paint stroke fade away very quickly, while a value of zero has no fading effect. Each step is equal to one mark of the brush tip. Possible values range from 0 to 9999. For example, entering 10 for Fade produces a fade in 10 increments. For smaller brushes, you may want to set a value of 25 or larger. If strokes fade too quickly, increase the values.
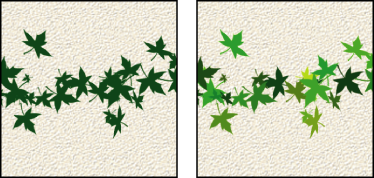
Hue Jitter
Sets the rate at which the stroke color switches between the foreground and background colors. Higher values cause more frequent switches between the two colors than lower values. (To set the colors used by the color jitter option, see About foreground and background colors.)
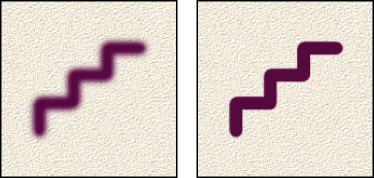
Hardness
Controls the size of the brush’s hard center. Type a number, or use the slider to enter a value that’s a percentage of the brush diameter.
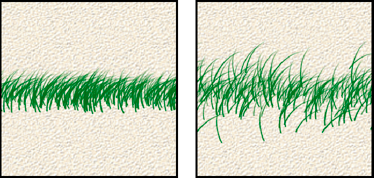
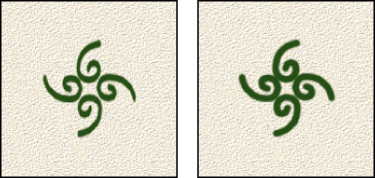
Scatter
Brush scattering determines how brush marks are distributed in a stroke. A low value produces a denser stroke with less paint scattering, and higher values increase the scattering area.
Angle
Specifies the angle by which an elliptical brush’s long axis is offset from horizontal. Type a value in degrees, or drag the arrowhead of the angle icon to mark the desired angle.
Roundness
Specifies the ratio between the brush’s short and long axes. Enter a percentage value, or drag a dot in the angle icon away from or toward the arrow. A value of 100% indicates a circular brush, a value of 0% indicates a linear brush, and intermediate values indicate elliptical brushes.
Set this as a default
This option, available for certain tools that can have brush attributes, enable you to set the currently selected settings as your default settings.
The new brush is selected in the Tool Options bar, and is added to the bottom of the brushes pop‑up panel.
-
Press the Option key to change the pointer to scissors, and then click the brush you want to delete.
Select the brush in the pop‑up panel, and choose Delete Brush from the panel menu.
Choose Preset Manager from the panel menu, select Brushes from the Preset Type list, select the brush from the list in the dialog box, and click Delete.
You can create a custom brush by selecting an area in a photo. The brush uses a grayscale version of that selection to apply the foreground color to your image. For example, you could select a leaf and then paint using a fall color. You can also draw a new brush shape using the Brush tool. You can create a custom brush shape either from an entire layer or from a selection. A custom brush shape can be up to 2500 pixels by 2500 pixels in size.

Photoshop Elements is compatible with most pressure-sensitive digitizing tablets, such as Wacom® tablets. With the software control panel for your tablet installed, you can vary brush tool properties based on the chosen tablet options and the amount of pressure you apply with your stylus.