
- Captivate User Guide
- Introduction to Captivate
- Add a slide
- Design options in Adobe Captivate
- Add text blocks
- Add media blocks
- Interactive components
- Add branding blocks
- Widgets
- Create quizzes
- Add audio to a project
- Interactions
- Animations
- Accessibility
- Customize the timeline
- Customize TOC and Playbar
- Edit project properties
- Create a simulation project
- Preview a project
- Share a project for review
- Upgrade projects in Adobe Captivate
Learn how to publish a project in the all-new Adobe Captivate
Before publishing a project, ensure you've completed all the editing and formatting for your project.
Topics in this page:
-
Select the ellipsis icon next to Preview, and select Publish.
-
In the Publish to Computer dialog, enter the following:
- Project title: Enter the project's name.
- Location: Browse and select a location to publish your project.
Project's publish options Project's publish options -
Select Reporting to launch the Preferences > Reporting dialog to configure the reporting criteria.
-
Select Publish.
Publish to computer Publish to computer

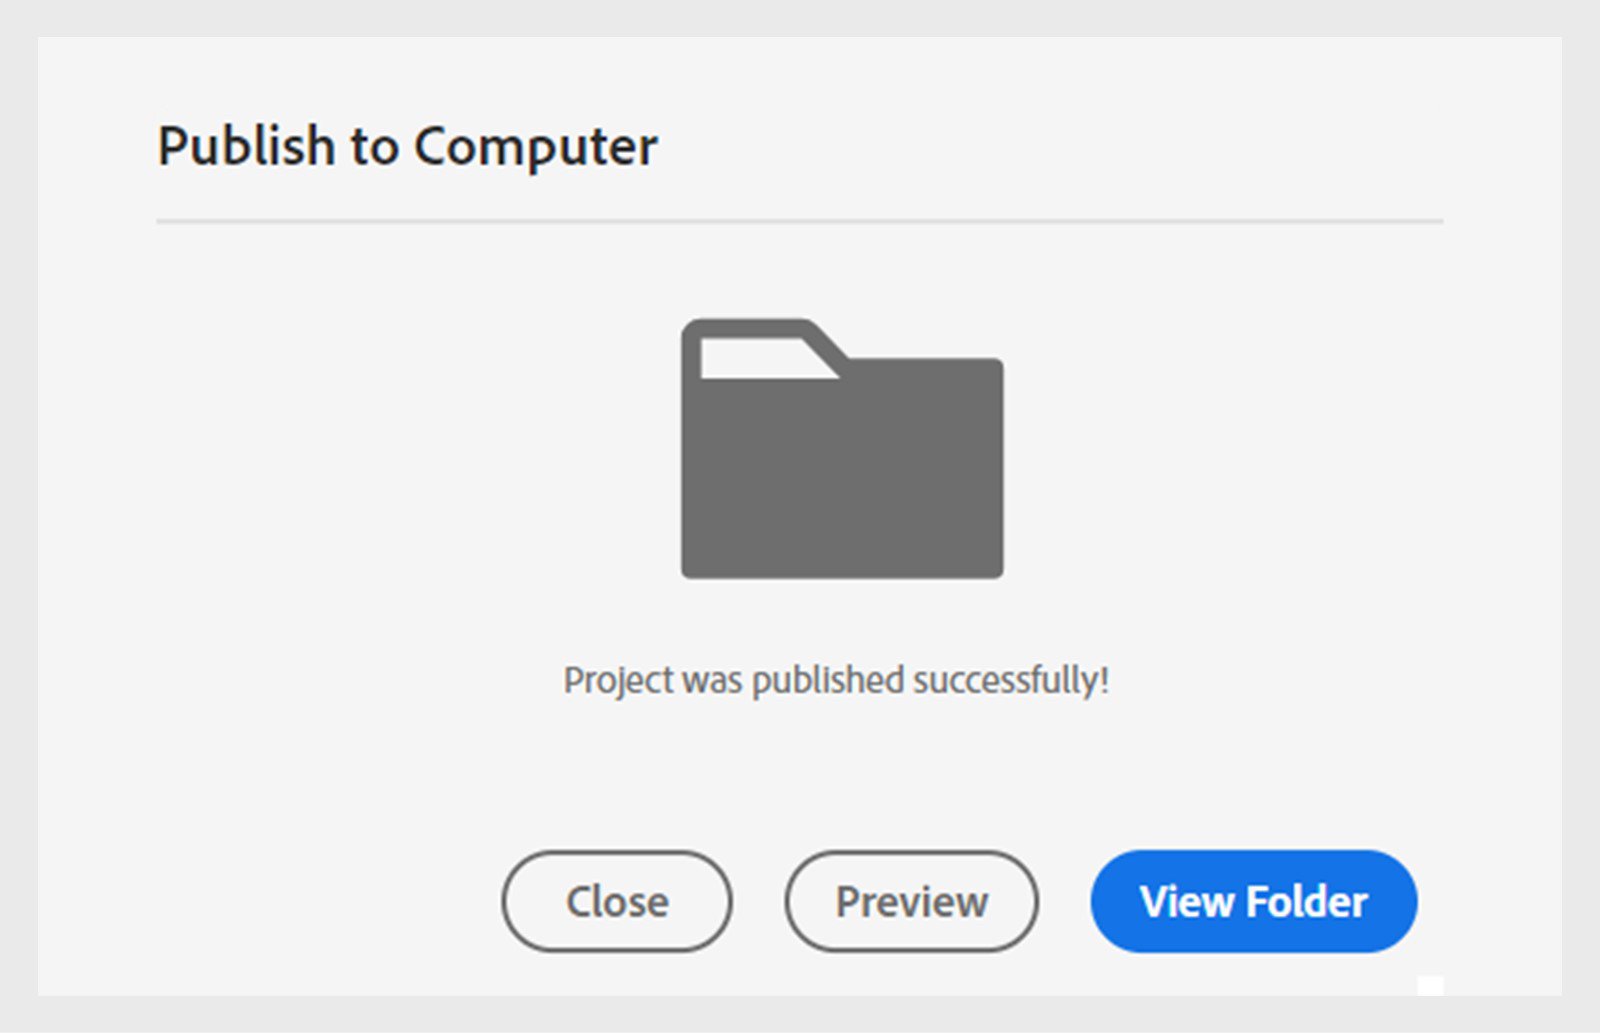
After the project is published, you can either preview the project or view the published content in the location.
You can use a Learning Management System (LMS) to distribute a computer-based tutorial created using Adobe Captivate. An LMS provides, tracks, and manages web-based training.
The project you upload to the LMS must comply with the SCORM, AICC standards, or xAPI.
ConfigurE the project to publish to LMS
-
In an open project,
- macOS: Select Adobe Captivate > Preferences.
- Windows: Select Edit > Preferences.
The Preferences dialog box appears. For more information, view Preferences in Adobe Captivate.
-
In Preferences, select Quizzing > Reporting.
-
Select the checkbox Enable Reporting.
-
Select the reporting standard. The available options are SCORM 1.2, SCORM 2004, AICC, and xAPI.
For more information, view Preferences in Adobe Captivate.
View the SCORM preferences View the SCORM preferences -
When you publish the project conforming to the selected reporting standard, upload the zipped file to the LMS.

-
Select the next to Preview in the top-right corner.
-
Select Publish to Adobe Learning Manager.
-
Select your account from the dropdown menu. If you are logged into ALM, your account should display automatically.
-
Select Publish and then select Continue to Publish.
-
Enter your Adobe Learning Manager account details and select Submit. This step maybe skipped if you are already logged in.
-
Add the details of your project, such as content name, tags, completion criteria, and success criteria. For example, completion criteria can be set when a learner finishes at least 50% of the course. In contrast, success criteria can be set to when the learner completes the quiz slides. Or you can set the criteria to be completed on launching the event for completion and success.
-
Select Publish.


