New Starter mode is now available!
Character Animator 22.5 (released June 2022) introduces Starter mode to get you started animating now without any prior experience. Update now to the latest version to try this out.
New Starter mode is now available!
Character Animator 22.5 (released June 2022) introduces Starter mode to get you started animating now without any prior experience. Update now to the latest version to try this out.
Read on to know more about all the behaviors you can add to your puppet, how to add them, and adjusting the parameters of the behavior.
You control a puppet through the behaviors that are applied to it. Face tracking is an example of a behavior, and so is the automatic wiggling of vectored artwork. A behavior can have parameters for tuning it to your needs.
New puppets automatically get the following behaviors: Dragger, Eye Gaze, Face, Lip Sync, Physics, Transform, and Triggers. You can add and remove behaviors as needed.
A puppet's behaviors are listed alphabetically, at each level of the puppet's hierarchy, in the Properties panel.
You can add visual tags to layers and handles for easy identification and faster operation. Tags are also categorized based on their use, and you can view the tags as text or picture buttons.
The layout of the Tags section of the Properties panel allows easier access to eye tags, mouth tags ordered by appearance, and matching icons for tags created via tools (Fixed for the Pin tool, Draggable for the Dragger tool, and Dangle for its tool). The Jaw tag is placed in the Face category of tags.
Tags associated with layers and handles help you set up behaviors that control puppets.
You can select a layer and apply both layer or handle tags to it. When a handle is selected, only handle tags can be applied. When viewing tags as text, applied layer tags are blue and handle tags are yellow. When viewing tags as pictures, applied tags are blue.
When a layer is selected, a + icon appears along the bottom of the layer that, when clicked, opens a miniature visual tags window for choosing layer or handle tags. When a handle is selected, a similar + icon appears to the right of the handle for choosing handle tags.
Common tags are included in this tags popup window. Tags in the Motion Trigger category are not currently included.
Each applied tag has a X icon for quickly removing the tag.
Categories (tabs) that have applied tags have a small blue dot next to their names. Press Tab or Shift+Tab to cycle through the categories (tabs). Drag anywhere in the window away from a tag to move the window. Click away from the window or press Esc to close it. Both of these in-context controls allow you to collapse the Tags section of the Properties panel, leaving more room for other sections in the panel.
If you have assigned left-facing tags to the right side of a puppet ‐ for example, the Left Shoulder tag is applied to the Right shoulder, or vice versa, follow the instructions to switch those tags.
To swap left/right tags anywhere on the puppet:
Select the puppet in the Project panel or open it in the Puppet panel.
Choose Swap All Left & Right.
To swap left/right tags on specific layers or handles:
Select one or more layers or one or more handles on a layer.
Right-click above a selected layer or handle and choose Swap Left & Right Tags.
Only the tags on the selected layer or handle are affected. Layers in nested groups are not affected.
The following behaviors are available:
If you are interested in developing behaviors for your own use or for sharing with others, please contact us for the SDK. JavaScript knowledge is required.
Select the puppet in the Project or the Puppet panel.
Click the Add Behavior ("+") button in the Behaviors section of the Properties panel, then choose a behavior.
The behavior is now bound to the puppet. To see how a behavior works, either place the puppet in a scene, or open the scene in the Scene panel.
Some behaviors have parameters for controlling them. You can change the value of a behavior's parameter after the behavior is applied to a puppet.
Behaviors with layer and handle parameters — such as Breathe, Dragger, Face, Head Turner, and Nutcracker Jaw — placed on different groups in a puppet's hierarchy override the settings for the same behavior higher in the hierarchy. This capability allows you to have a behavior at the top level of the hierarchy define default settings (for example, a top-level Dragger behavior set to Return to Rest controls a character's arm and leg group), and the same behavior applied on a group lower in the hierarchy define custom settings (for example, Dragger applied to the character's tail set to Hold in Place).
To add a behavior from the Puppet panel, follow these steps:
Hover over the behavior column on the left side of the panel, or the behavior icon at the top of the
panel.
Click the "+" icon (
), then select the behavior to add.
If you need to add the same behavior to multiple selected groups, use the "+" button in the Properties panel. To view the applied behaviors for the puppet or a group, hover over its behavior icon. The list of applied behaviors appears in a tooltip.
To remove selected behaviors, follow these steps:
Select the puppet in the Project or the Puppet panel.
In the Properties panel, click the menu button to the right of the behavior's name, then choose Remove Behavior from "puppet-name".
You can remove all behaviors on a puppet or any group in it, or just at a specific group in the puppet hierarchy. To remove all behaviors from a puppet, follow these steps:
To remove all behaviors from a specific group on a puppet, follow these steps:
Note: Any recordings associated with the removed behaviors are also removed from their scenes.
Select the puppet in the Project or Puppet panel.
In the Properties panel, click the menu button to the right of the behavior's name, choose Rename Behavior, then enter a new name.
Various operations for a behavior parameter are available in the parameter menu. When a puppet track is selected in the timeline, and you hover over a behavior's noninput parameters in the Properties panel, the parameter menu ("…") button appears to the left of the parameter name. Click it to perform various commands:
This parameter menu is not available while editing the source puppet (selected in the Project panel or opened in the Puppet panel).
Select the puppet that uses a behavior, either from the Project or Puppet panel (to modify the default parameter values for all instances of the puppet) or from the puppet's track item in a scene in the Timeline panel (to modify the values for a specific instance of a puppet).
If the behavior's parameters aren't shown, click the disclosure triangle next to the behavior's name in the Properties panel.
Change the parameter's value.
When you make changes to the behavior parameters for a puppet track selected in a scene, but want to export a puppet using those settings, you can how update the source puppet in the Project panel to use the same parameter values.
To update the source puppet's behavior parameter values to match those on a puppet track, click the Push Parameter Changes to Source Puppet button in the Puppet Track Behaviors heading of the Properties panel.
All scenes that use the source puppet will get the updated parameter values (unless using custom values). The source puppet in the Project panel can be exported for sharing with other users or for archiving for later use.
Tie multiple slider and angle controls (for behavior parameters) to modify them in unison.
In the Controls panel, behavior parameters have controls named after their parameters. You can customize the displayed name in the panel. For example, describe its operation. Say, Embiggen for a Transform > Scale parameter.
Switch the Controls panel to Layout mode.
Either select the behavior parameter control and then press Return (macOS) or Enter (Windows), or right-click above a behavior parameter control and then choose Rename.
Type a custom name, then press Return/Enter or click away from the edit field.
If you don't need to adjust or arm a behavior parameter during recording or playback, you can hide the behavior so the Properties panel shows only the controls that you need. By default, the Handle Fixer and Cycle Layers behaviors are hidden.
To hide a behavior from appearing the Properties panel when a puppet track is selected:
Select the puppet in the Project or Puppet panel.
In the Properties panel, click the menu button to the right of the behavior's name, then select the Hide Behavior in Track Item Properties option.
Deselect the option to show the behavior.
If you use a set of behavior, especially one with specific settings, you can copy them between puppets or groups in a puppet. You can also copy them between puppets or groups in different projects.
The parameter values for the behaviors to copy come from the puppet level (i.e., when the puppet is selected in the Project panel or opened in the Puppet panel). Modified parameter values for the behaviors on a selected puppet track cannot be copied at this time.
To copy behaviors on a puppet and paste them onto a different puppet, follow these steps:
Select the puppet or group with the behaviors to copy.
Choose Edit > Copy Behaviors.
Select the puppet or group in a puppet, in either the current or a different project, where you want to paste the behaviors.
Choose Edit > Paste.
Behaviors that were renamed retain their custom names. Also, behaviors are added, even if an instance of the behavior already exists.
This behavior can prevent unnatural bending of elbows and lengthening of arms when their hands are moved or dragged around. IK stands for Inverse Kinematics, a method for calculating, for example, entire arm positions by specifying only the hand position.
For each arm, add handles at the locations of the shoulder joint, elbow, and wrist.
Apply the Left Shoulder, Left Elbow, and Left Wrist tags to the left arm's handles, and the Right Shoulder, Right Elbow, and Right Wrist tags for the right arm. The handle with the Wrist tag is usually the same one that will be moved, such as with a Draggable tag. The Shoulder tags are best placed in the parent group of the arms.
If Left Shoulder and Right Shoulder handles are not present, the Neck-tagged handle will be used instead.
The location of the Elbow handle relative to the line between the Shoulder and Wrist handles will determine the direction that the arm can bend. The placement of the Elbow handle is important if the arm was drawn straight (for example, arms in an A- or T-pose).
Reverse Bend Left and Reverse Bend Right
Switch the elbow direction that left and right arms bend, relative to their default bend direction based on the locations of the Elbow handles. If you are raising a character's hand from her hip to above her head, you might want to switch the elbow bend in the middle of that motion. When it switches would also be an appropriate time to flip to different artwork for the hand (for example, palms facing backward or forward).
Stretchiness
Controls how much the arms can stretch beyond their length at their rest pose. This setting works in combination with the force being used to move the hand (for example, a Draggable wrist). Lower values restrict stretching, whereas higher values produce very stretchy arms.
Stretching arms with low stretchiness slows down arm movements. For higher responsiveness, increase stretchiness.
The Arm IK behavior can flip the bend direction of each arm automatically as the arm is rotated.
Auto Bend
Controls if automatic bending occurs. This option is enabled by default.
Elbow Flip Threshold
Controls when the elbow bend will reverse direction, based on the direction that the upper arm (from shoulder to elbow) is pointing relative to the vertical axis. For example, at 0°, as the upper arm crosses the vertical axis, either pointing up or down, the bend direction will change. At 30°, it'll flip the bend direction 30° off vertical. Typical values are between 90° and -90°.
Smooth Transition
Controls easing into the reversed bend direction. Lower values can produce an undesired quick flip of the elbow, so higher values are recommended for continuous movement.
This behavior automatically triggers a layer, such as eyelids to blink or lights to flicker. The blinking can occur at regular intervals or with some randomness. You can use this behavior to have a character blink randomly, but it can work with the Face and Triggers behaviors if you also want to control blinks with the webcam or keypresses.
To specify the layer to blink, assign the Left or Right Blink tag to it.
Note: This behavior isn't applied by default to puppets, so add it first to see its effect on a puppet.
Blinks per Minute
controls the frequency that the layer appears.
Blink Duration
controls the number of milliseconds (1/1000ths of a second) to show the layer before disappearing.
Randomness
controls the regularity of the blinking frequency, with 0% blinking at regular intervals and higher percentages varying the rate.
Blink Layers
the number of layers tagged with the "Blink" behavior.
This behavior scales the chest of a character as if it were breathing in and out. For example, try animating the Wendigo puppet in the Start workspace, which shows breathing and head turn movements.
To specify the part of a puppet to expand and contract, assign the Breathe tag to a specific handle or to groups to affect its origin. If imported artwork has a layer with the word "Breathe" in its name, the layer's origin gets the Breathe tag automatically.
This behavior isn't applied by default to puppets, so add it first to see its effect on a puppet.
Breaths per Minute
controls the rate of breathing (scaling) between minimum and maximum scale amounts.
Max Scale and Min Scale
control the range of scaling around the Breathe handle. If there aren't handles near the Breathe handle, you might need to reduce this range (for example, from 95% to 110%).
Offset and Direction
control the distance and angle that the Breathe handle slides along as it's scaling. You can even use these parameters to make a character's shoulders shrug.
This behavior displays each of the puppet's layers in order, which can be useful to repeat a pattern like a splash animation or blinking lights. Used with Triggers, the cycle of layers can be triggered by pressing a key.
Apply this behavior to the puppet containing the sequence of layers to cycle.
If you want the cycle to be controlled by pressing a key, select the puppet layer in the Puppet panel, and then enter the key in the Trigger section of the Properties panel.
See Dojo Joe in the Character Animator examples download for a working example that you can modify.
This behavior has the following parameters:
The layers in a cycle can be triggered in sequential order synchronized to the timeline, so subsequent layers in the cycle are chosen as you advance later in time. This can be useful when you want to use an image sequence (created via File > Import Cycle or Puppet > Add Cycle) as background video.
Display sequential layers synchronized to time, do the following:
Set the Start parameter to the new Synced to timeline option. Synced to timeline is like Immediately, except that the former doesn't advance through the group's layers during rehearsal (i.e., when stopped on a frame).
The cycle is synchronized to the original start of the puppet track, so if you shift the puppet track later in time, the cycle still starts at the first frame of the puppet track. If you extend the in-point (left edge) of the puppet track earlier in time, the first layer of the cycle is used for those extended frames.
The Immediately option now also shows the same layer during playback and recording. If you start playback or recording after rehearsing, you might see a discontinuing in the layer chosen. When using Immediately or Synced to timeline, the Hold on Last Layer parameter is now disabled when Forward and Reverse is checked or when Cycle is set to Continuously.
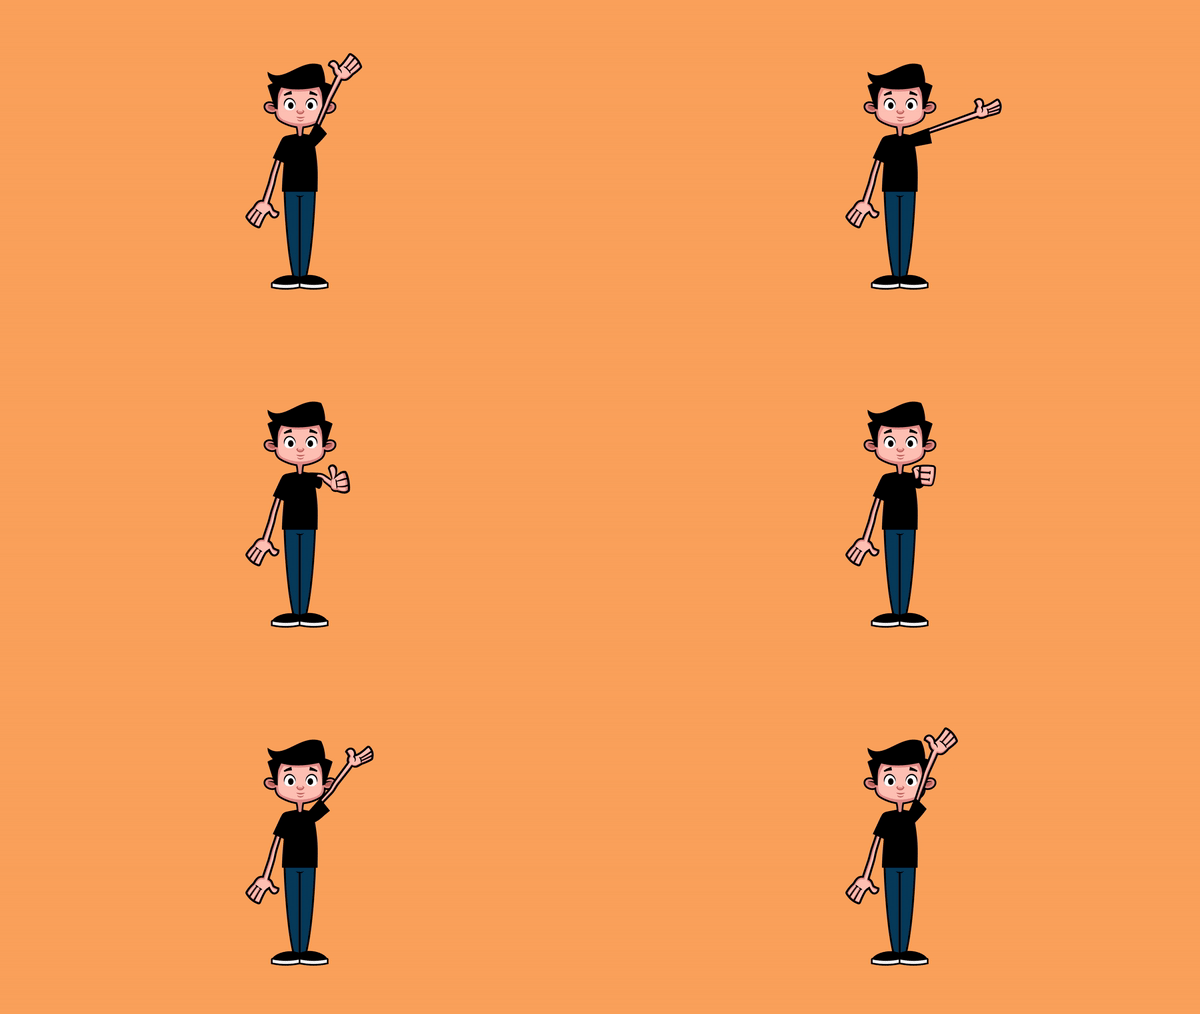
This behavior allows you to drag a region of a puppet away from the rest of it (for example, to wave its arm). It is applied by default for new puppets, but works only if a location on the puppet is set up for control via mouse or touchscreen.
Assign the Draggable tag to a specific handle or to groups to affect its origin. If imported artwork has a guide or a layer with the word "Draggable" in its name, the Draggable tag is applied to the corresponding handle automatically.
The Dragger tool in the Puppet panel can create Draggable-tagged handles without needing to modify the original artwork file.
Drag near the location in the Scene panel. The nearest Draggable handle location on the puppet moves to match the relative changes in mouse position while dragging.
The Dragger behavior records each Draggable handle that you move as a separate take group, so that multiple performances for a specific handle compose together, and don't affect performances for other handles that you drag. By grouping Dragger takes by dragged handles, you don't need to use multiple Dragger behaviors to capture multiple dragged handles. The Timeline panel shows each Dragger takes grouped by handle name as "Handle (handle-name)".
The Dragger behavior lets you control Draggable-tagged handles only when dragging within some distance from the handles. This optional control can help when you only want to control Draggable handles when very close to them, as opposed to whichever one is nearest. It is also useful when you have more than one Dragger behavior applied to different parts of the puppet — to avoid both activating on a single drag.
If you have a touch-enabled display, you can control Draggable handles by touching the display. Multiple handles can be controlled at the same time. The following actions can be performed at the handle location:
This behavior has the following parameters:
Each Draggable handle can have different After Move and Return Duration settings. For example, you can use Hold in Place to pose one draggable hand of a character, switch to Return to Rest and drag the other hand, then change the Release Duration to be longer and then drag a necklace.
This behavior uses the webcam, mouse, arrow keys, or touch-enabled display to control the movement of a puppet's pupils for finer control and recording of eye gaze. You can dart the puppet's pupils directly to the nine common positions shown below.
You can smooth and pause eye gaze and blend recorded eye gaze takes.
Organize and tag layers similar to those for the Face behavior. However, you only use the Head, Left Eye, Right Eye, Left Pupil, Right Pupil, Left Pupil Range, and Right Pupil Range tags.
You can control eye gaze with the webcam, mouse, arrow keys, or touch-enabled display.
If you are using camera input to control eye gaze, make sure the Camera & Microphone panel is open, your webcam is on, and the Camera Input button is not disabled. The panel shows what your webcam sees.
Select the puppet to control in the Timeline panel.
To use the webcam, arm the Camera Input parameter in the Properties panel, then look around in front of the webcam.
To use the mouse or touch-enabled display, arm the Mouse & Touch Input parameter. As you move your pupils or drag with a mouse or finger, the puppet's pupils should follow.
To use arrow keys, arm the Keyboard Input parameter in the Properties panel.
To pause pupil movements (when the Camera Input parameter is armed), hold down the semicolon (;) key.
Use this capability to , for example, have the character glance from side to side, holding the stare at each side. When you release the key, the pupils smoothly move to the currently tracked pupil positions. To slow down the transition, increase Smoothness.
If you want to only use one of the input types to control the eye gaze, disarm the other two. If you have two or more enabled, you can use the Strength parameters to control how the various inputs are blended.
This behavior has the following parameters:
100% is the default transformation for each parameter, but you can decrease it to 0% to dampen the transforms or increase above 100% to exaggerate them.
Tip: Temporarily disarm behaviors controllable via the mouse (for example, Dragger or Particles) if you want to control eye gaze with the mouse.
You can also blend together Eye gaze recordings (takes).
When the Camera Input and Microphone Input buttons in the Camera & Microphone panel are disabled, they override (disarm) the Arm for Record setting for Eye Gaze behavior. This allows you to view, while stopped, the results for a selected puppet with recorded takes for these behaviors without needing to deselect the puppet first.
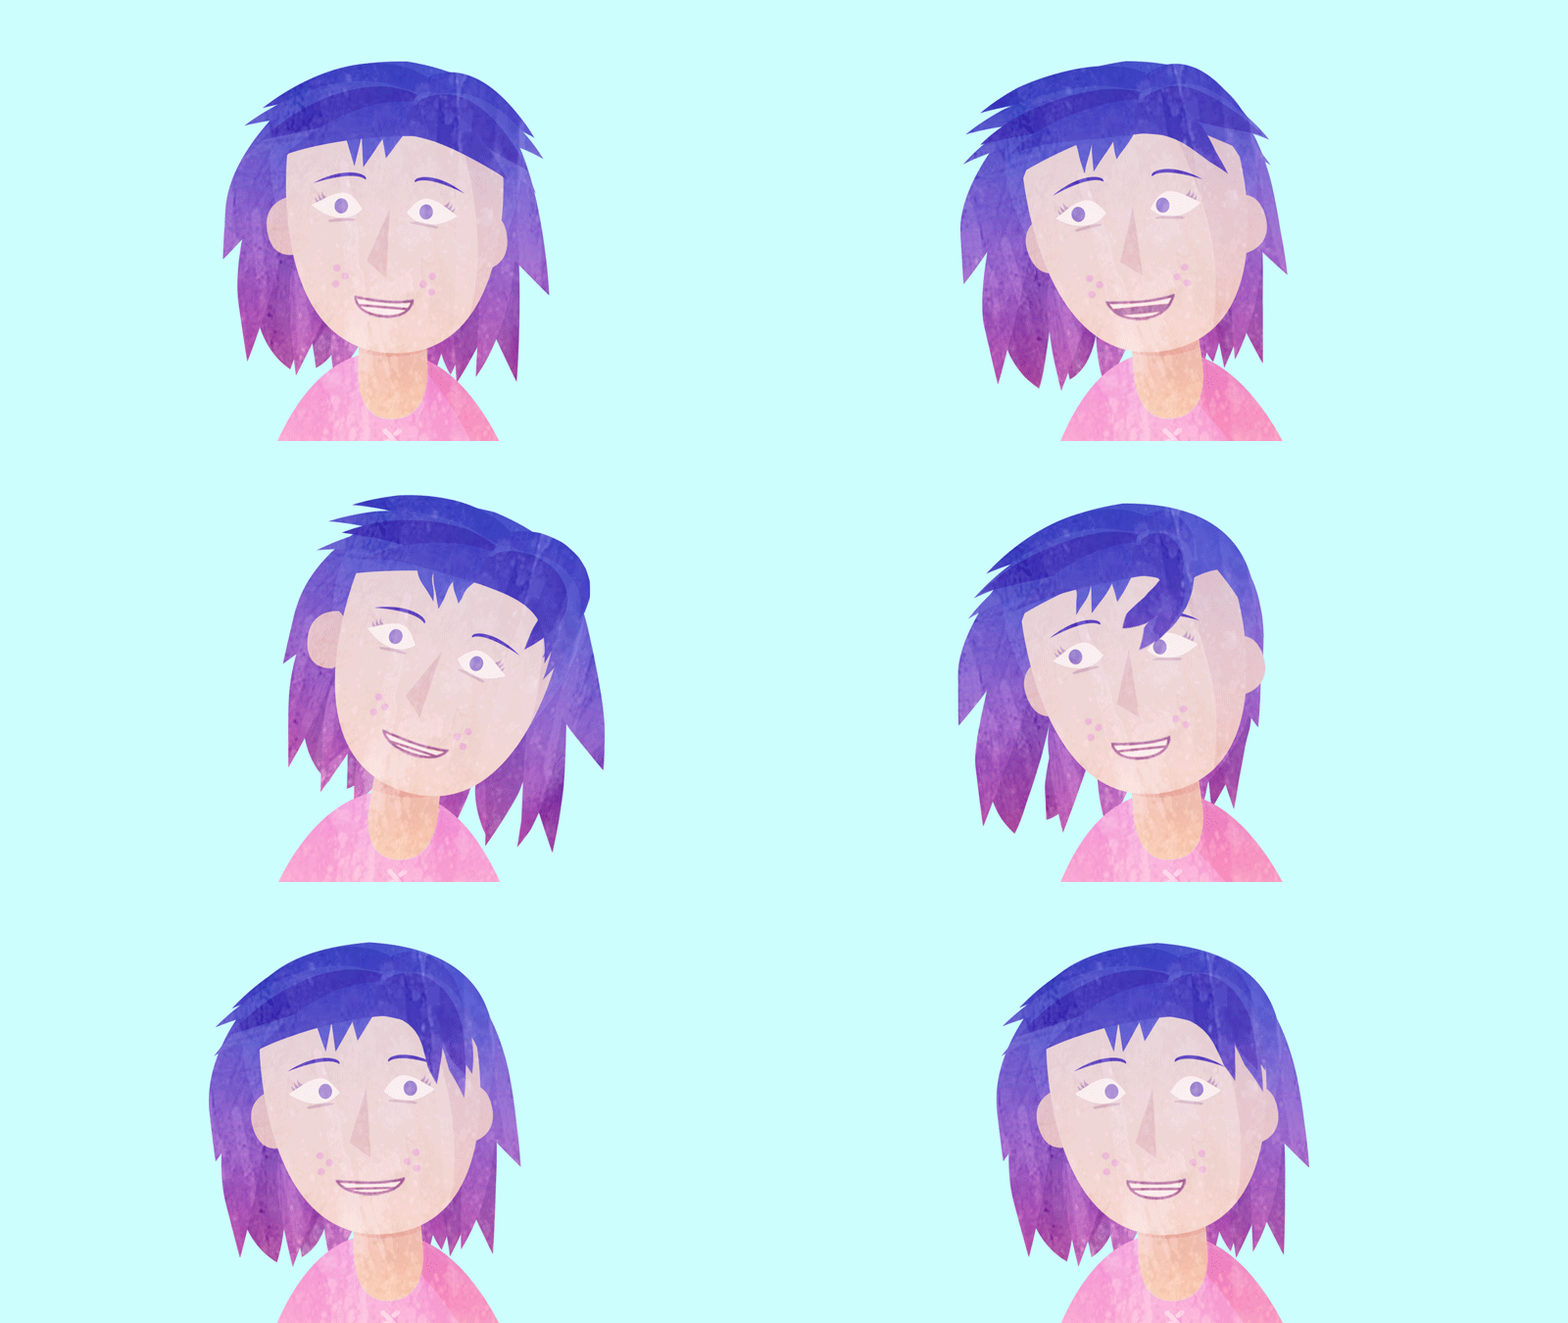
This behavior uses the face-tracking results from your webcam to control the position, scale, and rotation of named facial features in your puppets.
Organize and tag layers as described in Body features.
A puppet's eyes can blink in two ways — swapping to different artwork for a closed eye or sliding opposing eyelid layers together. The former gives you more control over the look of a closed eye, especially if it cannot be represented as two adjacent layers, and is easier to set up. However, no scaling occurs for partially closed eyes. The latter gives you continuous movement/scaling of eyelids, but requires more set up.
Assign separate Left Blink and Right Blink layer tags within the Left Eye and Right Eye tagged layers. When the Face behavior detects a closed eye, the Eye artwork is swapped for the Blink ones.
Assign tags for Left Eyelid Top, Left Eyelid Bottom, Right Eyelid Top, and Right Eyelid Bottom layers inside the respective Left Eye and Right Eye layers.
Create a handle at the bottom edge of each Eyelid Top layer, and another handle at the top of edge of each Eyelid Bottom layer.
The vertical distance between these handles determines how far to close and open the eyelids (i.e., Character Animator tries to move the top/bottom eyelid layers together to simulate closing of the eye).
As you raise or lower the eyebrow of your puppet, you can also tilt them for more expressiveness. You can tilt the eyebrow inward at the low point to emphasize a scowl, or tilt it outward at the high point to make your puppet look surprised.
To adjust the intensity of eyebrow tilt when raised or lowered, adjust the Raised Eyebrow Tilt and Lowered Eyebrow Tilt under Face behavior.
Note: Both these options are relative to the drawn orientation of the eyebrow at the rest pose, with 100% or -100% tilting the eyebrows vertically.
The Move Eyebrow Together option under the Face behavior is set as default in Character Animator. This means that the eyebrow movement happens in sync with each other. You can deselect the option for independent control of the eyebrows.
Character Animator captures your facial expressions from your webcam and animates the puppet based on your facial movements.
For some configurations with both internal and external webcams, the internal camera might not be the first (default) camera, or the intended external webcam might not be the next video input, so you might need to switch to the intended webcam. Also, sometimes you might need to reset or retrain the face tracking to the current position and orientation of your face so that the initial appearance of a puppet is as intended.
Use the Mirror Camera Input option in the Camera & Microphone panel menu to control if the camera image should be flipped horizontally before being used. Note that the option is checked by default.
Choose Switch to Next Camera from the Camera and Microphone panel until the intended webcam is active in the panel, or choose Switch to Default Camera to reset to the first webcam.
If you have multiple webcams or your webcam isn't the first video source found (for example, if you have a video capture device), cycle through available video sources to choose the intended one.
If the number of video sources changes during or between sessions, you might need to reselect the intended source.
Look at the center of the Scene panel, place your face in what you consider a default, rest pose, then click Set Rest Pose in the Camera and Microphone panel or press Cmd/Ctrl+P.
In case they no longer follow your facial features, try moving your head within the field of view of the camera, double-click in the Camera & Microphone panel, or push the red dots towards your face using your hand.
If your facial movements in front of the webcam are uneven or if lighting conditions cause facial tracking points to move unexpectedly, you can try compensating for these movements by having captured camera information smoothened over time. To smooth out facial movements, increase the new Smoothing parameter's value in the Face behavior. The default value does some smoothing, but you might want to decrease it if you prefer to have your puppet react instantaneously to quick motions, including rapid eye blinks. Mouth replacements are not affected.
Capture the initial frame of the performance
To ensure that a punched-in performance (starting a recording during playback) for the Face or Lip Sync behaviors captures the initial frame of the performance, deselect the Pause During Playback option in the Camera & Microphone panel menu.
A character can have multiple Head-tagged group , each with its own set of views (and Head Turner behavior). For example, you might have one set of views by default, but then use a keyboard trigger to switch to a different set of views.
Create a Head group (with Head tag) that contains the different views (Frontal, Left Profile, etc. tags), and add the Head Turner behavior to the Head group.
Repeat step 1 for the other sets of views, and assign a key trigger to each of these other Head groups, with Hide Others in Group checked.
Make sure the Face behavior is on a parent puppet of these Head group.
As you press the key trigger to show a head, you can then turn your head to trigger the different views.
See Wendigo in the Character Animator Examples download for a working example that you can modify.
You can produce pose-based movement from the webcam automatically, emphasizing key poses you make with your head and facial features using the Face behavior. Adjust the Pose-to-Pose Movement parameter to control how much to pause the head and face motion. The higher you set the parameter, the more the system will hold the key poses. Setting the parameter lower will cause the key poses to change more frequently.This parameter does not affect lip sync. Use the Minimum Pose Duration parameter to specify the minimum amount of time that a key pose will be held. This parameter only has an effect if the Pose-to-pose movement parameter is greater than 0%.
Tip: Increase Smoothing to 60% or more to ease the transition between key poses. Lower smoothing values can produce jarring jumps between poses.
Make sure the Camera & Microphone panel is open, your webcam is on, and the Camera Input button is not disabled. The panel shows what your webcam sees.
Place the selected puppet in a scene by clicking Add to New Scene or choosing Scene > Add to New Scene. A scene named after the puppet is created, and the scene is opened in the Scene panel.
As you move or rotate your head or make different facial expressions (smile, mouth wide open, etc.), the puppet in the scene should follow.
Audio from the microphone can be used to show different visual representations of your voice, via the Lip Sync behavior (described in Lip Sync: Control a puppet's mouth with your voice).
In After Effects, extract face measurements data from the video, as follows:
a. Import the video footage into a composition.
b. Draw a closed mask around the face, open the Tracker panel, then set Method to Face Tracking (Detailed Features).
c. Click the Analyze buttons to track the mask to the face.
d. Set the current time indicator to the frame representing the rest pose for the face, then click Set Rest Pose.
e. Click Extract & Copy Face Measurements.
In Character Animator, select the puppet with both the Face behavior and its Camera Input parameters armed for record.
Place the current time indicator (playhead) at the frame matching the first Face Measurements keyframe in After Effects.
Choose Edit > Paste.
The face measurements data on the system clipboard is converted to a Camera Input take on the selected puppet.
Hold down the semicolon (;) key. You can use this capability to, for example, have one character stationary but talking to another character that is moving in the scene. When you release the key, the puppet's head smoothly moves to the currently tracked head position and orientation. To slow down the transition, increase the Smoothness.
The semicolon key is usable when the Face behavior's Camera Input is armed.
This behavior has the following parameters:
This parameter affects only shape-based mouth expressions. Visemes controlled by the Lip Sync behavior are not scaled or affected.
When the Camera Input and Microphone Input buttons in the Camera & Microphone panel are disabled, they override (disarm) the Arm for Record setting for Face behavior. This allows you to view, while stopped, the results for a selected puppet with recorded takes for these behaviors without needing to deselect the puppet first.
This behavior allows parts of a bendable puppet to stay fixed in place as if pinned down.
Assign the Fixed tag to a specific handles or groups to affects its origin. If the imported artwork has a guide or layer with the word "Fixed" in its name, the Fixed tag is applied to the corresponding handle automatically.
The Pin tool in the Puppet panel can create Fixed-tagged handles without needing to modify the original artwork file.
When the puppet moves (for example, via the Face or Dragger behavior), the bendable areas stretch and deform. For example, you can restrict the movement of a character's torso and lower body by placing a "Fixed" handle at the waist (like a Puppet pin in After Effects or Photoshop), but have the upper part of the body (Head handle) controlled by the Face behavior.
See Headless Horseman.psd or Red Monster.ai in the Character Animator Examples download for working examples that you can modify.
The Stick tool (available in the Puppet panel) allows you to create rigid segments in the warpable mesh of a puppet's rubber sheet. The area around the segment cannot bend, but the segment can stretch or shrink. For example, you can create sticks (segments) for a character's upper arm and lower arm, leaving a gap at the elbow so it can bend there.
To create a Stick handle in the Puppet panel, click at the place above a layer to specify one end of the stick, then drag to the other end of the intended stick. A handle with a line through it is created.
This behavior switches between groups, for example, different views like the front, quarter, and side/profile of a character, as you swivel your head left or right.
Specify the controllable views by tagging the layers with at least two of the following:
The number of provided views determines the distance your head needs to swivel. If you provide Left Profile, Front, and Right Profile, Front is triggered when you look straight at the camera, and the profile views triggered when looking to either side. If all five views are provided, you need to turn farther to the sides to trigger the profile views.
This behavior has the following parameters:
As you turn your head, face tracking accuracy for your eyes, nose, and mouth decreases, so you might want to increase Sensitivity to still have good control over facial features, or reduce Eye Gaze Strength for the Face behavior applied to the profile views.
You can create multiple head-tagged group, each with its own set of views (and Head Turner behavior). For example, you might have one set of views by default, but then use a keyboard trigger to switch to a different set of views.
Create a Head group (with Head tag) that contains the different views (Frontal, Left Profile, etc. tags), and add the Head Turner behavior to the Head group.
Repeat for the other sets of views, and assign a key trigger to each of these other Head groups, with Hide Others in Group checked. Make sure the Face behavior is on a parent puppet of these Head groups.
As you press the key trigger to show a head, you can then turn your head to trigger the different views.
You can trigger a specific layer in a puppet or group using the Layer Picker behavior. Following are the various ways of choosing the layer ‐ by index number, percentage, microphone, keyboard, mouse, or touch-enabled display, or a combination of these. Each layer can even have Cycle Layers applied for more complex triggering of layers.
Setup
This behavior isn't applied by default to puppets. You can add the behavior to the specific group of a puppet whose layers you want to pick from. Only the layers and groups in that puppet are chosen, layers within groups are ignored.
Controls
The layer to pick is a combination of multiple input controls. The controls that are available are index number, the percentage of the number of layers available, via loudness captured by the microphone, via arrow keypress, and via dragging via mouse or touch-enabled display. The sum of all layer numbers chosen by these controls determines the actual layer to trigger. You can use one or more controls that are best suited for your needs.
Layer Picker parameters:
• Audio Input: controls the layer picked based on how loud you talk into the microphone. Use the Audio Sensitivity parameter to adjust the value (defined below).
• Keyboard Input: controls the layer picked by pressing the arrow keys. Use Left or Up Arrow to decrease the layer number and Right or Down Arrow to increase the number.
• Mouse & Touch Input: controls the layer picked by dragging horizontally in the Scene panel with your mouse or using touch-enabled display. You can adjust this parameter with the Mouse & Touch Strength parameter (described below).
• Index Offset: controls the layer picked by selecting its layer number (position within the group or puppet). This parameter has a minimum value of 1 (first layer).
• Percentage Offset: controls the layer picked by selecting a percentage of the range of layers. This parameter has a minimum value of -100% and a maximum of 100% so that you can, for example, select a higher-numbered layer with Index Offset, but reduce it with a negative Percentage Offset.
• Audio Sensitivity: controls how much influence the audio volume has on the layer picked. This is used when Audio Input is armed.
• Mouse & Touch Strength: controls how far you need to drag horizontally to change the layer picked. This is used when Mouse & Touch Input is armed.
• Keyboard Advance: controls how you press an arrow key to advance the layer number. On Hold (set by default), allows you to hold down the arrow key to repeated increase or decrease the layer number. On Tap, requires pressing the arrow key for each change in layer number.
• Out of Range: controls how to handle layer numbers that are outside the range of available layers. Limit to First/Last (set by default) restrict to the first and last layer, showing the first layer if the number is negative or the last layer if the number is larger than the last layer's index. The loop repeats the range of layers.
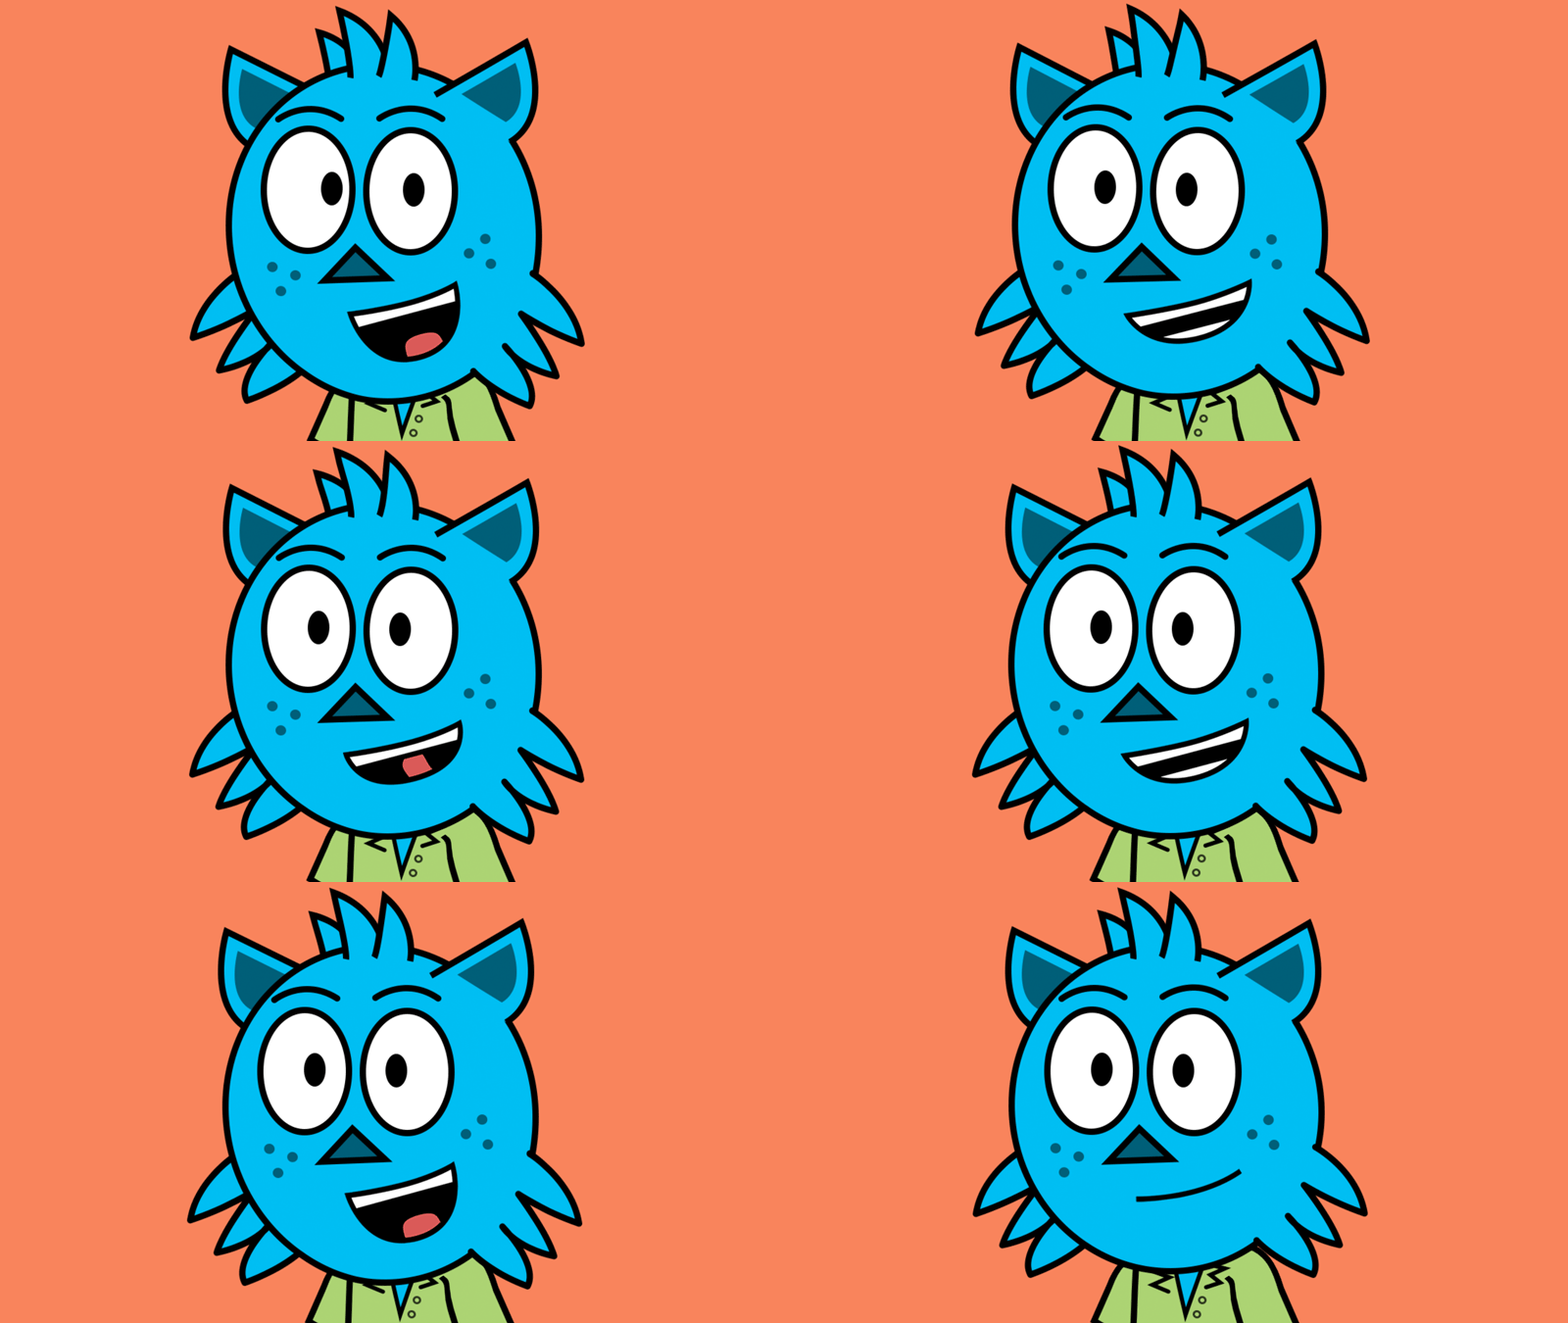
This behavior produces lip-synced animation if the original artwork contains visemes (visual representations of your mouth as you make different sounds) and you talk into the microphone. You can also process audio in the scene to generate lip sync data for a puppet.
The Lip Sync behavior has a Keyboard Input parameter that, when armed, allows you to display specific visemes by pressing the first letter of the viseme layer's name for example, A for the Aa viseme , D for D, W for W-Oo, etc.). You do not have to add keyboard triggers manually to those layer names.
A viseme is a generic facial image that can be used to indicate a particular sound. A viseme is the visual equivalent of a phoneme or unit of sound in spoken language. Visemes and phonemes do not necessarily share a one-to-one correspondence. Often several phonemes correspond to a single viseme, as several phonemes look the same on the face.
Within Character Animator, there are three shapes that are determined by the shape of your mouth in the webcam. These only show up if no audio is detected (no one is talking). Neutral is the most common to see and should be your default "rest" mouth.
The other 11 mouth shapes, called Visemes, are determined by audio. Visemes are visualizations of key mouth positions when saying common phonetic sounds. Character Animator listens for 60+ specific sounds and translates them into visemes.
If you name and structure your Mouth group like this, Character Animator automatically recognizes and tags these mouth shapes upon import.
• Lock the top jaw. Keeping the top row of teeth in a consistent place helps things look smoother.
• Cycle Layers behavior can be added to a mouth group to add a few frames of transitional animation when that sound is picked up. The mouth opening to Aa or W-Oo is a common application.
• You can add additional mouth shapes (sad, yell, etc.) into your Mouth group and show them through keyboard triggers.
• These are examples of a frontal view, but quarter and profile views can follow the same general guidelines.
Organize and tag Mouth layers as described in Body features. See Red Monster.ai or Robot.psd in the Character Animator Examples download for working examples that you can modify.
Try boosting the microphone input level in your operating system's Sound control panel.
Try making a "boooooo" sound to see if the mouth reliably stays on the "W-Oo" viseme, and a "la-la-la-la-la" sound to see if the viseme with the tongue appears (assuming your artwork included it).
Make sure the Camera & Microphone panel is open and the Microphone Input button is not disabled.
Place the selected puppet in a scene by clicking Add to New Scene or choosing Scene > Add to New Scene.
A scene named after the puppet is created, and the scene is opened in the Scene panel.
You can change the audio hardware references. To change them, select Edit > Preferences > Audio Hardware.
As you talk, the audio signal is analyzed and a matching viseme for your mouth is displayed. When no sound can be detected or the microphone is disabled, control falls back to the Face behavior (if present) analyzing the video signal (your mouth expressions captured by the webcam) to possibly trigger the Smile or Surprised mouth shapes.
Either import an AIFF or WAV file into the project and then add it into the scene, or record audio using your microphone (while the Microphone Input is enabled).
Add a puppet containing the Lip Sync behavior to the scene, and select the puppet's track item in the Timeline panel.
Make sure both the Lip Sync behavior and its Audio Input parameter are armed for recording, which they are by default.
Choose Timeline > Compute Lip Sync from Scene Audio.
The Compute Lip Sync from Scene Audio command analyzes the scene audio and creates a Lip Sync take only where the scene audio overlaps the selected puppet track items. Muted tracks are not computed. Visemes are automatically generated for the audio and are displayed below the Lip Sync take bar.
Computing Lip Sync from scene audio may take time depending on the duration of your audio.
This behavior has the following parameter:
When the Camera Input and Microphone Input buttons in the Camera & Microphone panel are disabled, they override (disarm) the Arm for Record setting for Lip Sync behavior. This allows you to view, while stopped, the results for a selected puppet with recorded takes for these behaviors without needing to deselect the puppet first.
You can create Lip Sync take for behaviors that have Audio Input parameters ‐ Nutcracker Jaw and Layer Picker ‐ both of which can use audio amplitude to control them. The existing Timeline > Compute Lip Sync from Scene Audio menu command now references the behavior with an armed Audio Input parameter:
If there are multiple armed Audio Input parameters, for multiple selected puppets or multiple behaviors, the menu command will mention the number of takes that will be created. If you only want to record a take for a specific behavior, make sure the others are disabled or disarmed.
You can insert, select, trim, delete, or replace visemes.
Visemes are represented as adjacent bars below the Audio Input track bar and the gaps between these bars are moments of silence in the audio. Each bar represents a separate viseme. Each viseme bar
has the viseme name displayed on it for easy recognition. Zoom in to view these names.
To zoom into the timeline, do any of the following steps:
If the Timeline panel is zoomed too far out to see the Lip Sync viseme bars, they change to a diagonal-lined pattern to convey that viseme information can be edited if you zoom in.
To select visemes or silences, do any of the following steps:
To adjust the timing of a viseme or silence, do any of the following steps:
The left edge of the viseme or silence moves earlier or later in time. You can drag the left edge of the viseme bars or silences across other visemes to replace them.
To delete visemes or silences,
When you delete a viseme bar or silence, the viseme bar or silence to the left extends to the next viseme or end.
There are multiple ways in which you can edit visemes . Visemes can be edited from the Visemes context menu and by dragging visemes manually. Several keyboard shortcuts can also be used to edit visemes when they are selected.
Note that Deleting a selected viseme automatically selects the next viseme or span of silence in time if one exists.
Right-click the viseme to be replaced and choose a new viseme from the context menu. To replace a viseme with a silence, choose Silence from the context menu.
The letters in parentheses are sounds. For example, use D viseme for sounds like n, th, and g.
Tip: Though you can play back or scrub through time, or deselect the Puppet track item to view the result, you can also disable microphone input in the Camera & Microphone panel to make changes to a viseme and see the results on the character immediately.
Depending on placement, the inserted viseme leaves silence after it. To make the inserted viseme fill the rest of the span of silence, press Alt/Option-left click to open the Visemes popup menu.
To split a viseme , do any of the following:
You can cut or copy and paste lip sync takes from one puppet or project and use it in another by following these steps:
Note: If you copy multiple Lip Sync takes, they are pasted in order of their selection.
Instead of copying the entire Audio Input take of visemes or Trigger take of triggers, you can selectively cut, copy, and paste viseme and trigger bars to reuse just the recordings you need. For more information, see Reuse (cut, copy, and paste) viseme and trigger bars.
The Lip Sync behavior can vertically move a Jaw up and down. It can be moved automatically based on the height of the current viseme , specifically the offset of the bottom edge of the viseme relative to the bottom edge of the Neutral mouth shape. With the Jaw handle along the chin of the face, as different visemes are displayed, the bottom of the face can warp to simulate the chin moving up and down.
Note: If a viseme is a cycle (i.e., Cycle Layers applied to a group of layers showing an animated viseme ), the vertical offset will be based on the tallest layer in the group. If there are multiple mouth groups, it will use the average height of all mouths with that same viseme's tag.
The behavior has the following new parameters to control Jaw movement:
You can take Character Animator visemes into After Effects for use on different characters. For information on the steps to follow, see Lip Sync: Take export for After Effects.
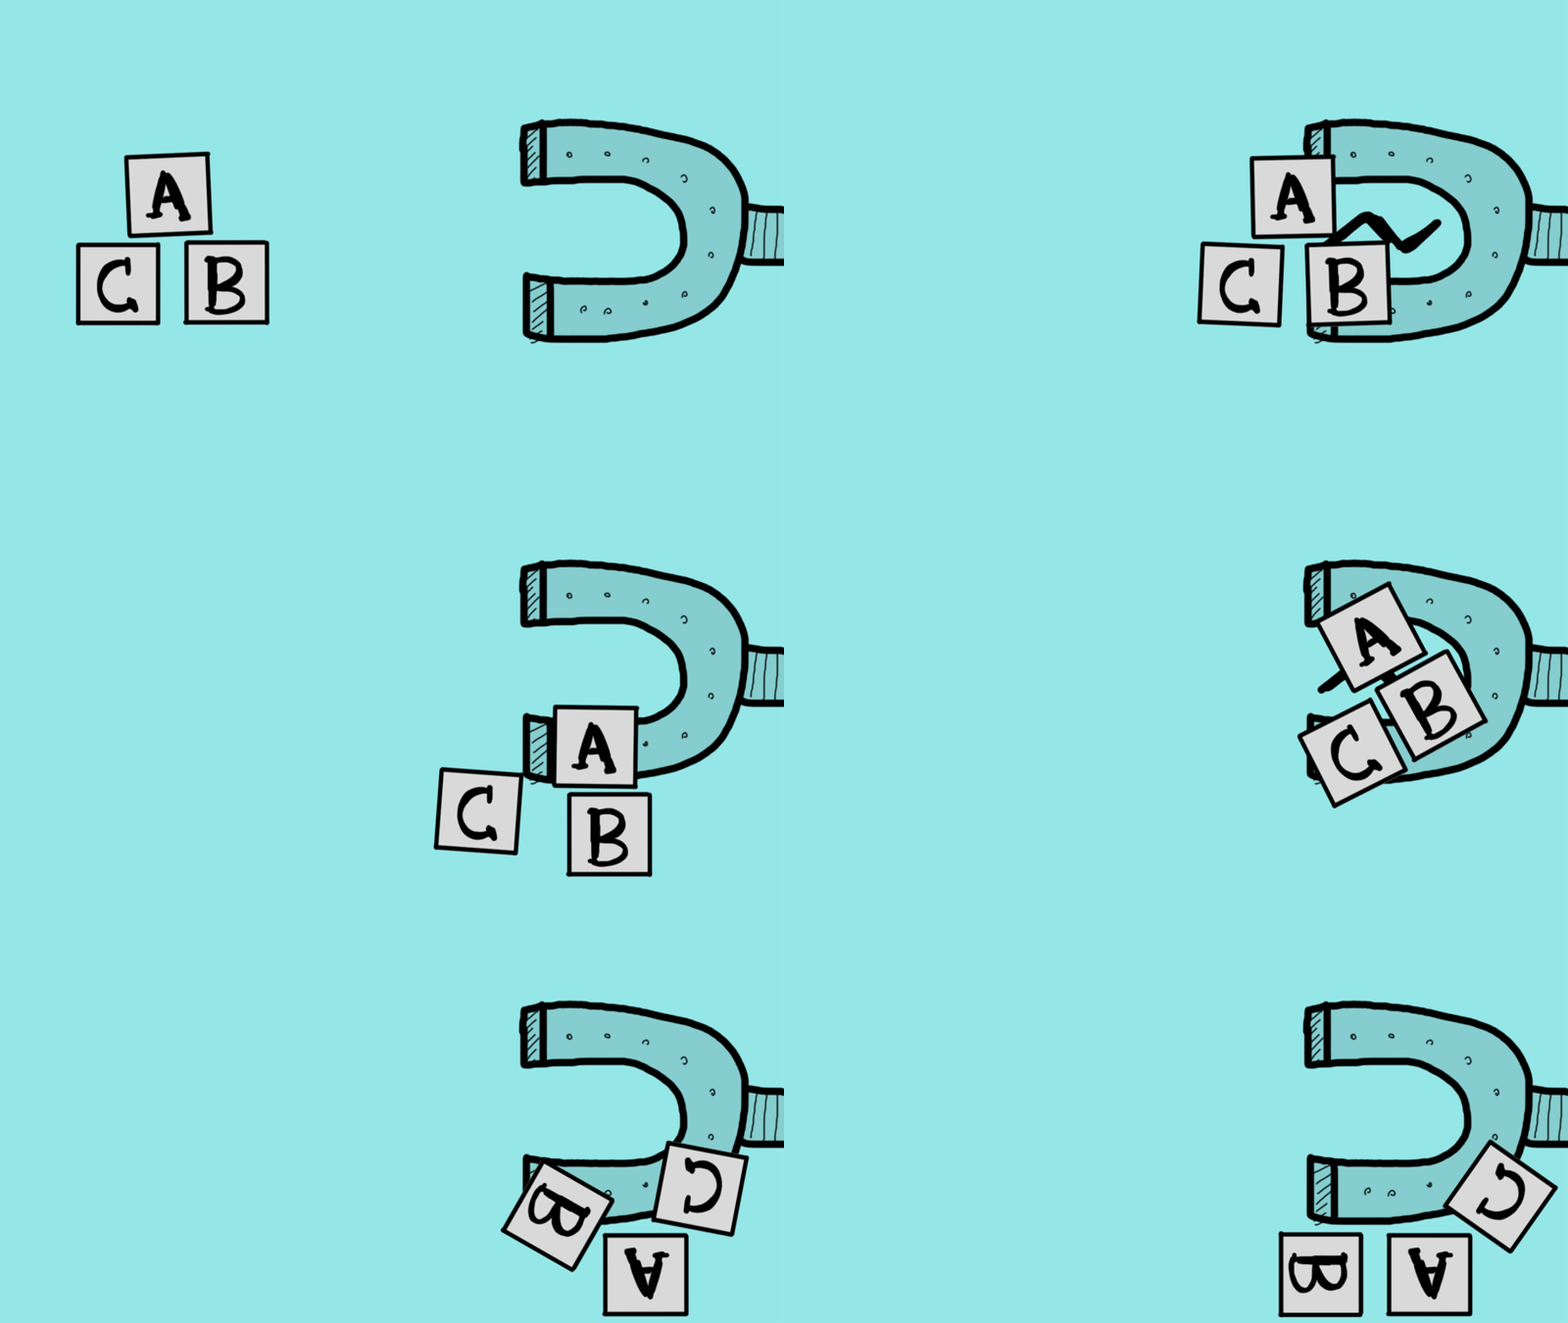
This behavior lets different parts of a puppet or different puppets connect to each other as they get close. Use it for picking up and dropping objects, like a cup of coffee that you want your character to grab.
Add the Magnets behavior to each puppet that you want to be connectable, and make sure the Physics behavior is at the same level or higher in the puppet structure.
Apply the Magnet tag (in the Physics tag category) to the handles that can attach to each other.
Apply the Dynamic tag (in the Physics tag category) to the group that will be attached to.
Connections can be broken when one of the layers that have the Magnets handle is untriggered or hidden. Connections can also be broken when the strength goes to 0.
Attach Style
Controls how connected objects are oriented with each other ‐ Weld retains the original orientation at the time the attachment was made, whereas Hinge allows the attached object to pivot. If you are using multiple Magnets behaviors (for example, you're connecting between puppets), and they use different attach styles, the connection to be used is Hinge.
Strength
Controls how strong the connection is between attached objects, with lower values allowing the objects to move more freely than at higher values. A strength of 0 will not attract other Magnet-tagged handles, and also breaks any current connections.
Range
Controls the maximum distance (in pixels) that nearby Magnet-tagged handles need to be from each other to form a connection.
Collide Layer
Controls if Collide-tagged groups containing Magnet-tagged handles will collide with each other. The groups will collide when their outlines meet. The Range value might need to be increased because the handles will not overlap before making a connection.
The Motion Trigger behavior switches between groups based on the direction the parent puppet is moving. For example, as a character moves to the right, switch to a profile view of the character running with motion trails behind it. The movement of the character can either be direct (you dragging it across the scene) or indirect (the puppet is attached to a hand on an arm that is swinging because the torso is moving).
To specify the motion views, attach any of the following tags:
Notes:
Move the parent puppet whose group has this behavior applied. Movement can come from any other behavior (Face, Dangle, Dragger, Transform, etc.).
This behavior has the following parameters:
Speed Threshold controls the threshold that the parent puppet must move in pixels per frame before a layer is triggered. Speeds below this threshold triggers the At Rest layer.
Minimum Duration controls the minimum number of frames to trigger a layer before triggering a different layer, which can reduce flicker/jittery switches between layers when moving at a slower speed.
This behavior moves the lower part of the puppet's mouth as you open and close your mouth in front of the webcam or talk into the microphone. This can be a simpler way of making a puppet talk without needing to specify separate artwork for the different mouth shapes and visemes used by the Face, and Lip Sync behaviors. If Face, and Nutcracker Jaw behaviors are both on a puppet, the Face behavior can still control the rest of the face, but Nutcracker Jaw controls just the mouth.
This behavior isn't applied by default to puppets, so add it first to see its effect on a puppet.
In the Puppet panel, select the layer for lower jaw.
In the Properties panel, click Tags and select the Jaw handle tag from the Miscellaneous section.
You can rotate the jaw of the puppet. To rotate the jaw, follow these steps:
Select the jaw group in the Puppet panel.
Add a handle and tag that Jaw.
If imported artwork has a guide or layer with the word "Jaw" in the name, the Jaw tag is applied to the corresponding handle automatically.
See Nutcracker Annie.psd in the Character Animator Examples download for a working example that you can modify.
In the Properties panel, make sure the Camera & Microphone panel is open, your webcam is on, and the Camera Input button (for visual control) is not disabled.
Open and close your mouth in front of the webcam.
In the Properties panel, make sure the Camera & Microphone panel is open, your audio input is on, and the Microphone Input button (for audio control) is not disabled.
Talk into the microphone. Try to speak loudly to see how it affects the intensity of the jaw movement.
This behavior has the following parameters:
When the Camera Input and Microphone Input buttons in the Camera & Microphone panel are disabled, they override (disarm) the Arm for Record setting for Nutcracker Jaw. This allows you to view, while stopped, the results for a selected puppet with recorded takes for these behaviors without needing to deselect the puppet first.
The Lip Sync behavior can vertically offset a Jaw handle automatically based on the height of the current viseme . For more information, see Move the jaw based on the current viseme .
Particles behavior creates multiple instances of a puppet and treats them as particles within a simulation (for example, spewing as if fired from a cannon, or falling like snowflakes). This behavior isn't applied by default to puppets. Add it first to see its effect on a puppet. You can also apply it to a group of puppets to have the group emitted as particles from the parent puppet.
The Physics behavior must be applied at or above the group that has Particles behavior applied. This allows Particles to use the settings for the physics system, and particles to move. If you are opening an older project, or a puppet with only Particles behavior applied, add the Physics behavior to use the settings.
Particles applied to a group render above all groups of a puppet. See Snowflakes.psd in the Character Animator Examples download for a working example that you can modify.
This behavior has the following parameters:
For the Snow mode, you might want to set Emitter Opacity to 0% or position the puppet off the edge of the scene (via the Transform behavior) so all you see are the falling particles.
In Point and Shoot mode, the pointer must be above the Scene panel for particles to fire.
Note: Unless you want particles to move along an arc, set Direction (of emitted particles) and Gravity Direction in asimilar orientation.
Gravity Strength, gravity Direction, Bounce Off Scene Sides, Bounciness, Wind Strength, and Drag parameters are now a part of Physics parameters. Squash and Strech parameter is no longer available.
The Particles behavior can emit particles that are collidable with other particles or other layers tagged
Collide.
Select the puppet with particles and have it armed for record. Then Press D.
In the Particles behavior, enable the Collide option.
In the Physics behavior that controls the physics system, adjust the general gravity and wind settings, as well as the settings in the Collide section.
Physics allows layers in a puppet to collide and bounce against each other and the sides of the scene. For example, a character can walk through a pile of leaves, with the feet pushing them out of the way. You can even have a structure of nested groups act as a chain or produce ragdoll animation. You can even have a structure of nested groups act as a chain or produce ragdoll animation. This behavior lets a puppet warp (hang and sway) as if it was pulled and pushed from some point on it. Handles on the puppet act as particles that get dynamically simulated, causing the artwork on them to move and deform. For example, the long hair, earrings, or wings on a character that sway or oscillate like a spring as the character moves around the scene.Note: Collisions occur only between independent groups of a single puppet, and between puppets that are in the same scene.
You can apply Physics at multiple group levels for finer control of stiffness, wind, and gravity settings.
Note: The Physics tag is ignored if you apply it to a puppet's origin handle, either manually in the Puppet panel or if the artwork had a layer with "dangle" in its name.
Note: Collisions occur only between independent groups of a single puppet, and between puppets that are in the same scene.
Assign the Physics tag to the handles that you want to control by physics. The puppet dangles from the other handles, such as Origin or the ones with the Fixed tag. If the imported artwork has a guide with the word "Dangle" in its name, the handles created from those guides get the Physics tag automatically. Layers with the word "Dangle" get the Physics tag applied to their origin handles. However, the Physics tag applied to any origin handle is ignored.
The Dangle tool in the Puppet panel can create Dangle-tagged handles without needing to modify the original artwork file.
Make sure that some parent puppets can be controlled by the Dragger, Face, or Transform behavior so that the dangling puppets can react to the motion.
Tip: Use Hinge attach style to allow the puppet to pivot smoothly around the attachment point.
Dangling still uses Dangle-tagged handles and the Dangle tool, but to operate collisions, tag the
layers as either Collide or Dynamic. These handle and layer tags are in the Tags > Physics section of the Properties panel.
Follow these steps to make an independent group dangle:
If the Collide or Dynamic tag is applied to a layer or non-independent group, it uses the mesh associated with the nearest parent-independent group in the puppet structure. Also, when setting up a hierarchy of groups for ragdoll movement, change the Attach Style for the groups to Hinge to make each group pivot as expected. When the Dynamic tag is assigned to a group that contains Dangle handles, the group will not move rigidly but can still dangle.
Move the puppet on which the dangled artwork is attached. For example, move your face (if the Face behavior is controlling the puppet) or drag in the Scene panel (if the Dragger behavior is controlling the puppet).
This behavior has the following parameters:
The Physics behavior has gravity controls that affect both dangling groups and colliding layers, and parameters specific to dangling and colliding actions. You can control them using the following parameters:
Gravity Strength: controls the amount of force or pull of gravity.
Gravity Direction : controls the orientation of gravity. For example, you can rotate gravity 180° to point upward, and either increase Gravity Strength or match Wind Direction to the same orientation to have dangled hair float upward.
Bounce Off Scene Sides controls if emitted particles bounce when hitting any side of the scene.
Bounciness controls how much particles bounce. If lowered to 0% and Bounce Off Scene Sides is checked, they'll slide along the edges.
Wind Strength controls the influence of the simulated wind on the Dangle handles.
Wind Variation controls the randomness of wind direction and strength. Increase this value to make the wind feel more alive.
Dangle:
Collision:
The Dangle behavior supports squash and stretch deformation, which preserves the overall volume (surface area) of a puppet as it deforms. For example, compressing the puppet's mesh causes the sides to bulge wider to retain the original surface area. Similarly, stretching the mesh vertically causes the middle to get narrower.
Also, when using lower stiffness settings that cause looser swaying motion, you can reduce the amount of sway with damping control.
Apply the Dangle tag to at least one handle in the mesh.
This behavior allows you to adjust the anchor point, position, and rotation of a puppet in the scene. You can also move, scale, rotate, and adjust the opacity of an entire puppet. It is useful when you want to assemble multiple puppets in a scene or move a puppet across it.
If you want to move, scale, or rotate just a specific area of a puppet, for example, to shift or twist a portion of the puppet's mesh, you can use Transform-tagged handles. Opacity control is only available for the entire puppet.
Add a Transform tag to a handle at the location on the puppet mesh to control.
Applying a Transform tag to the origin of an independent group is like adding a Transform behavior to the group, except you can't control the group's opacity.
Use the Position, Scale, and Rotation parameters for the Transform behavior to control the Transform-tagged handles. Anchor Point adjustments affect rotation and scale.
2. If required, adjust the Handle Strength parameter to reduce the effect of the settings on the handle, between 0% (no impact) to 100% (full impact of the changes made in step 1).
Character Animator uses a triggering system that replaces the older Keyboard Trigggers behavior with a more capable system based on the new Triggers behavior. For detailed information about Trigger behavior and Trigger Panel, see Trigger behavior and Trigger Panel.
Beta 6 and earlier projects and puppet files that use the obsolete Keyboard Triggers behavior will continue to work, but if you would like to use the new system with older puppets and projects please see See Converting Obsolete Keyboard Triggers to Triggers.
The Walk behavior allows a puppet to walk across the scene by controlling the legs, arms, and body of the puppet. The behavior simulates some common walking styles such as - strut and prance.
You can create an animated walk cycle with the behavior. A walk cycle is a series of poses played on loop, which creates an illusion of a walking puppet. Walk cycles can convey different moods and emotions to enhance your animation. For example, long bouncy steps represent a happy walk.
This behavior assumes that the character is two-legged and two-armed, and is viewed in profile. But, it is possible to apply it to additional legs.
Upon applying the behavior on the puppet, the legs move through a looping series of poses to complete a walk cycle. The feet are planted at ground level and the arms swing in opposite direction of the legs while walking. Walk behavior can also adapt to long and short legs for a smooth walk motion.
For making your puppet have a more realistic arm and leg motion, use the Left Shoulder, Right Shoulder, Left Hip, and Right Hip handle tags in the characters drawn in three-quarter perspective. Instead of swinging arms from the neck and legs from a single hip location, separate left and right shoulder and hip locations can improve the appearance of these swinging limbs.
Note that you can tag left-moving views as Left Quarter or Left Profile. Similar for right-moving views being tagged as Right Quarter or Right Profile.
Tip: The Start workspace includes a template puppet - Walkbot, which has been created using the Walk behavior. You can use this template puppet to view the behavior settings, and modify these settings to customize the puppet.
When you open existing projects that use Walk behavior, you may notice that the position of the puppet moves vertically. This is done to make the different walk styles keep the feet on the floor as you switch between them.
Setup a profile view puppet with the legs and arms as independent groups to avoid unwanted overlapping. All the independent parts to the parent puppet (profile view puppet) staples automatically to prevent limbs from detaching. For best results, use Hinge or Weld attach styles. Next, you can add sticks to the legs and arms to keep them straight and prevent bending.
This behavior is not applied by default to puppets, so add it first to see its effect.
The puppet is made of a number of independent parts attached with the parent puppet. In the Puppet panel, identify the following locations on each leg and on the body of the puppet.
Use the correspondingly named handle tags in Properties panel to identify the locations. To find the handle tags, follow these steps:
In the Properties panel, click the triangle icon next to Tags.
Under the Body section, you can view the available handle tags. Hover over each tag to view the description.
You can create a basic walk cycle with a minimum set of tags. Before you create tags, you need to create handles, which the tags are associated with.
To create a handle, follow these steps:
Select the Handle tool and add click the part of the puppet you want to add a handle.
In the Properties panel, click Tags.
Under the Body section, select the handle for the corresponding puppet part. You can view the handle description in the tooltip.
For foot movement, use either Ankle or Heel tag and for leg movement, use either Waist or Hip tag. If you have a left-facing character walking to the left by default, also add the Knee tag. For the leg and arm handles, be sure to set the same ones on both left-facing and right-facing puppets, for example Left Ankle and Right Ankle (from the perspective of the puppet).
If you have separate left-facing and right-facing views, make sure to tag them correctly.
To add tags, follow these steps:
After you tag the puppets, switch to the Scene panel to see the puppets respond to the changes. With the Start parameter set to Left & Right Arrow keys, when you press Right-Arrow key, right-facing puppet is displayed, and when you press Left-Arrow key, left-facing puppet is displayed. If you tag only one profile puppet or no profile puppet, and press the opposite arrow key, the puppet walks backwards. For example, if you tag only the left-facing puppet, the puppet walks backwards when you press the Right-Arrow key.
By default, the puppet legs walk in place to help you preview the walk cycle of the puppet and make changes. You can make the puppet move using the Walk parameters
To make the puppet move, do any of the following:
Tip: You can apply a draggable handle to the puppet's top-level origin handle if you need to reposition it
within the scene.
Walk behavior has the following parameters:
Tip: Add multiple Walk behaviors with different walk styles, speeds, and phase to produce more complex motion.
The Walk behavior supports quarter-view-drawn characters. Also, a specific part of the walk cycle can be emphasized more than others, and shoulder and hip motion can be added, to produce more livelier movement.
The Walk behavior still moves the character laterally , even if drawn in quarter view.
Biped characters drawn in three-quarter perspective produces pleasing arm and leg motion when the new Left Shoulder, Right Shoulder, Left Hip, and Right Hip handle tags are used. Instead of swinging arms from the neck and legs from a single hip location, separate left and right shoulder and hip locations can improve the appearance of these swinging limbs.
The Shoulder tags are best placed in the parent group of the arms. Existing puppets with a Hip handle will get Left Hip and Right Hip handle tags associated with that single handle, but you can reassign the tags to separate handles.
You can now tag left-moving views as Left Quarter or Left Profile. Similar for right-moving views being tagged as Right Quarter or Right Profile.
This behavior, when applied to Illustrator artwork, wiggles the artwork's paths automatically to give a little life to the puppet. It does not affect Photoshop artwork, or Illustrator artwork whose skin has the "Render As Vector" option disabled.
This behavior isn't applied by default to puppets, so add it first to see its effect on a puppet. However, for very complex Illustrator documents with numerous paths, performance can be slow with Wiggler applied.
Sign in to your account