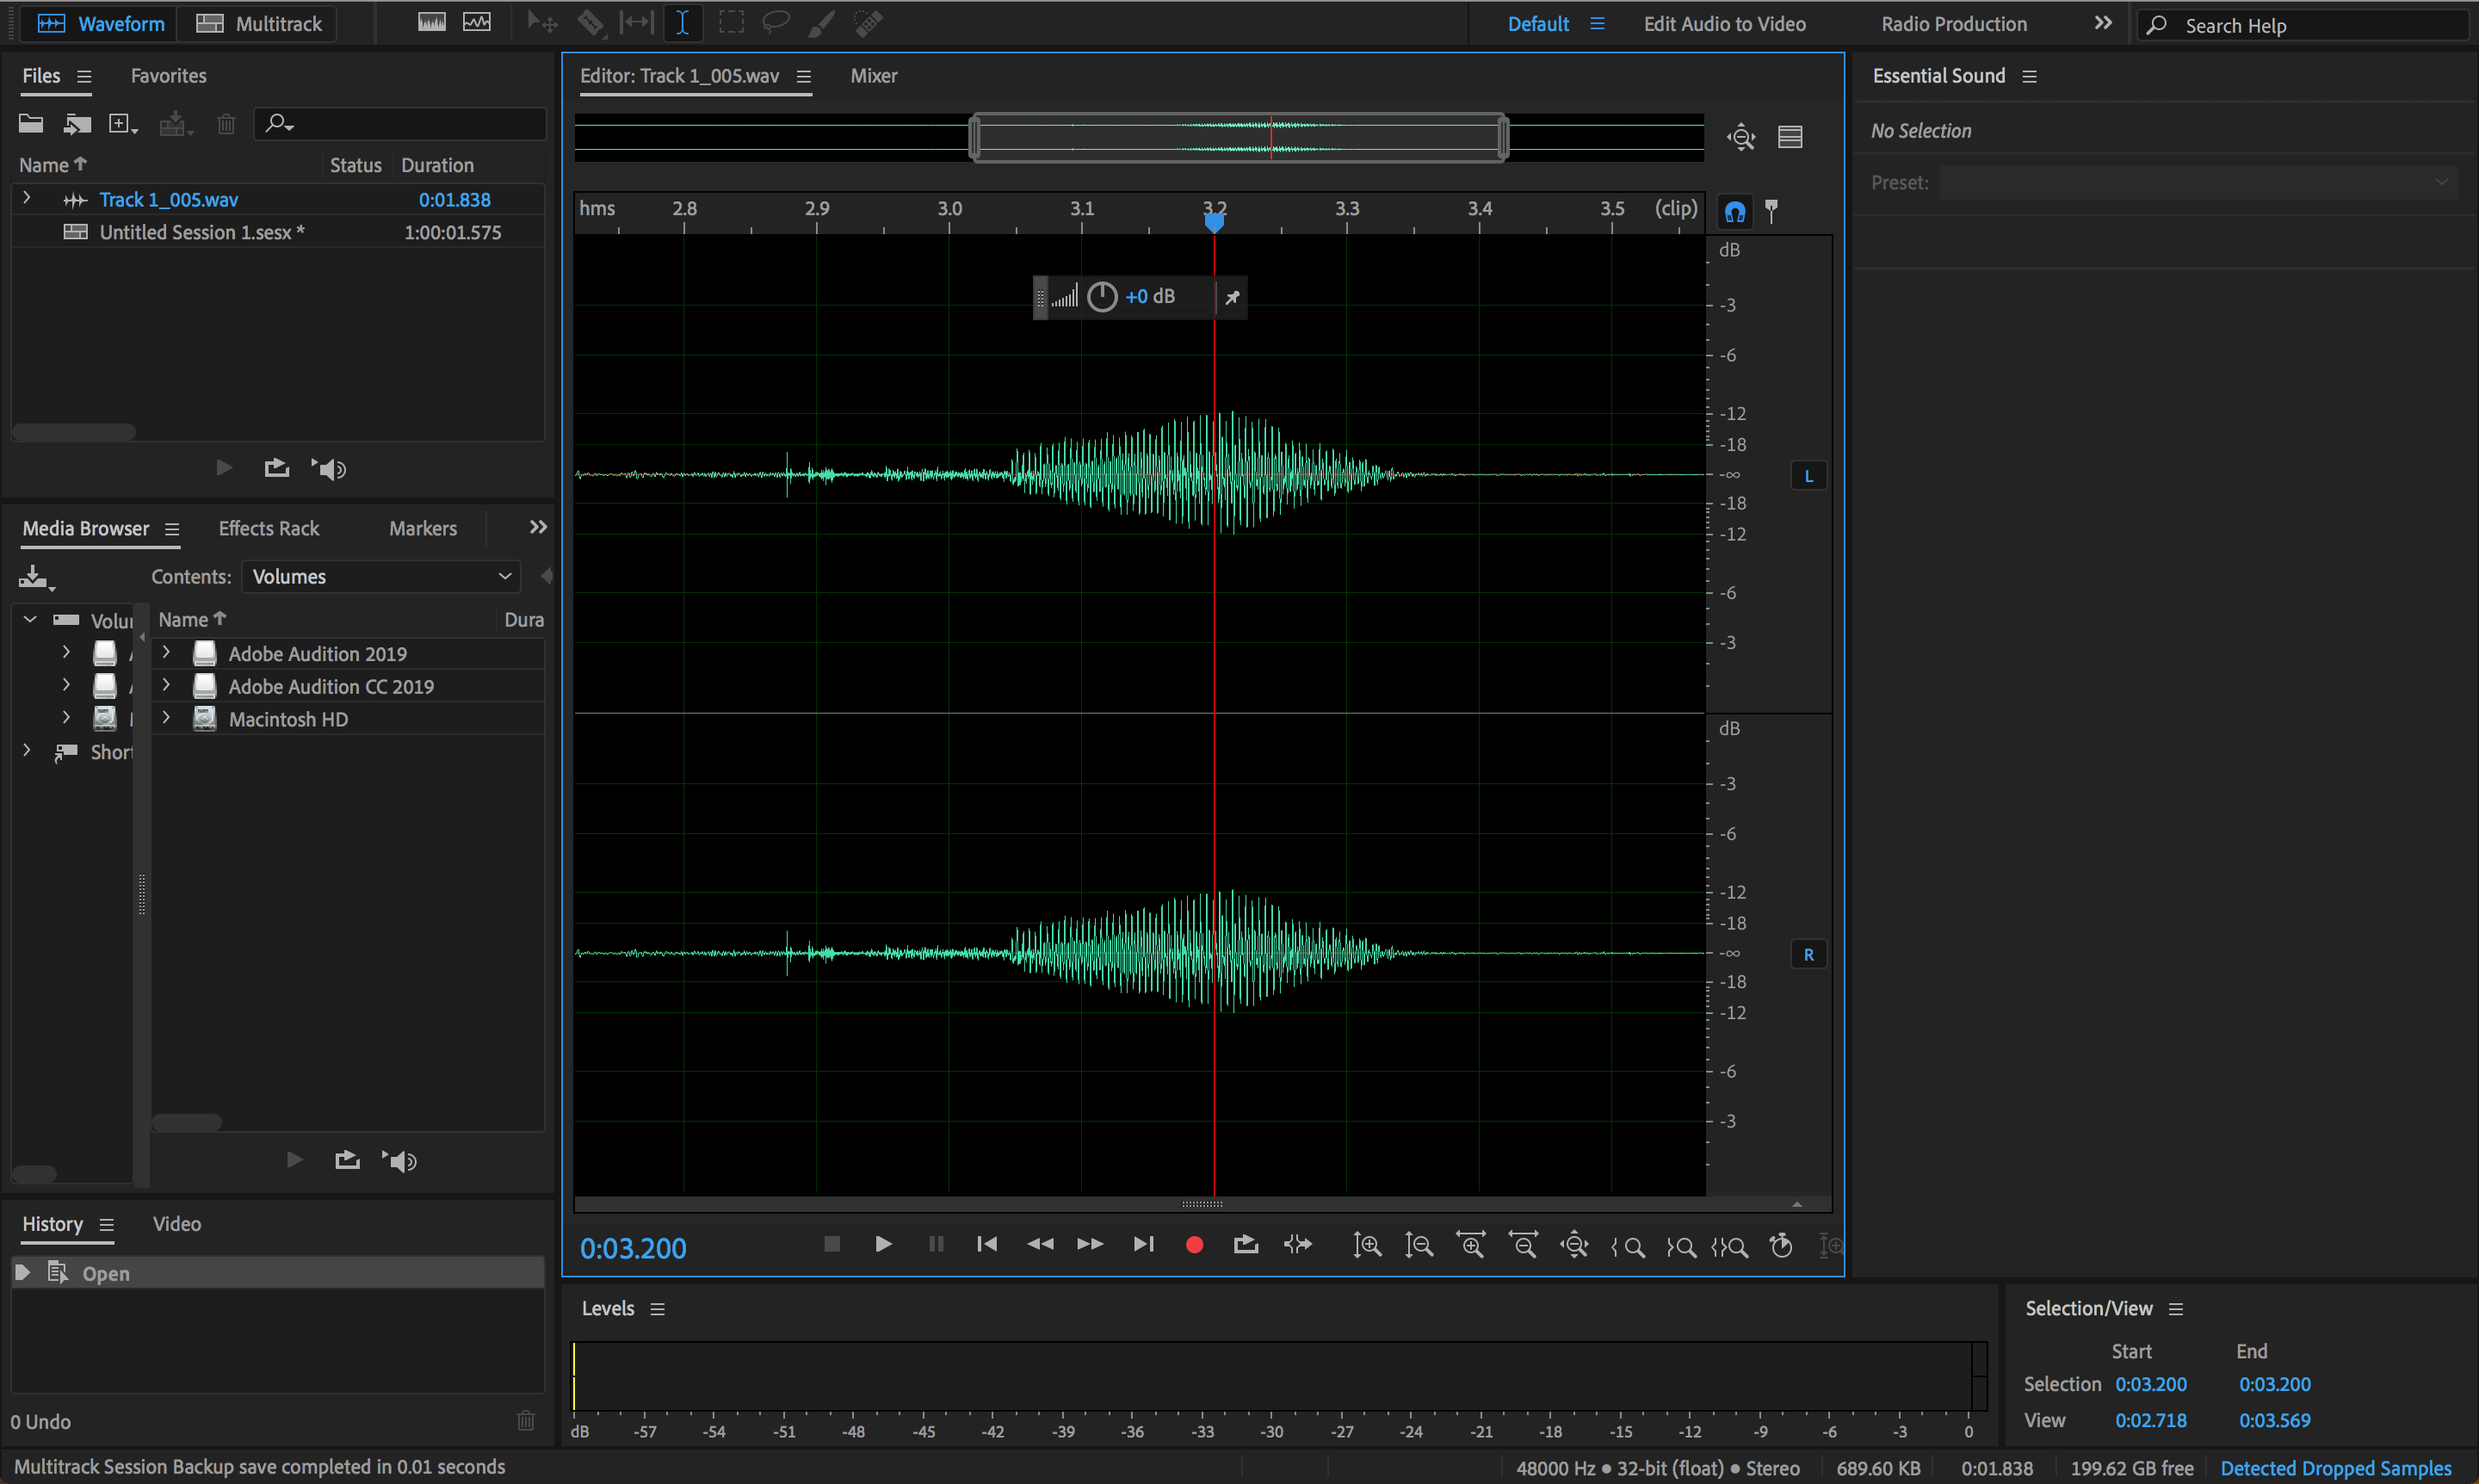
Adobe Audition provides different views for editing audio files and creating multitrack mixes. To edit individual files, use the Waveform Editor. To mix multiple files and integrate them with video, use the Multitrack Editor.
The Waveform and Multitrack editors use different editing methods, and each has unique advantages. The Waveform Editor uses a destructive method, which changes audio data, permanently altering saved files. Such permanent changes are preferable when converting sample rate and bit depth, mastering, or batch processing. The Multitrack Editor uses a nondestructive method, which is impermanent and instantaneous, requiring more processing power, but increasing flexibility. This flexibility is preferable when gradually building and reevaluating a multilayered musical composition or video soundtrack.
You can combine destructive and nondestructive editing to suit the needs of a project. If a multitrack clip requires destructive editing, for example, simply double‑click it to enter the Waveform Editor. Likewise, if an edited waveform contains recent changes that you dislike, use the Undo command to revert to previous states—destructive edits aren’t applied until you save a file.
Though available options differ in the Waveform and Multitrack editors, both views share basic components, such as the tool and status bars, and the Editor panel.

-
- In the Multitrack Editor, double‑click an audio clip to open it in the Waveform Editor. Alternatively, double‑click a file in the Files panel.
- In the Waveform Editor, choose Edit > Edit Original to open the multitrack session that created a mixdown file. (This command requires embedded metadata in the file. See Embed edit-original data in exported mixdown files.)


In either the zoom navigator or the timeline ruler, right-click and drag. The magnifying glass icon ![]() creates a selection showing the range that will fill the Editor panel.
creates a selection showing the range that will fill the Editor panel.
Click on the Timer icon on the bottom of the Editor panel. There are five preset slots available that can be used to zoom to a specific time. In the Save Preset menu, you can overwrite a preset slot with the duration that is currently selected.

Quickly zoom to the time range of one or more selected clips using the Zoom menu command. In the Multitrack Editor, choose Zoom > Zoom To Selected Clips.
In the vertical ruler for the spectral display, right-click and drag. (See View audio waveforms and spectrums.)
Place
the pointer over the left or right edge of the highlighted area
in the zoom navigator, and then drag the magnifying glass icon ![]() .
.
Opomba:
You can set the Zoom Factor in the General section of the Preferences dialog box. (See Customize preferences.)
You can zoom out all tracks to the same height to fully cover vertical spaces. The view will resize track heights to take up the full height of the multitrack editor panel. Track heights will resize to a consistent height. Minimized tracks will still remain at their minimum height.
To Zoom out full, choose View > Zoom Out Full (All Tracks).
Place the pointer over the zoom navigator or ruler, and either roll the wheel or drag up or down with two fingers. (In the Waveform Editor, this zoom method also works when the pointer is over the waveform.)
Opomba:
Roll or drag over the spectral display, and press Shift to switch between logarithmic and linear frequency scales. (Logarithmic better reflects human hearing; linear makes individual frequencies more visually distinct.)
In the lower right
of the Editor panel, click the Zoom In At In Point ![]() , Zoom
In At Out Point
, Zoom
In At Out Point ![]() , or
Zoom To Selection buttons.
, or
Zoom To Selection buttons.
Opomba:
To display zoom buttons in a separate panel, choose Window > Zoom.

Use horizontal mouse scroll or a middle button mouse drag to scroll the timeline in multitrack and waveform view.
To scroll through audio frequencies in the spectral display, drag up or down in the vertical ruler. (See View audio waveforms and spectrums.)
The Selection/View panel shows the start and end of the current selection and view in the Editor panel. The panel displays this information in the current time format, such as Decimal or Bars And Beats. (See Change the time display format.)
You can use auto-scroll to navigate
- Pagewise scroll: The
playhead moves from left to right and jumps to the next frame when it hits the right corner. - Centered scroll: The
playhead is positioned at the center and the track beneath it moves. Therefore, the current time of audio being played is always in the middle.

To set your preference to Enable auto-scroll when starting playback or recording, enable the checkbox.

