Whether you are a rookie or an experienced coder, there are always chances of errors creeping in to your code inadvertently or due to lack of knowledge. When the web page or even a portion of it doesn't look like what you expected, you are forced to debug code to find any syntax or logical errors. Debugging can be an extremely strenuous and a time-consuming process especially in cases of complex implementations.
Dreamweaver makes debugging code for common errors simple and easy with the help of linting. Linting is the process of analyzing code to flag potential errors or suspicious usage of code. HTML syntax errors, parsing errors in CSS, or warnings in JavaScript files are some of the things flagged by linting in Dreamweaver.
The errors and warnings found are listed in a separate panel - Output panel - docked at the bottom of the workspace. Each line in the panel helps you jump to the portion of the code where the error has occurred, making it easy to find and fix the code. Also, the line numbers of the erroneous code are highlighted in red for errors and yellow for warnings. When you hover your mouse over the highlighted line numbers, a preview of the error or warning pops up.
With on edit linting feature, errors and warnings display in the output panel simultaneously while editing the codes.
Dreamweaver lets you lint HTML (.htm and .html), CSS, DW Templates, and JavaScript files.
Perform the following steps to lint your code in these files:
-
Specify linting rules by editing the HTML, CSS, DW Templates, and JS configuration files. See Specify linting rules for more information.
-
Enable or disable linting. You can lint files when they are edited, loaded or saved.
- Enable or disable on edit linting using the Preferences > Linting option. See Enable linting and set preferences for more information.
Errors and warnings found in the files are displayed in the output panel. For more information, see Linting results and the Output panel.
Click Edit > Preferences (Win) or Dreamweaver > Preferences (Mac). In Category list, click Linting, select Enable Linting, and click Apply.
In Dreamweaver, on edit linting feature is enabled by default. To disable, click Edit > Preferences (Win) or Dreamweaver > Preferences (Mac). In the category list, click Linting, select On edit linting and click Apply.

You can lint HTML, CSS, and JS files by editing the linting rules in the corresponding configuration files:
- HTML: DW.htmlhintrc
- CSS: DW.csslintrc
- JS: .eslintrc
-
Edit or add linting rules to the configuration files. Refer to the following documentation for more information on linting rules:
- HTML Linter: https://github.com/yaniswang/HTMLHint/wiki/Rules
- CSS Linter: https://github.com/CSSLint/csslint/wiki/Rules
- JS Linter: https://eslint.org/docs/rules
Opomba:
The linting rules configuration file for earlier versions of Dreamweaver 19.0 is JS: DW.jshintrc. You can refer to http://jshint.com/docs/options/
Dreamweaver supports ECMAScript 6 syntax. Dreamweaver also supports linting of ECMAScript code, with ESLint defaulting as JavaScript linter.
-
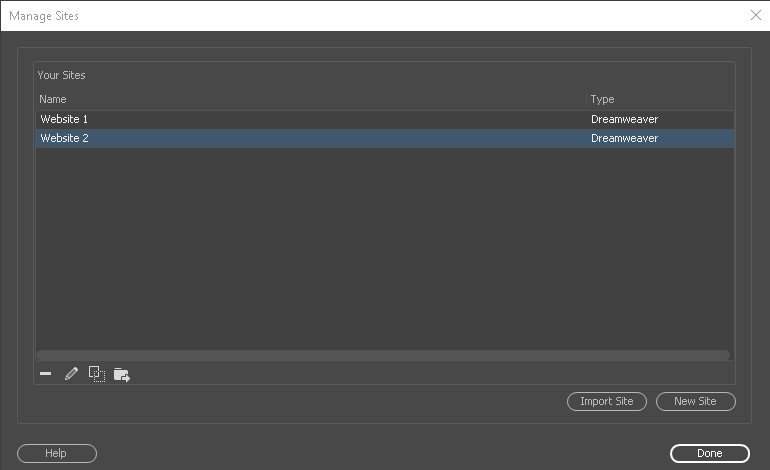
To customize the rule set, you can select Configuration File from the drop-down list and click Edit Configuration File.
 Edit JS Lint Configuration file
The changes you make in Site Setup are saved and a new file .eslintrc.js is created in site root if it is not present.
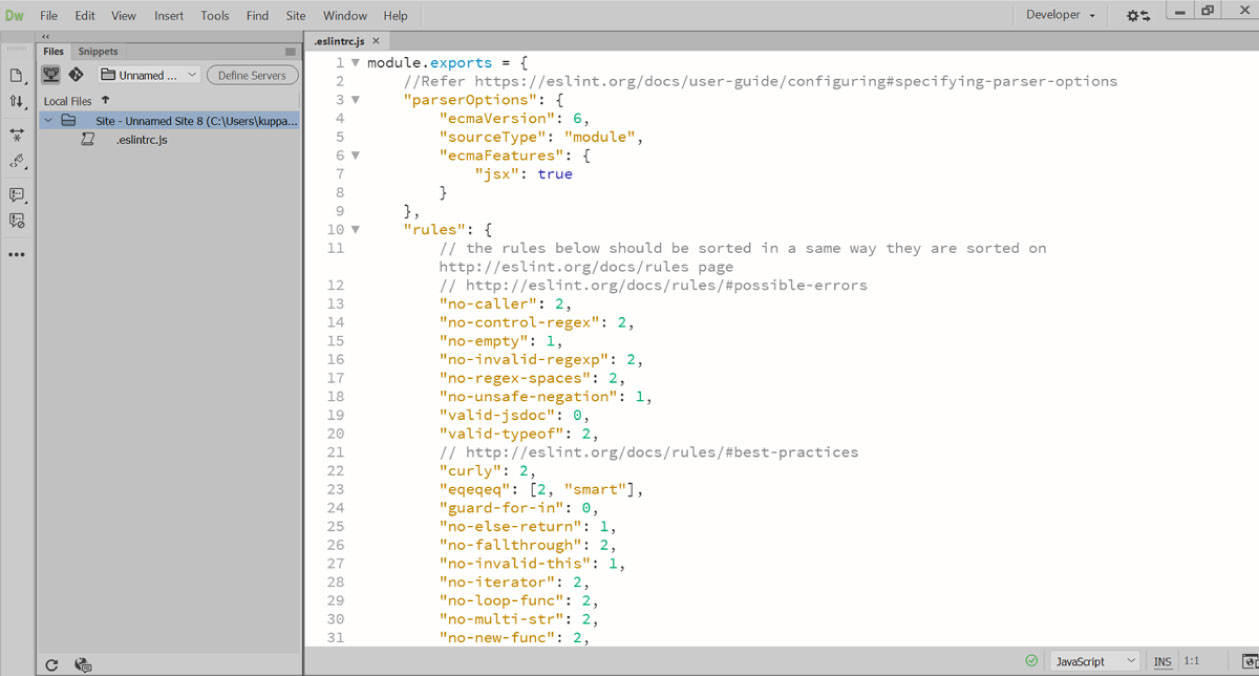
.eslintrc.js file opens in the site root for editing. For more information, see ESLint rules.
 .eslintrc.js configuration file
Opomba:
- The ECMAScript Version settings defined in site setup dialog has precedence over the .eslintrc.js file used in site root.
- If you do not have ESLint configuration files in the site, Dreamweaver searches for the configuration files in all locations leading up to the root directory.
For more information on configuration file cascading and hierarchy, see ESLint site.
The linting results - errors and warnings - are listed in the Output panel. The Output panel is available in the docked mode at the bottom of all default workspaces. If the Output panel is closed, you can open it by performing one of the following actions:
- By clicking the linting status icon in the Document window status bar
- Using the keyboard shortcut, Shift+F6
- Using Window > Results > Output

The linting icon in the Status bar indicates the linting results:
 Red - The current document has errors and warnings
 Yellow - The current document has warnings only
 Green - The current document has no errors
Opomba:
You can use the linting icon in the Status bar to also toggle the Output panel (open/close) if the icon is red or yellow (not green).
The lines that contain the errors or warnings are highlighted in red and yellow respectively. You can double click a message in the Output panel to jump to the line where the error has occurred. In Code view, you can also hover your mouse over the line numbers of the erroneous lines to see a preview of the error or warning.


