Animate prototypes

Learn how to create micro-interactions using auto-animate.

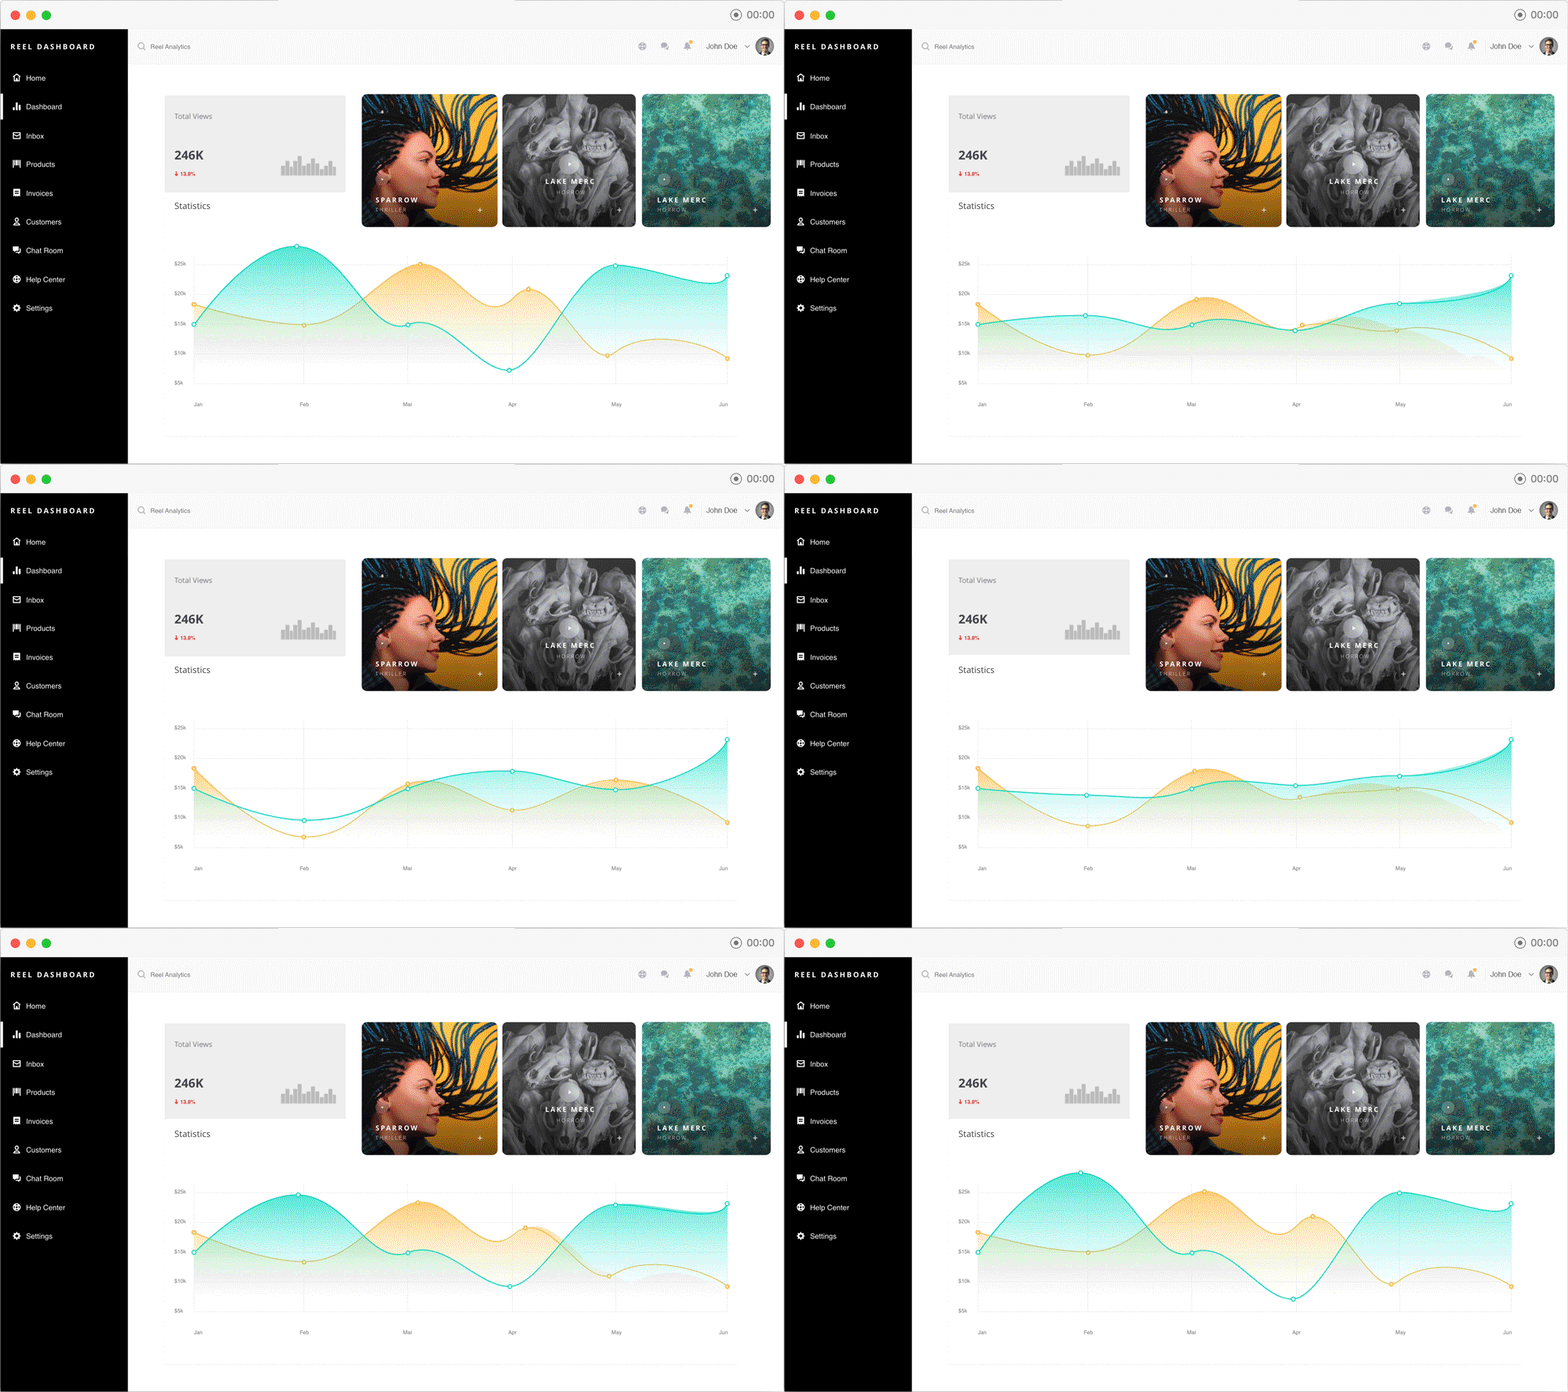
With auto-animate, you can create immersive transitions to visualize the movement of content across artboards.

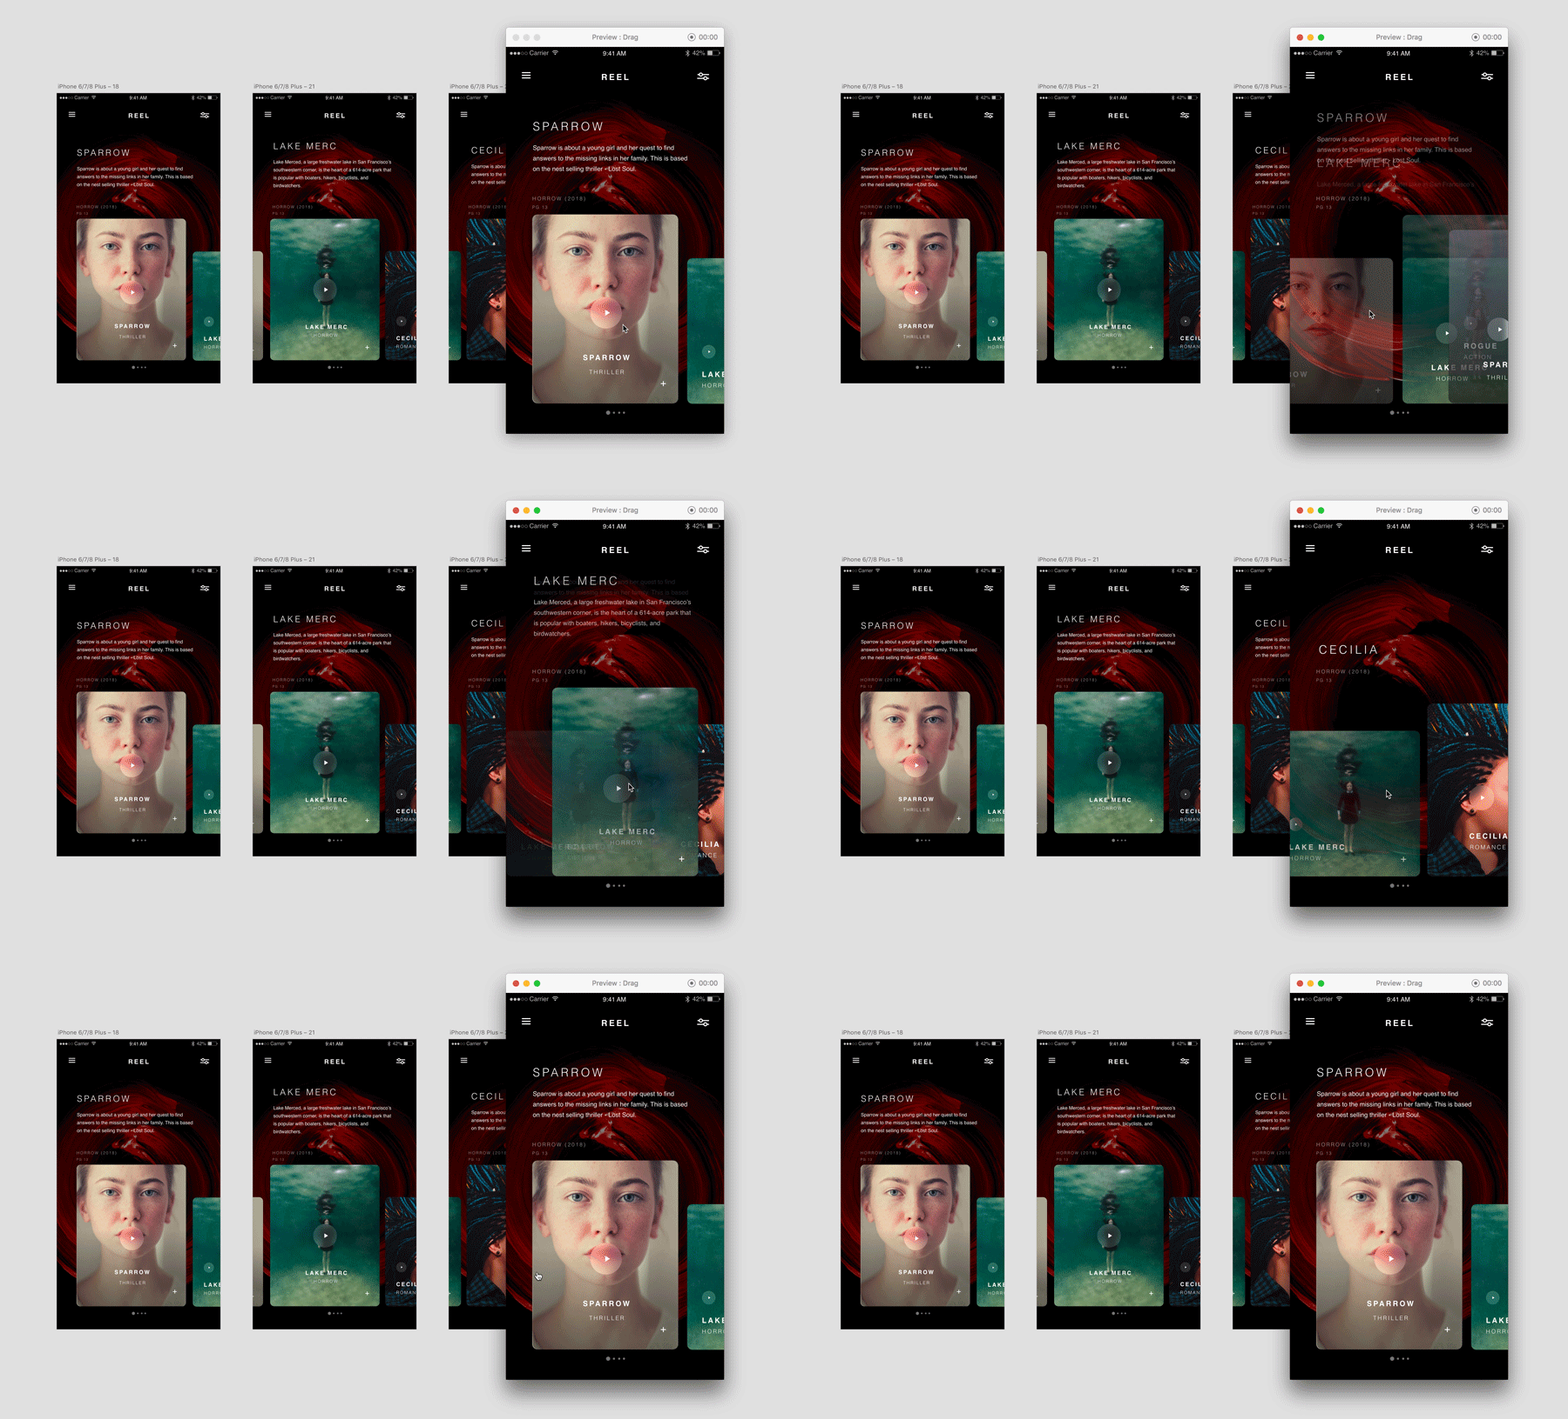
Combined with the power of Drag and Time triggers, it helps you create a wide range of effects such as a YouTube swipe and drag to tell a better prototype story.

Ripple interactions in a website
Ripple effect in a website

Swipe and drag effect on a touch enabled device

To create an animated prototype, follow these steps:

  1. Before you begin, use these simple rules to understand how objects are handled during animation:

    • If an object isn't present on the destination artboard, it fades in.
    • If an object isn't present on the source artboard, it fades out.
    • If an object has a match both in terms of its layer name and its group, attributes are animated. For a comprehensive list of supported properties and transitions, read Object properties.
    • If you want to prototype a horizontal or vertical scroll effect, use scroll groups.
  2. Wire the artboards in the prototype mode. 

  3. Click the connector to view the interaction panel that appears in Property Inspector and set the following options:

    • Trigger: Select an option to trigger an animation. For example, to simulate a tapping card experience, select Tap. 
    • Action: Select Auto-Animate. You can now assign two actions in a single trigger such as Tap. To do so, set the first Action + button in the Property Inspector to TransitionAuto-AnimateOverlayScroll to, or Previous Artboard, and set the second Action + button to a non-transitional action such as Audio playback or Speech playback. Note that if you select Audio or Speech playback as the first action, you cannot add a second action.
    • Destination: Select the destination artboard to transition the animation.
    • Easing: Select an option to simulate easing effects. For example, select Ease Out if you want your animations to ease out from your prototype.
    Auto-animate workflow
    Auto-animate workflow

    A. Select the trigger type B. Select action to auto-animate C. Select the destination artboard D. Select easing effects 

  4. To define more interaction for an object, select the object with an interaction already defined, and click the + button on the artboard; alternatively, you can also click + on the Property Inspector.

     Remember that you can apply Tap, Drag, Hover, and Time triggers once, and VoiceKeys & Gamepad many times. 

  5. Select    preview your animations in supported browsers

     Remember that XD does not support scrolling when previewing auto-animated artboards.

Examples and sample files

Learn more

To learn more about auto-animate in XD, watch this video.
Viewing time: 6 minutes

Získajte pomoc rýchlejšie a ľahšie

Nový užívateľ?