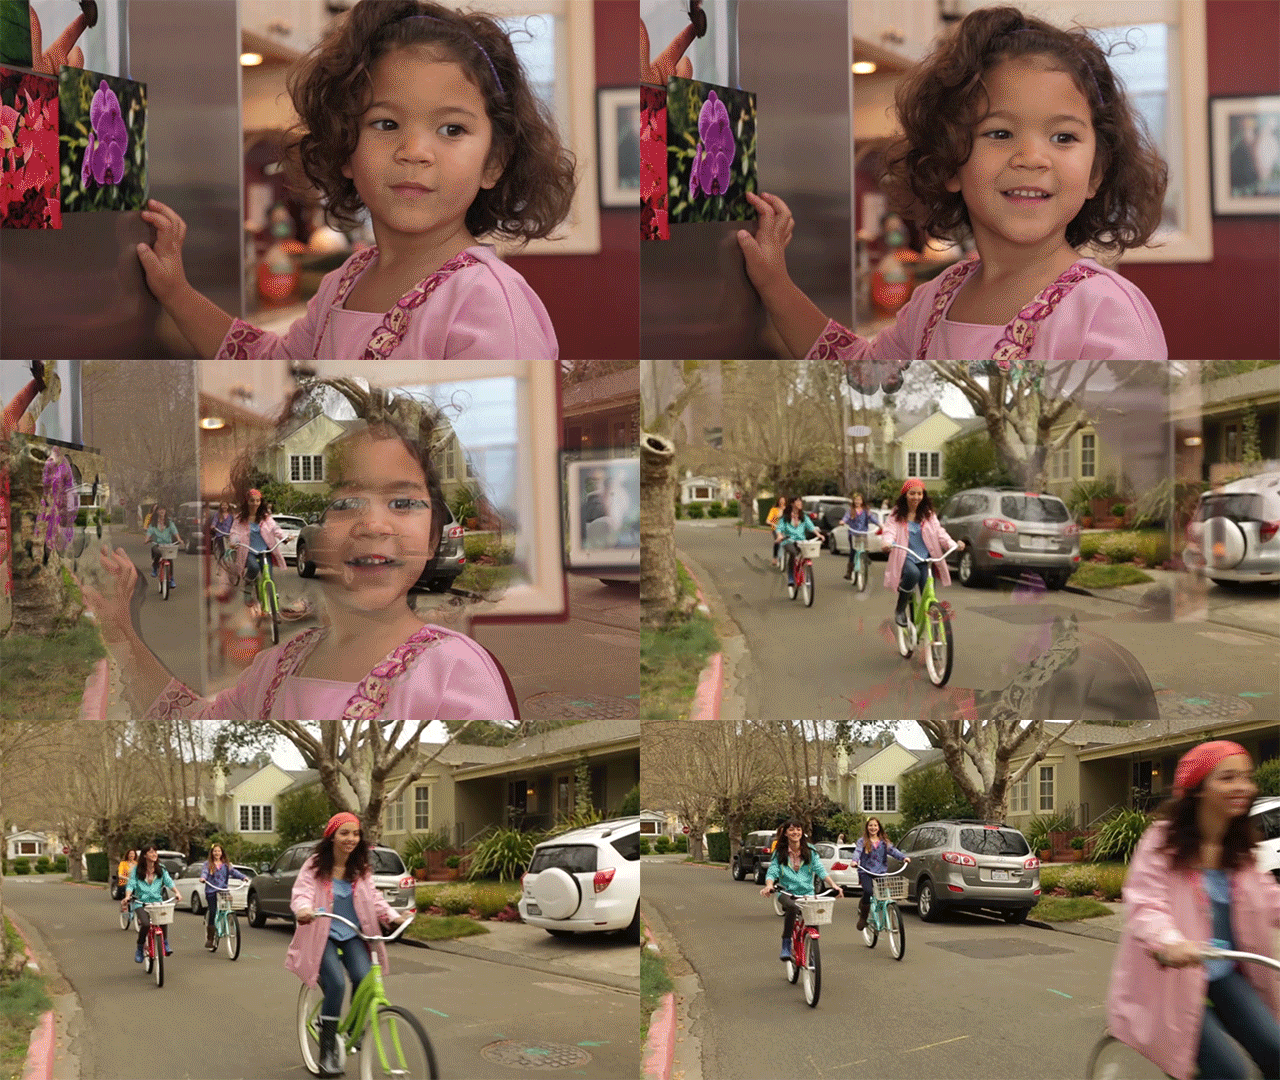
Select Guided > Video Adjustments > Luma Fade Transition Effect.
- Adobe Premiere Elements User Guide
- Introduction to Adobe Premiere Elements
- Workspace and workflow
- Working with projects
- Importing and adding media
- Arranging clips
- Editing clips
- Reduce noise
- Select object
- Candid Moments
- Color Match
- Smart Trim
- Change clip speed and duration
- Split clips
- Freeze and hold frames
- Adjusting Brightness, Contrast, and Color - Guided Edit
- Stabilize video footage with Shake Stabilizer
- Replace footage
- Working with source clips
- Trimming Unwanted Frames - Guided Edit
- Trim clips
- Editing frames with Auto Smart Tone
- Artistic effects
- Color Correction and Grading
- Applying transitions
- Special effects basics
- Effects reference
- Applying and removing effects
- Create a black and white video with a color pop - Guided Edit
- Time remapping - Guided edit
- Effects basics
- Working with effect presets
- Finding and organizing effects
- Editing frames with Auto Smart Tone
- Fill Frame - Guided edit
- Create a time-lapse - Guided edit
- Best practices to create a time-lapse video
- Applying special effects
- Use pan and zoom to create video-like effect
- Transparency and superimposing
- Reposition, scale, or rotate clips with the Motion effect
- Apply an Effects Mask to your video
- Adjust temperature and tint
- Create a Glass Pane effect - Guided Edit
- Create a picture-in-picture overlay
- Applying effects using Adjustment layers
- Adding Title to your movie
- Removing haze
- Creating a Picture in Picture - Guided Edit
- Create a Vignetting effect
- Add a Split Tone Effect
- Add FilmLooks effects
- Add an HSL Tuner effect
- Fill Frame - Guided edit
- Create a time-lapse - Guided edit
- Animated Sky - Guided edit
- Select object
- Animated Mattes - Guided Edit
- Double exposure- Guided Edit
- Special audio effects
- Movie titles
- Creating titles
- Adding shapes and images to titles
- Adding color and shadows to titles
- Apply Gradients
- Create Titles and MOGRTs
- Add responsive design
- Editing and formatting text
- Align and transform objects
- Motion Titles
- Appearance of text and shapes
- Exporting and importing titles
- Arranging objects in titles
- Designing titles for TV
- Applying styles to text and graphics
- Adding a video in the title
- Disc menus
- Sharing and exporting your movies
Learn how to create cool transition effects between two video clips, two images, or an image and a video clip using a photo.
The Guided mode offers a set of built-in guided edits, which take you sequentially through a series of steps to help you perform a specific editing task. This guided approach helps you easily learn Adobe Premiere Elements and turn your videos or photos into professionally edited creations.
To learn about other guided edits, see Guided mode.
Create a Luma Fade Transition effect


Use this guided edit to create a cool transition effect between two video clips, two images, or an image and a video clip. This guided edit allows you to freeze a frame from your chosen media and save it as a photo, on which you can apply the gradient wipe transition effect. This effect is applied on the media during transition from one media to another.
To use this guided edit, do the following:
-
-
Click Add media to import two clips, two images, or a clip and an image that you want to work with.
-
Select the appropriate option to import media.
The selected media are stored in the Project Assets bin.
-
Select both the media using the Shift key. Drag-and-drop the media to Track 1 on the timeline at the current-time indicator (CTI) position.
注意:Before proceeding to Step 5, move the CTI to the end of the first clip or image. In guided mode, the CTI automatically moves to the end of the first media.
-
To freeze a frame from the video as an image, click the Freeze Frame icon.
-
In the Freeze Frame dialog box, to export a frame as an image in your chosen location, click Export and choose a location.
-
Click the Transition icon in the right panel. From the Transitions panel, drag the Gradient Wipe transition and drop it on the highlighted timeline area near CTI.
A. Transition icon B. Gradient Wipe transition
-
On the Gradient Wipe Settings dialog box, click Select Image to select the image saved using the Freeze Frame dialog box. Click OK.
-
In the Transition Adjustments dialog box, change the transition properties as follows:
- Set the duration of the transition between two media in the Duration field. The default is 1 second.
- Click More and ensure that the selected alignment is Between clips.
- Click Apply to apply the settings.
For more information about transitions, see Transition basics.
注意:To see a smooth playback of the applied effect, you can click Render.
-
To see the output, click Play.

