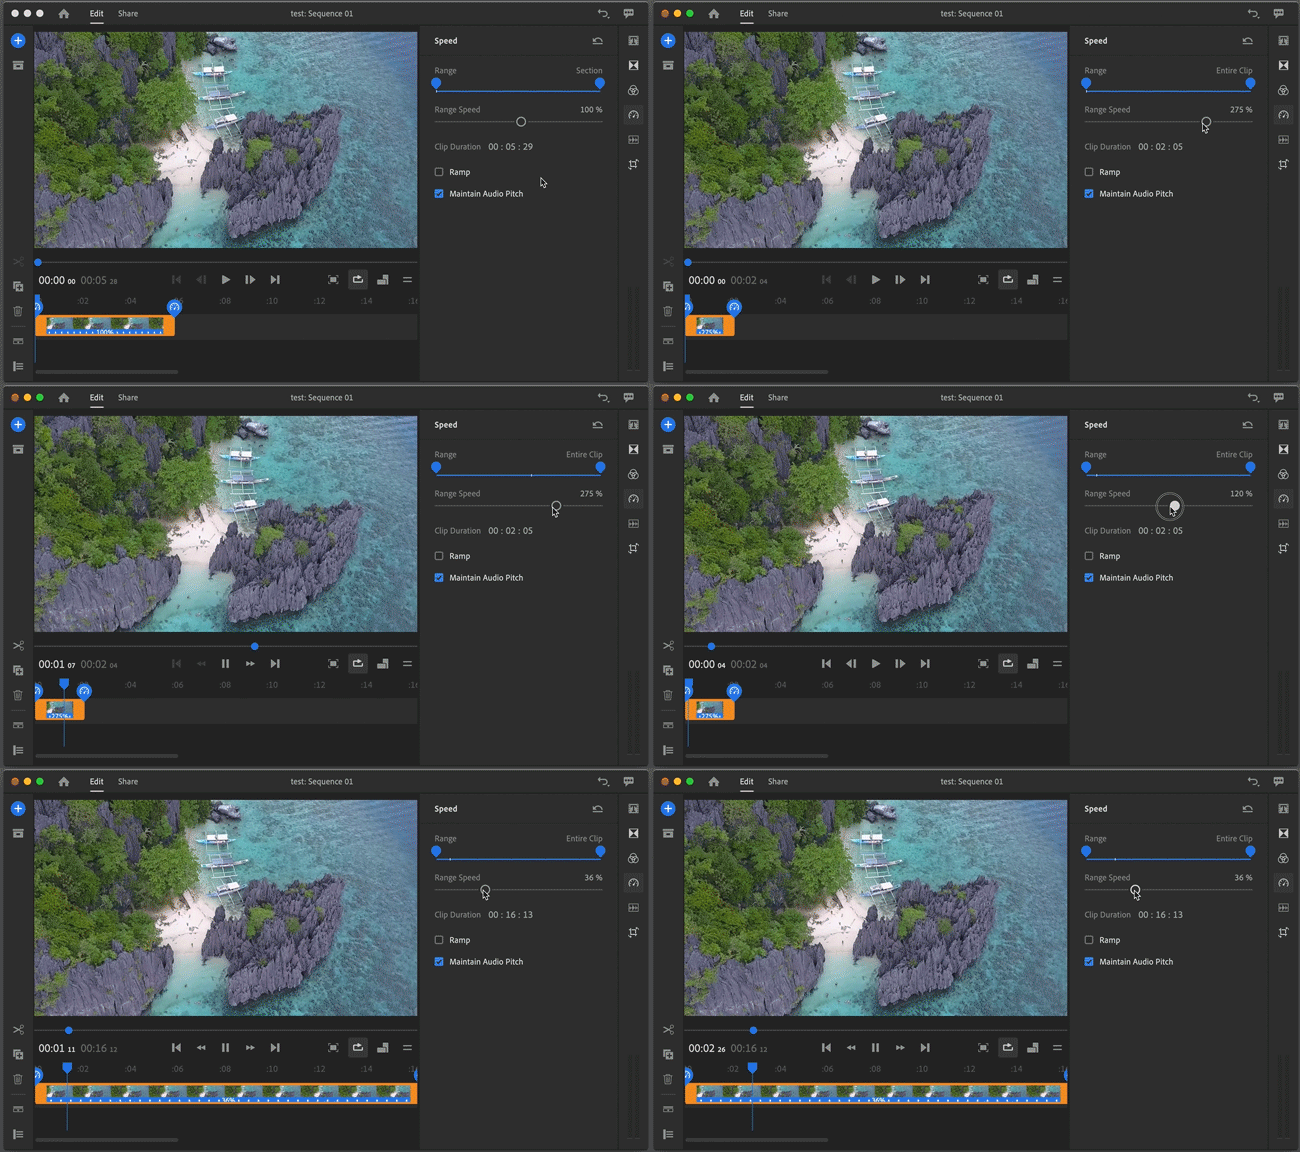
In the timeline, select the clip you want to speed up or slow down.
- Adobe Premiere Rush User Guide
- Introduction
- Import footage
- Edit video
- Edit your video in the timeline
- Add and refine audio
- Change video color, size, and position
- Create titles
- Add transitions, pan and zoom effects and automatically reframe your clips
- Transform clip properties
- Change aspect ratio of your video
- Create a picture-in-picture effect
- Speed up or slow down video
- Use fonts from Adobe Fonts
- Duplicating projects and sequences
- Export video
- Premiere Rush on iOS and Android
- Adobe Premiere Rush on mobile | Common questions
- Create and edit videos using Adobe Premiere Rush on iOS
- Export video to social media channels
- Create and edit videos using Adobe Premiere Rush on Android
- Manage Adobe Premiere Rush subscriptions on iOS
- Manage Adobe Premiere Rush subscriptions on Android
- Manage Adobe Premiere Rush subscriptions on Samsung Galaxy Store
Learn how to add a slow-motion effect to your video or speed it up using Adobe Premiere Rush.
As we introduce the next generation of Adobe Premiere mobile apps, we are discontinuing Adobe Premiere Rush. Effective September 30, 2025, Premiere Rush will no longer be available on Adobe.com. As an alternative, we recommend Premiere on iPhone; a version for Android is currently also in development. For more information, visit the Premiere Rush Discontinuation FAQ.
Change video speed using Premiere Rush on desktop
-
-
To show the speed controls, click the Speed button on the right bar.
-
(Optional) To speed up or slow down only a portion of the clip, set the start and end points to select a specific range.
- Set the start and end points using the Range slider in the Speed panel, or
- Set the start and end points directly using the blue range handles on the clip in the timeline.
Set the range in the Speed panel or in the timeline Set the range in the Speed panel or in the timeline -
Move the Range Speed slider right to increase the playback speed of a clip. Move it to the left to slow it down. As you move the slider:
- The clip duration changes (under the Range Speed slider)
- A sped up clip becomes shorter in the timeline. A slowed down clip becomes longer.

Speeding up or slowing down a clip 
Speeding up or slowing down a clip -
If the clip contains audio, playing the clip more slowly lowers the pitch of the audio, and playing the clip faster raises the pitch. To preserve the original pitch of the audio, the Maintain Audio Pitch check box in the Speed panel is enabled by default. If you don't want to preserve the pitch, disable this check box.
Tip: If the audio isn't essential, mute the audio track and add background music to the clip.
-
To smooth the transition into your speed range, select Ramp and adjust the ramp duration.
If you are unsure of the clip speed that you want, you can manually edit the clip duration to set a specific duration for your clip and let Premiere Rush determine the right speed changes to make for you - based on that duration. To edit the clip duration, click the minutes, seconds, or frames values and type in your changes.
-
In the timeline, select the clip to which you want to apply speed changes..
-
To show the speed controls, click the Speed button on the right bar.
-
In the Clip Duration field, click the minutes, seconds, or frames values and type in your changes.
Changing the clip duration Changing the clip duration
Click the Reset button to reset the range section to the default speed.


Change video speed using Premiere Rush on mobile
You can change video speed using Premiere Rush on iOS or Android as well. For more information and step-by-step instructions, see:
- On iOS: Adjust speed
- On Android: Adjust speed
Examples
Instagram video clips need to be of a specific time duration. You can quickly set the clip duration using Premiere Rush.
Best practices
New to video editing? Here are a few guidelines to help you understand when to speed up or slow down your video.
When to speed up video
Often videos benefit from a faster pace in scenarios where you want to:
- Create a short video that might otherwise take a long time to watch, or is a good length for social media.
- Speed up slower moments in a video, but you don't necessarily want to edit it out.
Examples: Arts and crafts videos, vlogs, make up tutorials
When to slow down video
Slowing down a video is a great idea if you’re looking to:
- Create a mood that’s thoughtful or dreamy.
- Emphasize details in fast-moving content that may otherwise be too quick for viewers to appreciate.
Examples: Sports videos

