Open a photo in the Develop module.
Learn about major new features and enhancements in the October 2020 release of Lightroom Classic (version 10.0).


New controlled adjustments for shadows, midtones, and highlights with Color Grading
Achieve the perfect mood to fit your creative visions with powerful color controls for midtones, shadows, and highlights or adjust the overall color of your image.


Faster editing with all new Performance Improvements
Experience faster editing with Brushes and Gradients and greater optimized scrolling for Folders and Collections.


See exactly what you are shooting in real-time with Tethered Live View for Canon
Nail the perfect composition, focus, and exposure with a real-time live preview of your camera’s feed on your screen.


Easily scan, focus, and navigate using the all new Enhanced Zoom
Get more precise control using the all new scrubby and box zoom motions to see finer details more quickly.


Support for new cameras and lenses
Find newly added cameras and lenses in the full list of supported profiles.


More control at your fingertips while upgrading your catalog
Keep the latest version of your catalog organized with the name of your choice while upgrading your Lightroom Classic catalog.
Color Grading
Lightroom Classic now offers a robust color grading tool that provides powerful color controls for midtones, highlights, and shadows--plus a Global control that will adjust the overall color of your image. Color Grading replaces Split Toning and provides more control to adjust colors in your image. Take your images to new creative heights by adjusting the color wheels in any combination to create subtle, vivid, complementary, or contrasting looks.


Try out Color Grading in Lightroom Classic with these five simple steps:
-
-
Select Color Grading from the panel on the right.
-
Adjust the hue, saturation, and luminance of your midtones, shadows, or highlights to your preference by moving the center point of each wheel for hue and saturation, and the slider below each wheel for luminance. You can also use the knob on the outside of the circles to adjust hue by itself.
 Holding the Shift key will restrict wheel movement for Saturation adjustments only. Holding the Ctrl key on Windows or Command key on macOS will restrict wheel movement fo Hue adjustments only.
-
Click the icons at the top to change from the view from three-way color wheels to the individual wheels. In the single wheel view, you can make adjustments using the sliders below.
Single Wheel View - Midtones Single Wheel View - Midtones -
Adjust the Blending and Balance sliders below the wheels:
Blending - Adjusts the amount of overlap between the shadows and the highlights.
Balance - Balances the effect of the sliders between highlights, midtones, and shadows. Values greater than 0 will increase the effect of the highlights, values less than 0 will increase the effect of the shadows.
Poznámka:Set the blending slider to 100 to achieve the same effect as the pre-existing Split Toning feature.
-
Click the last icon in the top row to access the Global color wheel to change the overall tint of your image.
For more information, see Tone a grayscale photo.
Performance improvements
Faster editing with Brushes and Gradients
Experience smoother and faster rendering while applying Linear and Radial Gradients, painting with the Brush Tool or adjusting multiple sliders for local corrections while GPU acceleration is turned on.
Greater optimized scrolling for Folders and Collections
Quicker scrolling through the Library Grid, Folders, and Collections, especially while browsing through larger catalogs and longer lists of Folders and Collections with different color labels.
Tethered Live View for Canon
Available for select Canon cameras
See exactly what you are shooting in real-time while tethering with Lightroom Classic's new live view for Canon cameras. When active, the live view from the camera will appear in a separate resizable window with the option to rotate the orientation. Feature focus control buttons will also appear in the tether bar, including Auto-Focus.


Focus controls are enabled only if the lens of your Canon camera is in Auto Focus mode.
Follow these quick steps to turn Live View on:
-
Connect a supported Canon camera to your computer and launch Lightroom Classic.
-
Choose File > Tethered Capture > Start Tethered Capture.
-
Specify the settings in the Tethered Capture Settings opened dialog box.
-
Click OK. The Tether bar appears after Lightroom Classic detects a camera.
-
Click Live in the Tether bar to start Live view tethering.
-
While in the Live view, adjust the focus of your camera from the Tether bar using the Focus Control buttons.
- Click the AF button to turn on/off the Auto Focus mode.
- If the Auto Focus mode is disabled, use the
 and
and  buttons to control the focus manually.
For more information, check out Tethered Live View for Canon. For the list of supported Canon camera models, go to Live View support - Canon cameras.
Enhanced Zoom
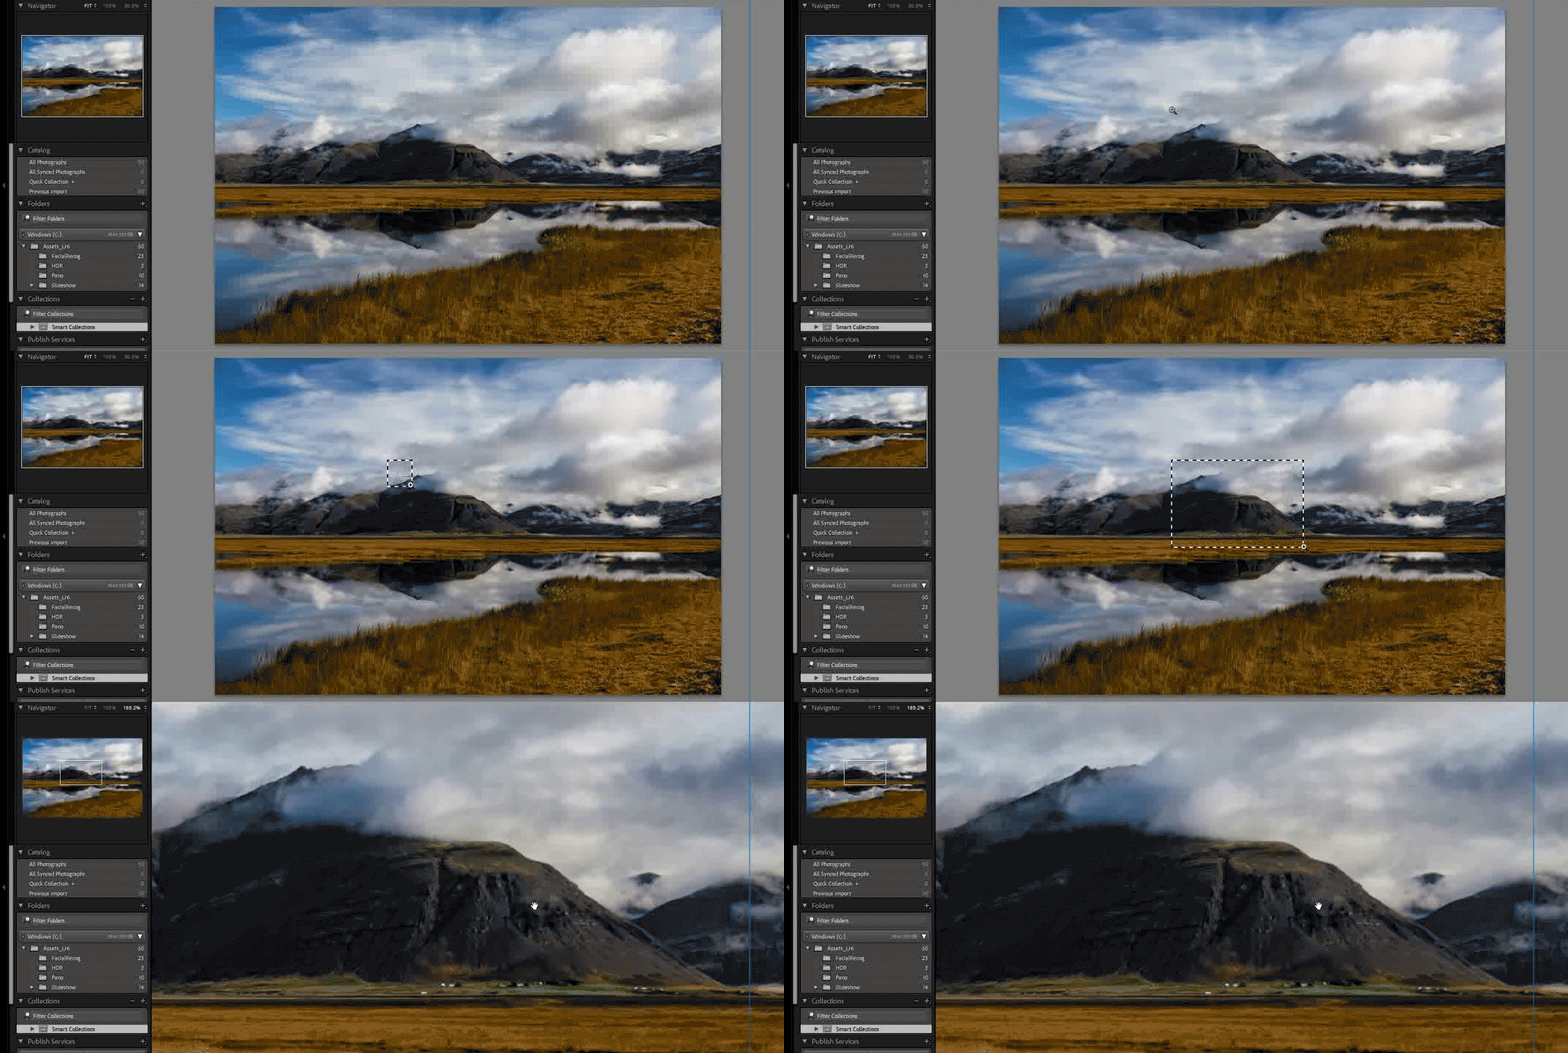
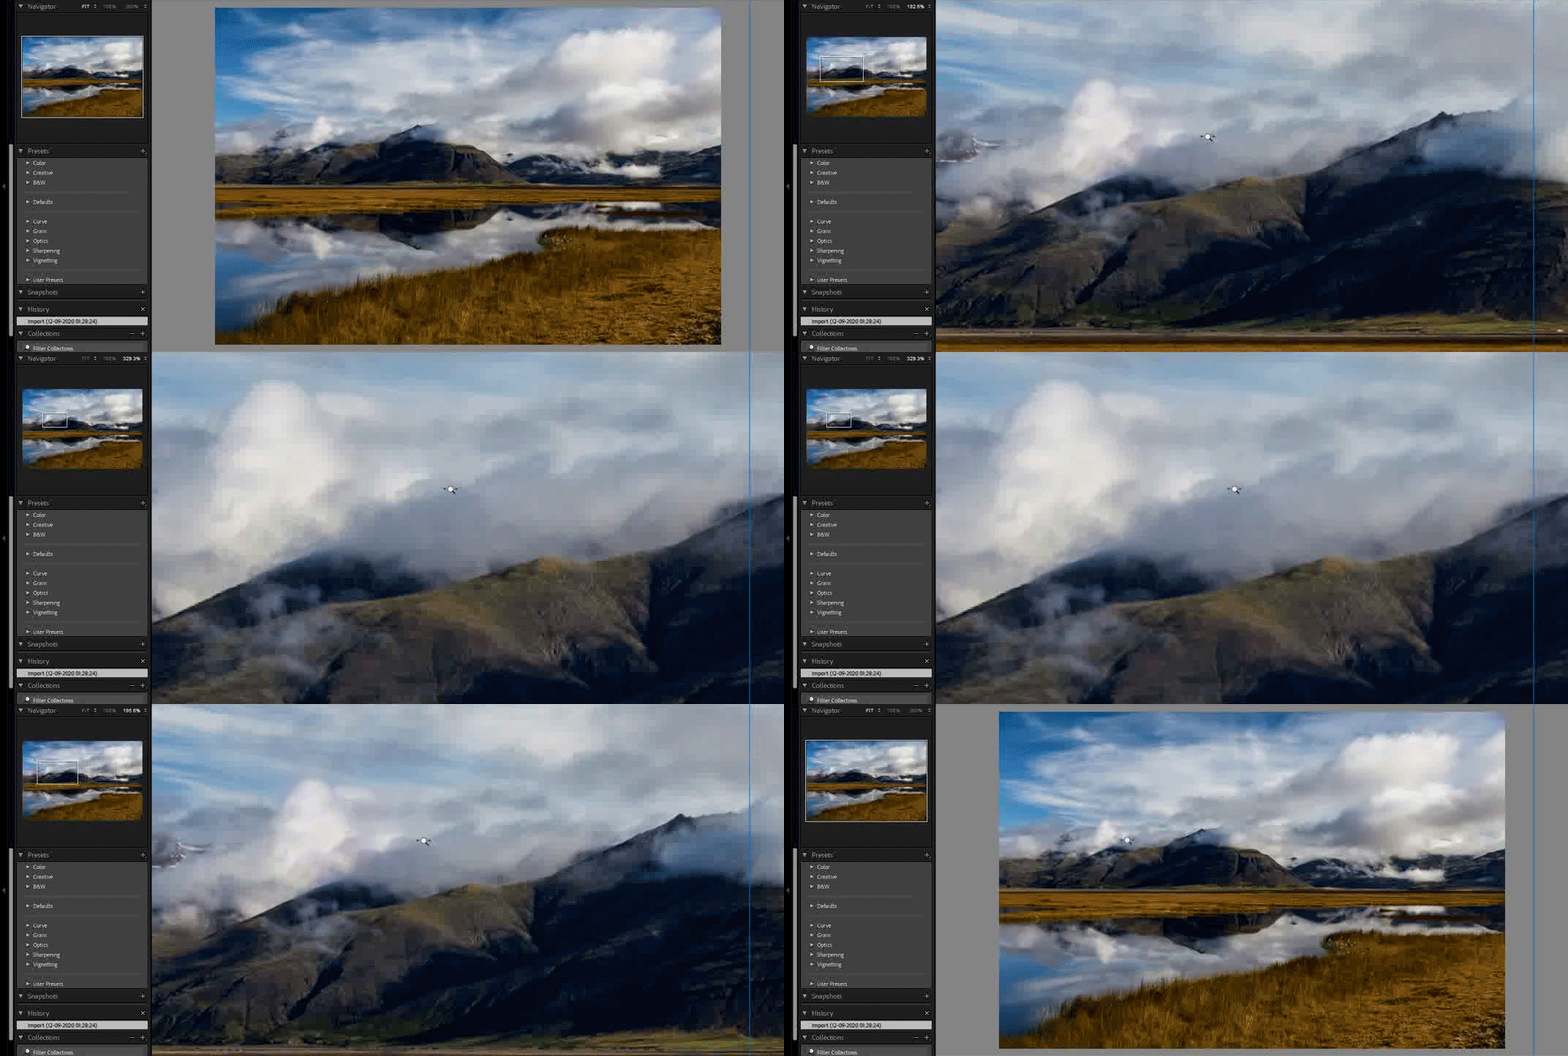
Now get greater control over zoom levels in the Loupe, Compare, and Reference views with the new zoom options - Scrubby zoom and Box zoom.
Scrubby Zoom
Drag the mouse to the right or the left while pressing the Shift key to zoom in or out of the image. Scrubby Zoom is available in the Develop module when GPU acceleration is tuned on. To determine if Lightroom Classic is accessing your graphics card, see Lightroom Classic GPU FAQ.
Box Zoom
Draw a box on an image while pressing the Ctrl key on Windows or Command key on macOS to zoom in your preferred selected area. Box Zoom is available in Library and Develop modules.


The Zoom levels in the Navigator panel have also been updated:
- Fit/Fill
- 100%
- Zoom percent ranging between 6% to 1600%


The Zoom slider in the toolbar is now divided in two halves. The first half of the zoom levels ranges between 6% and 100%, and the second half ranges between 100% and 1600%.

A. Zoom between 6% and 100% B. Zoom between 100% and 1600%

Support for new cameras and lenses
For a full list of supported cameras and lens profiles, see these resources:
Control in naming upgraded catalogs
When you launch Lightroom Classic 10 for the first time, you will get the Lightroom Classic Catalog Upgrade dialog box to upgrade your existing catalogs. The upgraded catalog will be a new copy of your existing catalog. You can also control the name of your catalog in the dialog box. By default, the catalog will be named as <currentCatalogName>-v10.


For more information, check out Upgrade a catalog from an earlier version of Lightroom Classic.

