Panel
- Adobe Prelude User Guide
- Introduction
- Audio and video
- Collaboration with Prelude
Due to changing needs of video professionals and content creators, we are discontinuing Adobe Prelude. Effective September 8, 2021, Prelude will no longer be available on Adobe.com. For more information, and instructions for downloading Prelude during the support period, please see our FAQ.
Welcome screen
The Welcome Screen appears when you open Prelude. Use the Welcome Screen to create a project, open an existing project, or access Help for Prelude.
To disable the Welcome Screen at launch, disable the option Show Welcome Screen at Startup on the Welcome Screen.
If you disable the Welcome Screen, the last opened project launches when you relaunch Prelude. To re-enable the Welcome Screen, open the Preferences dialog, and select Show Welcome Screen in the At Startup menu.
You can also open and create a Team Projects project from the welcomescreen.
The Ingest dialog
Use the Ingest dialog box to select and ingest movie clips. You can also select folders and rough cuts. When you choose a folder, all the associated movie clips in it are ingested.
You can ingest clips from your computer, other software, or attached devices such as an external hard disk, video camera, or camera card. You can ingest a portion of a clip (partial ingest) by setting In and Out points on the clip thumbnail and enabling transcoding in the Transfer Clips To Destination section. You can also choose a transcode option that best suits your editing requirements.
Transfer, Transcode and Stich Clips options are also availablein Ingest window. Prelude allows you to add metadata and rename files before ingesting them.
To view the location of the clips on your computer, right-click the clip in the list or thumbnail view. Select Reveal in Explorer (Windows), or Reveal in Finder (Mac OS).
Logging, List, and Rough Cut workspaces
The default workspaces available in Prelude are designed to show panel arrangements optimized for tasks like logging or working with rough cuts.
The Logging workspace

A. Metadata marker panel B. Marker buttons C. Current time indicator D. Search option for markers

The Logging workspace is optimized for quickly adding metadata and creating subclips. Add markers and other metadata to quickly organize and search clips. You can use the metadata when you export to Adobe Premiere Pro or other applications.
The List workspace

A. Bin B. Movie clip C. Subclip D. Create rough cut E. Create bin


In the Project panel, you organize project contents much as you use folders to organize files. Bins can contain clips, subclips, and rough cuts. Use the Project panel to create a rough cut, and then add subclips to the rough cut.
Reorder content in the Project panel by dragging it to a new location.
The Rough Cut workspace


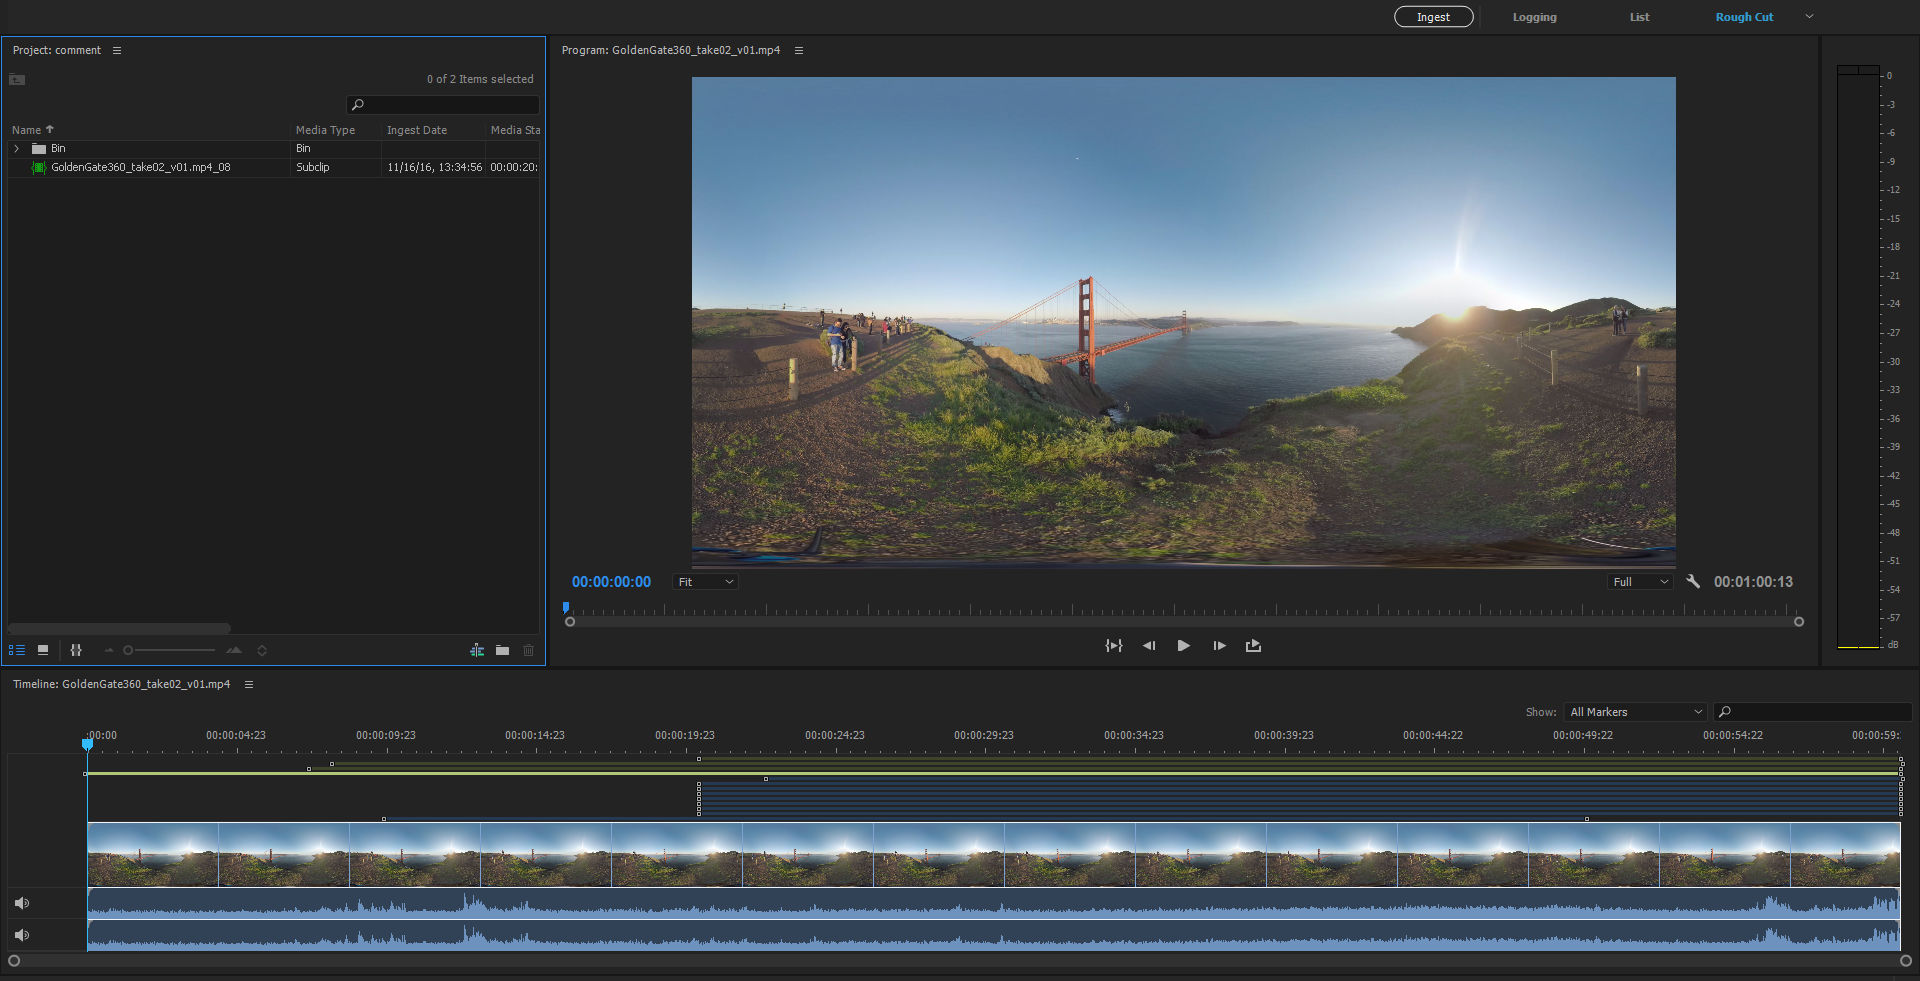
Open the rough cut that you created and add clips and subclips to the timeline. When you export the rough cuts to Adobe Premiere Pro or other applications, all the organizational and metadata information of the clips is retained.
Use the options in the Show menu to selectively display markers in the timeline.
Creating custom workspaces
Use the Window menu to access panels in Prelude. As in other Adobe applications, you can float and dock panels and frames. You can also create custom workspaces. To access custom Workspaces, select Window > Workspace, and choose from the options.
If you have a customized workspace that you use frequently, you can create a custom workspace using Window > Workspace > New Workspace. The custom workspace is added to the Window > Workspace menu. To go back to the default workspace, select Window > Workspace > Reset Current Workspace.
A frame is a set of grouped panels.
Reorder contents in a panel and across panels by dragging them to their new location.
Panels in Prelude
Here is a partial list of panels in Prelude:
|
|
Description |
|
Extensions |
Contains extensions or plug-ins for extending the functionality of Prelude. If no Extensions or plug-ins are available, this option is disabled. Flash Panel is not supported. Prelude extentions only support html format. |
|
|
Displays the audio level for the movie being played in the timeline. |
|
Events |
Lists warnings, error messages, and other information for identifying and troubleshooting problems. You can also access and filter the events based on Information, Warning, and Error. |
|
History |
Use the History panel to jump to any state of the project created during the current working session. Every time you apply a change to some part of the project, the new state of that project is added to the panel. You can modify the project from the state you select. Right-click a state in the History panel to view the available options. The History panel is cleared when you switch between an open clip and a rough cut. It is also cleared when you save the open clip or rough cut. |
|
Markers |
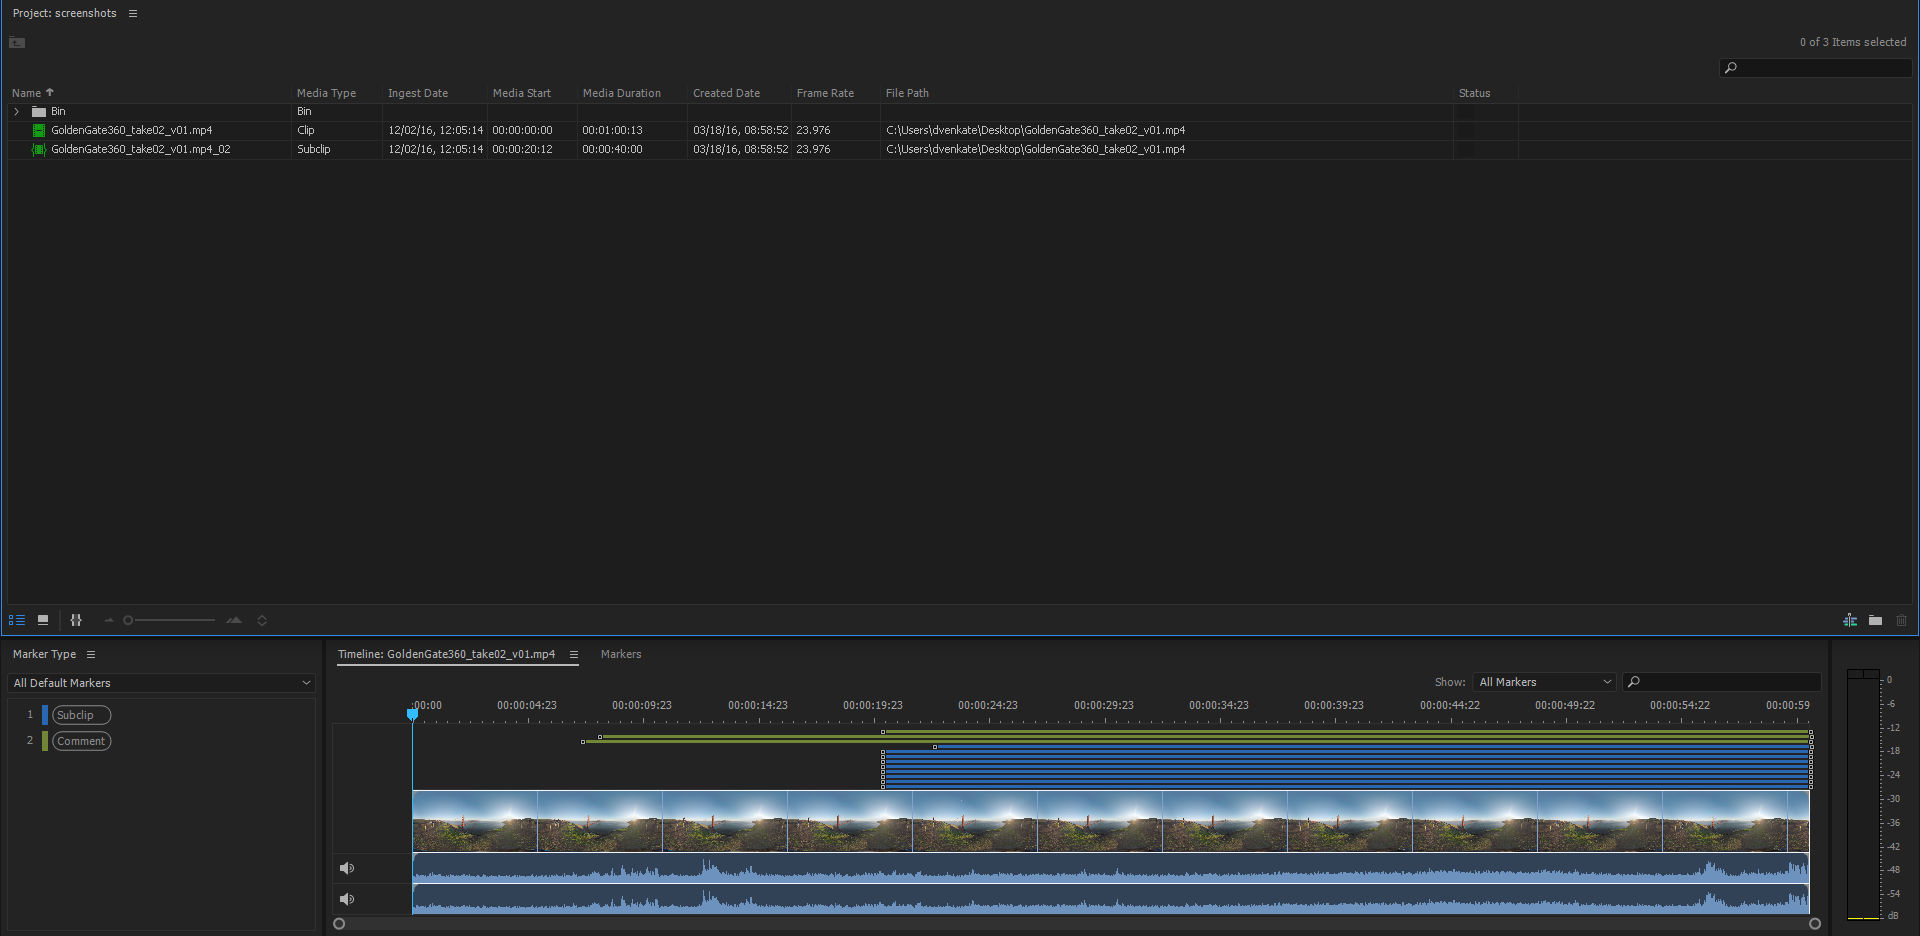
Displays all the markers in the movie that is currently open. This panel also allows you to change the timecode of the In and Out points, or edit the marker description. You can also edit the name of the markers. |
Event panel filtering options
Use the Events Panel to view and filter the warnings, error messages, and other information to identify and troubleshoot problems. You can also access and filter the events based on Information, Warning, and Error.
-
Select Window> Events or select any of the icons
,
 , or
, or displayed at the lower right corner of the screen.
Note:The icon is displayed based on the stored Events: Information
 , Warning
 or Error
.
Events panel Events panel -
In the Events dialog box, select the drop-down arrow next to the Show Event Type to filter the events based on Information, Warning, and Error.
-
Select Show All to display all the events.
-
Select Events> Close to close the Events panel.
-
To close the panel group, select Events> Panel Group Settings> Close Panel Group.
Program Monitor


Double-click a movie clip in the Project panel to open it for playback in the Program Monitor panel. The Program Monitor gives you access to the standard play and navigation options. You can use the timecode, playback buttons, or the playhead to navigate the movie.
The Play In-Out option allows play back of a movie for the duration of a selected marker.
Use the keyboard shortcuts J, K, and L to preview the movie clip. For greater control, use a combination of J and K keys to move backward slowly, and K and L keys to move forward slowly.
Set display quality
Some formats are difficult to display in full-motion playback because of their high compression or high data rate. A lower resolution permits faster motion playback but at the expense of image quality. This tradeoff is most noticeable when you view AVCHD and other H.264 -codec based media. Below full resolution these formats have error correction turned off, and artifacts are common during playback. These artifacts, however, do not show up in exported media.
Use separate playback and pause resolutions to gain more control over the monitoring experience. With high-resolution footage, set playback resolution to a lower value (for example, 1/4) for smooth playback, and set the Pause resolution to Full. These settings allow you to check the quality of focus or edge details when you pause playback. Scrubbing puts the monitor in playback resolution, not pause resolution.
- Click the Output button.
- Select an option for Playback Resolution and Paused Resolution.
Zoom Bar


To zoom into the timeline, drag the Zoom Bar located below the current time indicator.
