- Adobe Premiere Pro User Guide
- Beta releases
- Getting started
- Hardware and operating system requirements
- Creating projects
- Workspaces and workflows
- Frame.io
- Import media
- Importing
- Importing from Avid or Final Cut
- File formats
- Working with timecode
- Editing
- Edit video
- Sequences
- Create and change sequences
- Set In and Out points in the Source Monitor
- Add clips to sequences
- Rearrange and move clips
- Find, select, and group clips in a sequence
- Remove clips from a sequence
- Change sequence settings
- Edit from sequences loaded into the Source Monitor
- Simplify sequences
- Rendering and previewing sequences
- Working with markers
- Add markers to clips
- Create markers in Effect Controls panel
- Set default marker colors
- Find, move, and delete markers
- Show or hide markers by color
- View marker comments
- Copy and paste sequence markers
- Sharing markers with After Effects
- Source patching and track targeting
- Scene edit detection
- Cut and trim clips
- Video
- Audio
- Overview of audio in Premiere Pro
- Edit audio clips in the Source Monitor
- Audio Track Mixer
- Adjusting volume levels
- Edit, repair, and improve audio using Essential Sound panel
- Enhance Speech
- Enhance Speech FAQs
- Audio Category Tagging
- Automatically duck audio
- Remix audio
- Monitor clip volume and pan using Audio Clip Mixer
- Audio balancing and panning
- Advanced Audio - Submixes, downmixing, and routing
- Audio effects and transitions
- Working with audio transitions
- Apply effects to audio
- Measure audio using the Loudness Radar effect
- Recording audio mixes
- Editing audio in the timeline
- Audio channel mapping in Premiere Pro
- Use Adobe Stock audio in Premiere Pro
- Overview of audio in Premiere Pro
- Text-Based Editing
- Advanced editing
- Best Practices
- Video Effects and Transitions
- Overview of video effects and transitions
- Effects
- Transitions
- Titles, Graphics, and Captions
- Properties panel
- Essential Graphics panel (24.x and earlier)
- Overview of the Essential Graphics panel
- Create a title
- Linked and Track Styles
- Working with style browser
- Create a shape
- Draw with the Pen tool
- Align and distribute objects
- Change the appearance of text and shapes
- Apply gradients
- Add Responsive Design features to your graphics
- Speech to Text
- Download language packs for transcription
- Working with captions
- Check spelling and Find and Replace
- Export text
- Speech to Text FAQs
- Motion Graphics Templates
- Best Practices: Faster graphics workflows
- Retiring the Legacy Titler FAQs
- Upgrade Legacy titles to Source Graphics
- Fonts and emojis
- Animation and Keyframing
- Compositing
- Color Correction and Grading
- Overview: Color workflows in Premiere Pro
- Color Settings
- Auto Color
- Get creative with color using Lumetri looks
- Adjust color using RGB and Hue Saturation Curves
- Correct and match colors between shots
- Using HSL Secondary controls in the Lumetri Color panel
- Create vignettes
- Looks and LUTs
- Lumetri scopes
- Display Color Management
- Timeline tone mapping
- HDR for broadcasters
- Enable DirectX HDR support
- Exporting media
- Collaborative editing
- Collaboration in Premiere Pro
- Get started with collaborative video editing
- Create Team Projects
- Add and manage media in Team Projects
- Invite and manage collaborators
- Share and manage changes with collaborators
- View auto saves and versions of Team Projects
- Manage Team Projects
- Linked Team Projects
- Frequently asked questions
- Long form and Episodic workflows
- Working with other Adobe applications
- Organizing and Managing Assets
- Improving Performance and Troubleshooting
- Set preferences
- Reset and restore preferences
- Recovery Mode
- Working with Proxies
- Check if your system is compatible with Premiere Pro
- Premiere Pro for Apple silicon
- Eliminate flicker
- Interlacing and field order
- Smart rendering
- Control surface support
- Best Practices: Working with native formats
- Knowledge Base
- Known issues
- Fixed issues
- Fix Premiere Pro crash issues
- Unable to migrate settings after updating Premiere Pro
- Green and pink video in Premiere Pro or Premiere Rush
- How do I manage the Media Cache in Premiere Pro?
- Fix errors when rendering or exporting
- Troubleshoot issues related to playback and performance in Premiere Pro
- Set preferences
- Extensions and plugins
- Video and audio streaming
- Monitoring Assets and Offline Media
Control Premiere Pro through touch and gesture in Microsoft Surface Pro and Windows.
Now you can control Premiere Pro through touch with Microsoft Surface Pro and Windows. Use multi-touch devices to augment a powerful keyboard-driven workflow. Using simple gestures, you can do tasks such as building a cut, scrubbing media, marking in and out points, drag-and-drop clips onto a timeline, and making edits.
With a range of touch and gesture features designed for touch devices such as the Microsoft Surface Pro series, the November 2015 release of Premiere Pro offers a simplified and faster editing workflow that utilizes the power of a touch interface. Using touch and gesture actions, you can scrub, select, and edit clips into a sequence to create a rough cut. The touch features are designed for use primarily in an assembly or rough cut workflow, but the thumbnail controls and Program Monitor drop-zones are not specific to touch. You can also use them in traditional mouse-based editing workflows.
One-finger tap/drag
Using a single finger tap, you can select a clip in the Project panel to enable the thumbnail controls on the clip. Tap the thumbnail control’s button or drag the clip to perform scrubbing actions. With one finger, you can drag the clip to the Program Monitor for use with the edit drop-zones, or drag and add to the Timeline panel.
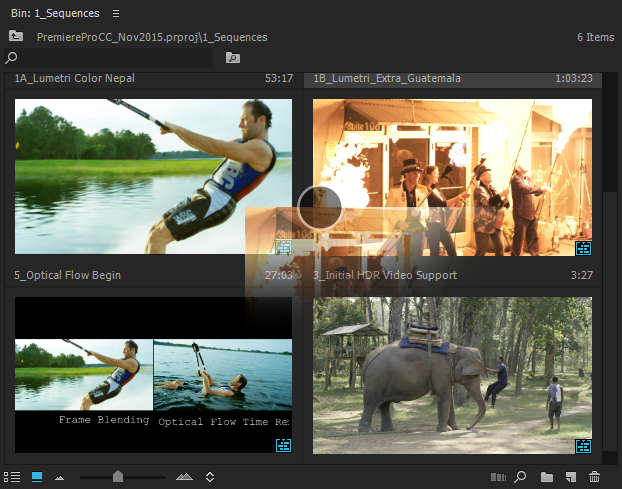

Two-finger pinch to zoom
Using two fingers in a pinching motion toward each other you can zoom out a clip. Spreading apart two fingers zooms in the clip. You can zoom in the Project panel (in both List and Icon views), the Monitor panels, and the Timeline panel.
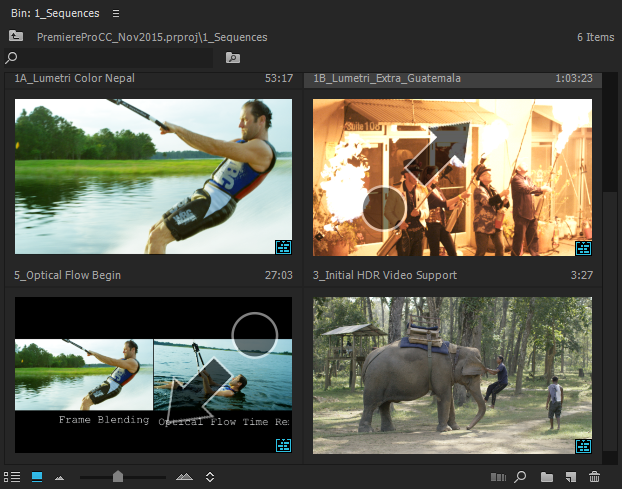

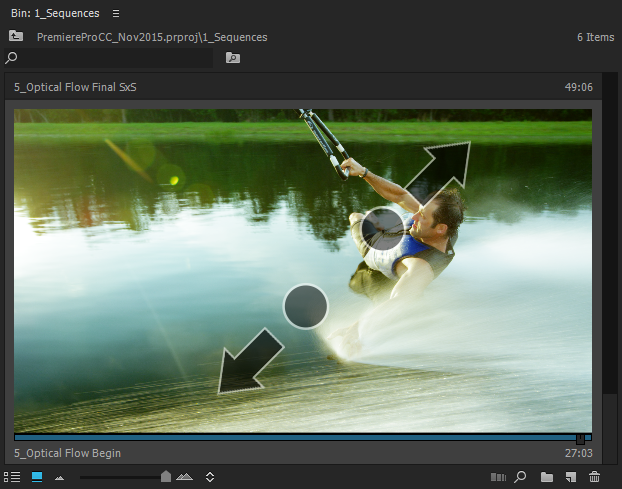

Two-finger scroll
You can scroll panels that include vertical or horizontal scroll bars with two fingers moving in the same direction. In panels such as the Timeline that contains multiple scrolling zones, you can scroll in only one direction and in the zone where the scrolling gesture began.
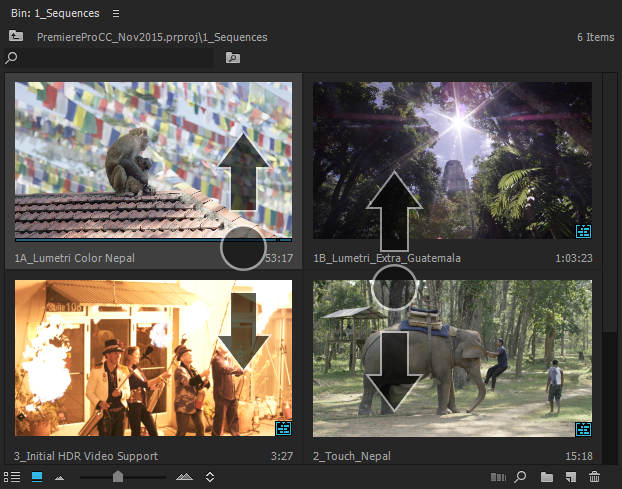

Two-finger scrub
Using two fingers in a gesture like the scroll gesture, you can scrub back and forth clips and sequences in the Project panel Icon View and in the Monitor panels similar to hover scrubbing. The scrubbing gesture moves the playhead for the clip/sequence in a 1:1 relationship based on the width of the thumbnail/monitor, up to 30 minutes in duration. Each additional 30-minute duration requires another scrub gesture-the playhead remain where it was stopped at the end of each gesture.
To use the two-finger scrub gesture on a clip in the Project panel, tap the clip to select it. The thumbnail controls appear.
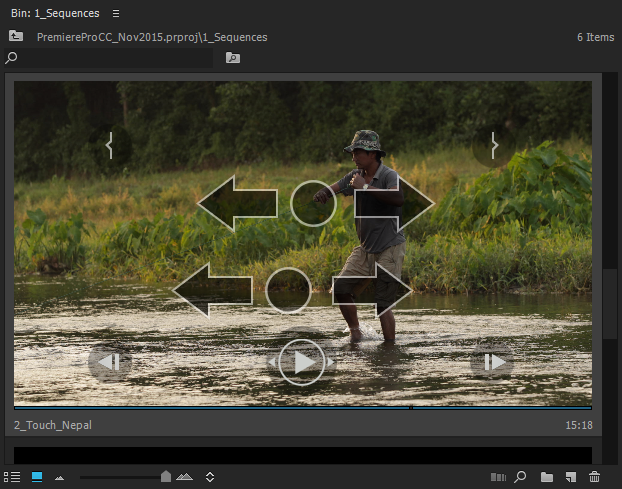

Thumbnail controls in the Project panel
With the Project panel set to Icon View, you can select a clip to reveal a set of thumbnail controls that can be used to play, scrub, and mark a clip. Tap the buttons or drag to perform a scrub of that button’s action. The thumbnail controls always appear on a clip when using a touch gesture. If you are using a mouse, you can use the controls by enabling the Thumbnail controls for all pointing devices setting in the Project panel’s Settings menu.
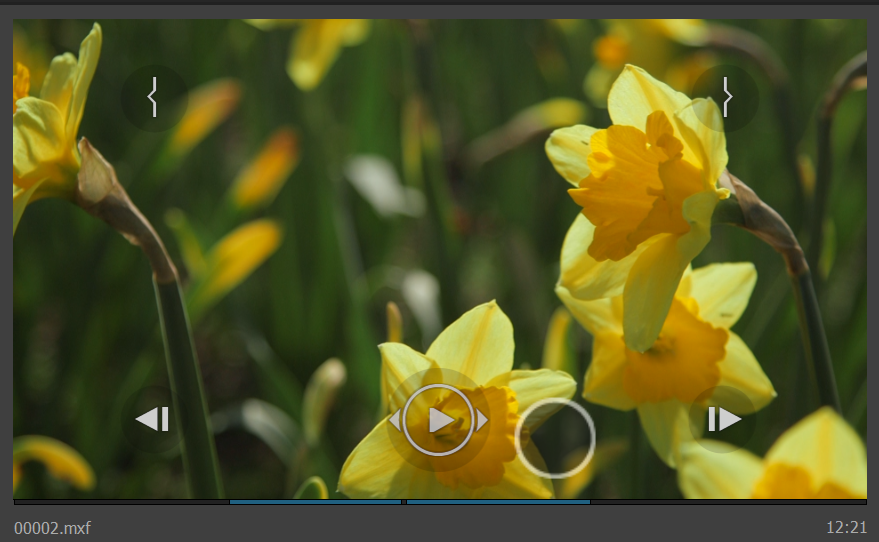

Touch and gesture actions on buttons
Frame Step button
Tapping or clicking the Frame Step button advances one frame in the direction of the button’s arrow. Dragging the button with a touch or mouse slowly advances the clip in increasing increments up to full-speed (1x) playback.
Shuttle button
The Frame Step button becomes the Shuttle button while playing back the clip. Tapping or clicking the Shuttle button increases the speed of playback in doubling increments, up to the maximum (32x) playback speed in the direction of the button’s arrow. Dragging the button with a touch or mouse increases from full-speed (1x) playback to maximum (32x) playback.
In-Point and Out-Point buttons
The Mark-In and Mark-Out buttons mark the in and out points on the clip, either while pausing or playing back. Dragging the button using touch or mouse scrubs the in or out point to the desired location and updates the clip’s thumbnail to display the frame where the mark has been placed.
Editing with clips from the Project panel
To edit a clip into a sequence, tap-and-hold or click-and-hold anywhere on the clip thumbnail that is not occupied by a thumbnail control button (the largest target zone for dragging is in the center), and then drag the clip to the Timeline panel or to the Program Monitor. Using touch only (no keyboard modifiers available), you can perform only Overwrite edits when dragging to the Timeline panel.
Drag-and-drop editing using the Program monitor drop-zones
Dragging to the Program Monitor allows the editor to perform six different types of edits without the need of modifier keys. Drop-zones for specific edit functions appear over the Program Monitor when dragging a clip to it using touch or the mouse.
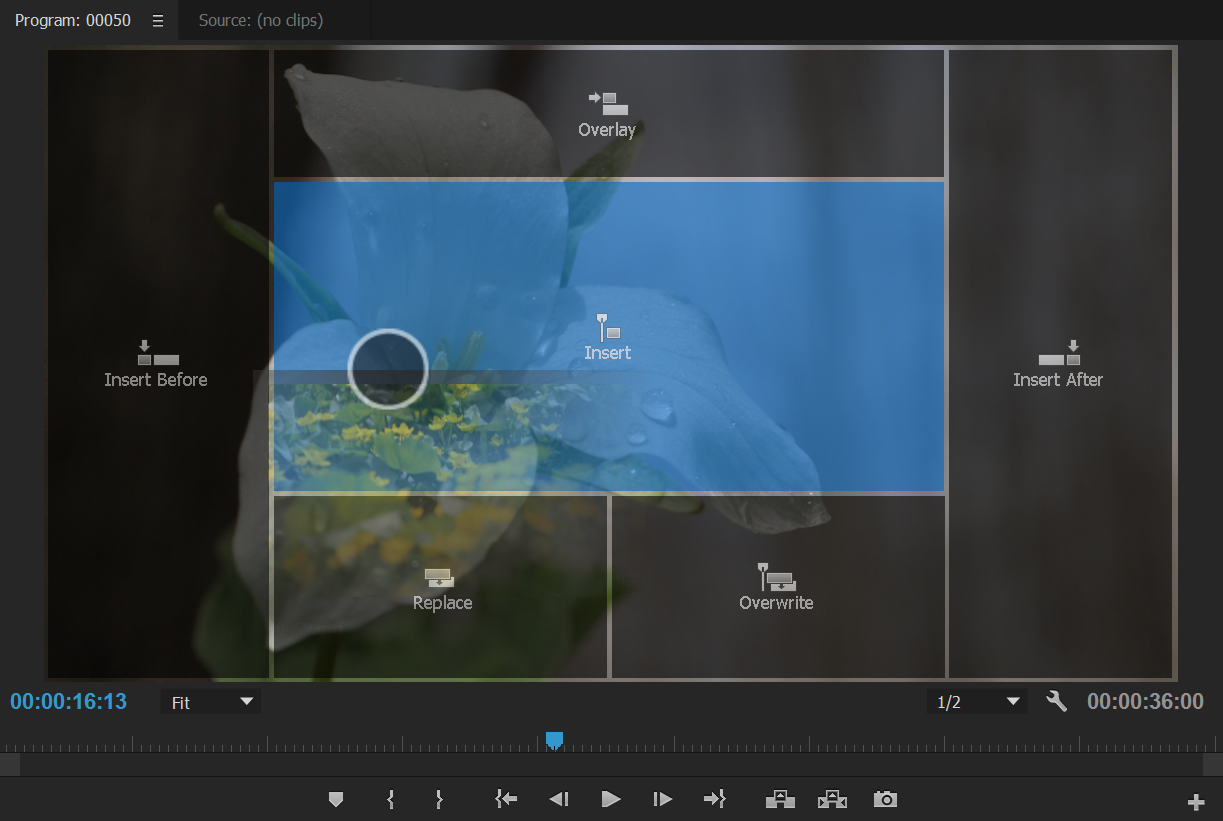

Insert
The Insert drop-zone edits the clip in the sequence at the playhead (or in/out points, if present), respecting the Timeline panel's source patching. Clips after the insertion point are moved later (rippled) in the sequence, unless their track is locked.
Overwrite
The Overwrite drop-zone edits the clip in the sequence at the playhead (or in/out points, if present), respecting the Timeline's source patching. Clips after the insertion point are overwritten for the duration of the source clip. Locked tracks are not overwritten.
Insert Before/Insert After
The Insert Before and Insert After drop-zones edit a clip before or after the clip at the playhead, respectively. These drop-zones respect the Timeline panel's source patching; if there is no content on the patched tracks at the playhead, the edit is performed as an Insert edit instead. In and out points are ignored, unless the edit is performed as an Insert edit. Clips after the insertion point are moved later in the sequence, unless their track is locked.
Replace
The Replace drop-zone replaces a clip at the playhead if there is content on the patched tracks at the playhead; otherwise, no edit is performed. If a selection exists in the sequence, the selection is used for the Replace edit and ignores the playhead position. If more than one clip is selected in the Project panel and Replace is used, only the first clip in the selection is used to perform the edit.
Overlay
The Overlay drop-zone places a clip on the lowest empty track at the playhead (or in/out points, if present) that does not cause a clip collision in the sequence. The edit is performed as an Overwrite to the empty region of the sequence, so clips after the insertion point are not moved later in the sequence. Source patching controls which parts of a source clip are edited into the sequence, but the tracks to which they are mapped have no influence on the edit. If no available tracks exist, Premiere Pro creates a new one.
NOTE: Sometimes, the same result can get produced when dragging a thumbnail into different drop zones. For example, with the playhead parked at the end of the last clip that was edited into a sequence, the monitor is looking forward at a black frame. In this case, dropping a thumbnail on "Insert After", "Insert" and "Overwrite" all produce the same result, with the clip being edited into the sequence after the last clip.