Select Guided > Fun Edits > Create Time-lapse or stop motion
- Get to know Premiere Elements
- Adobe Premiere Elements User Guide
- Introduction to Adobe Premiere Elements
- Workspace and workflow
- Working with projects
- 360° and VR Video Editing
- Importing and adding media
- Arranging clips
- Editing clips
- Reduce noise
- Select object
- Candid Moments
- Color Match
- Color Fonts and Emojis
- Smart Trim
- Freehand Crop
- Delete All Gaps
- Change clip speed and duration
- Split clips
- Freeze and hold frames
- Adjusting Brightness, Contrast, and Color - Guided Edit
- Stabilize video footage with Shake Stabilizer
- Replace footage
- Working with source clips
- Trimming Unwanted Frames - Guided Edit
- Trim clips
- Editing frames with Auto Smart Tone
- Artistic effects
- Color Correction and Grading
- Applying transitions
- Special effects basics
- Effects reference
- Applying and removing effects
- Create a black and white video with a color pop - Guided Edit
- Time remapping - Guided edit
- Effects basics
- Working with effect presets
- Finding and organizing effects
- Editing frames with Auto Smart Tone
- Fill Frame - Guided edit
- Create a time-lapse - Guided edit
- Best practices to create a time-lapse video
- Applying special effects
- Use pan and zoom to create video-like effect
- Transparency and superimposing
- Reposition, scale, or rotate clips with the Motion effect
- Apply an Effects Mask to your video
- Adjust temperature and tint
- Create a Glass Pane effect - Guided Edit
- Create a picture-in-picture overlay
- Applying effects using Adjustment layers
- Adding Title to your movie
- Removing haze
- Creating a Picture in Picture - Guided Edit
- Create a Vignetting effect
- Add a Split Tone Effect
- Add FilmLooks effects
- Add an HSL Tuner effect
- Fill Frame - Guided edit
- Create a time-lapse - Guided edit
- Animated Sky - Guided edit
- Select object
- Animated Mattes - Guided Edit
- Double exposure- Guided Edit
- Special audio effects
- Movie titles
- Creating titles
- Adding shapes and images to titles
- Adding color and shadows to titles
- Apply Gradients
- Create Titles and MOGRTs
- Add responsive design
- Editing and formatting text
- Text Styles and Style Browser
- Align and transform objects
- Motion Titles
- Appearance of text and shapes
- Exporting and importing titles
- Arranging objects in titles
- Designing titles for TV
- Applying styles to text and graphics
- Adding a video in the title
- Disc menus
- Sharing and exporting your movies
This Guided Edit is a walkthrough on how to Create a time-lapse or stop motion video using Premiere Elements. Find this edit under the Fun Edits tab.
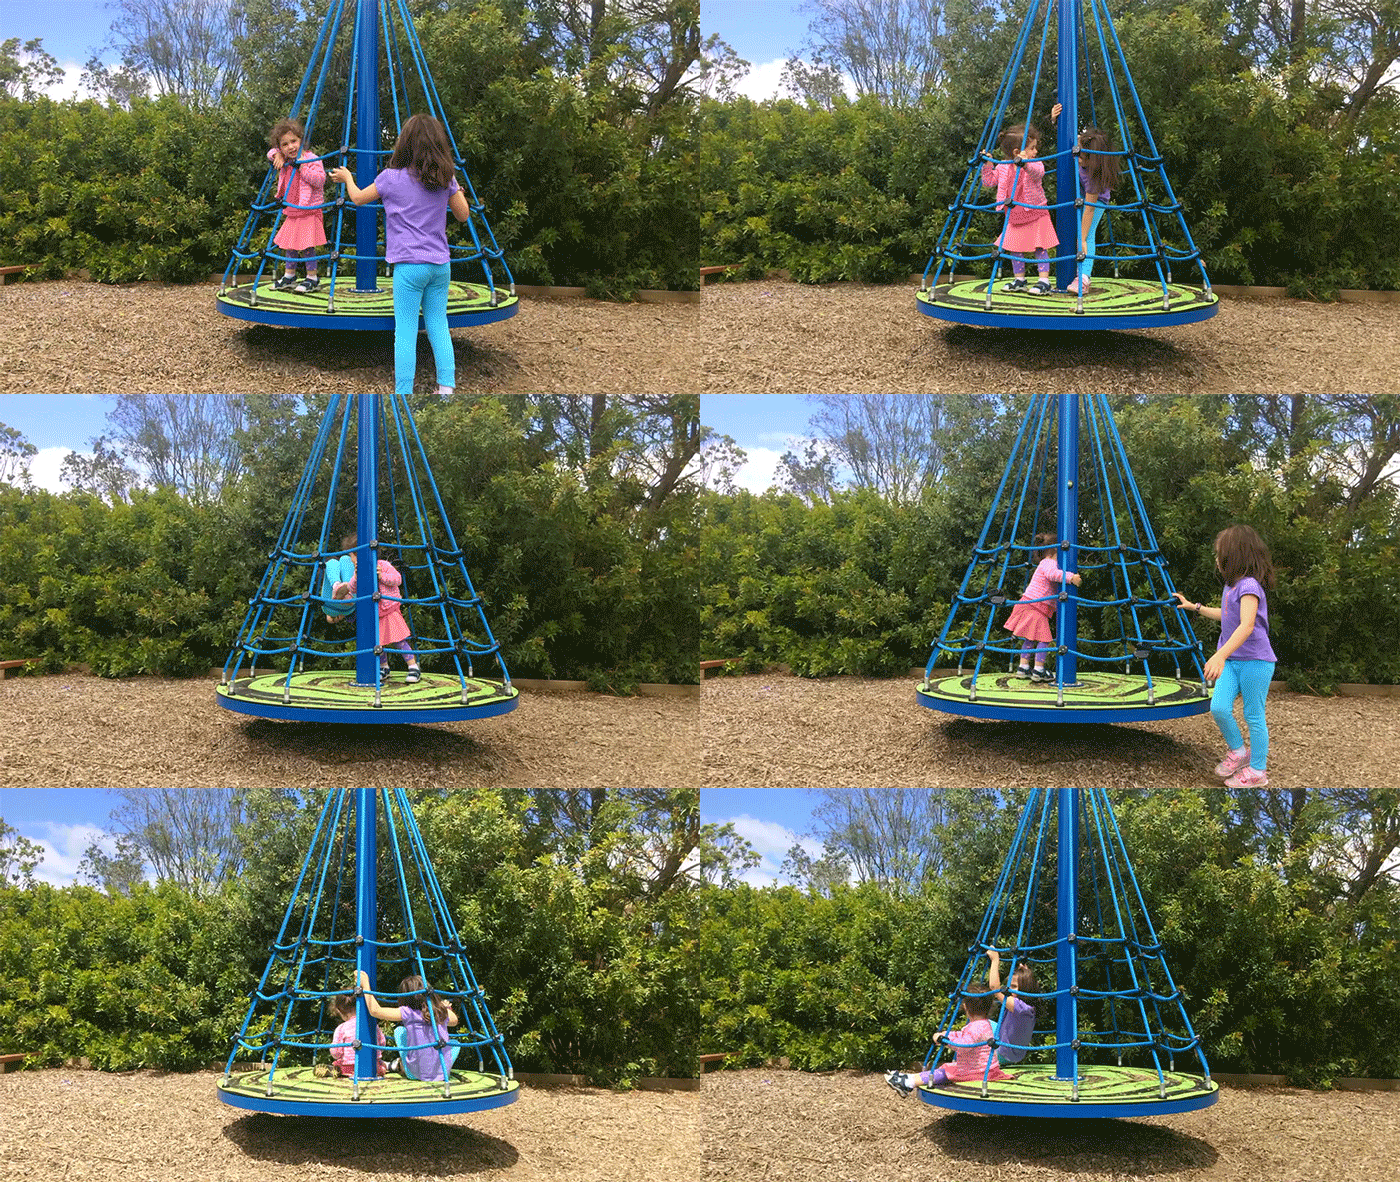
Time-lapse is a technique whereby the frames are captured at a high frame rate and when played at normal speed, time appears to be moving faster and thus lapsing. For example, an image may be captured at 1 frame per second, but then played back at 40 frames per second; the result is an apparent 40 times speed increase.


You can create a time-lapse video using photos and videos. For best results use a sequence of photos or video clips from the same event. For information about the requirements to shoot a time-lapse video including the hardware requirement and shooting specifications, see Best practices to create a time-lapse video.
To Create a time-lapse or stop motion video, follow these steps:
-
-
In the Project Assets bin, create new folder. Rename the folder. This helps you have all the media files in one place when you import them.
-
Click Add Media to import the photos or videos that you want to work with.
Add media to Premiere Elements Add media to Premiere Elements -
Sort the media files by the date they were created on. In the assets bin, open Panel options > Sort by > Creation date.
-
Drag-and-drop the files to Video 1 track in the Timeline. You can also drag multiple files together.
-
Right-click or Control-click the photos in the Timeline and select Clip > Time Stretch.
-
Adjust the duration in the Time Stretch window.
หมายเหตุ:For photos, we recommended duration between 00;00;00;05 and 00;00;00;06.
-
You can preview the media by clicking the play button.
-
To add text, from the right panel, select the Titles and Text option. Drag-and-drop Default Text to Video 2 track in the Timeline. Add text and adjust duration. You can also adjust the font, color, and style of the title.
-
To add audio, click the audio icon on the right panel. Drag-and-drop the audio file onto the Audio 1 track in the Timeline.
-
In the Score Property window, enable the Fit Entire Video check box to ensure that the audio is aligned to the video.
-
Render the video for smooth playback.
-
To export the final output, select File > Export and Share. For information about various exports and share options available, see Export and share your videos.
Export and share your project Export and share your project
Stop Motion
Stop motion is a technique in which objects are physically moved in small increments between individually photographed frames so that they show motion when the series of captured frames is played back.
To create a stop motion video select Guided > Fun Edits > Create time-lapse or stop motion, add your photos and follow the earlier listed steps for time-lapse to create your stop motion video.

