
- Captivate User Guide
- Get to know Captivate
- Adobe Captivate releases
- Adobe Captivate 13
- Adobe Captivate 12
- Project setup
- Import from PowerPoint
- Import from Captivate Classic
- Generative AI in Adobe Captivate
- Generative AI overview
- Generative AI FAQs
- Generative credits
- Generate text
- Generate images
- Generate avatar
- Generate transcripts
- Add and edit text
- Add and edit images
- Add and edit media
- Interactive components
- Create quizzes
- Add widgets
- Interactions and animations
- Enhance your e-learning project
- Simulation projects
- Timeline and TOC
- Review and collaborate
- Preview and publish
- Accessibility
- Design options in Adobe Captivate
- Additional resources
Learn how to publish a project in the all-new Adobe Captivate
Before publishing a project, ensure you've completed all the editing and formatting for your project.
Topics in this page:
-
Select the ellipsis icon next to Preview, and select Publish.
-
In the Publish to Computer dialog, enter the following:
- Project title: Enter the project's name.
- Location: Browse and select a location to publish your project.
Project's publish options Project's publish options -
Select Reporting to launch the Preferences > Reporting dialog to configure the reporting criteria.
-
Select Publish.
Publish to computer Publish to computer

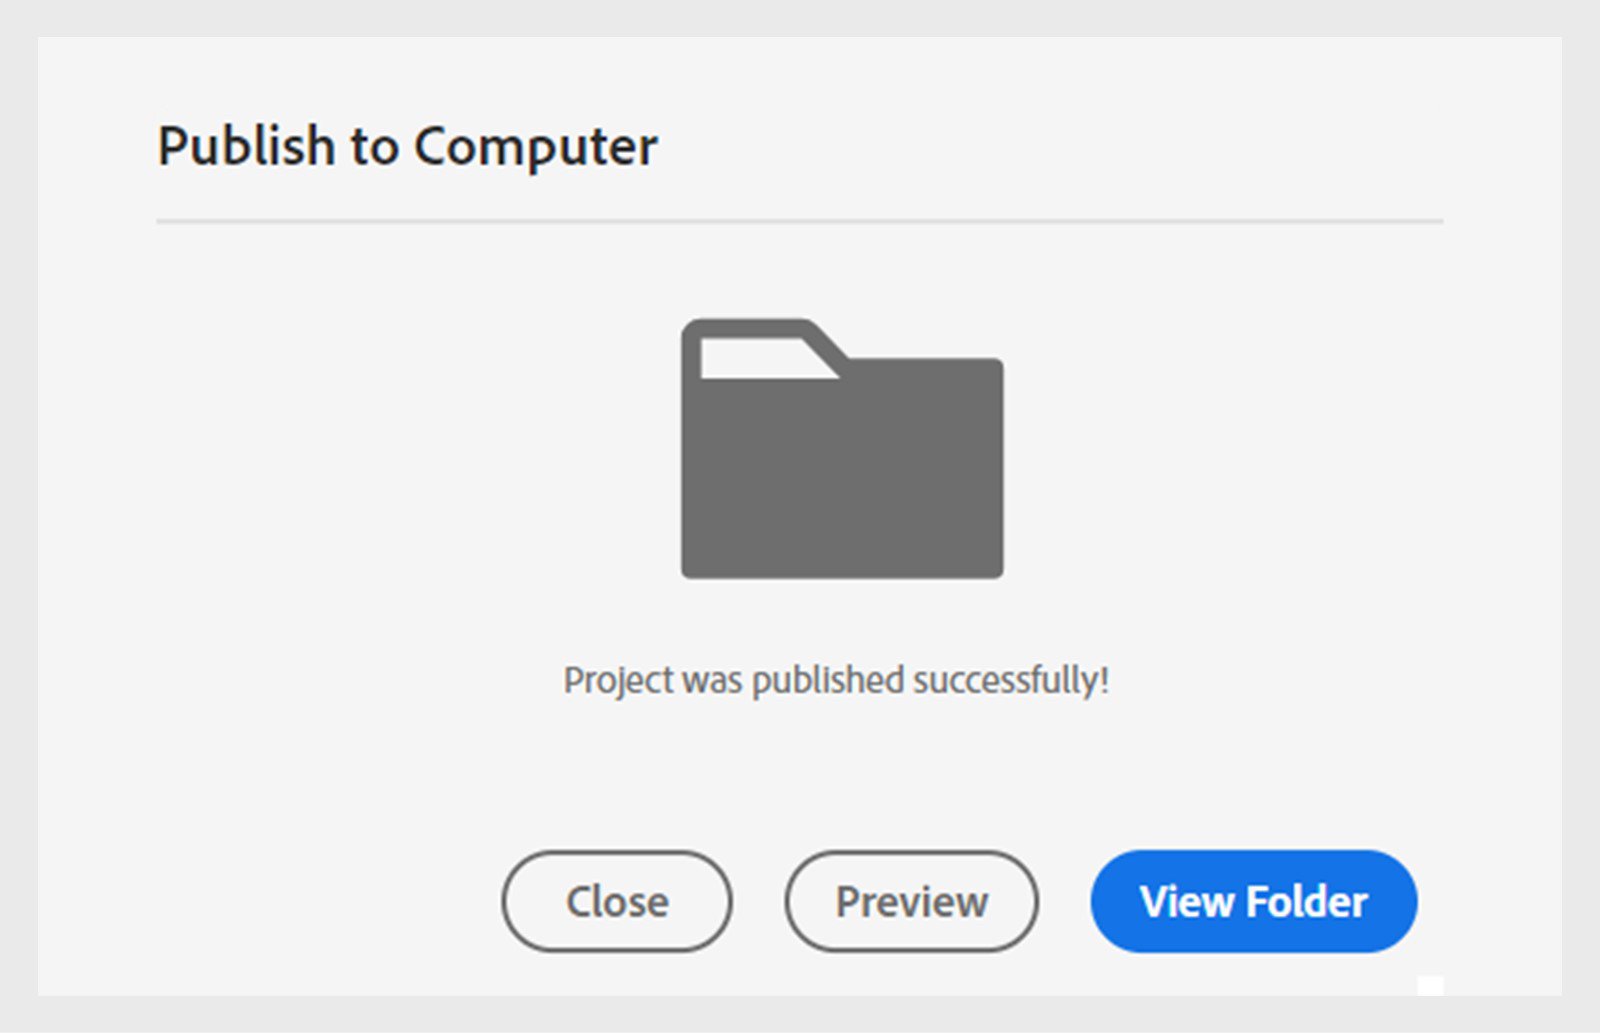
After the project is published, you can either preview the project or view the published content in the location.
You can use a Learning Management System (LMS) to distribute a computer-based tutorial created using Adobe Captivate. An LMS provides, tracks, and manages web-based training.
The project you upload to the LMS must comply with the SCORM, AICC standards, or xAPI.
ConfigurE the project to publish to LMS
-
In an open project,
- macOS: Select Adobe Captivate > Preferences.
- Windows: Select Edit > Preferences.
The Preferences dialog box appears. For more information, view Preferences in Adobe Captivate.
-
In Preferences, select Quizzing > Reporting.
-
Select the checkbox Enable Reporting.
-
Select the reporting standard. The available options are SCORM 1.2, SCORM 2004, AICC, and xAPI.
For more information, view Preferences in Adobe Captivate.
View the SCORM preferences View the SCORM preferences -
When you publish the project conforming to the selected reporting standard, upload the zipped file to the LMS.

Status Representation: Specify how you want the course status reported to LMS.
Incomplete to Complete: When users launch the course, the course status is reported as Incomplete in LMS. The status changes to Complete when the completion criteria are satisfied.
Incomplete to Passed/Failed: The course status is reported as Incomplete when users launch the course. The status changes to Passed/Failed when the completion criteria are satisfied.
User Access: Users successfully complete the course if they launch it from LMS.
Success/Completion Criteria:
Slide Views: The course is complete or successful if users view the specified number or percentage of slides.
Quiz: The course is complete or successful based on the users’ performance in the quiz. You can choose one of the following criteria:
Users attempt the quiz: Here, the status is reported as Complete if users attempt the quiz irrespective of whether they pass or fail it.
Users pass the quiz: Here, the status is reported as Complete only if users pass the quiz.
Users pass or the attempt limit is reached: Here, the status is reported as Complete if users pass the quiz or have taken all the attempts. For example, if the number of attempts set in the course is 2, and:
Users take the first attempt and pass, then the status is reported as Complete and Passed.
Users take the first attempt and fail, then the status is reported as Incomplete and Failed as the attempt limit is still not reached.
If users retake the quiz and fail, the status is reported as Complete and Failed.
If users attempt the quiz again and pass, the status is reported as Complete and Passed.
Configure SCORM
You can see the following manifest options:
Course Identifier: The identifier used by the LMS to identify different manifests. A default identifier based on the name of your Adobe Captivate project is automatically added to this field. You can change the identifier anytime by selecting the text and typing in the new text.
Course Title: The title of your project that is displayed to the user viewing the project using an LMS. A default title based on the name of your Adobe Captivate project is automatically added to this field. You can change the title anytime by selecting the text and typing in a new one.
Description: The text that the LMS displays to describe your project. A default description based on the name of your Adobe Captivate project is automatically added to this field. You can edit the description at any time.
Version: The version specifies a number that can be used to differentiate manifests with the same identifier. For example, if you're uploading the same project after modifying it, use a different version number.
Duration: The time required for learners to complete the project. Adobe Captivate prepopulates this field with an approximate value. However, you can revise this value if your project contains many resource-intensive videos or animations.
Keywords: Enter the keywords related to the project.
SCO Identifier: The LMS uses the identifier to identify different shareable content objects (SCOs). In the Adobe Captivate context, SCO means the Project harm project. A default identifier based on the name of your Adobe Captivate project is automatically added to this field. You can change the identifier anytime by selecting the text and typing in the new text.
SCO title: A default title based on the name of your Adobe Captivate project is automatically added to this field. You can change the title anytime by selecting the text and typing in a new one.
The manifest file is generated.
Files created
When you enable reporting for the project by setting the SCORM options, Adobe Captivate creates the following files when the project is published:
Manifest File: This file imports the Adobe Captivate project into the LMS. The manifest file, imsmanifest.xml, contains the metadata of the project and its course structure.
HTML File: Launches the Adobe Captivate project from the LMS.
JavaScript File: Adobe Captivate sends tracking data to the LMS using the JavaScript APIs.
Data to report
Enable the checkbox Interaction data, if you want to report user interaction data, for example, the question attempted by users, and the answer provided to them.
LMS initialization text: Type the text that you want to display to users while the course loads in the web browser.
LMS advanced settings
Send Data on Every Slide: Send interaction details after every slide.
Never Send Resume Data: The project notifies the LMS when users resume a session after taking a break. Users view the page at which they left off earlier. If this option is enabled, users see the first page when they resume the project.
Escape Version and Session: Converts the version and session ID to its URL encoded values.
Escape version and session ID: Supports the escape version and session ID option. Type the characters not included in the escape version and session ID.
Don’t escape character
Supports the escape version and session ID option. Type the characters not included in the escape version and session ID.
Pass/Fail
Pass/fail options
Pass/Fail Options: Set whether participants need to have a percentage or more of total points to pass, or a set number or more of points to pass.
Pass/Fail Grade Actions: Set what actions the quiz will carry out if the participant passes the quiz or fails. Can also set the number of times a user can attempt the quiz.
-
Select the next to Preview in the top-right corner.
-
Select Publish to Adobe Learning Manager.
-
Select your account from the dropdown menu. If you are logged into ALM, your account should display automatically.
-
Select Publish and then select Continue to Publish.
-
Enter your Adobe Learning Manager account details and select Submit. This step maybe skipped if you are already logged in.
-
Add the details of your project, such as content name, tags, completion criteria, and success criteria. For example, completion criteria can be set when a learner finishes at least 50% of the course. In contrast, success criteria can be set to when the learner completes the quiz slides. Or you can set the criteria to be completed on launching the event for completion and success.
-
Select Publish.


