Before you begin
We're rolling out a new, more intuitive product experience. If the screen shown here doesn’t match your product interface, select help for your current experience.
Before you begin
We're rolling out a new, more intuitive product experience. If the screen shown here doesn’t match your product interface, select help for your current experience.
Page thumbnails are miniature previews of the pages in a document. You can use page thumbnails to jump quickly to a selected page or to adjust the view of the page. When you move, copy, or delete a page thumbnail, you move, copy, or delete the corresponding page.
If you don't see page thumbnails in the Pages side panel, select View > Show/Hide > Side panels > Page.
Page thumbnails increase file size, so Acrobat doesn't create them automatically.
Acrobat no longer supports embedding and unembedding page thumbnails. However, Acrobat Distiller® provides an alternate method of embedding page thumbnails.
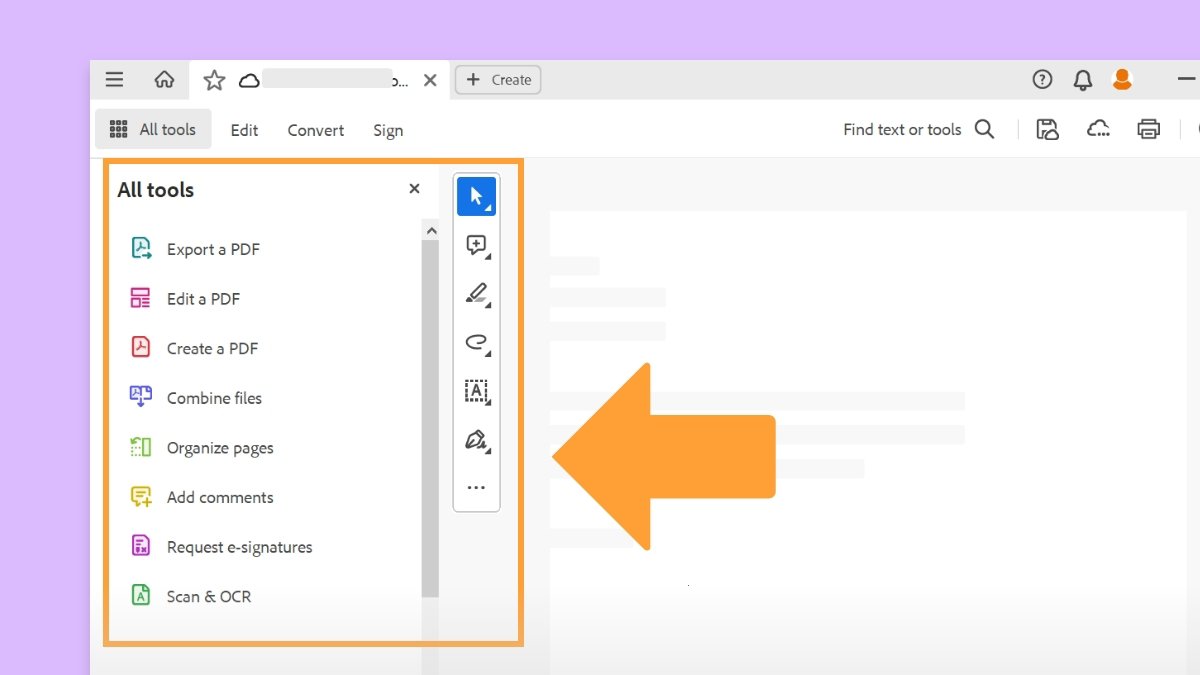
Select the Page Thumbnails icon from the right navigation panel.
Page thumbnails appear in the navigation pane. This process may require several seconds, particularly in larger documents. The drawing of page thumbnails may pause if you interact with the application during this process.
In the Page Thumbnails side panel, select Options , and then select Reduce Page Thumbnails or Enlarge Page Thumbnails. Page thumbnails revert to their default size if you close and reopen the PDF.
In the Page Thumbnails side panel, you can set the order in which a user tabs through form fields, links, and comments for each page.
Open the Page Thumbnails side panel.
Select a page thumbnail, and choose Page Properties from the Options menu .
In the Page Properties dialog, select Tab Order, and then select the tab order.
Use Row Order
Moves through rows from left to right, or right to left for pages with a right-to-left binding.
Use Column Order
Moves through columns from left to right and from top to bottom, or right to left for pages with a right-to-left binding.
Use Document Structure
Moves in the order specified by the authoring application.
For structured documents—PDFs that were created from desktop publishing applications or that contains tags—it’s best to select the Use Document Structure option to match the intention of the authoring application.
If the document was created in an earlier version of Acrobat, the tab order is Unspecified by default. With this setting, form fields are tabbed through first, followed by links, and then comments ordered by row.
A bookmark is a link with representative text in the Bookmarks panel in the navigation pane. Each bookmark goes to a different view or page in the document. Bookmarks are generated automatically during PDF creation from the table-of-contents entries of documents created by most desktop publishing programs. These bookmarks are often tagged and can be used to make edits in the PDF.
Initially, a bookmark displays the page in view when the bookmark was created, which is the bookmark’s destination. In Acrobat, you can set bookmark destinations as you create each bookmark. However, it's sometimes easier to create a group of bookmarks and then set the destinations later.
In Acrobat, you can use bookmarks to mark a place in the PDF to which you want to return or to jump to a destination in the PDF, another document, or a web page. Bookmarks can also perform actions like running a command or submitting a form.
An Acrobat user can add bookmarks to a document only if the security settings allow it.
Select the bookmarks icon from the right navigation bar to open the Bookmarks side panel.
Use the Select tool to select the area of the page you want to bookmark:
To bookmark a single image, click in the image or drag a rectangle around the image.
To bookmark a portion of an image, drag a rectangle around the portion.
To bookmark text, drag to select it. The selected text becomes the label of the new bookmark. You can edit the label.
From the Options menu in the Bookmarks panel, select New Bookmark.
In the Bookmarks side panel, type or edit the name of the new bookmark.
In Acrobat Reader, you can make bookmarks easier to read by changing their text appearance.
In Acrobat, you can change a bookmark’s attributes at any time.
Select the bookmark in the Bookmarks side panel, select Rename Bookmark in the Options menu , and then enter the new bookmark name.
Select the bookmark in the Bookmarks side panel, and then select Wrap Long Bookmarks from the Options menu .
All the text of long bookmarks shows regardless of the width of the navigation pane. (This option is on when checked, and off when not checked.)
You can change the appearance of a bookmark to draw attention to it.
In the Bookmarks side panel, select one or more bookmarks.
(Acrobat only) To change the color and style of the text, choose Properties from the Options menu and then change the properties in the Appearance tab from the Bookmark Properties dialog box.
After you’ve defined a bookmark’s appearance, you can reuse the appearance settings. Select the bookmark, then go to the Options menu and then select Use Current Appearance as New Default.
To change the font size, select the Options menu options, select Text Size, and then select your preference.
In the Bookmarks side panel, select the bookmark.
Select Set Bookmark Destination in the Options menu.
The Set Bookmark Destination option is context-sensitive. It appears only when you have an existing bookmark selected.
In the Bookmarks side panel, select a bookmark.
From the Options menu, select Properties.
In the Bookmark Properties dialog box, select Actions.
Choose an action from the Select Action list, and select Add.
In the Bookmarks side panel, select the Options menu.
Select Set Default Bookmark Zoom Level, and choose the desired zoom level. By default, the Inherit Zoom option is selected.
When you adjust the zoom level of multiple bookmarks, the destination page number for the selected bookmarks is retained by default.
To change the destination page number of the bookmarks, do the following:
Select two or more bookmarks that you want to change the zoom level.
Select the Options menu, and then select Properties.
In the Bookmark Properties dialog, select Actions.
Choose Go to a page in this document, and then select Edit.
Deselect the option Use Page Number.
Select a bookmark or range of bookmarks in the Bookmarks side panel, and then press Delete.
Deleting a bookmark deletes any bookmarks that are subordinate to it. Deleting a bookmark doesn’t delete any document text.
You can nest a list of bookmarks to show a relationship between topics. Nesting creates a parent/child relationship. You can expand and collapse this hierarchical list as desired.
Drag the icon or icons directly underneath the parent bookmark icon. The Line icon shows the position of the icon or icons.
The bookmark is nested; however, the actual page remains in its original location in the document.
Drag the icon or icons, positioning the arrow directly under the label of the parent bookmark.
Choose Cut from the Options menu, select the parent bookmark, and then choose Paste under Selected Bookmark from the Options menu.
From the Options menu, select Expand Top-Level Bookmarks or Collapse Top-Level Bookmarks.
Tagged bookmarks give you greater control over page content than regular bookmarks. Tagged bookmarks use the underlying structural information of the document elements (for example, heading levels, paragraphs, and table titles). You can use it to edit the document. It includes rearranging the corresponding pages in the PDF or deleting pages. If you move or delete a parent-tagged bookmark, its children-tagged bookmarks are moved or deleted.
Many desktop publishing applications, such as Adobe InDesign® and Microsoft® Word, create structured documents. When you convert these documents to PDF, the structure is converted to tags, which support the addition of tagged bookmarks. Converted web pages typically include tagged bookmarks.
You can always add tags if your document doesn’t include tags in Acrobat.
Open the Bookmarks side panel. Choose New Bookmarks From Structure from the Options menu. (If this option isn’t available, the document isn’t structured).
The tagged bookmarks are nested under a new, untitled bookmark.

Work smarter with Acrobat on your desktop
Create, edit, and organize PDFs with powerful tools that help you stay productive anywhere.