Before you begin
We're rolling out a new, more intuitive product experience. If the screen shown here doesn’t match your product interface, select help for the new experience.
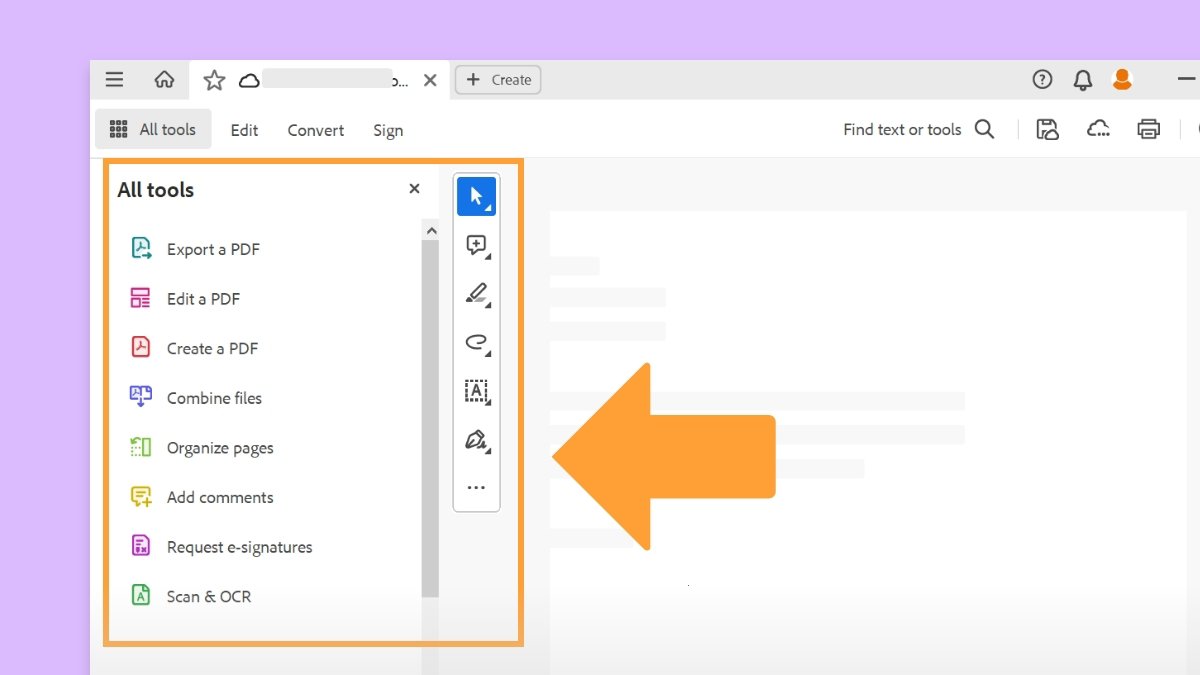
Learn how to add comments to the 3D designs in PDFs using Adobe Acrobat's different commenting tools.
Before you begin
We're rolling out a new, more intuitive product experience. If the screen shown here doesn’t match your product interface, select help for the new experience.

Before you begin
We're rolling out a new, more intuitive product experience. If the screen shown here doesn’t match your product interface, select help for your current experience.

Dirbkite išmaniau su „Acrobat“ savo darbalaukyje
Kurkite, redaguokite ir tvarkykite PDF failus naudodami galingus įrankius, kurie padės išlikti produktyviems bet kur.