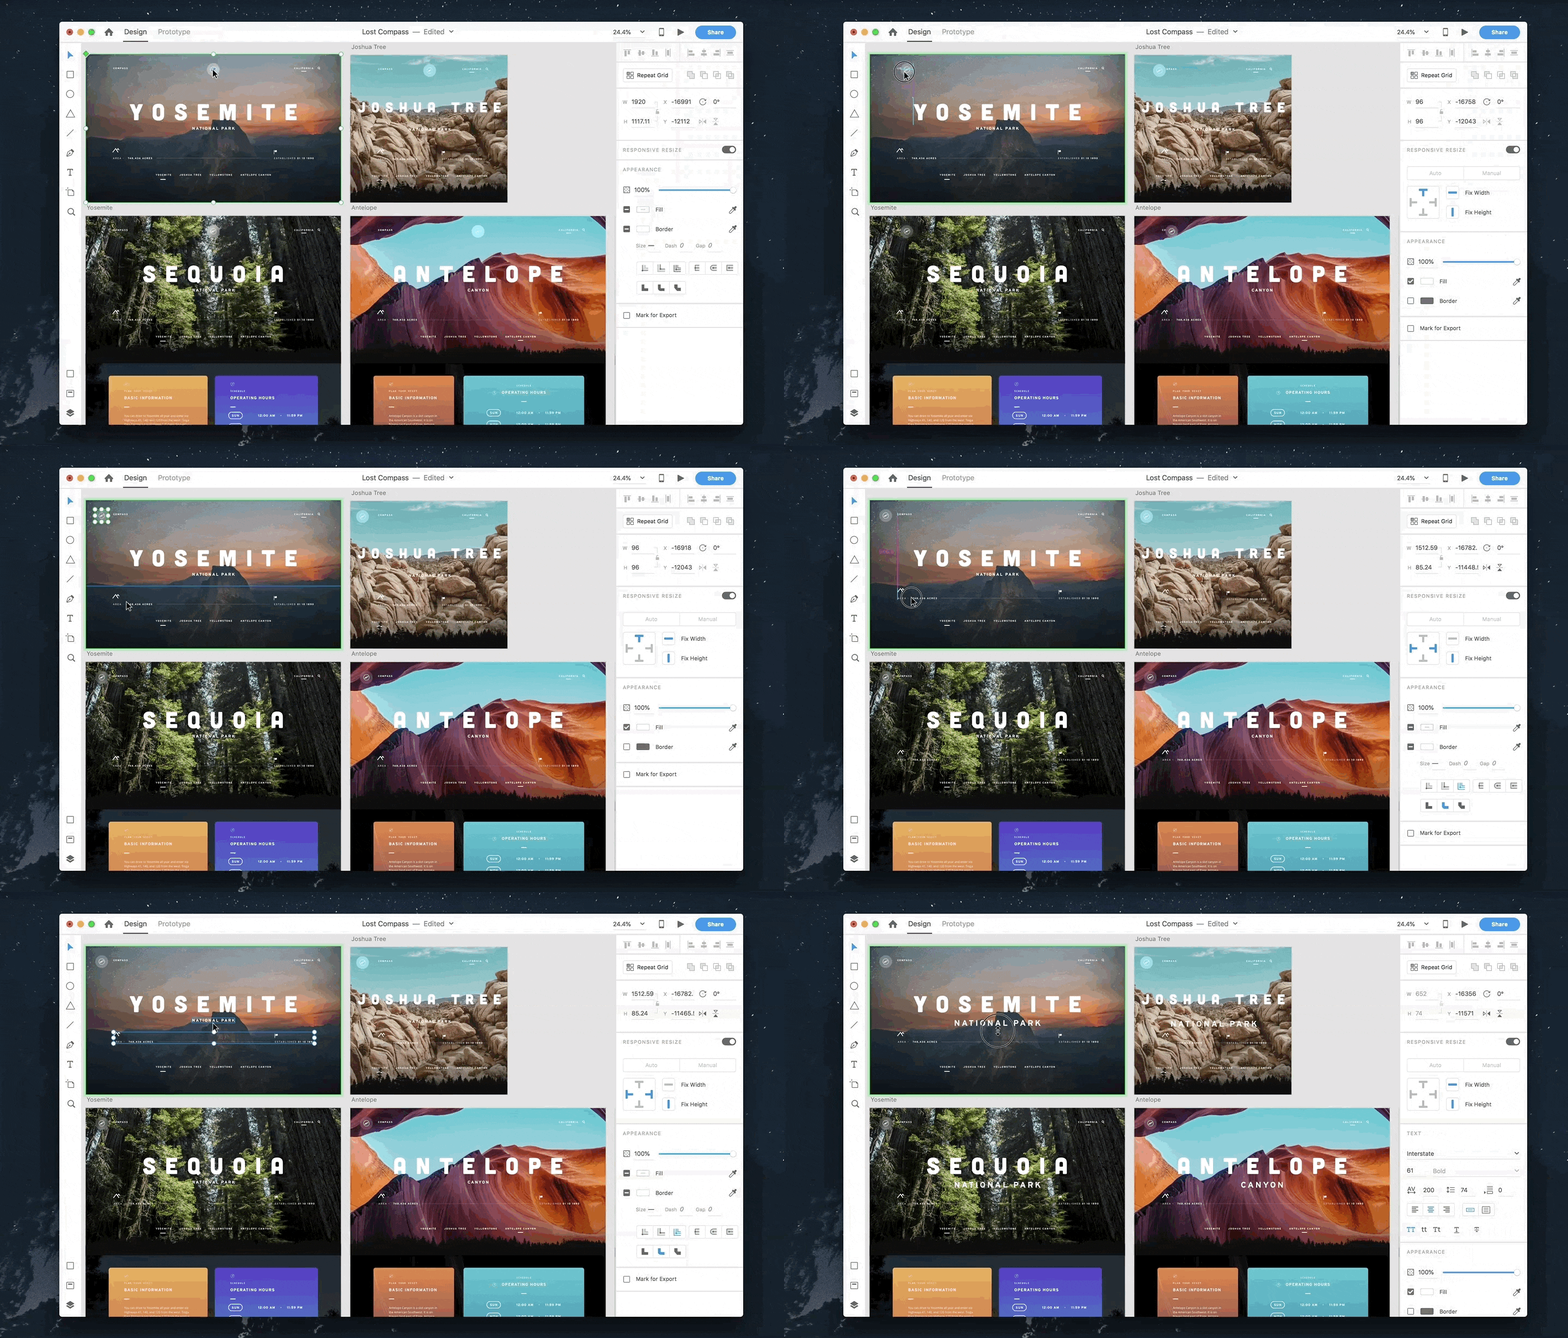
Right-click and select Make Component (CMD+K).
Learn how to use components across design systems.
As a designer, you often create foundational elements, like navigation bars or buttons, that are repeated throughout your designs. However, these foundational elements have to be customized based on context or layout where they’re placed. In such scenarios, you often end up creating multiple versions of the same foundational element, making it that much harder to maintain your design.
Components (previously known as symbols), are design elements with unmatched flexibility that help you create and maintain repeated elements while varying the instances for different contexts and layouts. For example, usage of buttons in varying contexts.
You can create a master component to define a reusable element, such as a button, and you can change any of its properties to customize instances of that element. Changes you make to an individual instance are specific to that element, but changes you make to the master propagates to all the instances where the property hasn’t been customized.
Let’s use these workflows to learn how to work with components:
Master components and instances
The first time you create a component in XD, it becomes a master component. You can manipulate a master component on canvas and edit it just as you would edit any other element. Master components are indicated by a green diamond in the upper left corner.


To create a master component, select an object or group of objects and use any of the following options:
-
-
Click the + button in the components section of the Assets panel.
-
From the XD app, select Object > Make Component.
Work with component instances
Every copy of the master component you create is known as an instance. When you create instances:
- They are an exact copy of the master component,
- Have the same properties as the original, and
- Are intrinsically linked to the master.


You can override properties of an instance without breaking its connection to the master component. Here’s how this works:
- When you make changes to the master component, same changes are applied to all instances.
- However, if you change a property in an instance, XD marks that property as an override. Overrides are unique changes that apply only to that instance and not the master component.
Edit a master component
You can use any of these options to edit a master component:
-
Right-click an instance on canvas and select Edit Master Component.
Edit a master component from canvas Edit a master component from canvas -
Click a component in the Assets panel and select Edit Master Component.
Edit a master component from assets panel Edit a master component from assets panel
If you’ve deleted a master component from the canvas, XD generates a master component on the canvas next to the objects you’re currently editing.


Override properties
Master components provide the required consistency to maintain a design system. Any changes made to the master component automatically propagate to its instances.


However, a design system is only as usable as the degree of flexibility it provides. You can start with the same original element, but you have to customize it depending on the context where it is used. That’s where instances come in. When you edit any instance of a component, it does not affect the master component. Every property you change is considered an override.


Overridden properties are always preserved, even if you edit the same property from the master component.


Properties that have not been overridden in instances, like the corner radius in these buttons, always sync from the master.


If you’re not happy with the results of your overrides, you can always reset it back to the original master component by right-clicking an instance and selecting Reset to Master Component. This clears all overrides on an instance and resets it back to the master component.


Style and appearance overrides
Changing your original elements depending on context is extremely important when creating reusable elements. As a result, you can override every style and appearance property of an instance. The overrides allow for a range of variations while still keeping their ties to the foundational element.


Rotation and opacity properties currently do not propagate from the master component to instances.
Resize and layout overrides
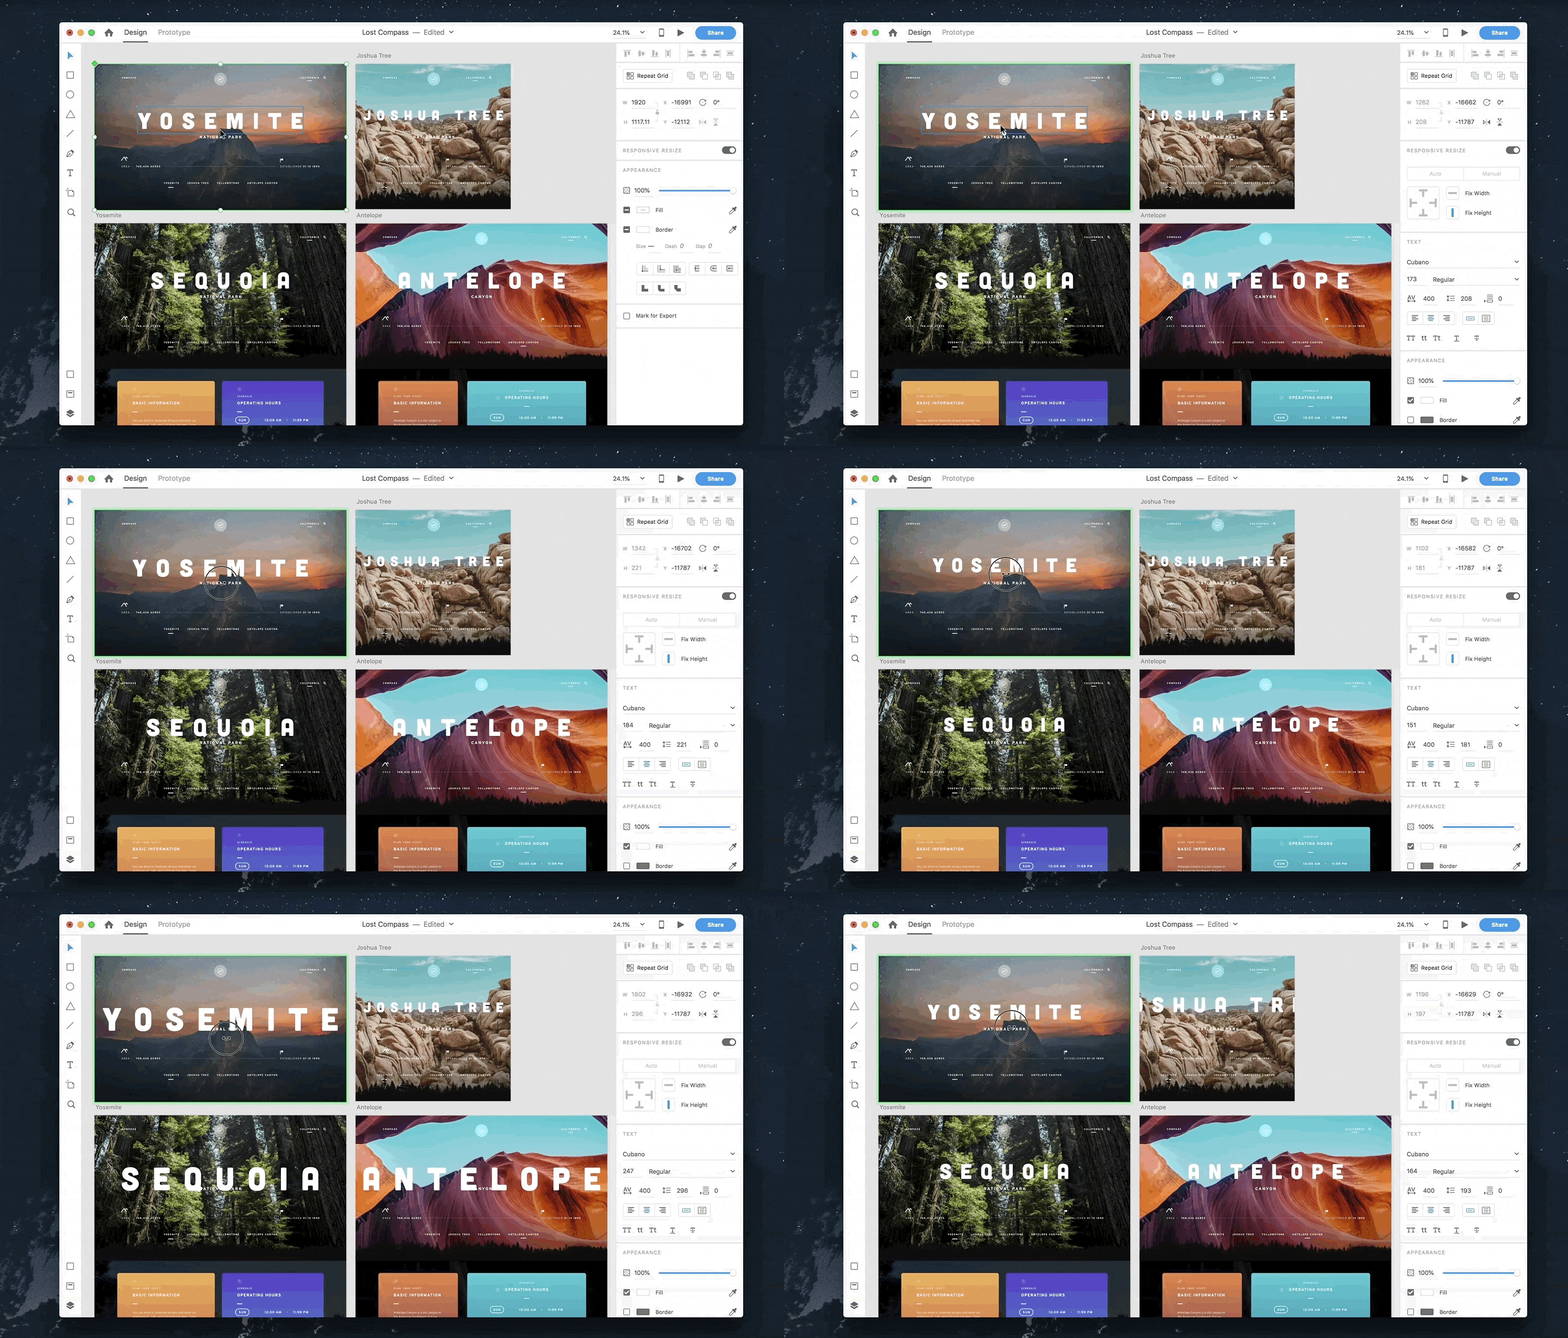
XD 12.0 released a feature called responsive resize that allowed you to resize groups of objects while keeping their placement and scalability. All you have to do is resize the group right there on the design canvas and XD retains the relative spacing in place. Inevitably, you end up having reusable elements that are similar, but variants of different sizes. Components are also resizeable, and come with the powerful capabilities of responsive resize baked right in.


If you resize the master component, instances that are not resized are automatically resized. Therefore, instances that have already been resized, preserve their resized position as an override. You can also independently resize an instance without affecting the master component.


Not only can you resize an entire component, but you can also alter the layout of the items within. You can now change the component instances irrespective of the sizes you’ve adapted them to. Just like responsive resize, XD does its best to re-create the placement of your elements on a larger or smaller canvas as you resize them. You can also switch to manual mode to manually edit the constraints for more control.


Modified properties in an instance (for example, text size in Joshua Tree), preserve their overrides and not receive updates of that property from the master component.


If you edit the layout of an instance, changes to properties that have not been overridden from the master component propagates to instances.


Add and remove elements as an override
Not only can you override the size of a component or the layout of elements within, but you can also structurally override the components. This means you can add or subtract elements in the master component and its instances.


If you add an object to the master component, it is also added to its respective instances. When you add an object, XD applies the responsive resize algorithm and automatically places the constraints on the object. This depends on the position of the new object relative to its container. When an object is deleted from the master component, it is also removed in all instances.
Elements can also be added or removed from an instance and constraints are automatically placed on an object when it is added. When an element in an instance is deleted, only the element in that instance is removed. The same element continues to exist in the master component.
Swap a nested component
There are many cases where you have designed a larger component that has nested components within, like modals and nav bars that require customization based on the context. Swapping a component in XD is as simple as dragging a component from the Assets panel and placing it on top of the component on canvas you like to swap it with.


Swapping a master component with an instance replaces the master in all instances.
Swapping an instance becomes a local override only to that instance. You can swap an entire component or a nested component at the global level for one another.
Use components across documents
Linked assets allow you to consume assets (components, colors, and character styles) from one or more design files available on XD cloud documents. Linked assets complement the workflow of linked components.
When a linked instance is used in a consuming document, you can use overrides (style and appearance, resize and layout, and structure) to customize the local instances in the consuming document.


If you modify and save the master component in the source document, a blue badge ![]() next to each linked component instance in the consuming document indicates that an update is available. You can hover over the blue badge to preview the updates within the Assets panel, and if visible, on the design canvas.
next to each linked component instance in the consuming document indicates that an update is available. You can hover over the blue badge to preview the updates within the Assets panel, and if visible, on the design canvas.
Click the blue badge to accept the updates to an individual component and click Update All at the bottom of the Assets panel to update all instances within the document. For more information on linked assets, see Work with linked assets.
Feature limitations
Get to know these feature limitations when working with components:
- You cannot move your master component from one document to another.
- Edit Master component and Reset to Master options are not available with multi-selection of components.
- Overrides are removed if you select Convert to Path option. If you continue to edit, overrides are removed on the object instances.
- Opacity and rotation are currently not supported as master properties if you edit from the master. Each instance has its own opacity and rotation.
- If you add an object that is outside the bounds of their original master, the content is clipped. As a workaround:
- Create the master at the largest size of your intended overrides.
- Include new objects as elements outside your component instance.

