Before you begin
We're rolling out a new, more intuitive product experience. If the screen shown here doesn’t match your product interface, select help for your current experience.
Before you begin
We're rolling out a new, more intuitive product experience. If the screen shown here doesn’t match your product interface, select help for your current experience.
When you share a form, Acrobat auto-generates a PDF Portfolio to collect user-submitted data. By default, it saves this file in the same folder as the original form with the name 'filename_responses'. The topics below explain how to:
In the Add Completed Form To Responses File dialog box, select one of the following options:
Add to an existing responses file: This option compiles data in the response file initially created when you distributed the form using the Distribute form wizard. If needed, click 'Browse' to find the response file.
Create a new responses file: This option generates a new response file, using the name and location you specify.
Select OK.
It opens the response file. Each returned form added to the response file shows as a component file of a PDF Portfolio.
Open the response file in Acrobat.
In the left pane, select Add.
In the Add Returned Forms dialog box, select Add file.
Locate and select the returned forms, then select Open.
Repeat the previous step to incorporate any returned forms from other folders. When done, select Ok.
Once completed, each added PDF form appears as a component file of the PDF Portfolio.
Follow these steps to save all the entries in a PDF Portfolio response file to a spreadsheet or XML file.
Open the response file in Acrobat and select the data you want to export.
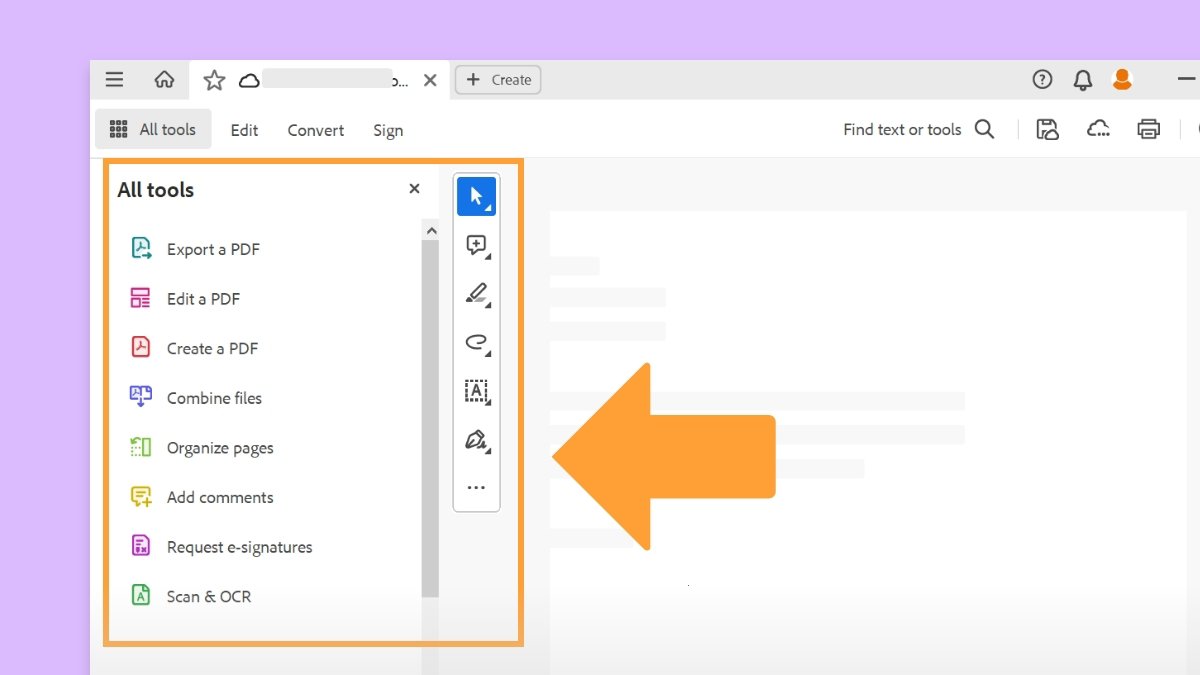
From the All tools menu, select Export a PDF, select a format, and then select Convert to (format selected).
In the Select Folder To Save File dialog box, specify a name, location, and file format (CSV or XML) for the form data, and then select Save.
You can transfer the responses on a PDF form to and from other file formats that store all the data in less space than a full PDF.
Sometimes, individuals submit filled-in forms as data-only files rather than complete PDF files. These files aren't PDFs, but use another file format, such as FDF or XML. You can see the data submitted by an individual recipient in the context of the PDF by opening the original file and importing the information from the data file.
In Acrobat, open the PDF form you want to import data into.
Select All tools from the global bar in the upper left, and then select Prepare a form.
From the Prepare a form panel, Select Options ![]() > Import data.
> Import data.
Importing data from another file into a PDF form replaces any existing information in the individual form fields. However, if the imported data file contains one or more blank form fields, the original data won't be cleared upon import.
In the Select File Containing Form Data dialog box, select a format corresponding to the data file you want to import. Then locate and select that file, and select Open.
Some formats are available only for specific types of PDF forms, depending on the application used to create the form, such as Acrobat or Designer ES2. Data imported from a text file (.txt) must be formatted in tab-delimited rows that form columns.
To save the information in a completed PDF form as a data file in another format, follow these steps:
In Acrobat, open the completed form file.
From the All tools menu, select Prepare a form, and then from the left panel that opens, select Options![]() > Export data.
> Export data.
In the Save As dialog box, select the type in which you want to save the form data. You get FDF, XFDF, XML, or TXT options. Then select a location and filename, and select Save.
Some file formats are available only for specific types of PDF forms, depending on how the form was created.
To compile data from forms that aren't already in a data set, follow these steps:
Select All tools from the global bar in the upper left, and then select Prepare a form.
From the Prepare a form panel, select Options ![]() > Merge data files into spreadsheet.
> Merge data files into spreadsheet.
In the Export Data From Multiple Forms dialog box, select Add Files.

In the Select file Containing Form Data dialog box, select a file format option in the File Of Type option (Acrobat Form Data Files or All Files). Then, find and select the form files you want to merge into the spreadsheet, and select Open.
Repeat the previous step to add form data files from other locations as needed.
Select Export, choose a folder and filename for the spreadsheet, and select Save.
In the Export Progress dialog box, select View file now to open the spreadsheet file, or select Close dialog to return to Acrobat.
If returned forms are in a response file, use the Export Data button in the left navigation panel for the PDF Portfolio response file to export the information into a spreadsheet more efficiently.
To manage your distributed or received forms, use Tracker. It lets you track responses, edit response file location, add more recipients, email all recipients, and view form responses.
From the Acrobat Home view, select See all tools. From the Edit section, Select Edit a PDF.
(Windows) Select the hamburger menu in the upper left. Then select Form Options > Track
(macOS) From the upper left, Select View > Tracker.
From the Tracker dialog box, expand Forms in the left navigation panel.
Choose a form and take one of the following actions:
For viewing all responses, select View responses.
To change the response file location, under Responses File Location, select Edit file location.
To access the original form, select Open original form.
To send the form to more recipients, select Add recipients.

Work smarter with Acrobat on your desktop
Create, edit, and organize PDFs with powerful tools that help you stay productive anywhere.