Select the objects that you want to align or distribute using the Selectiontool.
Zadnja posodobitev
25. jun. 2026
Learn how to align or distribute selected objects in Illustrator.
Align and distribute objects to position them precisely relative to each other, a key object, an anchor point, or an artboard. You can also distribute spacing evenly between objects to create consistent layouts.
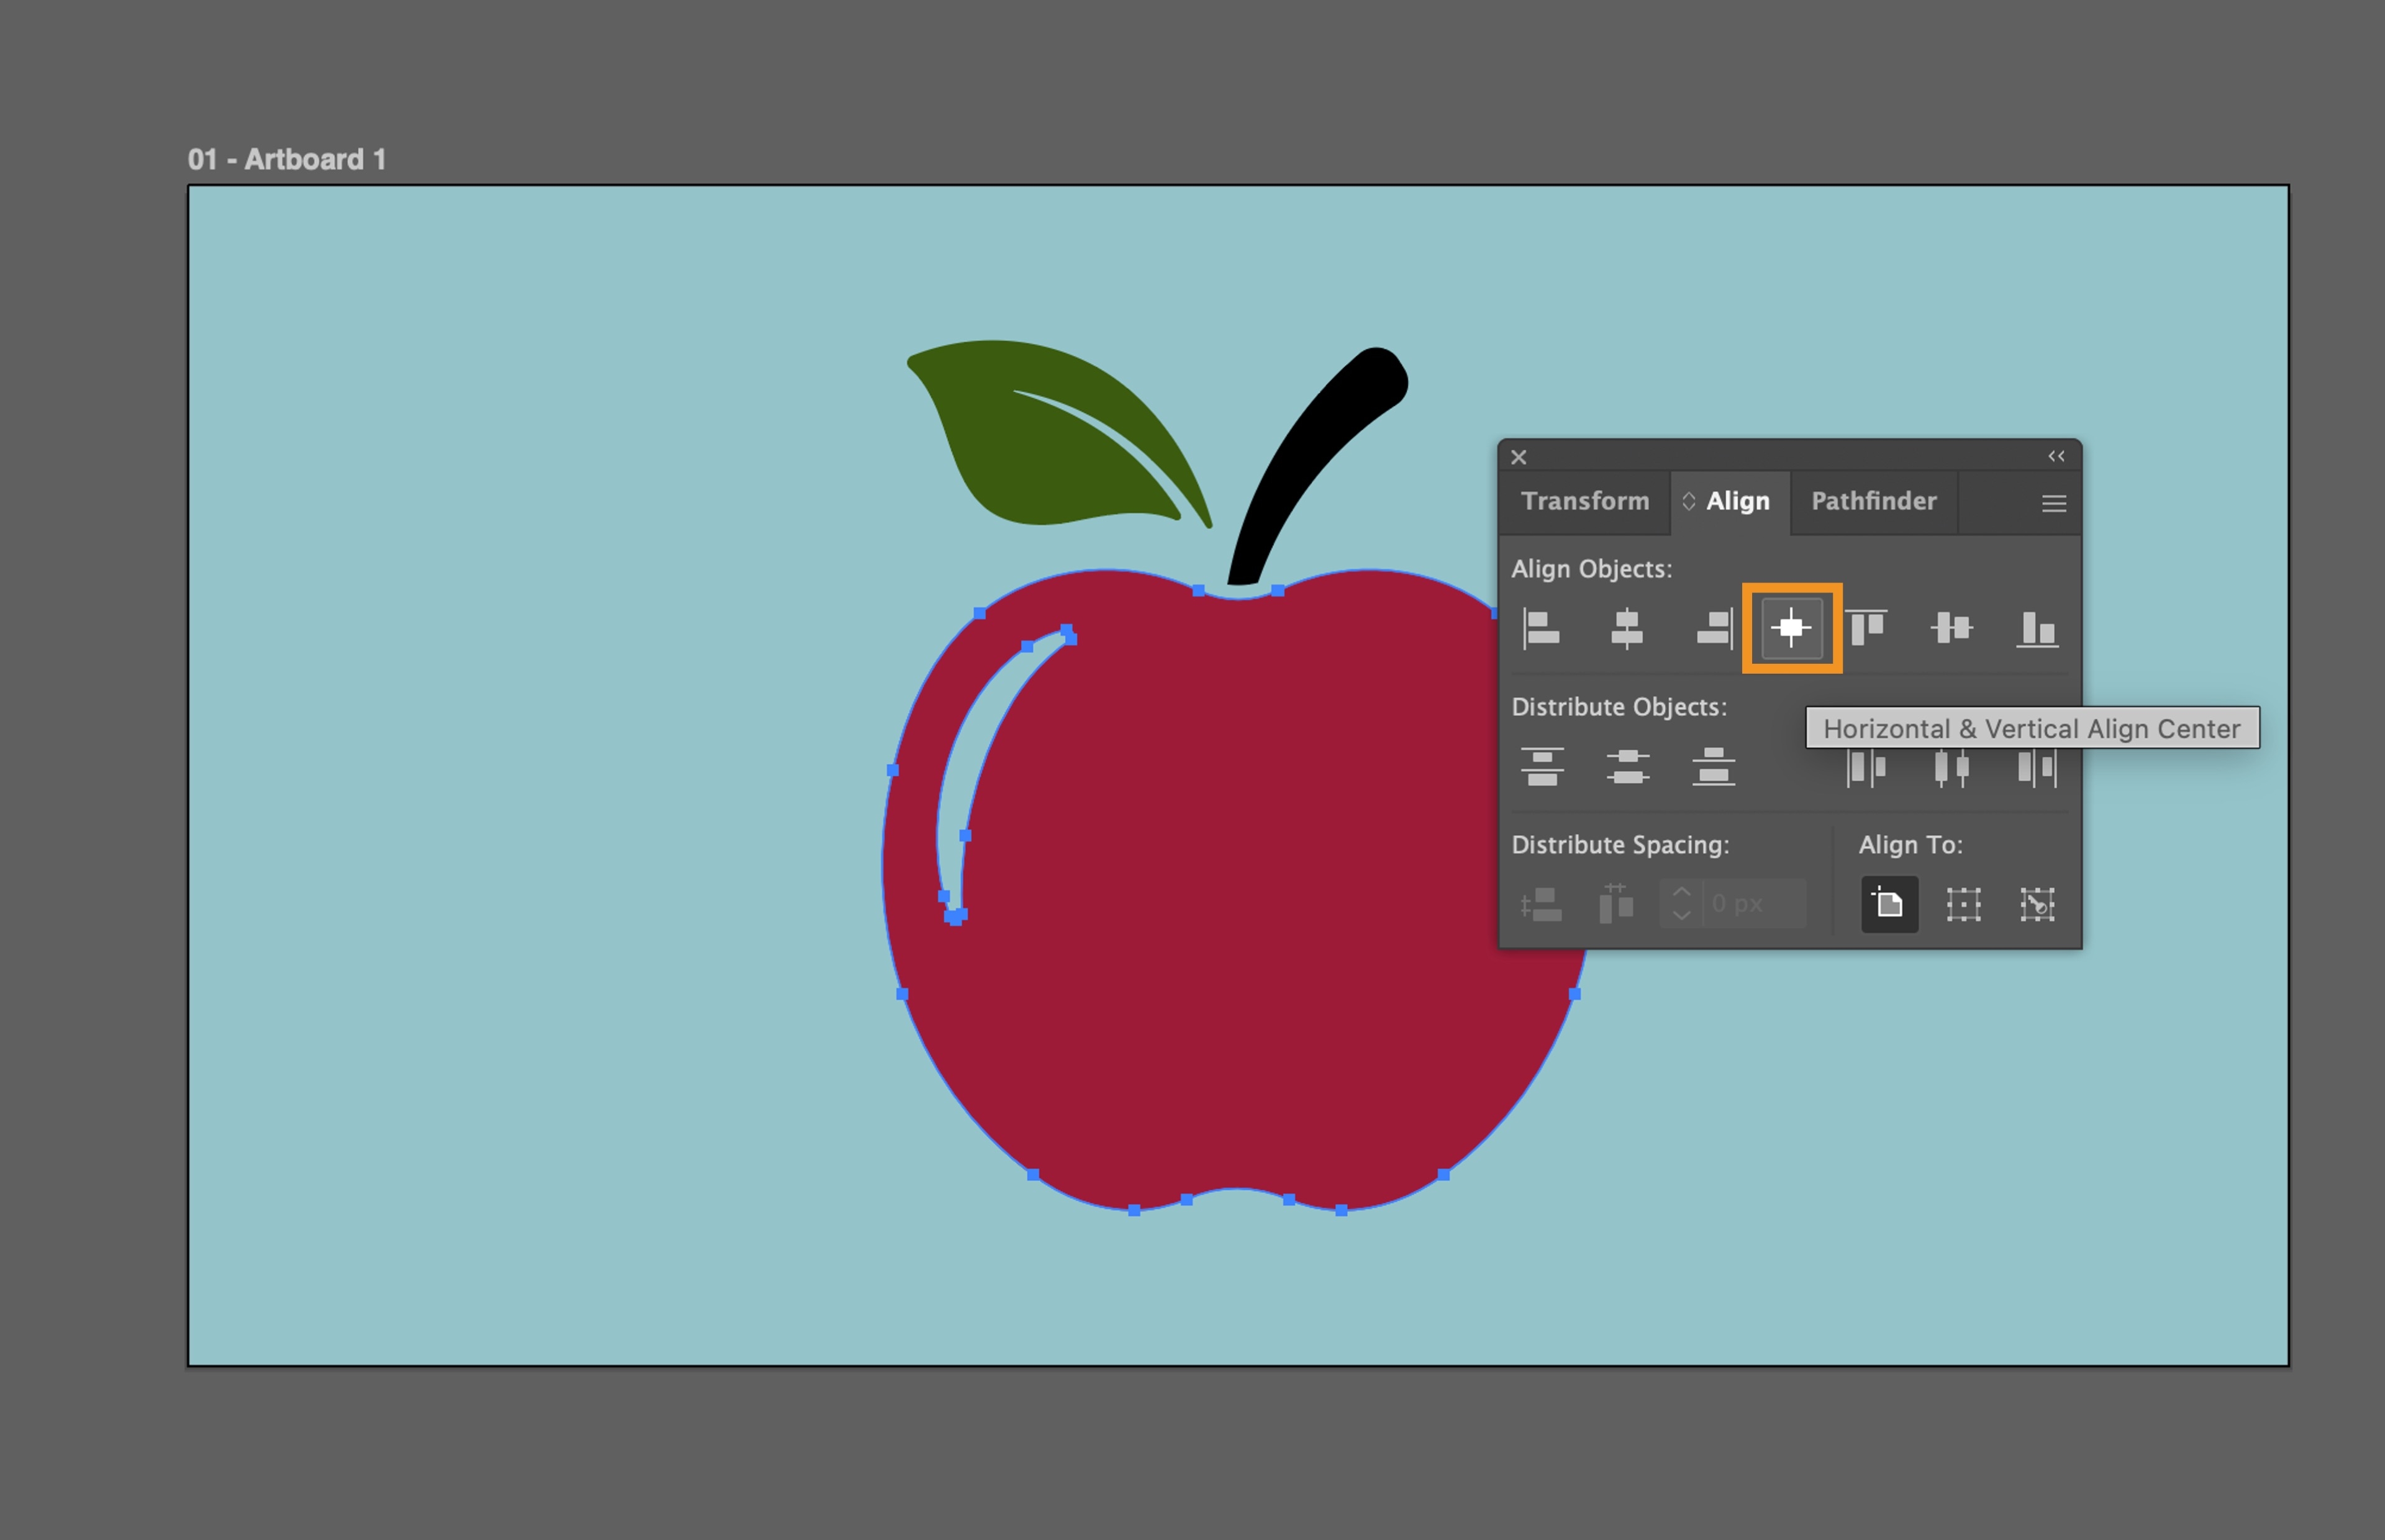
Select Window > Align to open the Align panel.
Namig
You can assign custom keyboard shortcuts to Align and Distribute commands. Select Edit > Keyboard Shortcuts, select Menu Commands, and then expand Object > Align or Object > Distribute to set your shortcuts.
You can also record these commands as actions and replay them across your artwork. Select Window > Actions to open the Actions panel. Start recording, apply an Align or Distribute command, then stop recording to save it as a step.
Align or distribute relative to the bounding box of all selected objects
Select Window > Align.
In the Align panel, select Align to Selection .
In the Align panel, select the desired alignment or distribution option based on the design needs.
Align or distribute relative to one anchor point
Select the Direct Selectiontool, press Shift and select the anchor points you want to align or distribute.
Select Window > Align.
In the Align panel, select the desired alignment or distribution option based on the design needs.
Align or distribute relative to a key object
Select the objects that you want to align or distribute using the Selectiontool.
Select again on the object you want to use as a key object using the Selection tool without pressing the Shift key.
Opomba
A blue outline appears around the key object, and Align To Key Object is automatically selected in the Align panel.
Select Window > Align.
In the Align panel, select the desired alignment or distribution option based on the design needs.
Align or distribute relative to an artboard
Select the objects that you want to align or distribute using the Selectiontool.
Select the Selection tool and Shift-click the artboard you want to use.
Select Window > Align.
In the Align panel, select Align to Artboard .
In the Align panel, select the desired alignment or distribution option based on the design needs.

Oblikujte natančno v programu Illustrator
Oživite svoje zamisli z orodji za vektorsko grafiko, ustvarjenimi za kreativno svobodo in natančnost.