Izmantojiet mākoņa bibliotēkas


Populāri raksti
Izmēģiniet to lietotnē
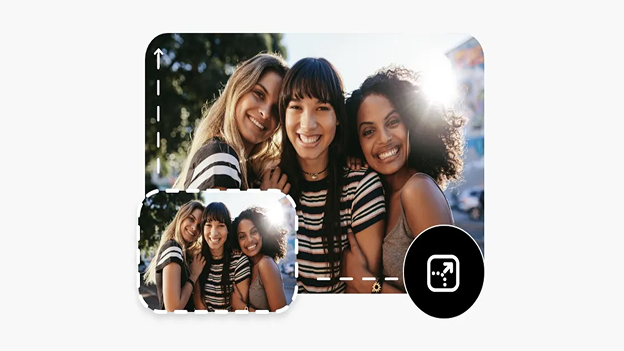
Izveidojiet bibliotēkas, lai sakārtotu savus resursus, veicot dažas vienkāršas darbības.
Izmēģiniet to lietotnē
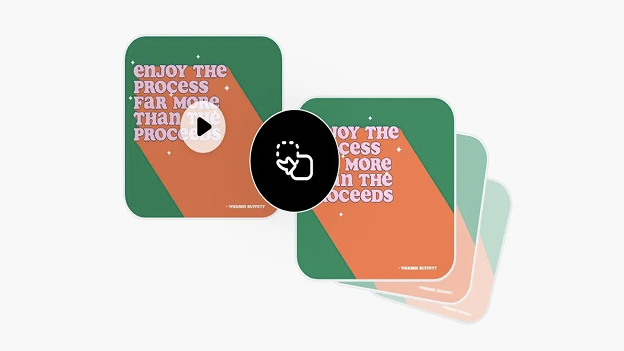
Izveidojiet bibliotēkas, lai sakārtotu savus resursus, veicot dažas vienkāršas darbības.