Feature/Workflow
Last updated on
Apr 1, 2026
Learn how to use Hue and Saturation curves to make quick and precise color adjustments to achieve natural-looking results.
Curves feature allows you to make quick and precise color adjustments using two types of curves: RGB Curves and Hue Saturation Curves.
Hue Saturation Curves
Premiere offers the following color hue saturation curves that you can use to make different types of curve-based color adjustments to your clip.
- Hue vs Sat - Select a hue range and adjust its saturation level.
- Hue vs Hue - Select a hue range and change it to another hue.
- Hue vs Luma - Select a hue range and adjust the luma.
- Luma vs Sat - Select a luma range and adjust its saturation.
- Sat vs Sat - Select a saturation range and increase or decrease its saturation.
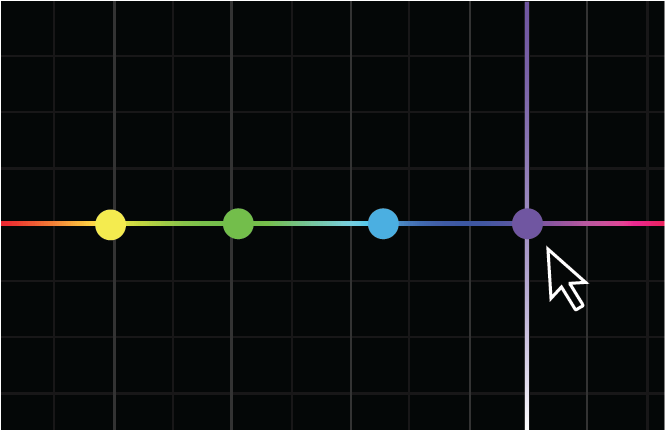
Grade color using control points
You can adjust colors using control points. While moving a control point, a vertical band appears to help you judge your final result.

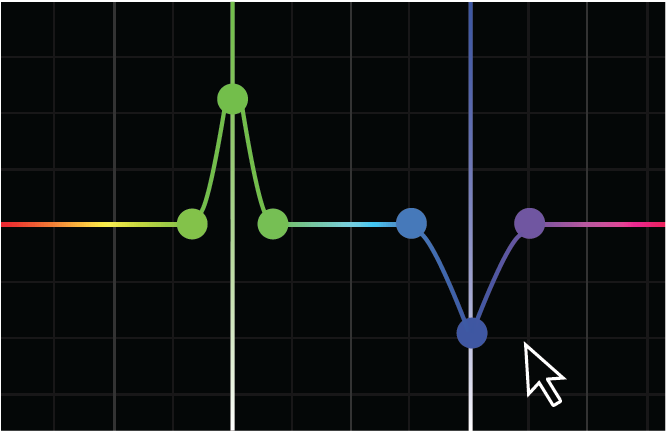
Some common ways you can manipulate control points
Add individual control points by clicking directly on the curve. You can add as many control points as you like.
Add three control points to the curve by using the Eyedropper tool to select a color on the Program Monitor.
To raise or lower the output value of the selected range, drag the center control point up or down.
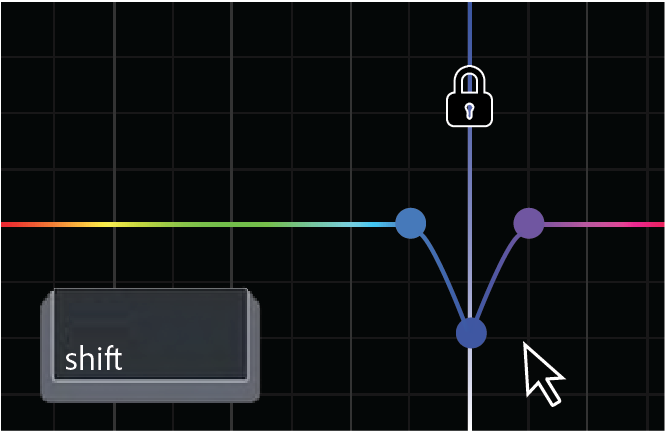
Use the Shift key to lock a control point on the X so it can only move up and down.
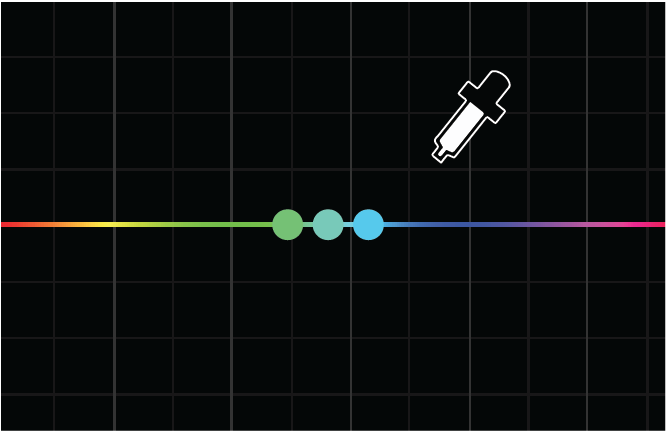
Sample colors
With one of the color curves tabs open, select the Eyedropper tool to sample a color in the Program Monitor. Three control points are automatically placed on the curve.
- The center point corresponds to the color you selected.
- For the Hue curves, the value for the selected pixel is the Hue.
- For the Luma and Sat curves, the selected pixel corresponds to the Luma and Sat values.
By default, the Eyedropper samples a 5 x 5 pixel area and averages the selected color. Press the command (macOS) or Ctrl (Windows) keys while using the Eyedropper to sample a larger 10 x 10 pixel area.
How Premiere handles Hue Saturation curve adjustments
Premiere processes effects that are applied before the current Lumetri effect before sampling the color.
- If the effect applied earlier affects the color, the changed color is sampled.
- Effects applied after the current Lumetri effect are not considered when sampling the color.
- The Lumetri Color panel processes from top down. Basic, Creative, and RGB Curves are processed before feeding into the Hue Saturations Curves.
- Lumetri sections that come after curves (Color Wheels, HSL Secondaries, Vignette) are not considered when sampling the color.
- The Hue Saturation Curves process in parallel. All the curves sample the color value at the time it feeds into the Hue Saturation Curves section.
An example to illustrate this behavior
Use the Hue vs Hue curve to change a green color into blue. Now, use the Hue vs Luma curve to sample the resulting blue color. Premiere adds the control points to the green section of the curve - the original color - not blue.
If you want to ignore the Hue vs Hue change while editing the Hue vs Luma curve, deselect the check box above the Hue vs Hue curve.
Usage examples
Hue vs Sat

This curve lets you selectively edit the saturation of any hue within an image. In this example, this curve has been used to increase the saturation levels of the image making the girl look less pale. The saturation of the blue sky and the light has also been increased to make the image as a whole look warmer.
Hue vs Hue

This curve allows you to change a hue to another hue. In the above example, this color curve has been used to change the hue of the girl's dress.
You can also use this curve to quickly make minor but dramatic adjustments to color. For example, you can select yellowing leaves on foliage and change them to green to make the foliage look more healthy.
Hue vs Luma

This curve lets you increase or decrease the lightness of specific colors. In the above example, the pale blue sky and its reflection in the water below has been darkened to add more drama to the image.
Note
Adobe recommends using this curve with high-quality footage, as this can reveal pixelation or artifacts (if the original image quality is not good).


This curve lets you selectively manipulate image saturation. In the above example, this curve is used for desaturating only the oversaturated blue wall without affecting the similar less-saturated picture of the dolphin in a similar blue color.
Another great use of this curve is for ensuring broadcast legal saturation levels by desaturating everything above 75% saturation.
Keyboard shortcuts for Curves
|
|
macOS |
Windows |
|
Remove a single control point |
command + Click |
Ctrl + Click |
|
Remove all control points |
Double-click |
Double-click |

Craft the perfect story with Premiere
Find the best-in-class video-editing tools all in one place.