Select the object on the canvas that you want to modify.
- What’s new
-
Get started
-
Learn the basics
- Illustrator on desktop technical requirements
- Supported file formats
- Homescreen overview
- Show or hide the homescreen
- Workspace overview
- Modify workspaces
- Manage workspaces
- Switch between the workspace and the homescreen
- Properties panel overview
- Set properties with precise values
- Control panel overview
- Contextual Task Bar overview
- Discover panel overview
- Learn faster with the Discover panel
-
App preferences and settings
- Set app preferences
- Customize keyboard shortcuts
- Find custom keyboard shortcut files
- Export keyboard shortcuts list as a text document
- Delete keyboard shortcuts
- Built-in accessibility features of Adobe Illustrator
- Create accessible content in Adobe Illustrator
- Set up screen reader support
- MacBook Pro Touch Bar in Illustrator overview
- Illustrator controls and contextual operations in MacBook Pro Touch Bar
- Use Microsoft surface dial in Illustrator
-
Learn the basics
-
Add and import files
-
Start new files
- Create documents using presets
- Create and save custom document presets
- New Document dialog overview
- Create documents using blank templates
- Create files with large canvases
- Create documents using templates from Adobe Stock
- Rotate canvas view
- Organize, share, and collaborate using Projects
- Access projects in the Illustrator workspace and other apps
- Find and edit Adobe Express templates
- Import from other apps
- Import other file types
-
Start new files
-
Use generative AI
- Common questions about generative AI features in Illustrator
- Generate similar variations without text prompts
- Generate scenes, subjects, and icons
- Partner models in Adobe Illustrator
- Use Auto Select
- Generate patterns
- Manage pattern variations
- Edit generated patterns
- Generate shape fills
- Scenarios with repeat shape fill generation
- Recolor artwork with text prompts
- Generate vector graphics to expand artwork
- Options to expand the expanded artwork
- Generate print bleed
- View 2D objects from new angles
- Scenarios with linked variations
- Manage generated variations
-
Create and manage artboards
- Add and edit artboards
- Organize and manage artboards
-
Manage objects
- Select objects
-
Arrange objects
- Move objects
- Move multiple objects at once
- Move objects by specific distances
- Move or duplicate an object by pasting
- Paste an object relative to other objects
- Align or distribute selected objects
- Distribute objects by specific distances
- Rotate objects
- Expand objects
- Rotate multiple objects individually
- Rotate objects by specific angles
- Reflect or flip objects
- Reflect objects along an axis
-
Edit objects
- Divide or split objects
- Cut objects with the Knife tool
- Duplicate objects
- Create duplicate objects using Offset Path
- Edit similar objects
- Edit groups with similar objects
- About clipping masks
- Create clipping masks
- Edit clipping masks
- Add, remove, or release objects from clipping masks
- Hide parts of objects with clipping masks
-
Reshape and transform objects
- Pathfinder panel overview
- Edit areas of overlapping objects with Pathfinder
- Create compound shapes with Pathfinder
- Transform objects
- Transform panel overview
- Scale objects
- Scale multiple objects
- Distort object
- Distort objects with envelopes
- Edit the contents of envelopes
- Envelope panel options
- Shear objects
- Intertwine objects
- About perspective drawing
- Draw objects in perspective
- Perspective grid options
- Define and manage perspective grid preset
- Move the perspective grid and adjust its vanishing points
- Adjust grid cell size and grid extent
- Adjust horizon heights and grid planes
- Adjust the perspective grid and the active plane widget
-
Create traces, mockups, and symbols
- Convert images to vector graphics
- Image Trace panel options
- Edit image trace results
- Save image trace presets
- Edit mockups
- Create mockups for images
- Save mockups as templates
- Create and place symbols
- Symbols panel options
- Edit symbols
- Create or import symbol libraries
- Maintain proportions while scaling symbols
- Transform symbols
-
Measure and align
- Use grids and guides
- Plot and measure
-
Paint and fill
-
Learn painting basics
- About fills and strokes
- Fill and stroke controls
- Apply fill colors
- Apply stroke colors
- Create multiple fills and strokes
- Convert strokes to compound paths
- Remove fills or strokes
- Select objects with same fill and stroke
- Paint tools overview
- Paint with the Live Paint Bucket tool
- Live Paint Bucket tool options
- Create Live Paint groups
- Isolate Live Paint groups
- Merge paths using the Blob Brush tool
- Blob brush options and best practices
- About Live Paint
- Find and close gaps in Live Paint groups
- Expand and release Live Paint groups
- Resize objects or paths within Live Paint groups
- Select faces, edges, and paths in Live Paint groups
- Add paths to a Live Paint group
- Live Paint limitations
-
Apply and edit strokes
- About brushes
- Brushes panel overview
- Draw paths with brush strokes
- Apply brush strokes to paths
- Remove brush strokes
- Customize arrowheads
- Add arrowheads to paths
- Paintbrush tool options
- Create brush libraries
- Import brushes
- Create brushes
- Create dotted or dashed lines
- Modify brushes
- Change the caps or joins of a line
- Convert brush strokes to outlines
- Create and edit gradients
- Create and edit meshes
- Create and edit patterns
-
Learn painting basics
-
Manage colors
- Learn color basics
-
Select and adjust colors
- About selecting colors
- Color Picker overview
- Select colors using the Color Picker
- Color panel options
- Select colors using the Color panel
- Convert color modes
- Make colors printable or web safe
- Change colors to their inverse or complement
- Get precise spot colors using lab values
- Adjust saturation of multiple colors
- Adjust color balance
- Blend colors
- Change color tints
-
Use swatches
- About Swatches
- Swatches panel overview
- Add colors to swatches
- Create swatches from the Color Guide panel
- Create process color swatches
- Create spot-color swatches
- Create gradient swatches
- Reorder swatches
- Duplicate swatches
- Replace, merge, or delete swatches
- Group swatches
- Move colors into swatch groups
- Create and open swatch libraries
- Edit swatch libraries
- Move swatches from swatch libraries to the swatches panel
- Share swatches between applications
-
Modify colors
- Recolor artwork
- Recolor options overview
- Edit colors using Edit Colors dialog
- Modify colors in swatch groups
- Apply local or global changes to color properties
- Assign new colors to selected artworks
- View original colors in artworks
- Limit colors in artworks
- Color reduction options
- Edit swatch groups using the color wheel
- Add or remove colors from swatch groups
- Edit an individual color in color groups
- Delete swatch groups
-
Apply transparency and blending
- Transparency panel overview
- Adjust opacity
- Opacity mask overview
- Adjust transparency using opacity masks
- Clip and invert opacity masks
- Deactivate, reactivate, or remove opacity masks
- Create knockout shapes
- Create transparency knockout groups
- View transparency in the artwork
- Blended objects overview
- Blending mode types
- Change and manage blending modes
- Create blends
- Blend Options overview
- Modify the spine of blended objects
- Reverse the stacking order in blended objects
- Release or expand blended objects
-
Manage layers
- Create and organize layers
- Lock and hide layers
- Apply and modify layer effects
-
Design with text
- Edit and format text
- Work with fonts and scripts
-
Apply special effects and styles
- Apply filter effects
- Create 3D graphics
- Apply graphic styles
- Automate and visualize data
- Troubleshoot
-
Save and export
- Export files to different formats
- Export to other apps
Set properties with precise values
Learn how to make precise adjustments in Adobe Illustrator by entering numeric values directly, in specific increments, and as basic math expressions in panels and dialog boxes.
When working in Illustrator, instead of relying only on on-canvas adjustments, you can enter numeric values for those properties to create and modify artwork with accuracy. In all the panels and dialog boxes that accept numeric property values, you can use the same methods to enter values.
Enter values directly in supported measurement units
In the value field of the panel or dialog box, type the value in the default measurement unit or another supported unit:
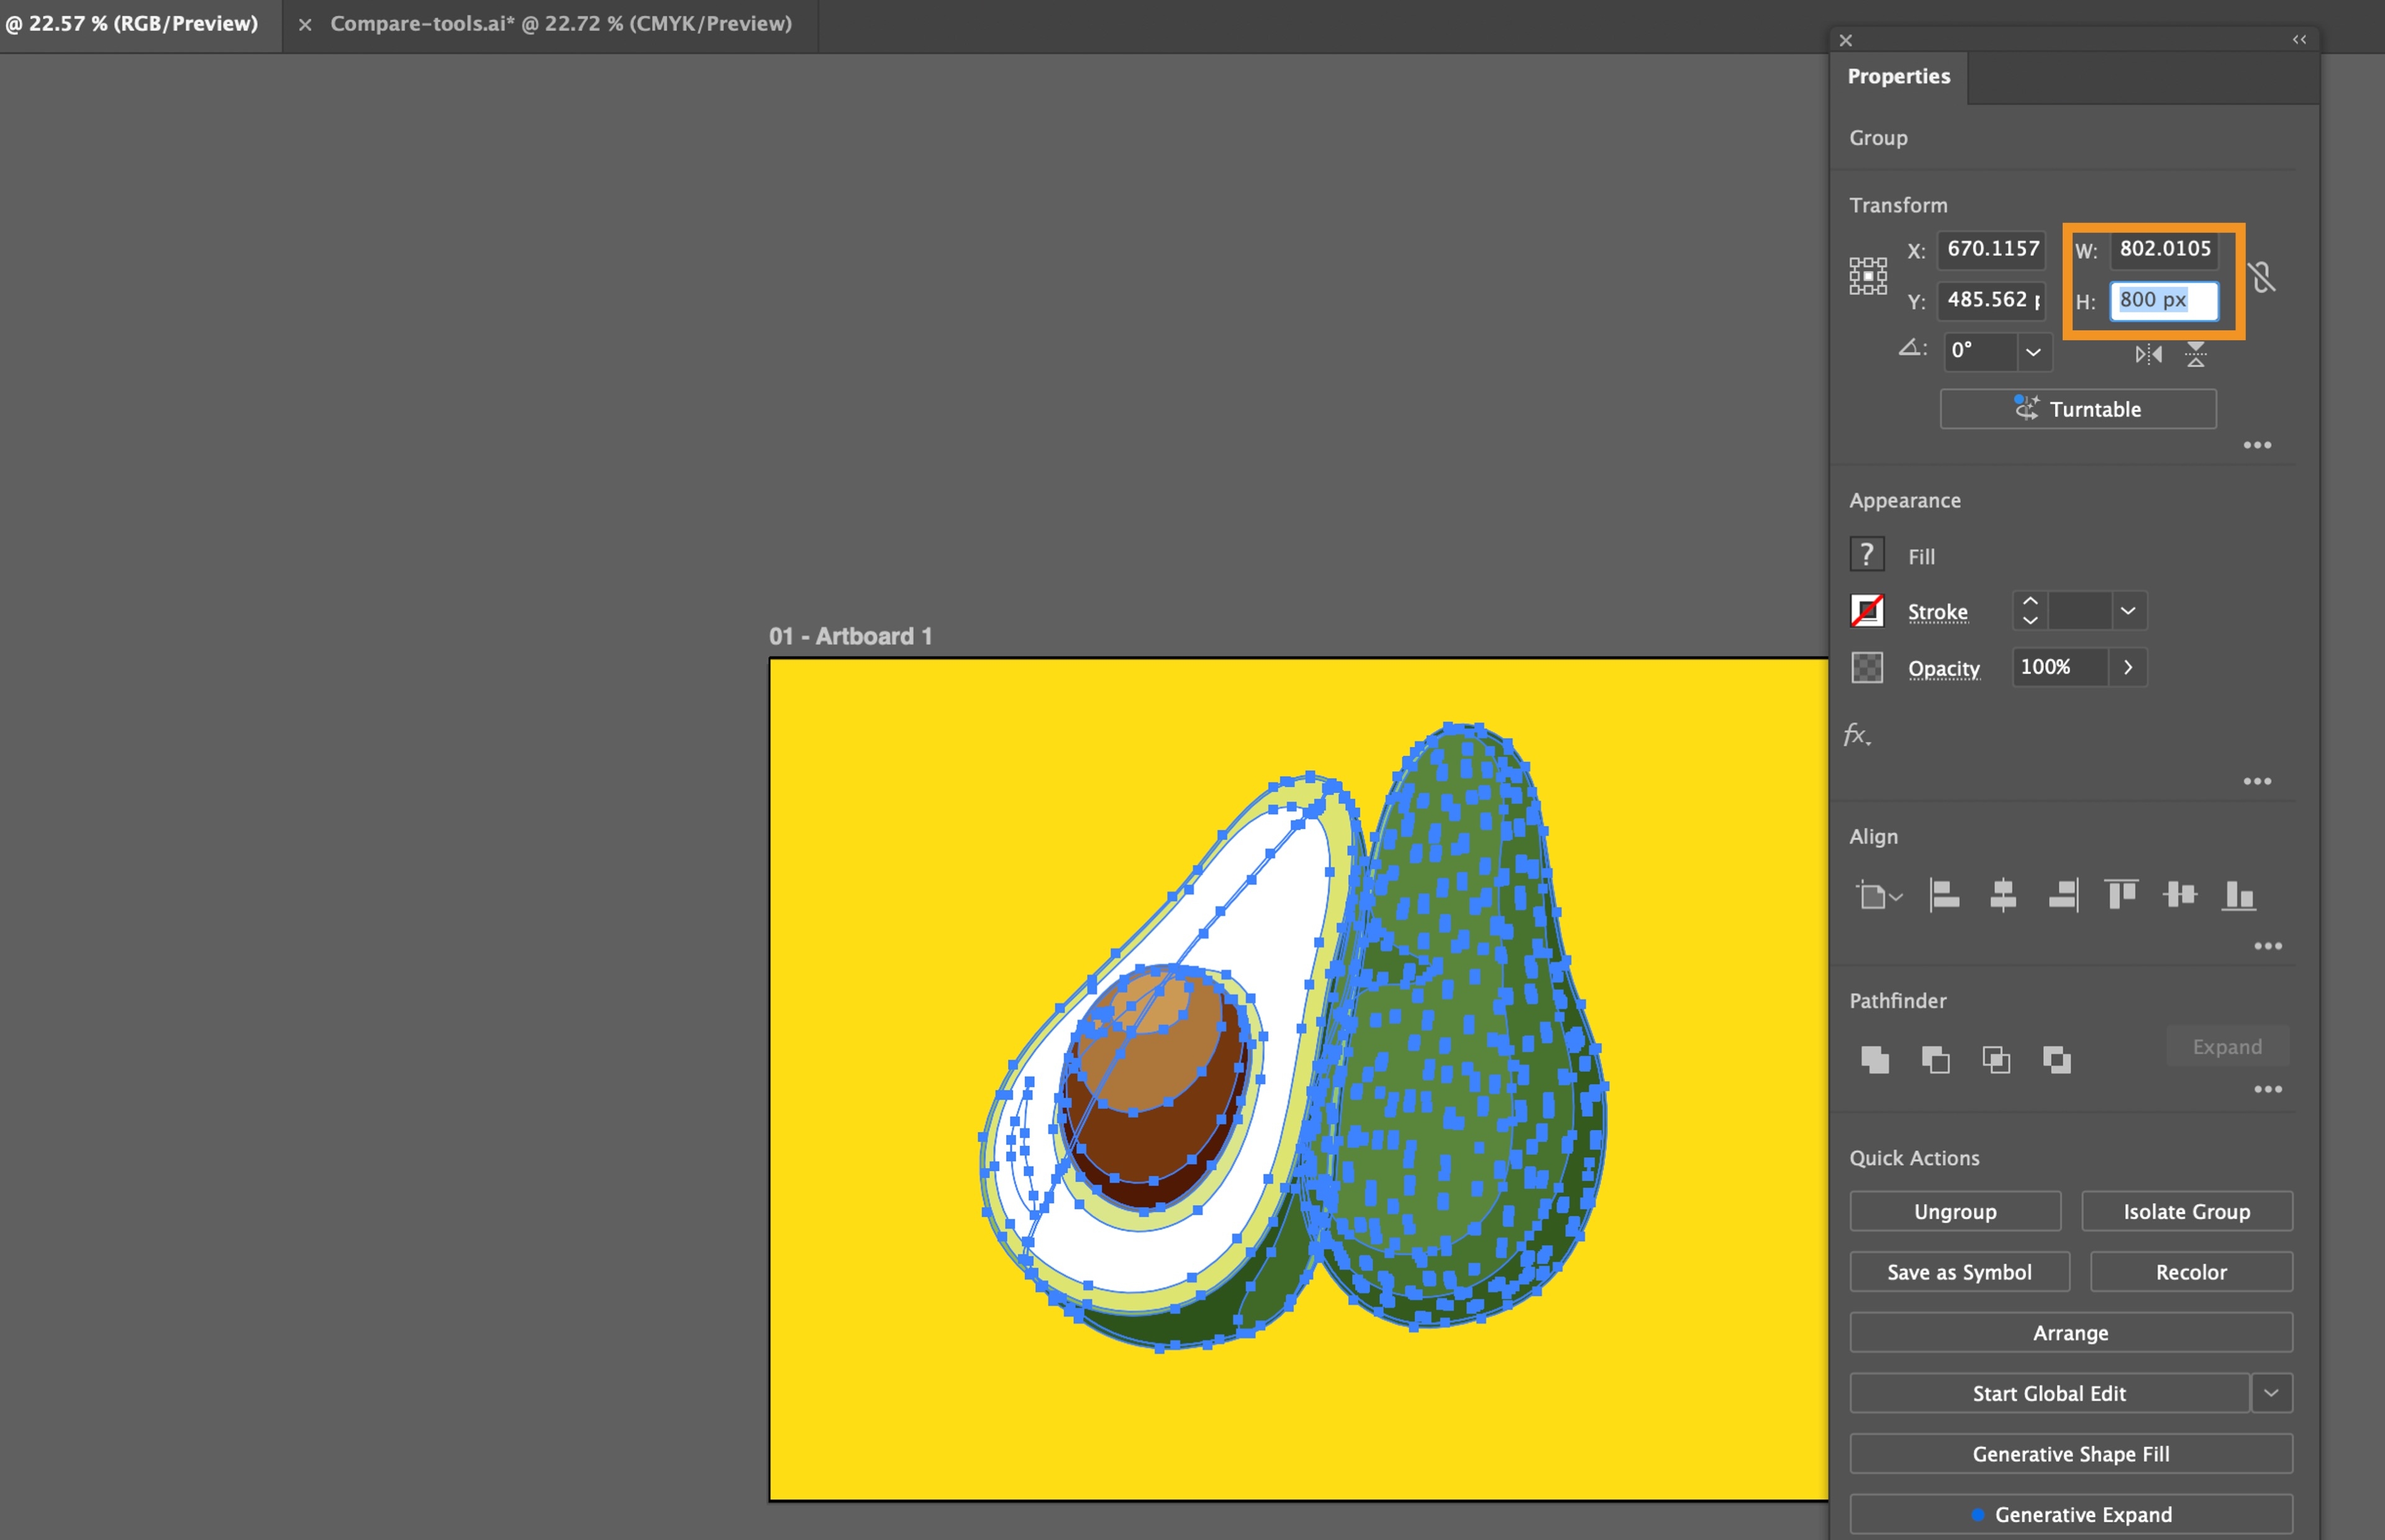
- Default unit: Delete any existing value and type the required value. Even if you delete the default unit, Illustrator automatically adds the default unit after you enter the value.
- Another unit: Delete any existing value and the default unit. Then, type the required value followed by the unit abbreviation without space. For example, type 5in for 5 inches, 10mm for 10 millimeters, or 25pt for 25 points. Illustrator converts the unit to the default unit and shows it.
Press Enter to apply the value.
Adjust values in specific increments
Select the object on the canvas that you want to modify.
Click in the value field of the panel or dialog box where you want to adjust the value.
Press the Up or Down arrow key to increase or decrease the current value by 1 unit.
Hold down Shift while pressing the arrow keys to adjust by larger increments, typically 10 units.
Hold down Cmd (macOS) or Ctrl (Windows) while pressing the arrow keys to adjust by fractional increments. This option may not work for some fields, especially those in percentage values.
Press Enter to apply the value.
Enter values as basic math expressions
Select the object on the canvas that you want to modify.
In the value field of the panel or dialog box, do one of the following:
- To replace the entire current value with a math expression, select the entire value.
- To use the current value as part of your math expression, click before or after it.
Type a simple math expression using +, -, *, / or %.
For example:
- Typing 50+10 gives 60
- Typing 100*0.5 gives 50
- Typing 3cm*50% gives 1.50 cm
- Typing 50pt+25% gives 62.5 pt
Press Enter to perform the calculation and apply the value.