Learn how to use RGB Curves to make quick and precise color adjustments to achieve natural-looking results.
Curves feature allows you to make quick and precise color adjustments using two types of curves—RGB Curves and Hue Saturation Curves.
RGB Curves
You can edit curves using two approaches:
- Using the RGB Curves available in the Lumetri Color panel.
- Using the RGB Curves effect available in the Effect Controls panel.

A. Curves settings that you can adjust in the Effect Controls panel B. Curves settings that you can adjust in the Lumetri Color panel
Adjust luma and tonal ranges using control points
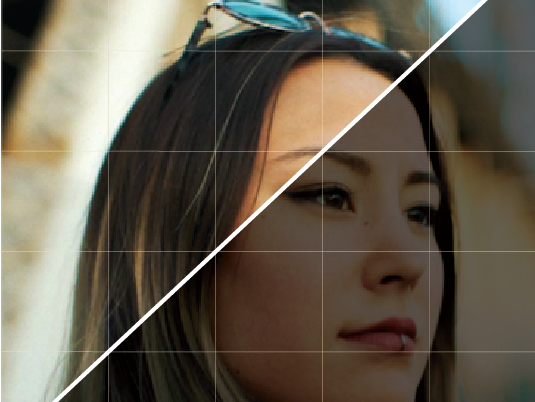
RGB Curves let you adjust luma and tonal ranges across the clip using curves. The master curve controls the Luma. Initially, the master curve is represented as a straight white diagonal line. Adjusting the master curve adjusts the values of all three RGB channels simultaneously.

Some common ways you can manipulate control points
To add highlights, drag a control point to the upper-right area of the line. To add shadows, drag a control point to the lower-left area.
Selectively adjust tonal values for RGB channels. To adjust different tonal areas, add control points directly to the curve.

To lighten or darken the tonal area, drag a control point up or down. To increase or decrease the contrast, drag a control point left or right.
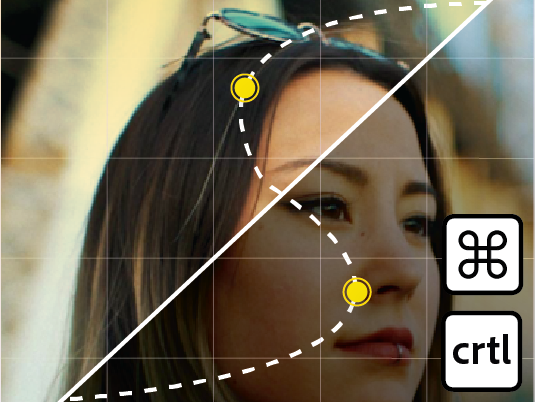
To delete a control point, press Ctrl (Windows) or command (macOS) and select the control point.

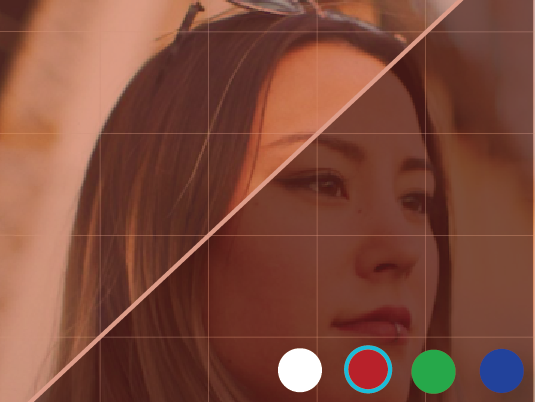
You can add warm tones to a video clip using the RGB Curves. In this example, the white and red lines are used to increase the warm tones in the clip. The blue and green lines are used to decrease the presence of blues and greens in the clip. A reddish tint is added to the clip, making it appear warmer.
Add natural-looking contrast using S curves

You can edit an image's contrast using RGB Curves. In this example, an S curve enhances the contrast, making the guy look less pale. The blue color of the sky also appears brighter.

Craft the perfect story with Premiere
Find the best-in-class video-editing tools all in one place.