Select items for removal.
With the Object Selection tool, click anywhere within the bandmate on the left. Now hold the Shift key and click the bandmate on the right. You should see a selection border around each.
Select items for removal.
With the Object Selection tool, click anywhere within the bandmate on the left. Now hold the Shift key and click the bandmate on the right. You should see a selection border around each.

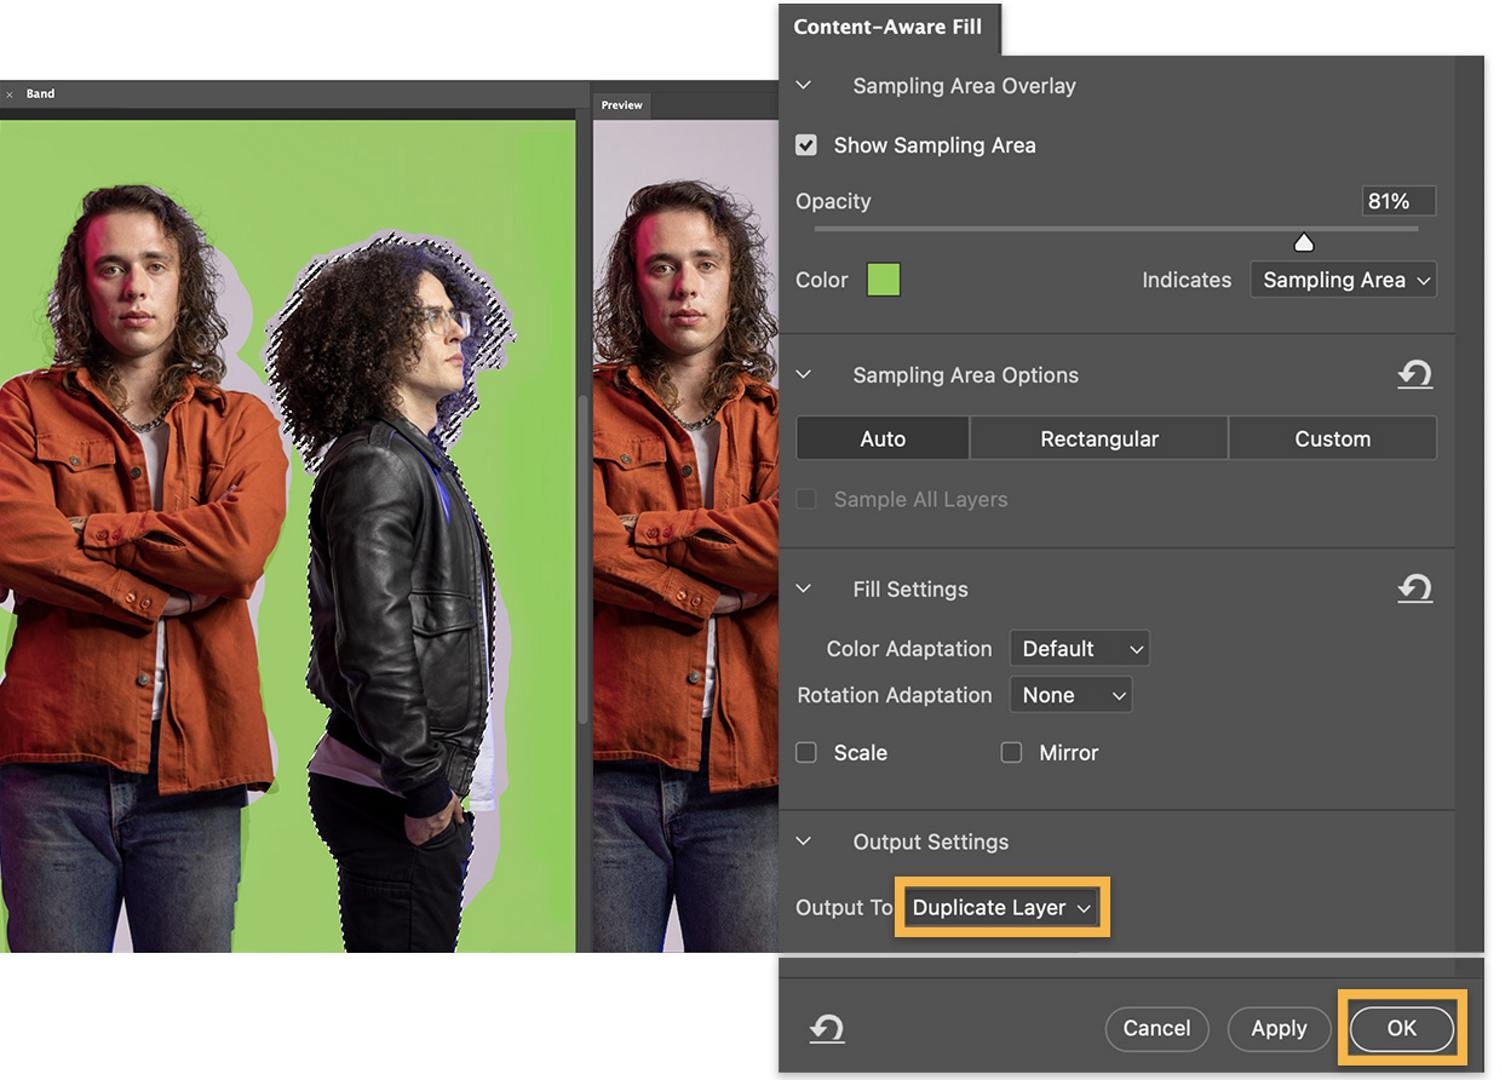
Set up the disappearing act.
Choose Edit > Content-Aware Fill to see the areas that will be sampled from to fill in the spaces left when the unwanted objects are removed.
If there are areas that you don’t want sampled, like parts of the lead singer’s jacket, use the Sampling Brush tool and “Subtract from overlay area” to brush over those parts.
Note: If this is your first time using Content-Aware Fill, you may see a pop-up about the Sampling Brush tool. Just click OK and continue with these steps.

Let them go.
In the Content-Aware Fill panel, make sure your Output is set to Duplicate Layer to preserve your original, and click OK.
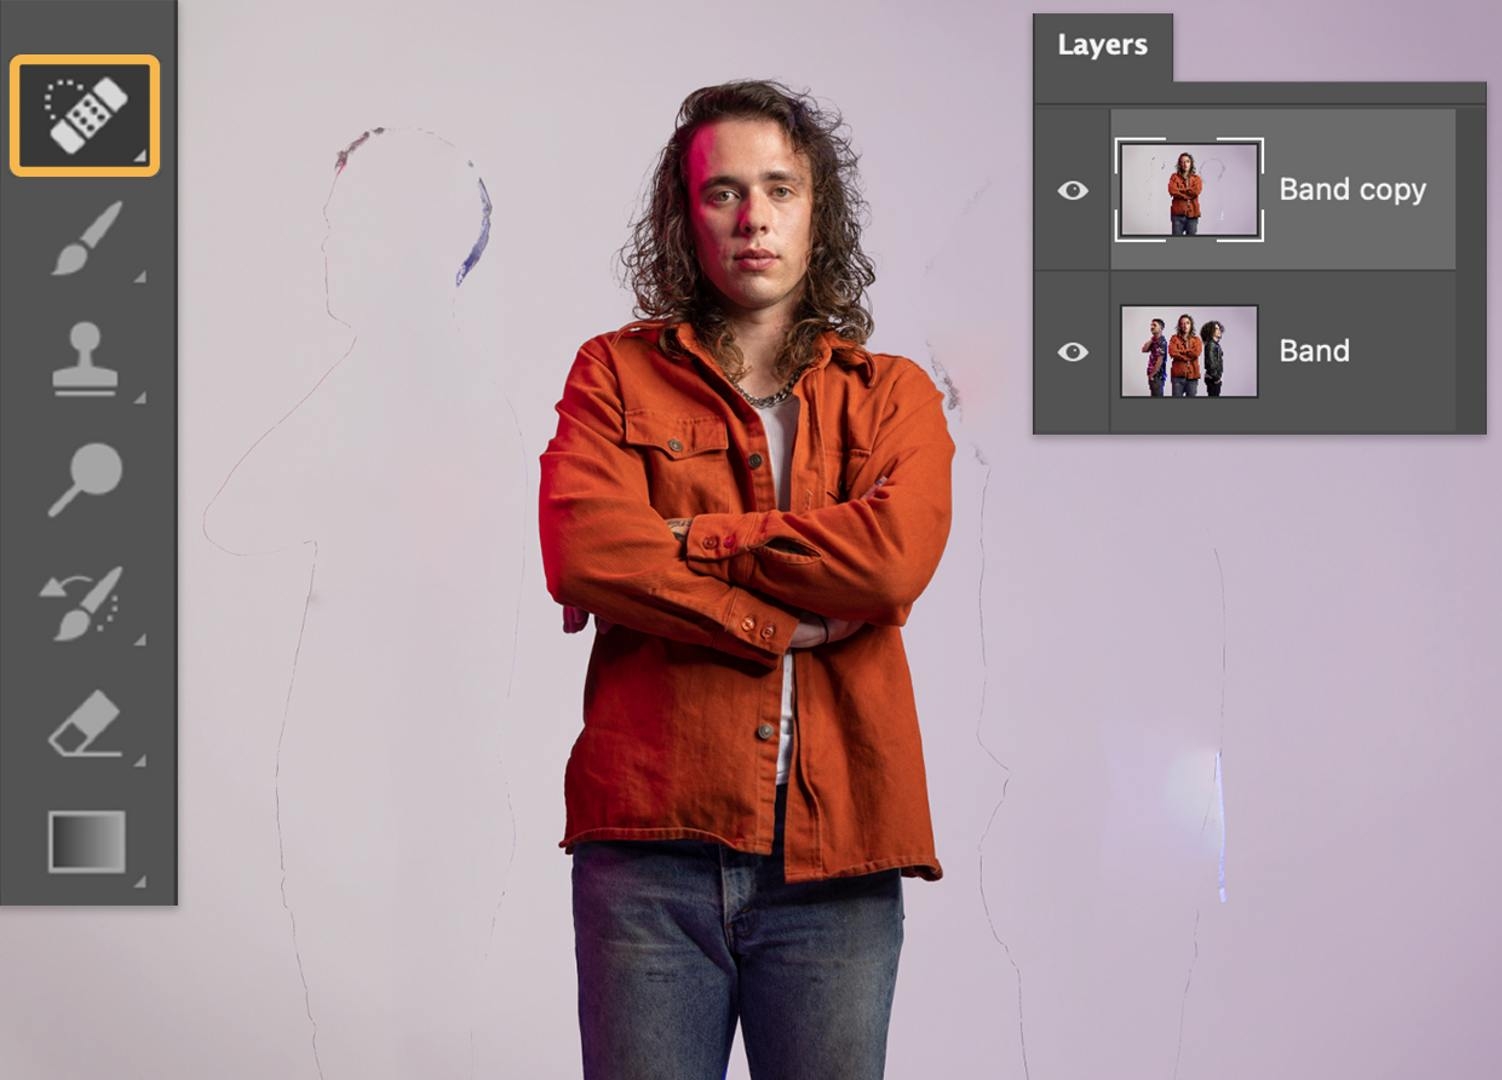
Clean up your act.
Right-click anywhere within the image and choose Deselect to uncouple from the selection you made earlier. To clean up any lingering traces of the former bandmates, use the Spot Healing Brush tool and drag over those areas.
To use your new image on an album cover, social media, or in other ways, choose File > Export > Export As and modify the settings for the output you need.

Create stunning images with Photoshop
Edit, retouch, and transform photos with the industry-leading creative tools you know and love.