- Substance 3D home
- Welcome to Dimension
- Getting Started
- Activation and licenses
- System requirements
- Accessibility
- Shortcuts
- Glossary
- Viewport navigation
- Supported formats
- Frequently asked questions
- Dimension 4.0
- Interface
- Objects
- Using Dimension
- Features
- Common issues
- Release notes
Learn how to texture your 3D scene using materials from different sources to achieve a photorealistic result.
In Dimension, you edit the look of models with the material and texturing system. The physically based rendering (PBR) system provides photorealistic results.
Materials
Dimension has features for applying, editing, and linking materials in the scene. Dimension's material shading system is based on the Adobe Standard Material (ASM) definition. ASM is used for shaders across Adobe apps to provide consistent high-quality material representation.


Apply materials to objects
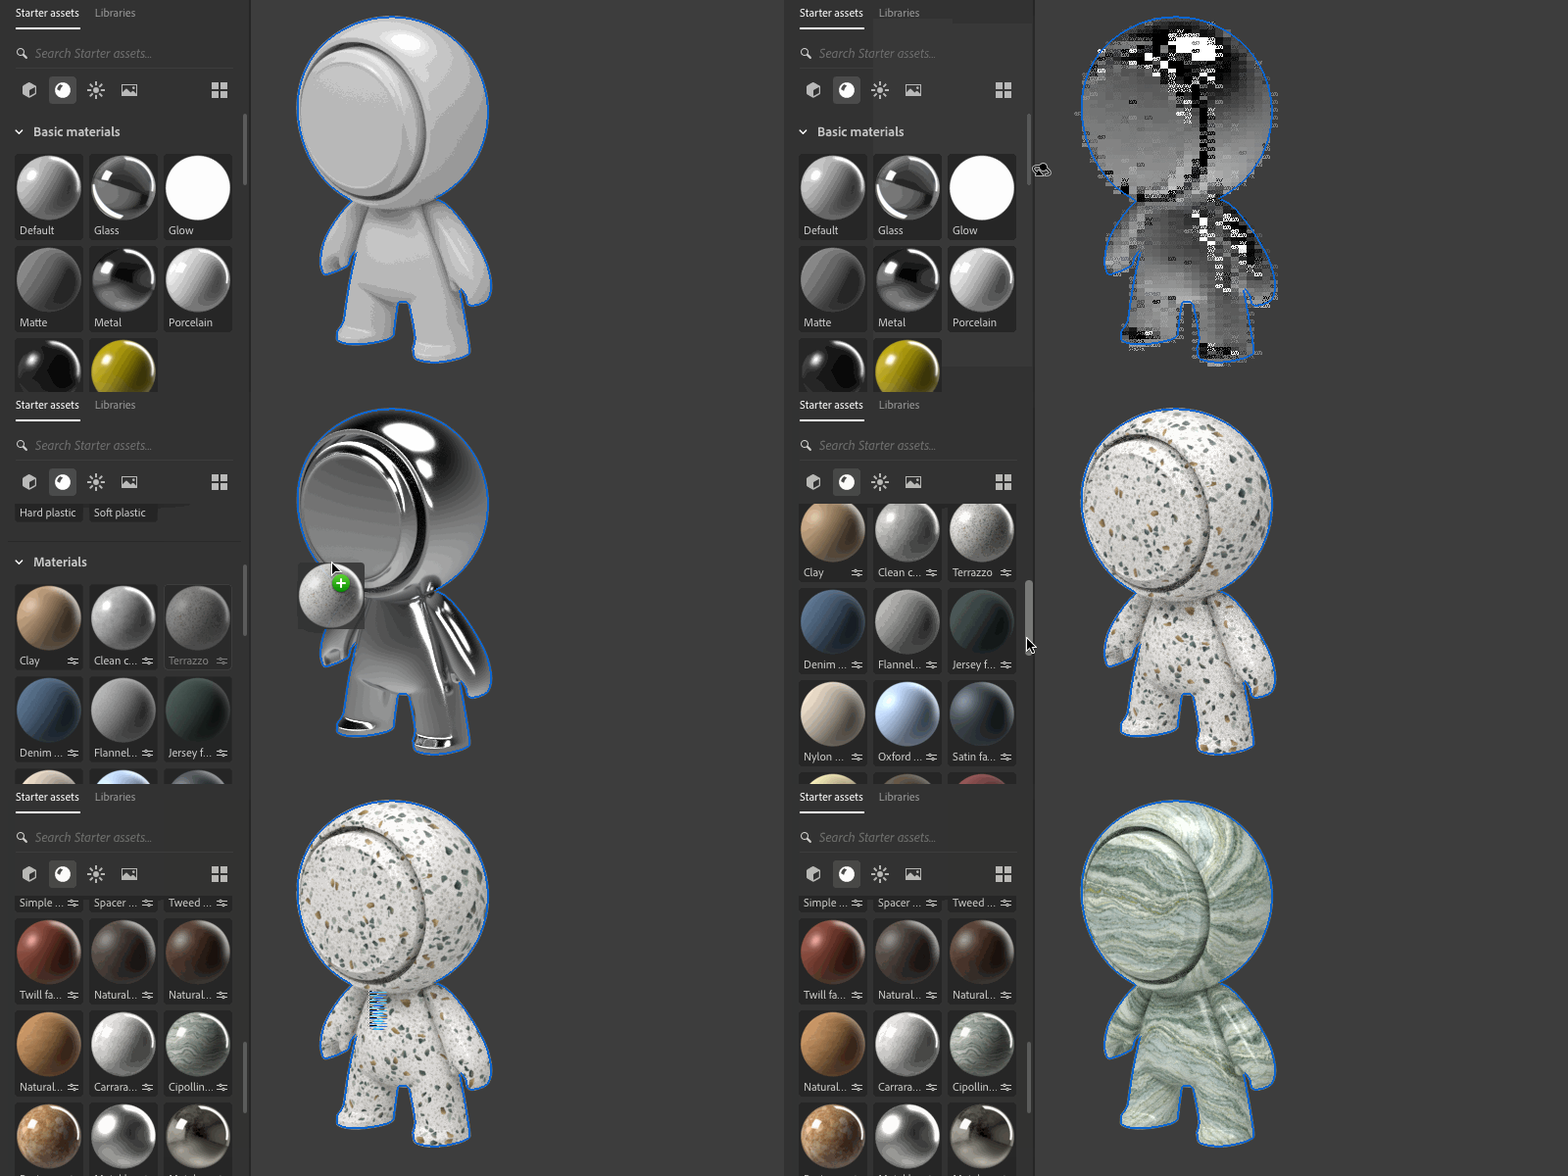
Drag-and-drop materials onto objects to apply them. You can apply materials to single objects or select many objects before applying. Use materials from the starter assets, Creative Cloud Libraries, or import your own.


Edit material properties
Each object displays a list of the materials assigned to it in Properties > Material. Use the material list to select and edit each material.


Non-parametric materials will show the Adobe Standard Material shader properties. You can edit values like color and roughness. Some properties can also use textures to control the values.
Substance materials expose custom properties that are different per-material. These generate textures and values, like color and roughness, which control the shader. Properties controlled by the material are not available for editing.


Reuse materials in a scene
When you apply a material to an object, a new instance of the material is created. When you apply a material to a group of objects, only one new material instance is created and shared across all objects in the group. You can change the material options for each material instance without affecting other instances.
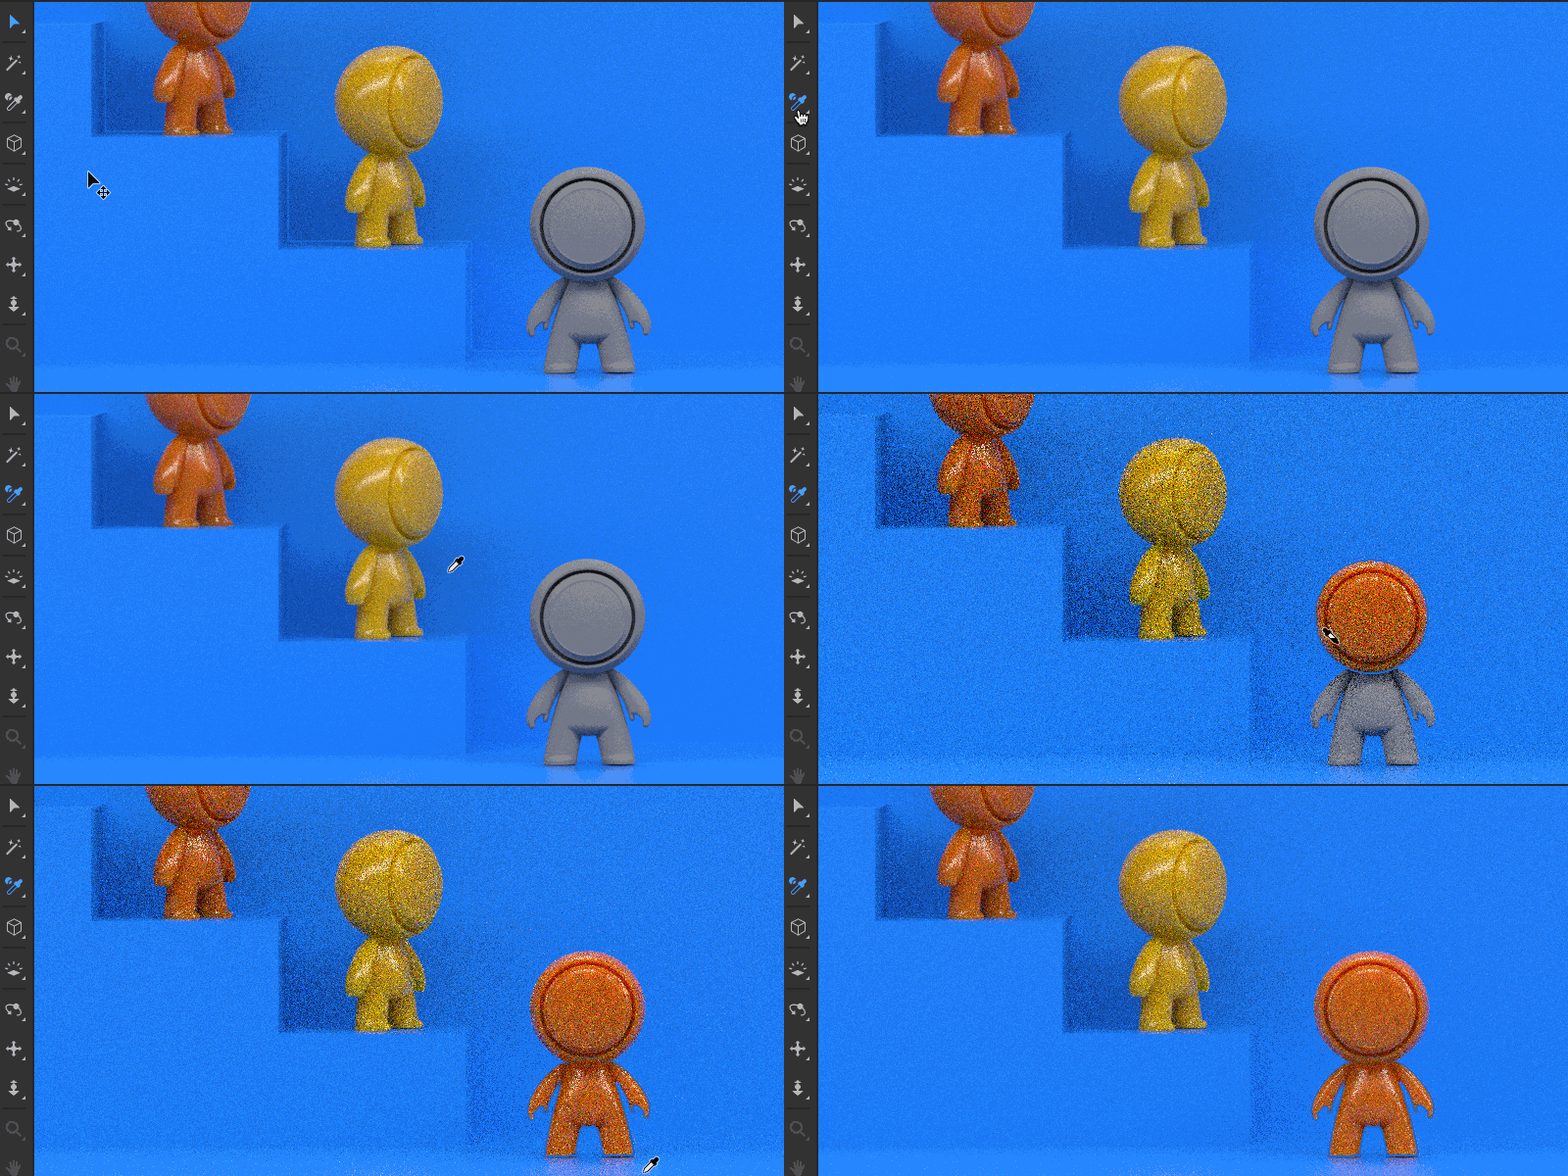
Use the Sampler tool to reuse materials through a scene. First click with the Sampler tool to select a material from the viewport. Then, hold shift and click in the viewport to apply that material to new objects.


Editing materials used on multiple objects will affect all objects using that material. Use unlink material to disconnect a material from other objects.
Import objects with materials
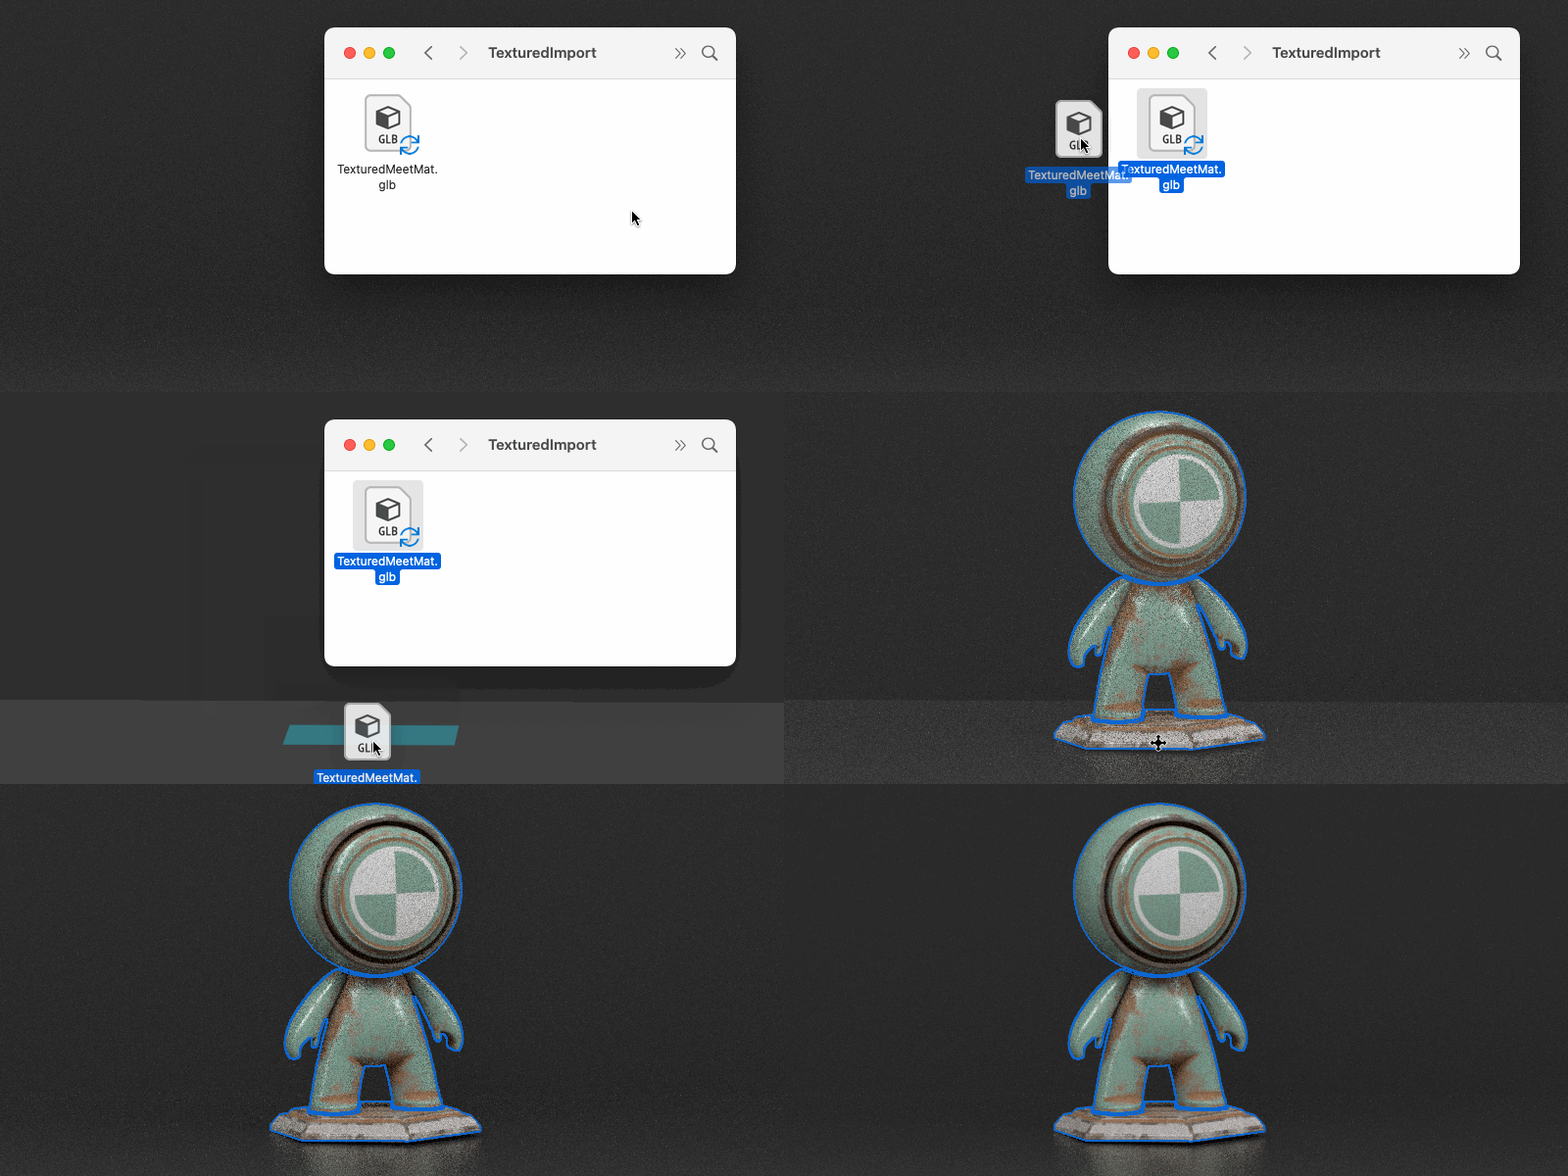
Many models have materials made for them. For model formats that support it, Dimension will import materials and textures at the same time. When importing a model without materials, Dimension will use the default material.


Texturing
Add images as material layers
Dimension allows easy drag-and-drop application of images onto the surface of any model. Images will appear in the material layer stack over the base material and have some material properties of their own. Each layer can be moved and edited independently. Decal mode allows the image placement anywhere on the surface of the model. Fill mode will place the image in UV 0-1 space with tiling and transform controls.
See applying images as material layer documentation.

