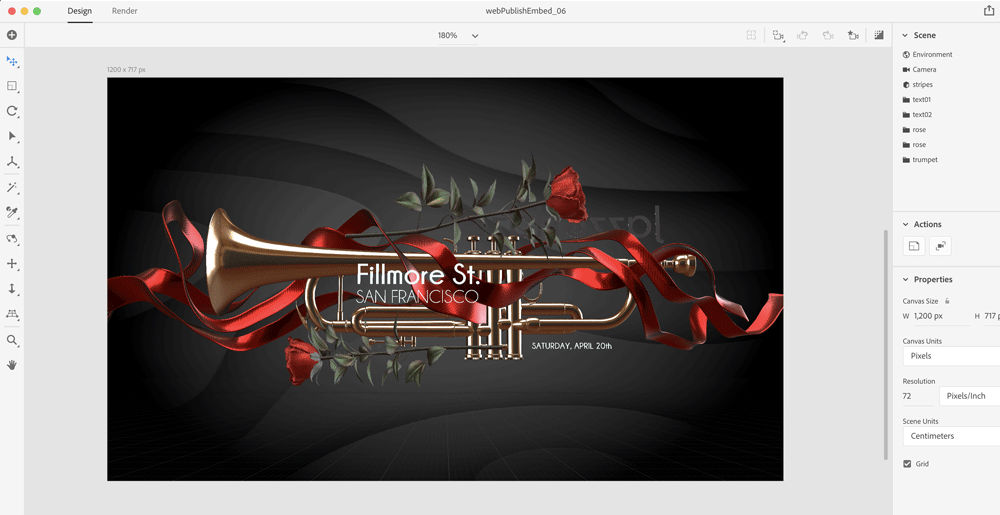
Create a 3D scene
First, create your content. You can upload anything you’ve made in Dimension to the web.
The ability to embed scenes on webpages has been removed from Dimension.
Dimension allows you to easily create high quality 3D scenes which you can use in many ways, including rendering photorealistic images or sending to the web. This article covers how to use the Publish 3D Scene (Beta) feature to easily create a web-friendly, shareable and embeddable 3D scene.


Create a 3D scene
First, create your content. You can upload anything you’ve made in Dimension to the web.


Access the Publish 3D Scene (Beta) feature
Use the File > Export menu or the Share icon in the upper-right corner of the application to select the Publish 3D Scene (Beta) feature.


Name your scene
This can be different from the document name and is visible to the viewers of your shared scene on the web interface.


Create a link
Use the Create Public Link button. Dimension automatically begins converting your file to web-friendly GLB format, uploads the file to your Creative Cloud Assets, and then generates a public link.
After the link is generated, you can copy it directly in-app. The link isn’t shared with anyone automatically, so you can review privately before sharing.


Share for review
With public links you can quickly share without managing access controls. Anyone with the link is able to view, interact with, and comment on your project. Comments are saved and you get an e-mail notification for every activity on your scenes.


During the beta phase, this feature only generates public links and has no additional privacy management. This is actively being worked upon and will be updated in a future release.
To manage your published scenes, use the in-app link in the share menu Manage Published 3D Scenes, or visit Creative Cloud Files on the web and go to the Published tab to find your published scenes. Deleting a scene from this interface will remove it. Any visits using a link which references a deleted scene will direct the user to an error.
Sending your link to people enables them to use the Creative Cloud Files platform to comment on your designs. Currently, viewers must log in with a valid Adobe ID to comment. Guest commenting for those without an Adobe ID is planned for the future.
Design stunning 3D visuals with Dimension
Create photorealistic 3D images for product mockups, branded content, and more.