Switch to the Select tool on the toolbar.
Learn all about the main selection and transformation tools and how you can use them to arrange your objects.


Quick start to moving objects
While there are many ways to move objects that we’ll cover in detail further below, these basics can get you started with a lot of control quickly!
-
-
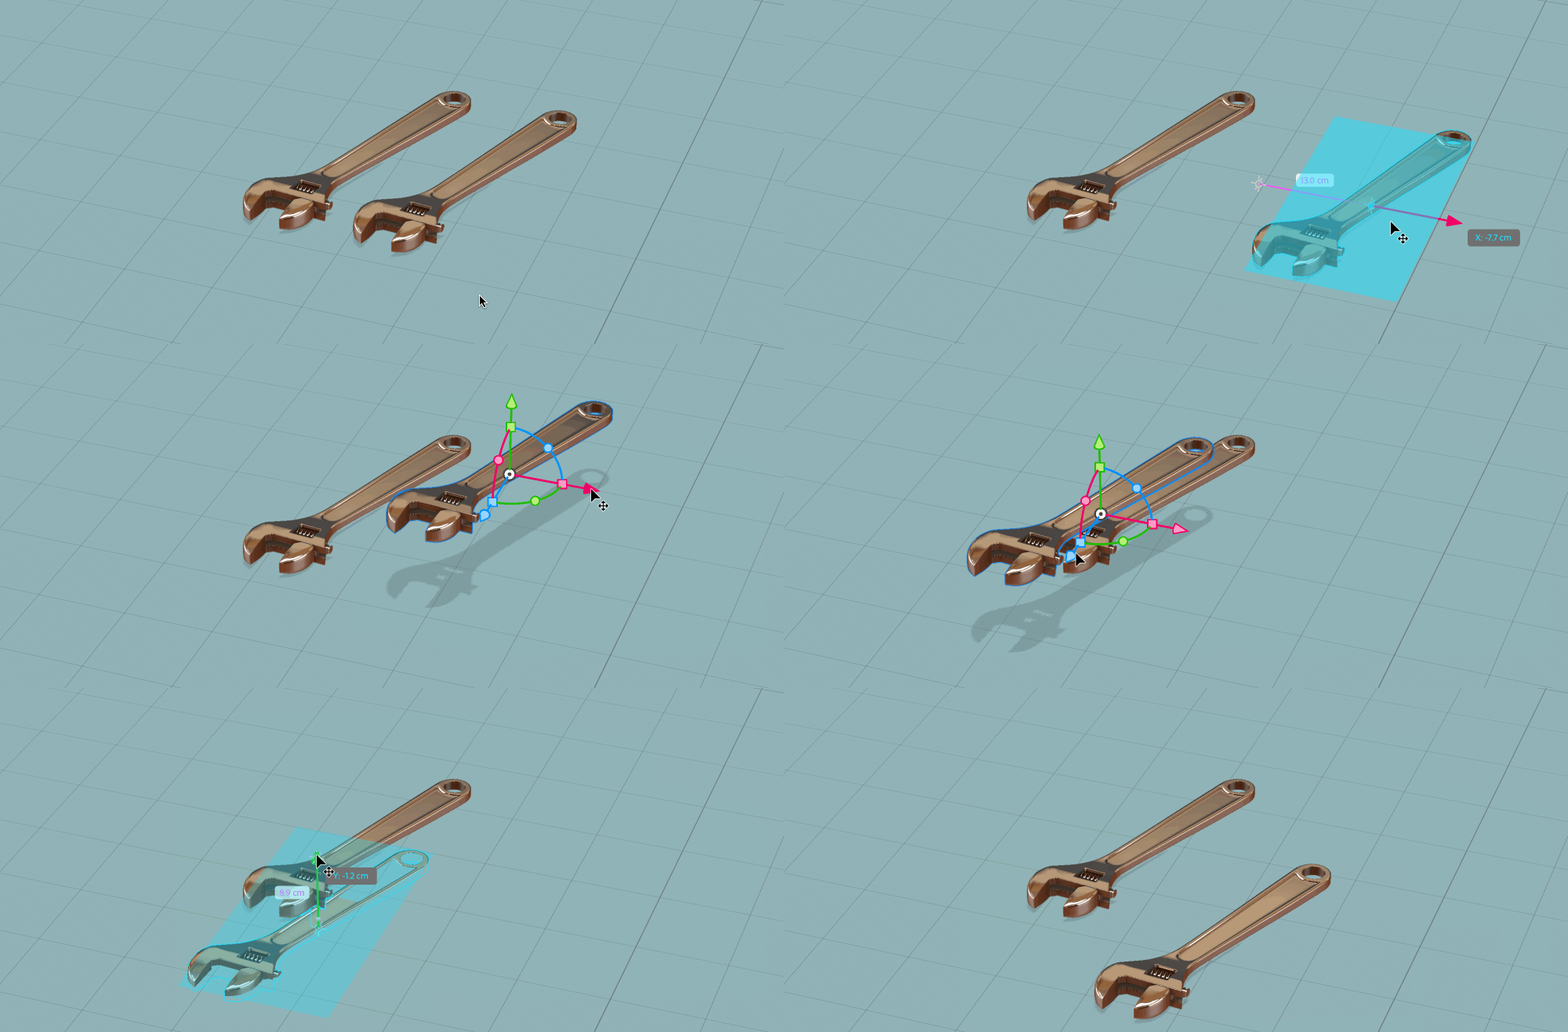
Click on an object in the canvas or scene panel to select it. Selected objects will have a blue outline in the canvas. The Select tool widget will appear in the canvas.
-
Click on the black pivot handle to move objects along any surface.


-
Click on the move (arrow), scale (square), and rotate (circle) handles to make precision movements.


Tools overview
Dimension has four tools for selecting and transforming objects. Activating a tool will allow you to make selection changes in the canvas space. When objects are selected, a widget will appear that allows you to interact with the selections.


All four tools have handles with corresponding functions for moving, scaling, and rotating respectively. The Select Tool includes all three types of transforms but lacks some more specific functionality found in the three other tools.
To interact, click and drag on the handles to do a specific function. Here is an overview of the handles and their behaviors:
- The pivot handle represents the point that transformations will be based off of. For example, when rotating your selection will rotate around the pivot. The default pivot for all objects is bottom center, and you can change the pivot location in the object properties.


- The pivot handle also allows you to move a selection along the surfaces of other objects.


- The pivot handle can also be used to move an object in screen space, parallel to the way your camera is currently looking at the object. Hold Control while clicking and dragging on the pivot to activate screen space movement.


- Move handles, represented by arrows, allow you to move your selection in the direction the arrow is facing.


- Scale handles, represented by squares, allow you to stretch and scale your objects along the line the handle is placed on. Hold shift while scaling to scale uniformly in all directions.


- Rotate handles, represented by circles, allow you to rotate your objects in the direction of the line the handle is placed on. By default rotation will move in increments of 1 degree. Hold Shift while rotating to snap rotation to increments of 5 degrees. Hold Command/Control while rotating to turn off rotation snapping and get decimal precision.


Select tool
Default Shortcut: V
This tool includes handles for moving, rotating, and scaling in the primary X, Y and Z axes. It also includes the pivot handle for moving along a surface or in screen space. This is the most versatile tool for the general arrangement of objects.
Select and Move tool
Default Shortcut: M
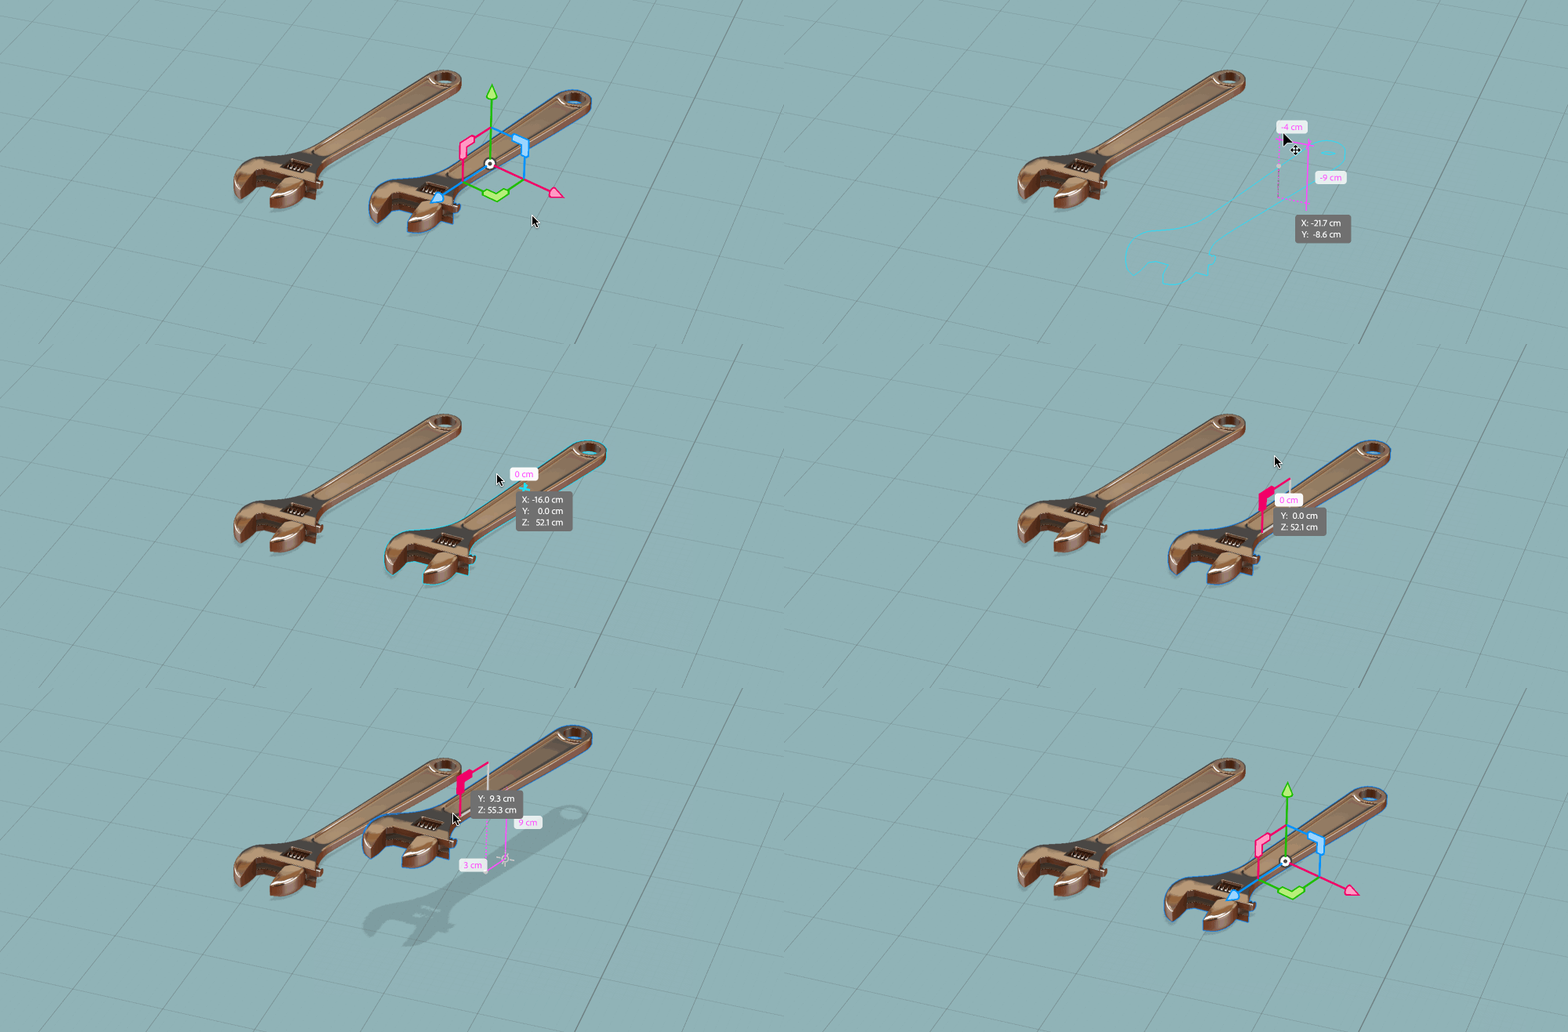
This tool only has functions related to movement. In addition to the move handles for the primary X, Y and Z axes, it also includes Planar Movement handles, represented by chevrons, which allow you to move the object in two directions at once. This can be useful for sliding objects along walls and floors.


Select and Scale tool
Default Shortcut: S
This tool only has functions related to scaling. In addition to the scale handles for the primary X, Y and Z axes, it also includes Planar Scaling handles, represented by tubes, which allow you to scale the object in two axes at once. For example, this can be useful for adjusting the width and depth of an object while maintaining its height.


Select and Rotate tool
Default Shortcut: R
This tool only has functions related to rotation. In addition to the rotate handles for the primary X, Y and Z axes, it also includes Free Rotate behavior, which allows you to rotate the object in all axes at once. This can be useful for quickly rotating objects without the need for numerical precision. You can access free rotate by clicking and dragging on the object itself, not on a handle, while the Select and Rotate tool is active.


Introduction to 3D coordinates: X, Y, and Z
In 2D design applications you work with the coordinate system X (horizontal) and Y (vertical). 3D is the same, but you add another dimension: Z (depth). These coordinates are used in many ways in Dimension and can help you stay oriented and work with precision. With many of the interactive widgets and decorations these axes are represented by colors. Red for X, green for Y, and blue for Z. This coloring helps you visually distinguish directions without reading labels.


Ground plane
When you start a new Dimension document, the first thing you’ll see is a perspective grid. This grid represents the ground plane in the scene. Another way to think of it is the floor of your virtual space. The grid lines run along the X (horizontal) and Z (depth) axes and can help you orient yourself in 3D space.
Axis indicator
In the bottom-left corner of the canvas you’ll find the Axis indicator. Similar to the ground plane, this has lines that run in X (horizontal), Z (depth), and Y (vertical) axes. This indicator is always visible on the canvas, so even if your camera isn’t looking at the ground, it can help you keep track of your directions.
Properties panel
Whenever a 3D object is selected, the contextual properties panel will display coordinate information for its current position. The properties panel always displays in “world” coordinates, meaning it’s the absolute position relative to the origin. A position of 0X, 0Y, 0Z also known as “0-0-0” is considered the origin of the scene. For example, value of 1Y would be one unit above the floor. A value of -1Y would be one unit below the floor.
Transform tools & orientation
The four Select & Transform tools also show axes indicators for X (red), Y (green), and Z (blue). An important distinction is that the tools are by default aligned to the object. If you rotate your object, you’ll notice that the Y Handle (green for up) is oriented along the “up” axis of the object, not the “up” axis of the ground plane or scene.
You can change the orientation of the gizmo to be aligned with the object or with the scene by toggling the Align to Scene tool option. The default shortcut for toggling this tool option is Q.
Selection shortcuts
You can make selections in the canvas with any of the four Transform tools. Here are some helpful tips for making quick selections of 3D objects.
Single select
Discards the current selected objects and selects the new target object.


Marquee select
Click and drag in the canvas to draw a selection area. Any objects that overlap with the marquee will be selected.


Toggle and multiple select
Holding shift will toggle the state of any selected object and add or remove it to your active selection. For example, Shift Click on an unselected object will select it. Shift Click on a selected object will unselect it.


Direct select
Holding Cmd (Mac) or Ctrl (Win) will toggle Direct Select mode. While the direct select mode is on selection will ignore grouping in the scene panel and only select the object that is directly below the cursor.
While the direct select mode is off selection will include any objects in the same group as the object directly below the cursor.


