Select the layer in the Layers panel.
Last updated on
Oct 1, 2025
About opacity and blending options in layers
A layer’s opacity determines the degree to which it obscures or reveals the layer beneath it. A layer with 1% opacity is nearly transparent, while a layer with 100% opacity is opaque. Transparent areas remain transparent regardless of the opacity setting.
You use layer blending modes to determine how a layer blends with the pixels in layers beneath it. Using blending modes, you can create various special effects.
A layer’s opacity and blending mode interact with the opacity and blending mode of painting tools. For example, a layer uses Dissolve mode at 50% opacity. You paint on this layer with the Paintbrush tool set to Normal mode at 100% opacity. The paint appears in Dissolve mode at 50% opacity. Similarly, if a layer uses Normal mode at 100% opacity, and you use the Eraser tool at 50% opacity, only 50% of the paint disappears from the layer as you erase.

A. Bamboo layer and Borders layer B. Bamboo layer with 100% opacity and Color Burn mode C. Bamboo layer with 50% opacity and Color Burn mode
Specify the opacity of a layer
In the Layers panel, enter a value between 0 and 100
for Opacity, or click the arrow at the right of the Opacity box
and drag the Opacity slider that appears.
Specify a blending mode for a layer
When you hover over blend modes in the Layers panel, the image updates in real-time to show how each mode affects your layer. This instant visual feedback removes the guesswork, making it easier to choose the right effect. It’s especially useful when layering textures, playing with lighting effects like leaks or flares, or refining how text sits over an image
Select
a layer that you have added, in the Layers panel.
Expand the Blending mode menu dropdown.

Hover over different blend modes to preview the output.
Note
Introduced in Photoshop Elements 2026.
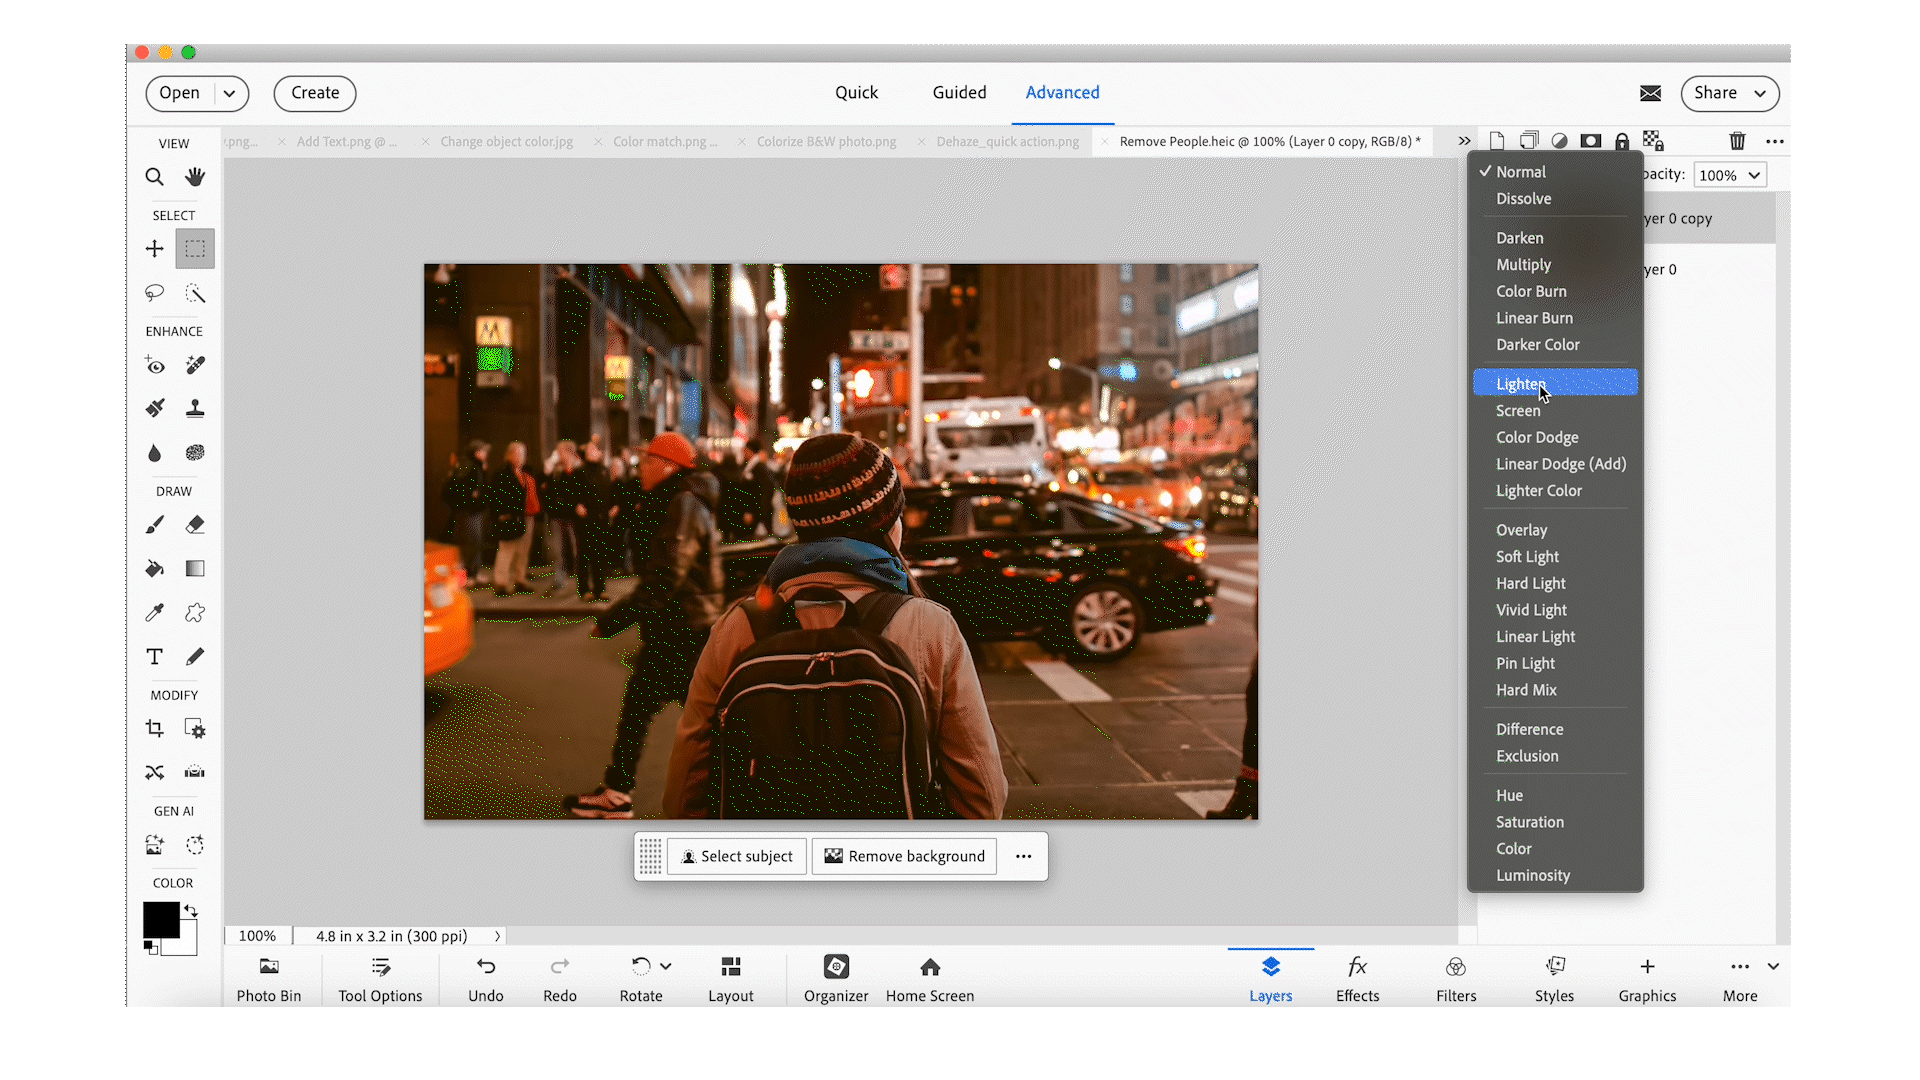
Click to apply the mode you like.
Select all opaque areas in a layer
You can quickly select all the opaque areas in a layer. This procedure is useful when you want to exclude transparent areas from a selection.
In the Layers panel, Ctrl-click (Command-click
in Mac OS) the layer thumbnail:
To add the pixels to an existing selection, press Ctrl+Shift
(Command+Shift in Mac OS) and click the layer thumbnail in the Layers
panel.
To remove the pixels from an existing selection, press
Ctrl+Alt (Command+Option in Mac OS) and click the layer thumbnail
in the Layers panel.
To load the intersection of the pixels and an existing
selection, press Ctrl+Alt+Shift (Command+Option+Shift in Mac OS)
and click the layer thumbnail in the Layers panel.
Customize the transparency grid
The checkerboard grid identifies transparency in a layer. You can change the appearance of this grid; however, do not change it to solid white because you’ll eliminate the visual distinction between opaque (white) and transparent (checkerboard).
In Windows, choose Edit > Preferences >
Transparency. In Mac, choose Photoshop Elements > Preferences
> Transparency.
Choose a pattern size from the Grid Size menu.
Choose a pattern color from the Grid Colors menu. To
choose a custom color instead, click one of the two boxes below
the Grid Colors menu and select a color from the Color Picker.

Easily edit and share images with Photoshop Elements
Combine photos, swap out colors, and erase anything with AI-powered tools.